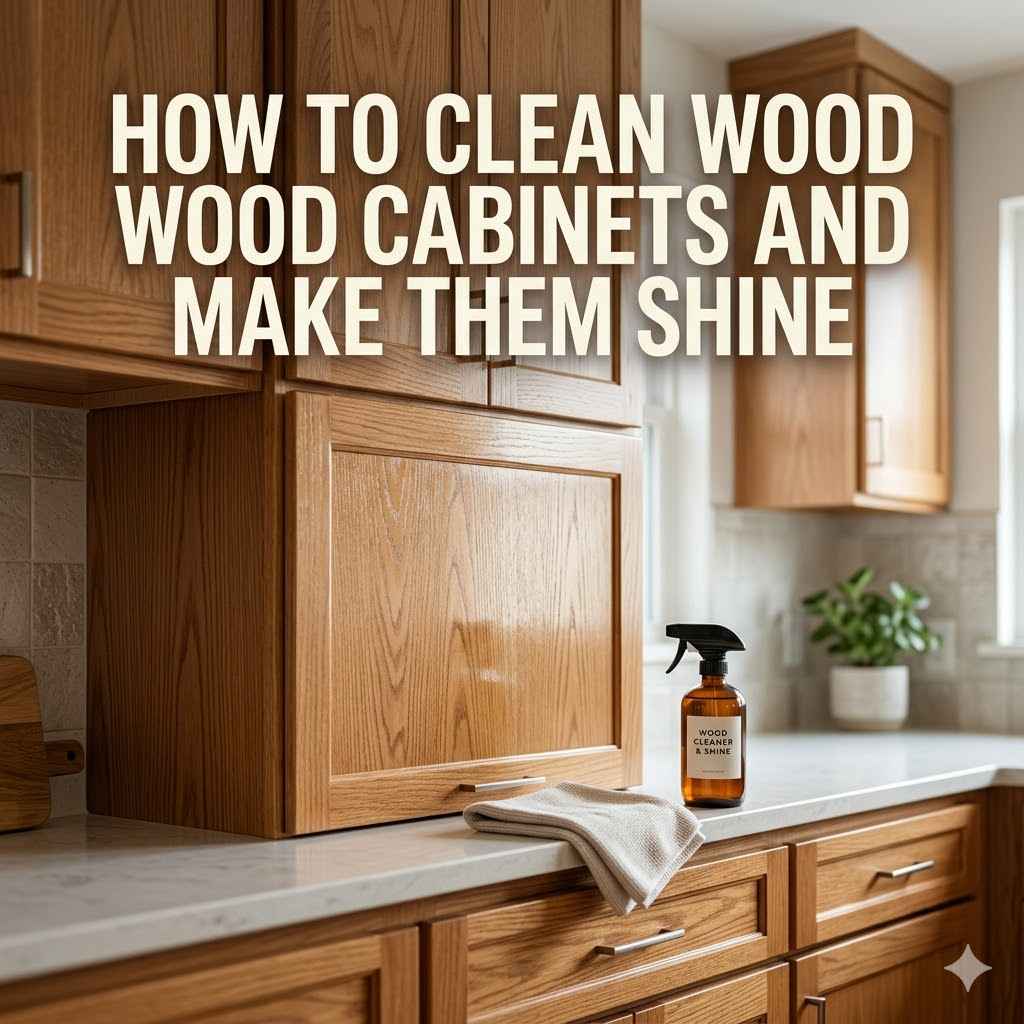
How to Clean Wood Cabinets And Make Them Shine
Cleaning wood cabinets can seem tricky. You want them spotless, but you also don’t want to damage the finish. Many people worry about using the wrong products and making things worse.
This guide breaks down How to Clean Wood Cabinets and Make Them Shine in easy steps. We will show you how to get that beautiful gleam back without any fuss.
Gentle Cleaning Methods for Wood Cabinets
Keeping your wood cabinets looking their best involves understanding gentle cleaning. Wood is a natural material that can be sensitive to harsh chemicals or too much moisture. The goal is to remove dirt and grime without stripping away the protective finish or causing discoloration.
This section focuses on the everyday cleaning needs of your cabinets, ensuring they stay beautiful for years.
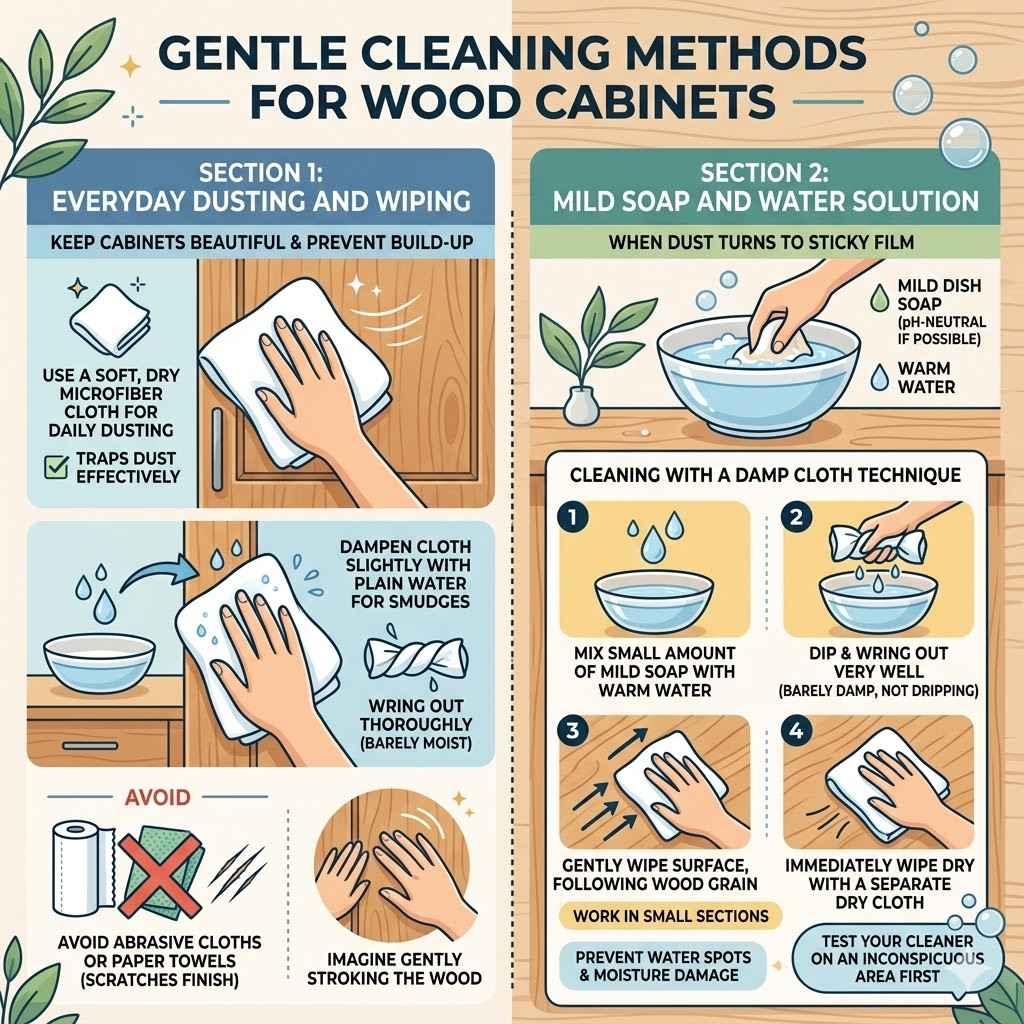
Everyday Dusting and Wiping
The most important step in keeping cabinets clean is regular dusting. Dust can build up quickly and mix with grease from cooking, creating a dull film. A soft, dry cloth is your best friend here.
Microfiber cloths are excellent because they trap dust effectively without scratching surfaces.
- Use a soft, dry cloth for daily dusting. This prevents dust from becoming ingrained and making cleaning harder later. A quick wipe down every few days can save you a lot of scrubbing.
- For slightly more stubborn dust or light smudges, dampen the cloth slightly with plain water. Wring out the cloth thoroughly so it is barely moist. Always wipe in the direction of the wood grain to avoid streaks.
- Avoid using abrasive cloths or paper towels, as these can scratch the cabinet’s finish. Imagine gently stroking the wood; that’s the kind of touch you want.
Mild Soap and Water Solution
When dust turns into a sticky film, a mild cleaning solution is needed. The key is to use very little water and a gentle soap. Too much moisture can seep into the wood and cause swelling or damage to the finish.
A good solution is a few drops of mild dish soap mixed with warm water. Dish soap is designed to cut through grease, which is common in kitchens. Make sure to use a pH-neutral soap if possible.
Test your chosen cleaner on an inconspicuous area first, like the inside of a cabinet door, to ensure it doesn’t harm the finish.
Cleaning with a Damp Cloth Technique
The technique for using your damp cloth is crucial. It’s not about scrubbing hard; it’s about effective, gentle wiping.
- Mix a small amount of mild dish soap with warm water in a bowl. You only need a tiny bit of soap. The water should not be hot, just warm.
- Dip your soft cloth into the solution. Then, wring it out very well. The cloth should be moist, not dripping wet.
Think of it as barely damp.
- Gently wipe down the cabinet surfaces, following the direction of the wood grain. Work in small sections.
- Immediately after cleaning a section, use a separate, clean, dry cloth to wipe the surface dry. This step is vital to prevent water spots and moisture damage.
Tackling Grease and Grime Effectively
Kitchen cabinets are notorious for accumulating grease. This sticky film attracts dirt and can make your cabinets look dull and old. Fortunately, there are effective ways to cut through this grime without damaging the wood.
We’ll explore solutions that are tough on grease but gentle on your cabinets.
Best Natural Cleaning Solutions for Grease
Nature offers some excellent solutions for cutting through kitchen grease. These methods are often safer and more environmentally friendly than harsh chemical cleaners.
Vinegar Solution: White vinegar is a fantastic degreaser. Mix equal parts white vinegar and water in a spray bottle. Spray lightly onto a cloth, not directly onto the cabinets, and wipe the greasy areas.
The acidity of the vinegar breaks down grease. Always follow up with a damp cloth and then a dry cloth to remove any lingering vinegar smell and moisture.
Baking Soda Paste: For very stubborn, caked-on grease, a baking soda paste can be effective. Mix baking soda with a little water to form a thick paste. Apply the paste to the greasy spots and let it sit for about 10-15 minutes.
Gently wipe it away with a damp cloth, following the wood grain. Rinse the cloth thoroughly and wipe again to remove all baking soda residue. Baking soda is a mild abrasive, so use gentle pressure.
Lemon Juice: The citric acid in lemon juice also helps to break down grease. You can use it similarly to vinegar, mixing it with water. It also leaves a fresh scent.
However, be cautious with prolonged exposure, as acid can affect finishes over time. Dilute it well and always rinse thoroughly.
Using Commercial Cabinet Cleaners Safely
When choosing commercial cleaners, read labels carefully. Look for products specifically designed for wood cabinets or multi-surface cleaners that are gentle. Avoid all-purpose cleaners that contain ammonia or bleach, as these can damage the finish.
Always test a new cleaner in an inconspicuous spot first. Apply the cleaner to your cloth, not directly to the cabinets, to control the amount of liquid. Wipe down the cabinets, then follow up with a clean, damp cloth to remove any residue, and finally, dry the cabinets thoroughly.
Dealing with Stubborn Spots and Stains
Sometimes, you’ll encounter spots that resist regular cleaning. For these, you might need a slightly stronger approach, but always with caution.
Magic Eraser (with extreme caution): A melamine foam sponge, often sold as a Magic Eraser, can be effective for tough marks. However, it is mildly abrasive. Use it very gently and only on problem spots, never on the entire cabinet.
Dampen the sponge slightly and rub very lightly. Immediately wipe the area with a damp cloth and then dry it. Test this in a hidden area first, as it can remove finishes.
Wood Polish for Scuffs: Minor scuffs can often be buffed out with a good quality wood polish. Apply a small amount to a soft cloth and rub the scuff mark gently. This can help blend the mark into the surrounding finish.
Rubbing Alcohol for Ink or Marker: For ink or marker stains, a small amount of rubbing alcohol on a cotton swab can work. Dab the stain gently, trying not to spread it. Immediately wipe the area with a clean, damp cloth and dry thoroughly.
Alcohol can strip finishes, so use it sparingly and precisely on the stain itself.
A common scenario involves crayon marks on lower cabinet doors from children. Instead of scrubbing, try the baking soda paste or a very gentle application of a Magic Eraser. You might be surprised at how easily they lift.
Restoring Shine and Protecting Your Cabinets
Once your cabinets are clean, you’ll want to restore their natural shine and protect them from future damage. This involves polishing and proper maintenance. These steps will make your cabinets look like new and help preserve their beauty.
Polishing Wood Cabinets
Wood polish not only makes cabinets shine but also adds a protective layer. It can fill in tiny scratches and give the wood a deeper, richer look.
Choose a polish designed for finished wood. There are many types available, including paste waxes, liquid polishes, and spray polishes. For a natural shine, beeswax-based polishes are often recommended.
Apply the polish with a clean, soft cloth. Use a small amount and buff it into the wood in the direction of the grain. Allow the polish to haze over slightly, then buff again with a clean, dry cloth until you achieve a beautiful shine.
Choosing the Right Wood Polish
Natural Waxes: Products containing beeswax or carnauba wax offer a natural sheen and good protection. They are generally safe for most wood finishes. They build up a protective layer that repels water and dust.
Silicone-Based Polishes: These offer a very high gloss finish and can fill minor imperfections. However, some people prefer to avoid silicones as they can be harder to remove later if you decide to refinish the cabinets. They create a very smooth surface.
Oil-Based Polishes: These polishes often contain mineral oil or natural oils. They can nourish the wood and bring out its natural beauty. They typically don’t provide as durable a protective layer as waxes but give a warm, subtle glow.
This is a good choice for older or drier wood.
Protecting Cabinets from Future Damage
Prevention is key to maintaining your cabinets’ appearance. Simple habits can go a long way in protecting them.
Wipe Spills Immediately: Don’t let spills sit on your cabinets, especially water, juice, or greasy substances. Wipe them up right away with a soft cloth. This is one of the easiest ways to prevent stains and damage.
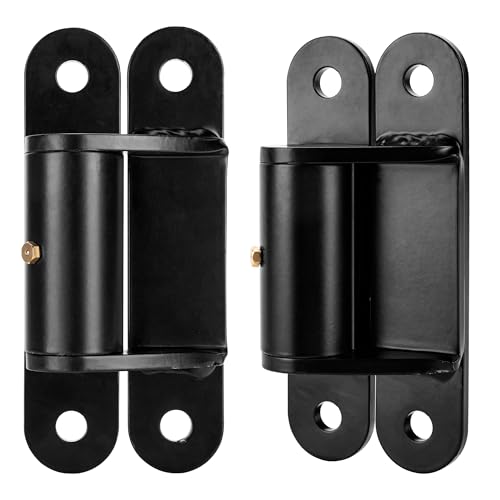
Use Cabinet Door Bumpers: These small, self-adhesive pads prevent cabinet doors from slamming shut. This reduces wear and tear on the hinges and the cabinet frames. It also makes your kitchen quieter.
Ventilate Your Kitchen: Proper ventilation, especially when cooking, helps to reduce the amount of grease and steam that settles on your cabinets. Use your exhaust fan regularly.
Avoid Direct Sunlight: Prolonged exposure to direct sunlight can cause wood to fade or the finish to degrade over time. If possible, use blinds or curtains to protect cabinets in sunny spots.
Regular Maintenance Schedule
Establishing a routine will make the process manageable and keep your cabinets consistently looking their best.
A good schedule includes daily dusting, weekly light wiping with a damp cloth and drying, and monthly polishing. Deep cleaning for grease and grime can be done quarterly or as needed, depending on your cooking habits. More frequent polishing might be needed in high-traffic areas.
For instance, if you cook a lot of fried foods, you might need to tackle grease build-up every two months instead of quarterly. Homeowners often find that once they get into a routine, cleaning takes much less time and effort.
Understanding Wood Finishes
Knowing your cabinet’s finish helps you choose the right cleaning products. Most kitchen cabinets have a polyurethane, varnish, lacquer, or oil finish. Each has different properties and sensitivities.
Polyurethane and varnish finishes are very durable and can withstand most mild cleaners. Lacquer finishes are more delicate and can be dissolved by alcohol or strong solvents. Oil finishes are common on natural wood and require specific oil-based cleaners or polishes.
If you’re unsure about your cabinet’s finish, err on the side of caution. Always test cleaners in a hidden area first. A general rule of thumb is that if a cleaner is safe for furniture, it’s likely safe for most cabinet finishes.
Reviving Old or Damaged Cabinets
Sometimes, cabinets aren’t just dirty; they’re showing their age. You might see faded spots, minor scratches, or a dullness that cleaning alone can’t fix. This section offers ways to bring life back to cabinets that need a little more attention.
Deep Cleaning for Revitalization
Before attempting any restorative measures, a thorough deep clean is essential. This ensures you’re working with a clean slate, free from accumulated grime and residues that could interfere with treatments.
Use your mild soap and water solution or a specialized cabinet cleaner. Pay extra attention to crevices and corners where dirt hides. A soft-bristled brush, like an old toothbrush, can be helpful for these tight spots.
After cleaning, dry the cabinets completely. This step is crucial for any subsequent treatments to adhere properly and work effectively.
Light Sanding for Faded Areas
For cabinets with faded patches or a dull, matte appearance, very light sanding can sometimes help. This process removes the dull top layer of the finish, allowing the natural wood color to show through.
Use very fine-grit sandpaper, such as 220-grit or higher. Sand gently in the direction of the wood grain. The goal is not to remove the finish entirely, but to scuff the surface enough to prepare it for polishing or refinishing.
After sanding, wipe away all dust with a tack cloth or a slightly damp cloth.
This is particularly useful for cabinets that have seen a lot of sun exposure, causing the finish to break down unevenly. A common scenario is a kitchen cabinet above the stove where heat and steam might have caused finish wear.
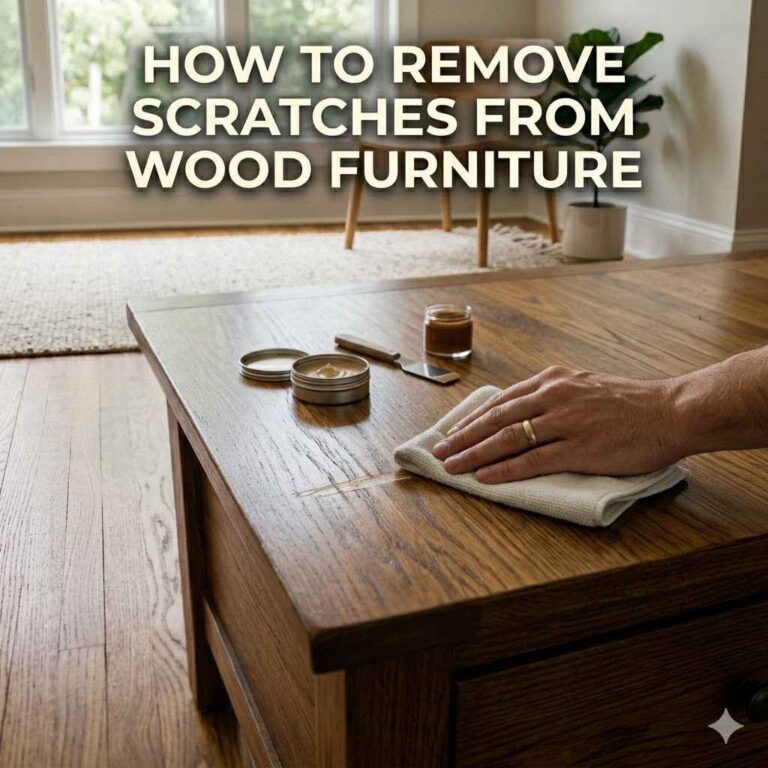
Using Wood Stains and Touch-Up Markers
Once sanded or if you have small scratches, touch-up products can make a big difference.
Wood Stain Pens: These are great for filling in scratches and hiding minor imperfections. They come in various wood tones. Choose a color that closely matches your cabinets.
Apply carefully to the scratch, wipe away excess, and let it dry. It’s a quick fix for minor damage.
Touch-Up Crayons/Sticks: Similar to stain pens, these are wax-based fillers that can cover deeper scratches or chips. You melt them slightly or rub them into the damaged area and then buff smooth. They work well to fill small gouges.
Dye-Based Touch-Up Solutions: For a more blended repair, a dye-based solution can be applied to sanded areas to restore color. These are more advanced and require careful application to match existing tones.
A typical situation involves a scratch from moving a appliance or furniture near cabinets. A wood stain marker can often make this scratch virtually disappear.
When to Consider Refinishing
If your cabinets are severely damaged, worn out, or the finish is peeling extensively, refinishing might be the best option. This is a more involved process that can range from a complete sanding and re-staining to a full repaint.
Refinishing involves stripping the old finish, sanding the wood smooth, applying a new stain or paint, and then sealing it with a protective topcoat. It’s a significant undertaking that can completely transform the look of your kitchen. If you’re not comfortable with DIY refinishing, professional services are available.
A cabinet that looks very tired, with a finish that feels sticky or is constantly flaking, is a candidate for refinishing. It’s a way to give your kitchen a fresh, updated look without replacing the cabinets entirely.
Frequently Asked Questions
Question: What is the best way to clean kitchen cabinets daily?
Answer: For daily cleaning, simply use a soft, dry microfiber cloth to dust the cabinets. This prevents dust from accumulating and becoming harder to remove later. If there are light smudges, slightly dampen the cloth with plain water, wring it out well, and wipe, always following the wood grain.
Then, dry the surface.
Question: Can I use a Magic Eraser on my wood cabinets?
Answer: You can use a Magic Eraser, but with extreme caution. It is mildly abrasive and can remove the finish if used too aggressively or too often. Test it in an inconspicuous spot first.
Use it gently only on tough spots, and follow up immediately with a damp cloth and then a dry cloth. Avoid using it on the entire cabinet surface.
Question: How often should I polish my wood cabinets?
Answer: You should polish your wood cabinets about once a month. This helps to restore shine, protect the finish, and fill in minor imperfections. More frequent polishing might be needed in high-traffic areas or if cabinets are exposed to a lot of wear and tear.
Question: What is the best way to remove grease from cabinets?
Answer: For grease, a solution of equal parts white vinegar and water is very effective. Spray it onto a cloth, not directly onto the cabinets, and wipe the greasy areas. For tougher grease, a paste of baking soda and water can be used.
Always follow up with a clean, damp cloth to rinse and then a dry cloth to finish.
Question: Are natural cleaners safe for all wood cabinet finishes?
Answer: Natural cleaners like vinegar and lemon juice are generally safe, but it’s always best to test them on an inconspicuous area first. Harsh acids can damage delicate finishes if used undiluted or left on for too long. Always dilute them and rinse the cabinets thoroughly afterwards.
Baking soda is a mild abrasive, so use it with gentle pressure.
Conclusion
Learning How to Clean Wood Cabinets and Make Them Shine is achievable with simple, gentle methods. Regular dusting, mild cleaners, and proper drying are key. Tackling grease with natural solutions and polishing monthly keeps them looking their best.
Don’t forget to protect them by wiping spills promptly. Your cabinets will thank you with lasting beauty.