How to Clean Wood Floors After Carpet Removal
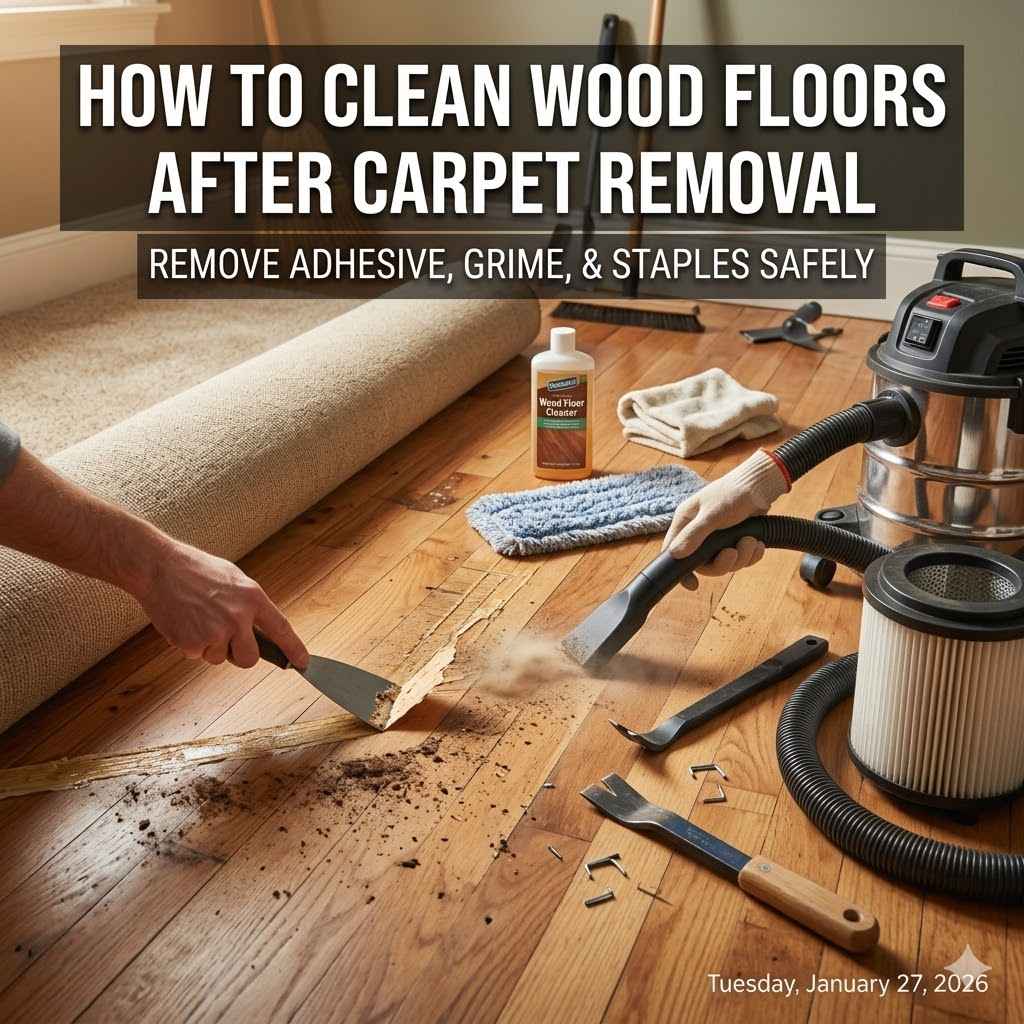
Removing carpet can reveal beautiful hardwood floors, but cleaning them afterward can feel tricky. Many people aren’t sure where to start, especially if the floors have been hidden for years. Don’t worry, it’s simpler than you might think!
This guide will walk you through exactly How to Clean Wood Floors After Removing Carpet, step by step. We’ll cover everything you need to know to get your floors looking their best. Let’s get your wood floors shining again!
Preparing Your Wood Floors for Cleaning
Preparing your wood floors before you start the deep cleaning process is really important for getting the best results. This stage involves a few key steps to ensure you remove all loose debris and any sticky residue left behind from the old carpet. Proper preparation prevents you from just pushing dirt around with your cleaning solutions, which can lead to streaks or a dull finish on your newly revealed hardwood. Taking your time here will make the rest of the cleaning process much smoother and more effective. It’s all about setting up your floors for success.
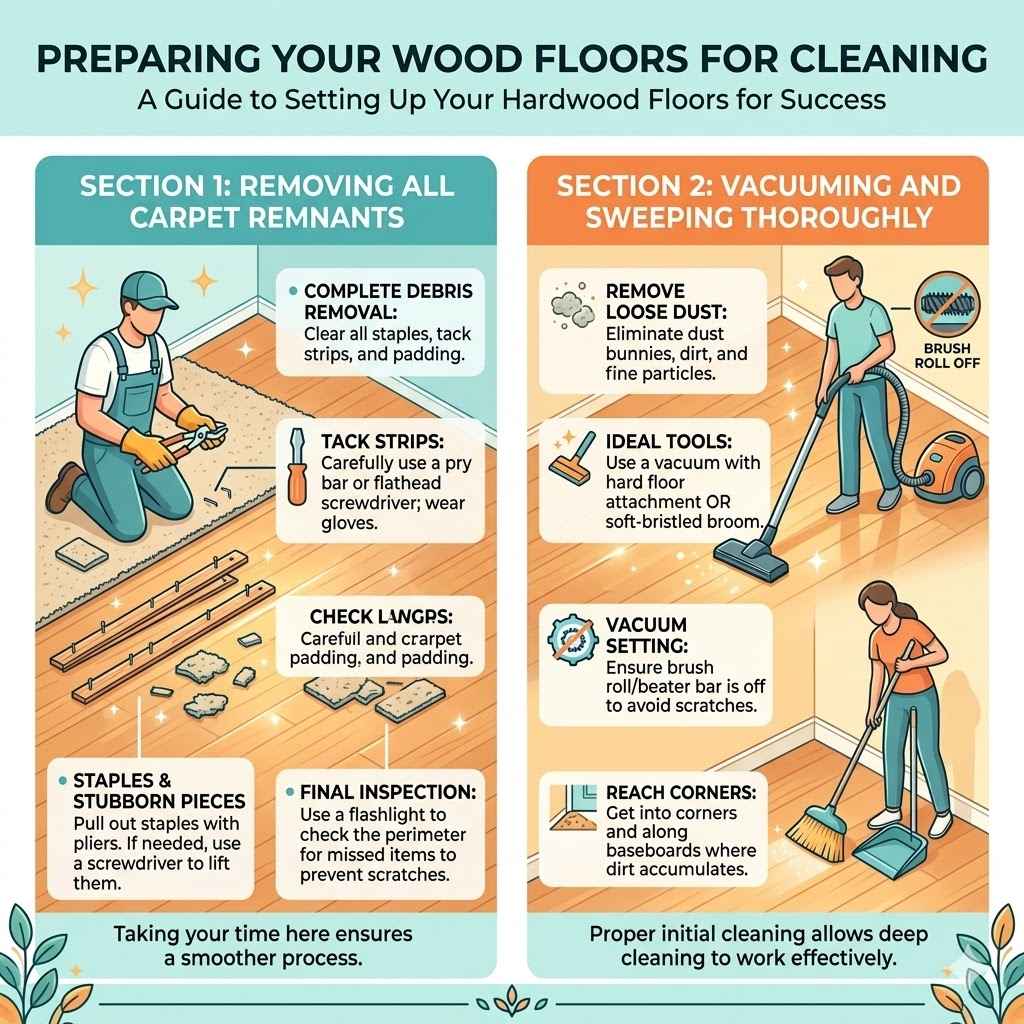
Removing All Carpet Remnants
After the carpet is gone, there will likely be staples, tack strips, and leftover padding. These need to be completely removed. Tack strips are long, sharp pieces of wood with nails or staples that hold the carpet in place. They are usually found around the edges of the room. Carefully use pliers to pull out any staples left behind from the tack strips. For the tack strips themselves, a pry bar or flathead screwdriver can help lift them out of the subfloor. Be sure to wear work gloves to protect your hands from sharp edges.
Inspect the entire floor perimeter for any remaining staples or small pieces of padding. Small staples can easily be missed but can cause scratches if not removed. Use a good flashlight to scan the edges of the room carefully.
Use pliers to gently pull out any staples. If a staple is bent or difficult to grasp, a small flathead screwdriver can sometimes be used to lift it slightly before pulling. Dispose of staples safely to avoid injury.
For stubborn tack strips, you might need a hammer and pry bar. Carefully wedge the pry bar under the strip and lift it away from the subfloor. Work slowly and deliberately to avoid damaging the subfloor itself.
Vacuuming and Sweeping Thoroughly
Once all the physical remnants are removed, the next step is to get rid of all the loose dust and debris. This includes dust bunnies, dirt, and any fine particles that have settled into the floor’s grain. A good vacuum with a brush roll turned off or a hardwood floor attachment is ideal. If you don’t have one, a soft-bristled broom and dustpan will work. Make sure to get into all the corners and along baseboards. This initial clean removes surface grime so your deeper cleaning methods can work more effectively.
Vacuuming helps lift and remove fine particles from the wood grain. If your vacuum has a beater bar, make sure to turn it off or switch to a hard floor setting. The spinning brush can sometimes scratch delicate wood finishes.
For areas where the vacuum can’t reach, like tight corners or along cabinets, use a soft-bristled broom. Sweep the dust towards your dustpan. This step might seem simple, but it’s crucial for preventing scratches during wet cleaning.
Deep Cleaning Your Wood Floors
Now that your floors are prepped, it’s time for the actual cleaning. This involves choosing the right cleaning solutions and methods that won’t damage your wood floors. Different types of wood finishes might require slightly different approaches, but the general principles remain the same: gentle cleaning is key. We will go over how to tackle any remaining dirt, grime, or marks without making your wood look dull or waterlogged. This section focuses on making your floors shine safely.
Understanding Wood Floor Finishes
Before you start cleaning, it’s important to know what kind of finish is on your wood floors. The most common finishes are polyurethane (which is very durable) and oil or wax finishes (which are more natural but less protective). Polyurethane finishes are typically water-based or oil-based and create a protective layer on top of the wood. Oil and wax finishes penetrate the wood, offering a more natural look but requiring more frequent maintenance and specific cleaning methods. Knowing your finish helps you pick the right cleaning products and techniques.
Polyurethane finishes are the most popular because they are tough and easy to maintain. They offer great protection against spills and wear. You can usually identify them by their sheen, which can range from matte to high gloss.
Oil and wax finishes give wood a softer, more natural look. They absorb into the wood. These finishes are more susceptible to water damage and require specialized cleaners to avoid stripping away the protective layer.
Choosing the Right Cleaning Solution
The wrong cleaning solution can damage your wood floors, leaving them dull, streaky, or even warped. For most modern polyurethane-finished floors, a pH-neutral cleaner specifically designed for hardwood is the best choice. You can also use a very diluted solution of mild dish soap and water, but always test it in an inconspicuous area first. Avoid using ammonia-based cleaners, vinegar (unless heavily diluted and specifically recommended for your finish), steam mops, or excessive amounts of water, as these can damage the wood and its finish.
pH-neutral cleaners are formulated to clean effectively without altering the pH level of the wood finish. This is vital for maintaining the integrity and appearance of your floors. Look for labels that state “pH-neutral” or “hardwood floor cleaner.”
Mild dish soap can be used sparingly. Mix just a few drops of mild dish soap with a gallon of water. It’s important to use very little soap; too much can leave a residue that attracts dirt and dulls the finish.
Never use abrasive cleaners, furniture polish, or waxes unless you know your floors are specifically designed for them. These can build up over time or react poorly with your existing finish, causing permanent damage.
The Damp Mop Method
The safest and most effective way to clean wood floors is the damp mop method. This means using a mop that is barely wet, not saturated. You want the mop to be just damp enough to pick up dirt, not to leave puddles on the floor. A microfiber mop is excellent for this purpose because it absorbs well and can be easily wrung out. Wring the mop until it feels almost dry to the touch. This prevents too much moisture from seeping into the wood or its seams.
Start by dipping your mop into the cleaning solution and then wringing it out thoroughly. You should not see any dripping water. The goal is to clean the surface without soaking the wood.
Mop in the direction of the wood grain. This helps to lift dirt and prevent streaking. Overlap your strokes slightly to ensure you cover the entire surface evenly.
For stubborn spots or marks, you might need to go over them a couple of times. A slightly more concentrated solution in a specific spot can help, but always rinse with a clean, damp mop afterwards to remove any residue.
Dealing with Specific Issues and Marks
After the general cleaning, you might find some lingering marks or sticky spots that need extra attention. These could be from old adhesive, scuffs, or ingrained dirt. Addressing these specific issues will make your wood floors look completely restored. We’ll cover how to handle common problems without harming the wood or its finish. These tips will help you achieve a flawless look on your newly cleaned floors.
Removing Adhesive Residue
If there’s any sticky residue left from old carpet glue or tape, it needs to be removed carefully. For polyurethane-finished floors, a gentle adhesive remover or even a small amount of mineral spirits can be effective. Apply the remover to a cloth, not directly to the floor, and then rub the sticky area. Wipe the area clean with a damp cloth afterward to remove any solvent residue. Always test removers in an out-of-the-way spot first.
Mineral spirits are a good option for breaking down many types of adhesives. They evaporate quickly, minimizing the risk of prolonged contact with the wood.
Apply a small amount of mineral spirits to a clean, soft cloth. Gently rub the sticky residue in a circular motion until it starts to lift. Avoid rubbing too hard, as this could dull the finish.
After the adhesive is gone, wipe the area with a cloth dampened with water and a drop of pH-neutral cleaner. This removes any trace of the mineral spirits.
Tack Strip and Staple Holes
You might notice small holes left by tack strips or staples. For minor imperfections, these can often be filled with a wood filler that matches your floor’s color. You can find wood fillers in various shades, or you might need to mix colors to get a perfect match. Apply the filler with a putty knife, pressing it into the hole. Let it dry completely, then gently sand it smooth with fine-grit sandpaper.
Choosing the right color of wood filler is key for an invisible repair. Take a small sample of your floor color to the hardware store if possible.
Use a putty knife to apply the filler. It should be slightly overfilled, as it might shrink a little when drying. Make sure to smooth it level with the floor surface as much as possible during application.
Once dry, very fine-grit sandpaper (220 grit or higher) can be used to sand the filled area flush with the rest of the floor. Sand gently and avoid creating a noticeable dip.
Scuff Marks and Dings
Scuff marks are common and often easy to remove. For minor scuffs on polyurethane finishes, try rubbing the mark with a clean tennis ball, a pencil eraser, or a soft cloth dipped in a tiny bit of baking soda paste. For deeper dings or scratches, you might need a touch-up kit specific to your floor’s color and finish. These kits usually contain a stain or finish product to fill in the damage.
A tennis ball can work wonders on scuff marks. The soft rubber gently buffs away the marks without damaging the finish. Rub the scuff mark with a clean tennis ball in a circular motion.
For slightly tougher scuffs, a clean pencil eraser can be used. A standard white or pink eraser should work. Gently rub the eraser over the scuff mark.
Baking soda paste, made by mixing baking soda with a little water, can lift grime and scuff marks. Apply the paste with a soft cloth and gently rub. Wipe clean with a damp cloth afterwards.
Maintenance Tips for Long-Term Shine
Keeping your wood floors looking beautiful after the initial deep clean is all about regular care. Simple, consistent maintenance will preserve their beauty and protect them from damage. These tips will help you keep your floors looking as good as they do right after cleaning. Following these practices will ensure your hardwood floors remain a stunning feature of your home for years to come.
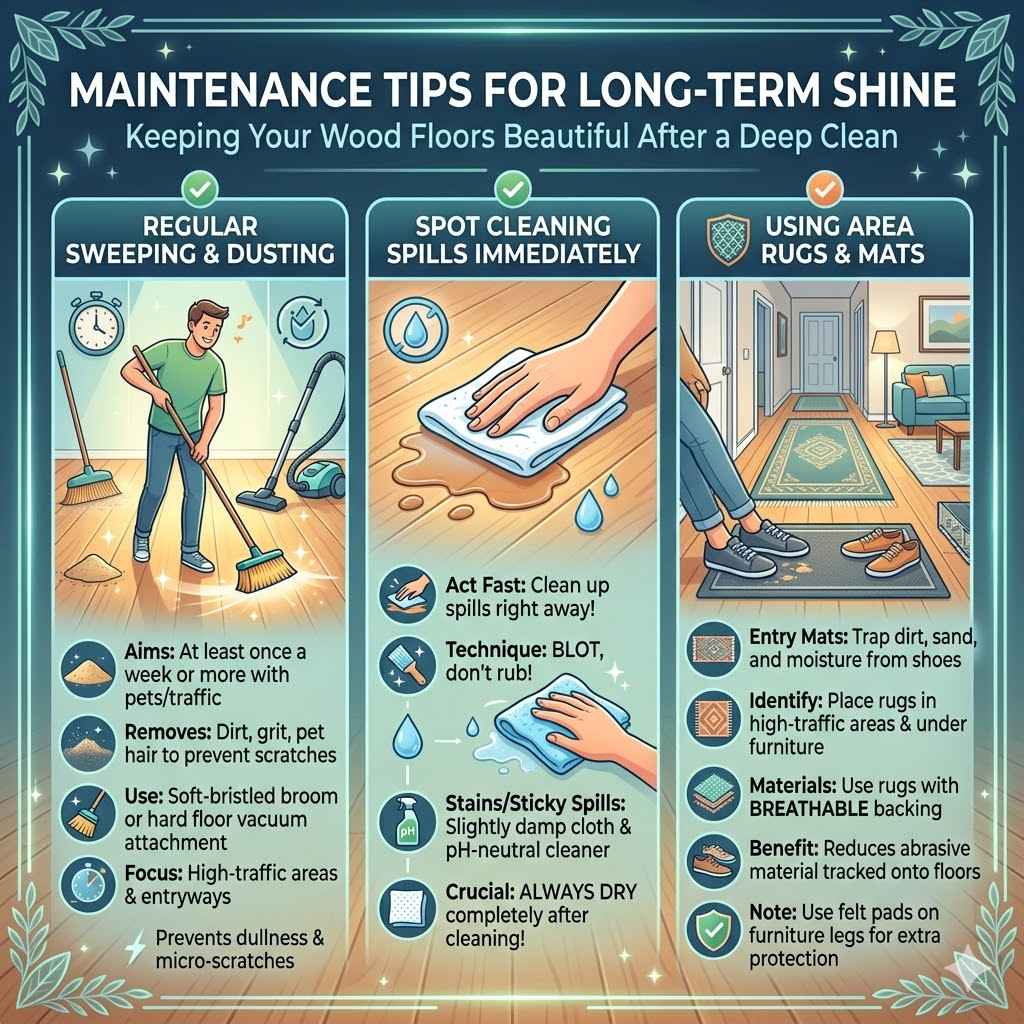
Regular Sweeping and Dusting
The best way to keep your wood floors in good condition is to sweep or vacuum them regularly. This removes dirt, grit, and pet hair that can scratch the finish over time. Aim to sweep or vacuum at least once a week, or more often if you have pets or high foot traffic. Use a soft-bristled broom or a vacuum cleaner with a hard floor attachment.
Regular sweeping prevents abrasive particles from being ground into the finish. Even small amounts of sand can cause dullness and micro-scratches.
Pay attention to high-traffic areas and entryways where most of the dirt accumulates. Keeping these areas clean is crucial for overall floor longevity.
Spot Cleaning Spills Immediately
Spills should be cleaned up right away. Wood floors and moisture don’t mix well, so even small spills can cause staining or damage if left to sit. Use a clean, absorbent cloth to blot up the liquid. If a residue is left, you can use a slightly damp cloth with a bit of pH-neutral cleaner. Always dry the area thoroughly with a soft cloth afterward.
- Blot, don’t rub, spills. Rubbing can spread the liquid and push it deeper into the wood or finish.
- For sticky spills like juice or soda, use a slightly damp cloth with a tiny amount of pH-neutral cleaner.
- Always dry the spot completely after cleaning. This is the most important step to prevent water damage.
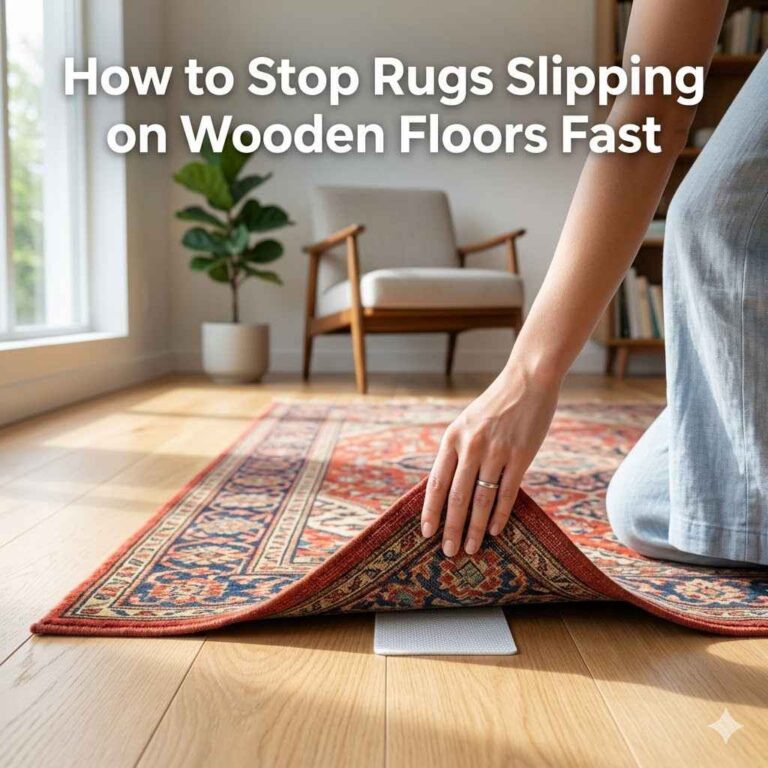
Using Area Rugs and Mats
Placing area rugs in high-traffic areas like entryways, hallways, and under furniture can significantly protect your wood floors. Rugs act as a barrier, catching dirt and grit before it can scratch the wood. Use mats with breathable backing to allow air circulation and prevent moisture from getting trapped underneath, which can lead to mold or discoloration. Ensure rugs are placed to allow airflow.
Entry mats are especially important to trap dirt, sand, and moisture from shoes. This significantly reduces the amount of abrasive material tracked onto your floors.
Rugs under furniture legs can prevent scratches and indentations when furniture is moved. Consider using felt pads on furniture legs as an extra layer of protection.
Frequently Asked Questions
Question: How often should I clean my wood floors after removing carpet?
Answer: After removing carpet, it’s best to do a thorough deep clean. Afterward, regular sweeping or vacuuming weekly is recommended, with spot cleaning for spills as needed. A more intensive damp mopping can be done monthly or as needed depending on traffic.
Question: Can I use a steam mop on my wood floors?
Answer: No, it is generally not recommended to use a steam mop on most wood floors. The heat and moisture from steam can damage the finish, cause the wood to swell, or lead to warping and discoloration.
Question: What is the best cleaner for a polyurethane finish?
Answer: The best cleaner for a polyurethane finish is a pH-neutral cleaner specifically designed for hardwood floors. You can also use a very diluted solution of mild dish soap and water, but always test it first.
Question: My floors look dull. What should I do?
Answer: A dull finish is often caused by a buildup of dirt or residue. Try cleaning with a pH-neutral cleaner. If that doesn’t help, you might need a specialized wood floor cleaner designed to remove buildup, or you may need to consider refinishing.
Question: How do I remove water stains from my wood floors?
Answer: Light water stains can sometimes be removed by gently rubbing the area with a clean, soft cloth. For more stubborn stains, you might try a very mild abrasive like baking soda paste, but always test in an inconspicuous area first. Deeper stains might require professional refinishing.
Summary
Cleaning wood floors after carpet removal is achievable with simple steps. You start by clearing all old remnants and dust. Then, choose gentle cleaners suited for your floor’s finish. A damp mop technique is key to avoid water damage. Address specific marks like glue or scuffs with care. Regular sweeping and prompt spill cleanup will keep your floors looking great. Enjoy your beautiful, refreshed hardwood.