How to Cover Lampshade: Effortless Fabric Guide
Quick Summary: Learn how to cover a lampshade with fabric easily! This guide breaks down the simple steps, from choosing the right material to neatly finishing your new lampshade. Transform your old lamps with a fresh, custom look in no time, even if you’re a beginner.
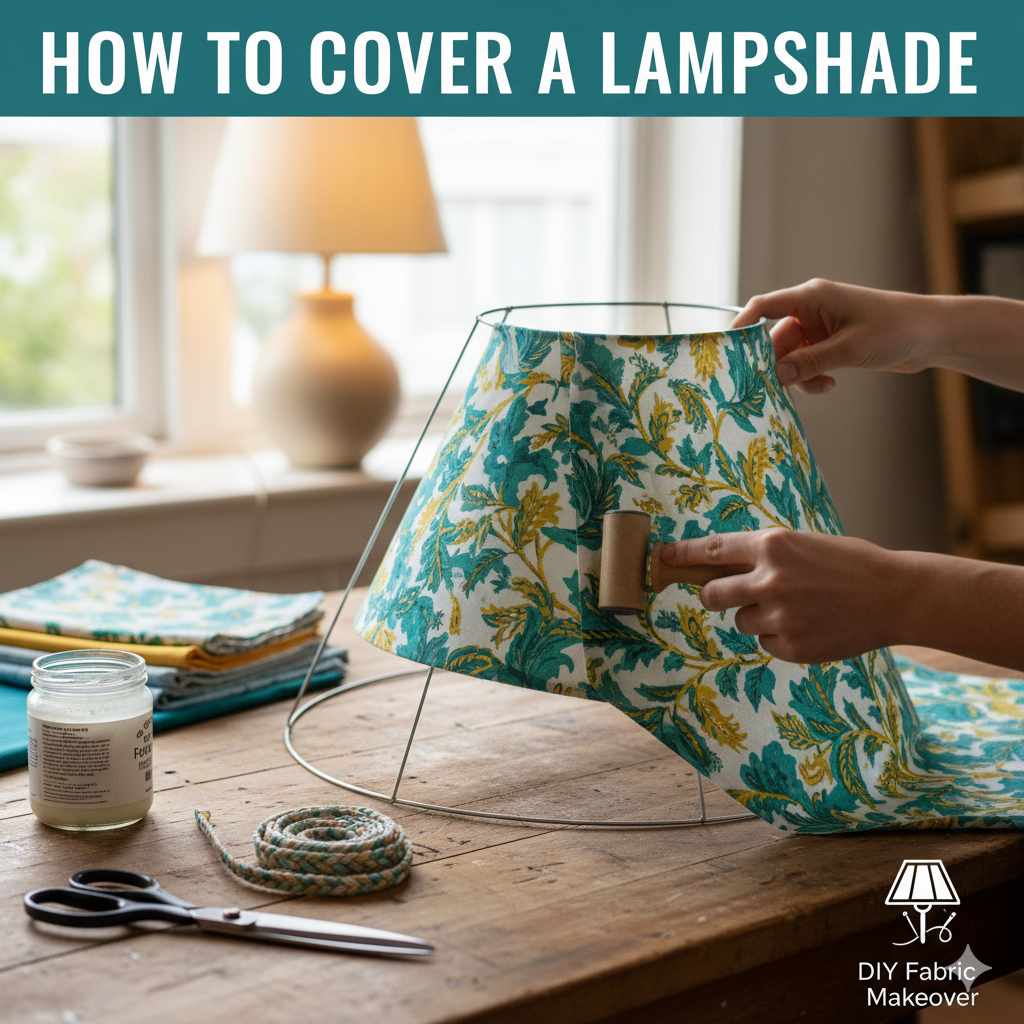
Hello there! Are you looking to give your old lamps a fresh new look without spending a fortune? Maybe you’ve found the perfect lampshade frame but can’t find the right fabric, or perhaps your current shade is looking a bit tired. Covering a lampshade with fabric is a fantastic DIY project that can completely change the feel of a room. It might sound tricky, but with a few simple tools and some easy-to-follow steps, you can achieve beautiful, professional-looking results. Don’t worry if you’ve never done this before; we’ll walk through it together, making sure you feel confident and ready to create something wonderful.
Why Cover Your Lampshade?
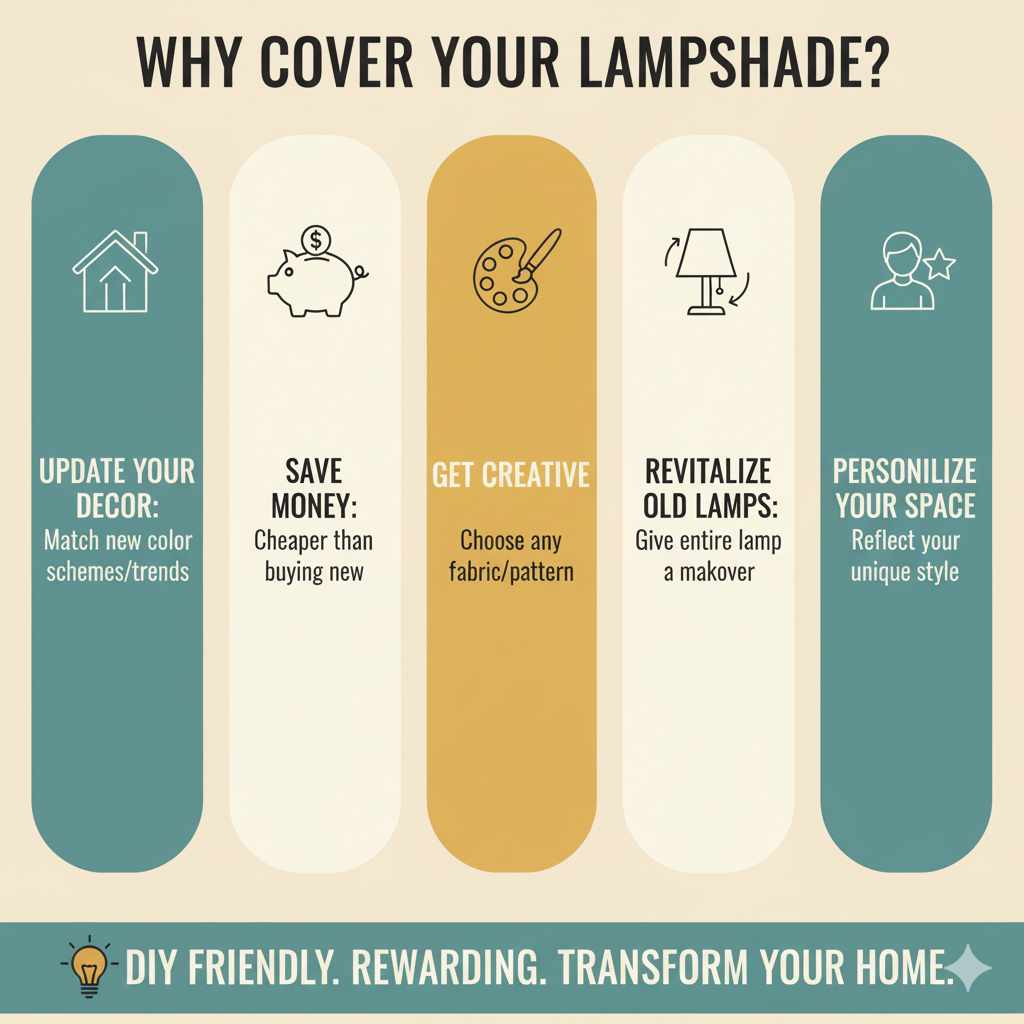
Lampshades are more than just light diffusers; they are key decorative elements in any home. Over time, they can fade, get dirty, or simply go out of style. Recovering a lampshade is a brilliant way to:
- Update Your Decor: Easily match your lighting to new color schemes or design trends.
- Save Money: It’s much cheaper than buying a brand-new custom lampshade.
- Get Creative: Choose any fabric you love – from bold patterns to soft textures.
- Revitalize Old Lamps: Give an entire lamp a makeover by simply changing the shade.
- Personalize Your Space: Create a unique piece that reflects your personal style.
This project is beginner-friendly and incredibly rewarding. You’ll be amazed at how a simple piece of fabric can transform your lighting and your room.
Choosing the Right Fabric
The fabric you choose is crucial for the look and feel of your new lampshade. Think about the room’s ambiance, the light you want to cast, and the durability you need. Here are some popular and effective fabric choices:
Fabric Types to Consider:
- Cotton: Versatile, breathable, and available in endless patterns and colors. It’s easy to work with for beginners.
- Linen: Offers a natural, textured look that diffuses light beautifully, creating a warm glow.
- Silk/Satin: Provides a luxurious feel and a smooth finish. Can be a bit more delicate to work with.
- Velvet: Adds a rich, cozy texture and deep color. Best for shades where a soft, ambient light is desired.
- Burlap: For a rustic or farmhouse look. It has a coarse texture and allows a lot of light through.
- Sheer Fabrics: Like organza or chiffon, these create a light, airy feel and allow maximum light penetration.
What to Avoid:
- Very Thick Fabrics: Heavy materials might block too much light or be difficult to wrap smoothly around the shade.
- Fabrics That Melt or Are Highly Flammable: Safety is paramount. Always ensure your fabric is safe to be near a light bulb. Check the manufacturer’s recommendations or opt for flame-retardant treated fabrics if you’re concerned. You can learn more about light bulb safety and materials from resources like the Consumer Product Safety Commission (CPSC).
- Stretchy Fabrics: Unless you’re experienced, very stretchy materials can be tricky to get perfectly smooth and taut.
Fabric Amount:
You’ll need enough fabric to wrap around the lampshade’s circumference plus a little extra for overlap, and also cover the height of the shade plus extra for trimming at the top and bottom. A good rule of thumb is to measure the shade’s height and circumference, add a few inches to each, and then add about 2 inches to the height for finishing.
Tools and Materials You’ll Need
Gathering your supplies before you start makes the process smooth and enjoyable. Here’s what you’ll need:
Essential Tools and Materials:
- Lampshade Frame: This is what you’ll be covering. You can buy new ones or use an old one.
- Fabric: Your chosen material.
- Fabric Scissors: Sharp scissors are essential for clean cuts.
- Measuring Tape or Ruler: For accurate measurements.
- Fabric Glue or Spray Adhesive: For securing seams and edges. Hot glue can also work for some applications, but fabric glue offers a more flexible and often cleaner finish. Ensure your adhesive is suitable for fabric and won’t bleed through.
- Craft Knife or Rotary Cutter: For precise trimming.
- Straight Pins: To hold fabric in place while you work.
- Iron and Ironing Board: To press fabric for a neat finish.
- Optional: Trim or Fringe: To decorate the top and bottom edges.
- Optional: Old Newspaper or Drop Cloth: To protect your work surface from glue.
Having these items ready will ensure you can move seamlessly from one step to the next. It’s always better to have a few extra supplies on hand, just in case!
Step-by-Step Guide: How to Cover a Lampshade with Fabric
Let’s get started! This guide is designed for a standard drum or empire lampshade, which are common and relatively easy to work with. We’ll cover the process of applying fabric to a frame that has a wire structure.
Step 1: Prepare Your Lampshade Frame
If you’re using an old lampshade, carefully remove any existing fabric. You might need scissors or a seam ripper for this. Clean the frame if necessary. If you’re using a new frame, ensure it’s clean and ready to go. Some frames have a fabric band or clips that might need to be adjusted or removed depending on your chosen method. For this guide, we assume a standard frame where fabric is glued directly to the wire structure.
Step 2: Measure and Cut Your Fabric
This is where accuracy pays off. You’ll want to cut a piece of fabric that will wrap around your lampshade with a slight overlap, and is tall enough to cover the frame plus extra for finishing at the top and bottom.
- Measure Circumference: Use a flexible measuring tape to measure the circumference of your lampshade at its widest point. Add about 1 inch (2.5 cm) to this measurement for an overlap.
- Measure Height: Measure the height of the lampshade frame from the top wire to the bottom wire. Add about 1 inch (2.5 cm) to the top and 1 inch (2.5 cm) to the bottom for trimming and folding. This gives you a total height measurement.
- Cut the Fabric: Lay your fabric flat, wrong side up. Using your measurements, cut a rectangular piece of fabric. The width of the rectangle should be your measured circumference plus overlap, and the height should be your measured height plus top and bottom allowances.
Tip: It’s always better to cut slightly larger than you think you need. You can always trim excess fabric, but you can’t add more if it’s too short!
Step 3: Apply Fabric to the Frame (Method 1: Gluing Directly)
This method involves gluing the fabric directly onto the lampshade frame wires. It’s straightforward and works well for many shade types.
- Start Gluing: Lay your fabric rectangle flat, wrong side up. Take your lampshade and position it near one of the vertical edges of your fabric rectangle. Apply a thin, even line of fabric glue or spray adhesive along the edge of the fabric that will attach to the frame first.
- Attach First Edge: Carefully wrap the fabric around the lampshade frame, pressing the glued edge firmly onto the frame wire. Work your way around the entire circumference, ensuring the fabric is taut but not stretched out of shape.
- Overlap and Secure: When you reach the starting edge, overlap the fabric by about 1 inch (2.5 cm). Apply glue to the underside of the overlapping edge and press it down firmly onto the fabric underneath. This creates a neat seam.
- Smooth Out Wrinkles: As you go, gently smooth out any wrinkles or bubbles in the fabric. If using spray adhesive, follow the product instructions carefully, ensuring good ventilation.
Step 4: Finish the Top and Bottom Edges
This is where you create a clean, professional finish at the top and bottom of the lampshade.
- Trim Excess Fabric: Once the glue is dry, you’ll have excess fabric extending beyond the top and bottom wires of the frame. Carefully trim this excess, leaving about 1/2 inch (1.25 cm) of fabric.
- Fold and Glue: Apply a thin line of fabric glue to the underside of the remaining 1/2 inch of fabric. Carefully fold this fabric over the top wire and press it down firmly onto the inside of the lampshade. Repeat this process for the bottom wire.
- Secure with Pins (Optional): You can use small straight pins to hold the folded edges in place while the glue dries completely.
Step 5: Add Trim (Optional)
If you want to add a decorative touch, now is the time to add trim, fringe, or ribbon to the top and bottom edges.
- Measure Trim: Measure the circumference of the top and bottom edges of your lampshade.
- Cut Trim: Cut your trim or fringe to the measured lengths.
- Attach Trim: Apply a line of fabric glue or hot glue along the top edge of the lampshade, just above where the fabric meets the wire. Carefully press the trim onto the glue, ensuring it’s straight and evenly spaced. Repeat for the bottom edge.
Tip: For a really neat finish, ensure your trim meets seamlessly. You can overlap the ends slightly and trim them at an angle for a professional look.
Step 6: Let It Dry and Inspect
Allow all the glue to dry completely according to the manufacturer’s instructions. Once dry, inspect your lampshade for any loose edges or imperfections. Make any necessary touch-ups.
Alternative Method: Using a Fabric Panel with Bias Tape
This method is excellent for creating a very smooth finish, especially on drum shades, and often uses bias tape to cover the raw edges of the fabric panel. It’s a bit more involved but yields a professional look.
Materials for Bias Tape Method:
- Lampshade Frame
- Fabric
- Fabric Scissors
- Measuring Tape
- Fabric Glue or Spray Adhesive
- Bias Tape (pre-folded or single-fold, matching your fabric or contrasting)
- Craft Knife or Rotary Cutter
- Straight Pins
- Iron and Ironing Board
- Optional: Cardboard or stiff interfacing for a reinforced seam
Steps for Bias Tape Method:
- Measure and Cut Fabric: Measure your lampshade’s circumference and height as described in Step 2. Cut a fabric rectangle that is the circumference plus a 1-inch (2.5 cm) overlap for the seam, and the height plus 1-inch (2.5 cm) at the top and bottom for folding.
- Prepare the Seam Edge: On one of the vertical edges of your fabric rectangle (this will be your overlap seam), fold over about 1/2 inch (1.25 cm) of fabric and press it flat. Then, fold over another 1/2 inch (1.25 cm) to create a clean, double-folded hem for the seam. You can glue this folded edge down or baste it in place.
- Apply Fabric to Frame: Wrap the fabric around the lampshade frame, starting with the unfolded vertical edge. Apply glue to the frame wires as you go, ensuring the fabric is taut and smooth.
- Secure the Overlap: When you reach the folded seam edge, apply glue to the frame wires and press the folded seam edge onto the frame. Then, apply glue to the inside of the folded seam edge and press it down onto the fabric underneath, creating a neat, encapsulated seam.
- Finish Top and Bottom Edges: Trim excess fabric to about 1/2 inch (1.25 cm) from the top and bottom wires. Fold this allowance over the wires and glue it to the inside of the lampshade, just like in Step 4 of the direct gluing method.
- Apply Bias Tape: This is the key step for a polished finish. Open up one edge of your bias tape. Place the raw edge of the bias tape along the raw edge of the fabric at the top of the lampshade (where it meets the wire). Using fabric glue or a sewing machine, attach the bias tape, encasing the raw edge of the fabric. You can find excellent tutorials on applying bias tape by searching reputable sewing resources like those from Better Homes & Gardens or dedicated sewing blogs.
- Fold and Secure Bias Tape: Once the first side of the bias tape is attached, fold the tape over the wire and onto the inside of the lampshade. Glue or stitch it down for a clean, finished edge. Repeat this process for the bottom edge of the lampshade.
This method provides a very neat and durable finish, especially for drum shades where the top and bottom edges are highly visible.
Tips for a Professional Finish
Even for beginners, a few extra tricks can elevate your lampshade project:
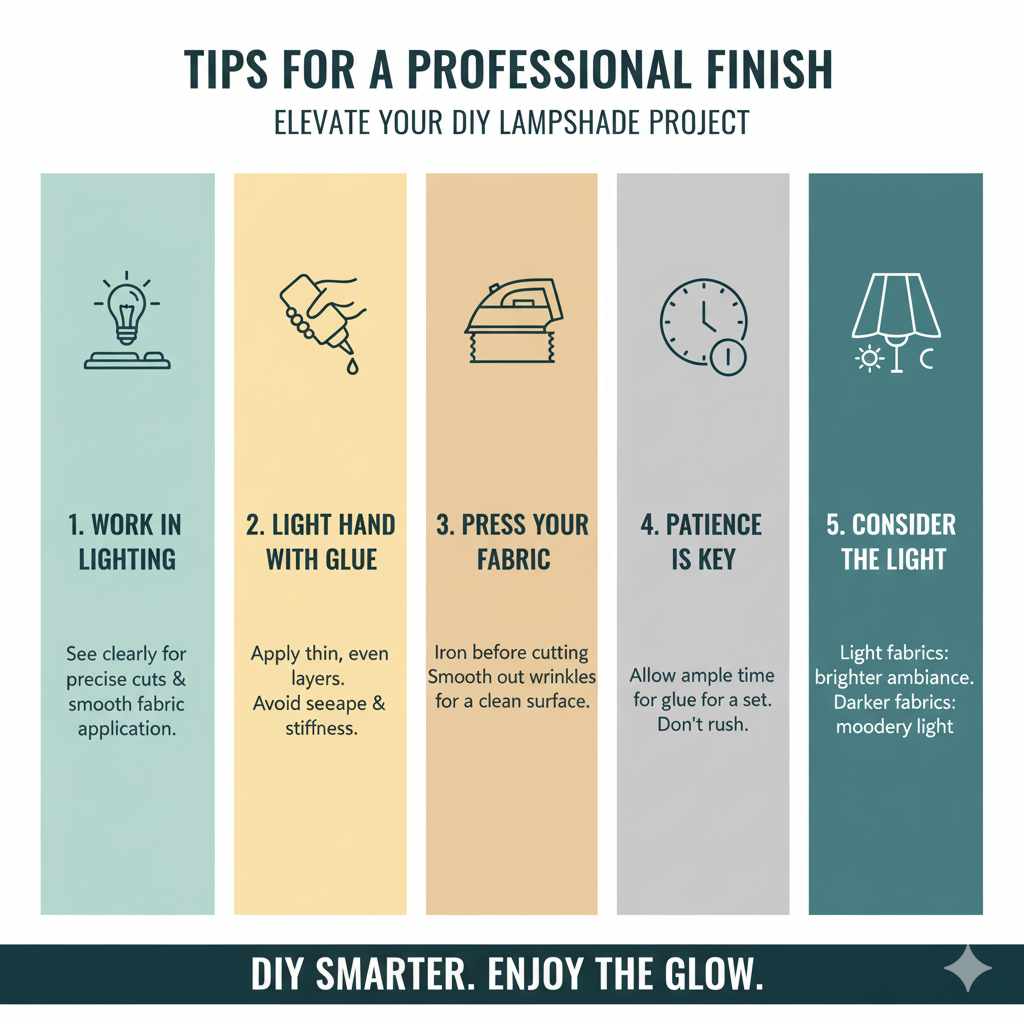
- Work in Good Lighting: Ensure you can see clearly to make precise cuts and smooth out fabric.
- Use a Light Hand with Glue: Too much glue can seep through the fabric or create stiffness. Apply thin, even layers.
- Press Your Fabric: Ironing your fabric before cutting and after applying can help eliminate wrinkles and ensure a smooth surface.
- Patience is Key: Don’t rush the drying process. Allow ample time for glue to set before handling or adding trim.
- Consider the Light: Light-colored or sheer fabrics will allow more light to pass through, creating a brighter ambiance. Darker or thicker fabrics will create a moodier, more subdued light.
Lampshade Covering: Pros and Cons
Like any DIY project, covering your own lampshade has its advantages and disadvantages.
| Pros | Cons |
|---|---|
| Cost-effective compared to buying new. | Can be time-consuming, especially for beginners. |
| Complete creative control over fabric and design. | Requires precision; mistakes can be visible. |
| Reduces waste by upcycling old lampshades. | Finding the perfect fabric can take time. |
| Highly customizable to match existing decor. | Requires some basic crafting skills and tools. |
| Rewarding DIY experience. | Durability might not match professionally manufactured shades. |
Understanding these points can help you decide if this project is the right fit for you and manage your expectations.
FAQ: Covering Your Lampshade
Q1: Can I use any fabric to cover a lampshade?
A1: While you can use many fabrics, it’s best to avoid materials that are too thick, flammable, or overly stretchy. Natural fibers like cotton and linen are excellent choices for beginners.
Q2: How do I ensure the fabric is smooth and wrinkle-free?
A2: Iron your fabric before you start. As you apply it to the frame, gently smooth out any ripples. If you get a bubble, carefully lift the fabric, reapply glue, and smooth it down again.
Q3: What is the best way to attach the fabric to the lampshade frame?
A3: Fabric glue or a strong spray adhesive are generally the easiest and most effective methods for beginners. Ensure you apply a thin, even layer.
Q4: How much fabric do I need?
A4: Measure the circumference and height of your lampshade frame. Add about 1 inch (2.5 cm) to the circumference for overlap and about 2 inches (5 cm) to the height for finishing the top and bottom edges.
Q5: How do I finish the raw edges at the top and bottom of the lampshade?
A5: Trim the excess fabric to about 1/2 inch (1.25 cm) from the top and bottom wires. Fold this allowance over the wires and glue it to the inside of the lampshade for a clean finish. You can also use bias tape for a very professional look.
Q6: Is it safe to cover a lampshade with fabric?
A6: Yes, it is safe as long as you use fabrics that are not highly flammable and keep them a safe distance from the light bulb. Consider using LED bulbs, which generate less heat than incandescent bulbs. Always ensure your fabric meets safety standards, and refer to resources like the National Fire Protection Association (NFPA) for general lighting safety guidelines.
Conclusion
There you have it! Covering a lampshade with fabric is a wonderfully accessible DIY project that can breathe new life into your home decor. By following these steps, choosing the right materials, and taking your time, you can create beautiful, custom lampshades that perfectly suit your style and space. Whether you’re aiming for a cozy ambiance with velvet or a bright, airy feel with cotton, the process is manageable and incredibly satisfying. Don’t hesitate to experiment with different fabrics and trims to make each shade uniquely yours. Happy crafting!