How to Fit Recessed Lights: Step-by-Step Guide
Imagine transforming your living space with sleek, modern lighting that adds both style and functionality. Recessed lights, often referred to as can lights or downlights, are perfect for achieving that clean look while providing excellent illumination.
Whether you’re upgrading your home or simply wanting to enhance its ambiance, learning how to fit recessed lights can be your secret weapon. You might be wondering where to start or if this is a task you can tackle yourself.
The good news is that fitting recessed lights can be straightforward and rewarding, even for beginners. With the right guidance, you’ll not only enhance your home’s aesthetic but also create a warm and inviting atmosphere that friends and family will admire. By the end of this article, you’ll have the confidence to install your own recessed lights, adding a touch of elegance and practicality to your space. Let’s dive into the steps and tips to ensure your lighting project is a shining success.

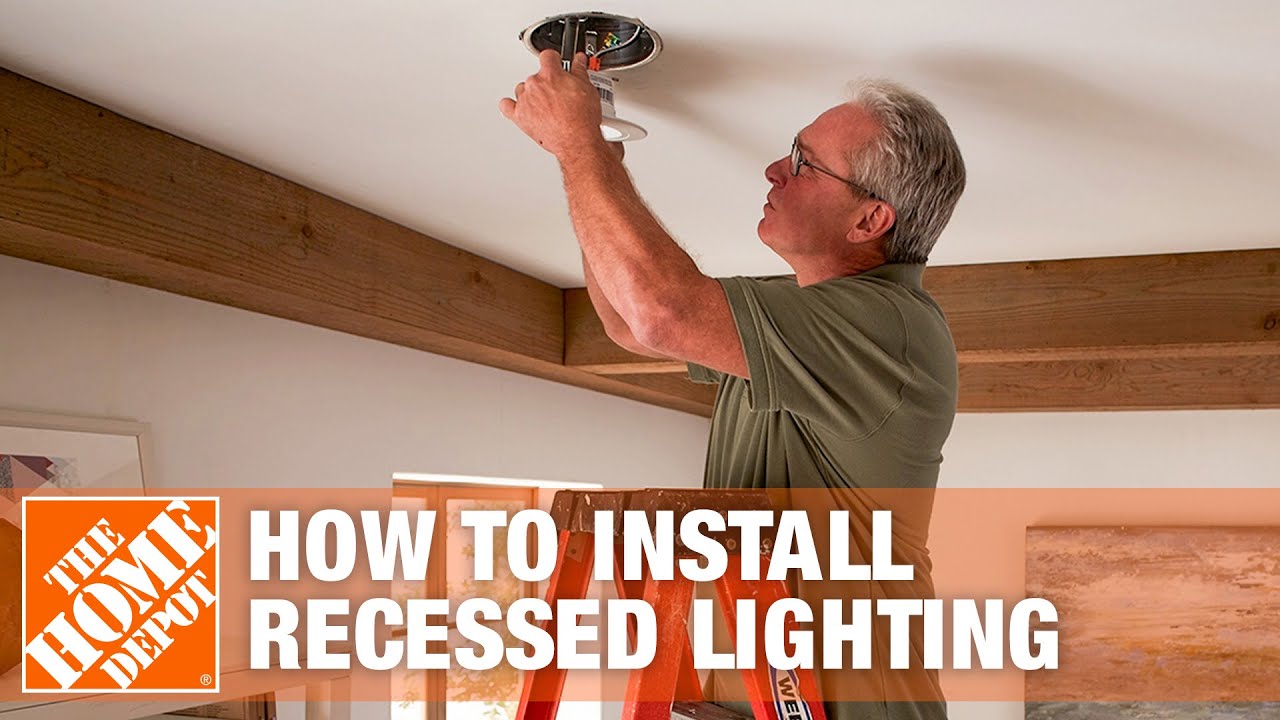
Credit: www.youtube.com
Planning Your Layout
Spacing is key when fitting recessed lights. Measure your room first. Identify areas that need more light. Like reading corners or workspaces. Keep lights at least 3 feet from walls. This prevents shadows. Balance is important. Ensure even light distribution.
Decide where each light will go. Start at the center of the room. Work outward. Avoid placing lights too close. This creates harsh spots. Spread them evenly. Consider furniture placement. Lights should not shine directly into eyes.
Count how many lights you need. A small room needs fewer lights. Larger rooms need more. Use one light for every 4 to 6 square feet. This gives good coverage. Check the light’s brightness. Choose the right bulb for your needs.
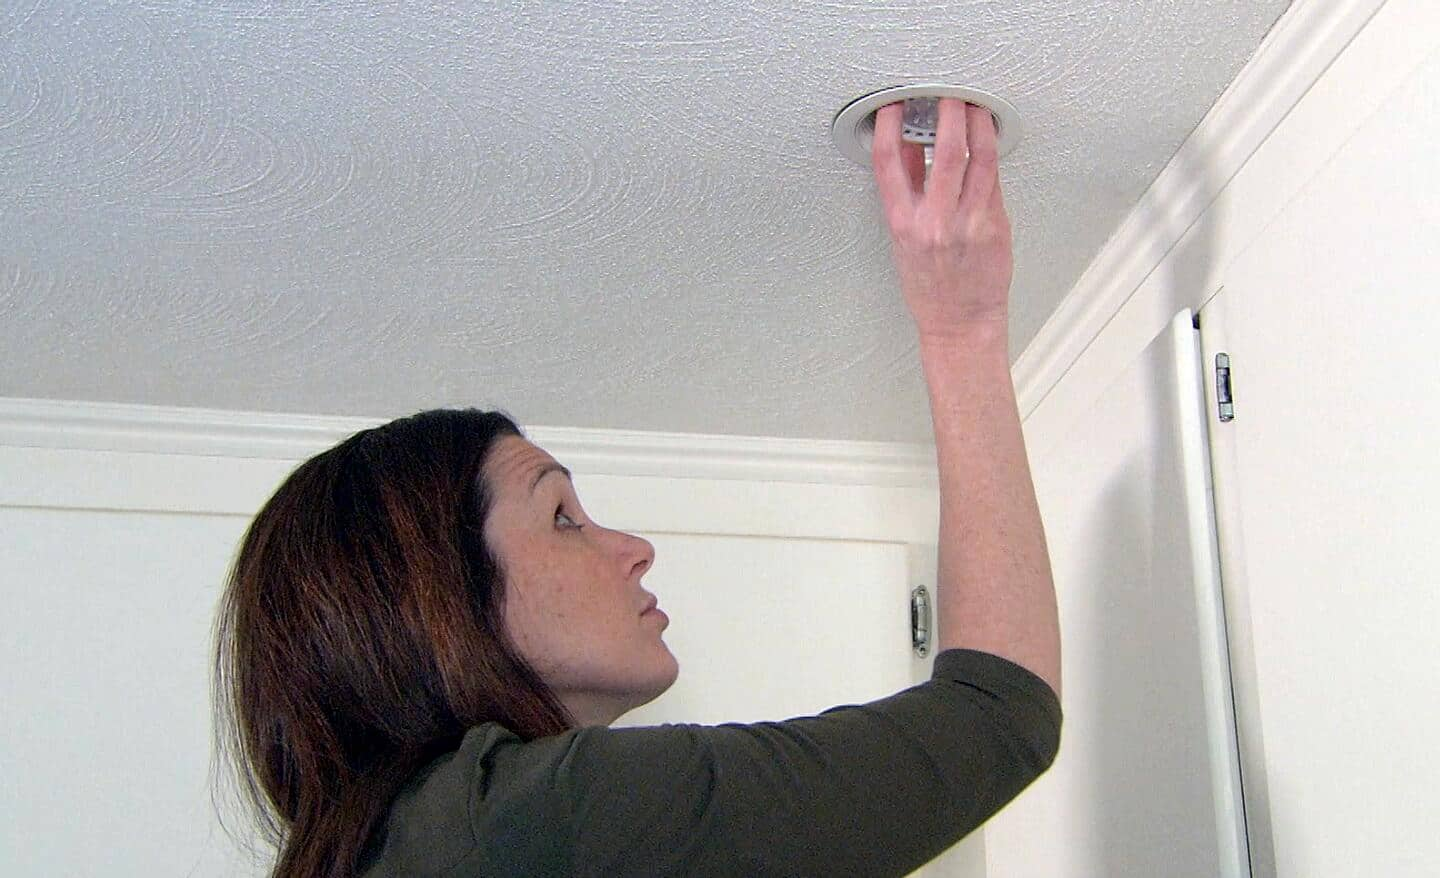
Credit: www.homedepot.com
Choosing The Right Fixtures
Recessed lights come in different styles. Fixed lightspoint in one direction. Adjustable lightscan be moved. Shower lightsare safe for wet places. Each type has its use. Choose based on room needs.
Trim styles change how lights look. Baffle trimReflector trimOpen trimLensed trim
Bulbs affect brightness. LED bulbsHalogen bulbsIncandescent bulbs
Gathering Tools And Materials
A drill is very important. It helps make holes in the ceiling. Use a screwdriver for turning screws. A measuring tape checks the right size for lights. Wire strippers help remove wire covers. Pliers are used for holding and twisting wires. Safety goggles protect your eyes. Gloves keep your hands safe.
Recessed lights are needed for the project. Light bulbs give light to the room. Electrical wires connect the lights to power. Wire nuts keep wires connected. Mounting brackets hold the lights in place. Ceiling tiles might be required if replacing old ones. Insulation protects from heat and noise. Power outlet for plugging in tools.
Preparing The Ceiling
First, decide where you want the lights. Use a pencil to mark the spots. Make sure the spots are even. Use a ruler to help. Measure carefully. Incorrect spots can cause issues later.
Next, check for wires above. Use a stud finder to be sure. Avoid drilling near wires. This is very important for safety. If unsure, ask an electrician.
Drilling Holes
Begin drilling with a small pilot hole. This helps guide the larger drill. Use the right size drill bit. Check your light’s size first. Wear safety goggles. Protect your eyes from dust.
After drilling, clean up debris. Remove dust and wood chips. This keeps the area tidy. Helps with clean installation later.
Installing The Housing
First, cut a hole in the ceiling for the light. Ensure it is the correct size. Place the housing into the hole carefully. Use clips or screws to secure the fixture. Make sure it is tight. Avoid loose fittings. This can cause problems later. Check for stability. The fixture should not move.
Turn off the power at the main switch first. Safety is important. Match the wires correctly. Usually, black to black, white to white, and green to ground. Use wire nuts to connect them. Ensure the connections are tight. Double-check all connections. Loose wires can be dangerous. Turn the power on to test the light. It should work smoothly. If not, check all steps again.
Attaching The Trim
Begin by choosing the right trimfor your recessed lights. Check the size of the trim. It must match the light fixture. Insert the trim into the fixture gently. Ensure it fits snugly. Use clips or springs if needed. They help keep the trim secure.
Ensure the trim aligns well with your ceiling. It should be even and smooth. Adjust if it looks uneven. Choose a trim color that matches your room. This enhances the room’s beauty. Consider the shape of the trim. Round trims are common but square trims add style. Check the light’s brightness once installed. Ensure it suits your space and mood.
Testing The Lights
Begin by ensuring all wires are tightly connected. Loose connections can be dangerous. Check if the light bulb is screwed in properly. This ensures the bulb will light up. Use a voltage tester to check the power. Make sure the tester lights up. If not, there might be a problem with the power source. Always handle wires with care. Safety first.
Turn the light switch on and off. Observe if the light responds well. If the light flickers, check connections again. Flickering could mean a loose wire. Replace the bulb if it’s not working. Sometimes bulbs are faulty. If all is well, the light should stay steady. A steady light means everything is working fine.
Frequently Asked Questions
How Do I Choose The Right Recessed Lights?
Choosing the right recessed lights involves considering room size, ceiling height, and lighting purpose. Opt for LED for energy efficiency. Choose trim styles that match your decor. Check the bulb’s brightness and color temperature to suit your preference. Ensure compatibility with dimmers if adjustable lighting is desired.
Can Recessed Lights Be Installed In Any Ceiling?
Recessed lights can be installed in most ceilings, but not all. Ensure your ceiling has enough depth for housing. Avoid installing in ceilings with insulation unless using IC-rated fixtures. Check for obstructions, like pipes or wires, before installation. Consult a professional for non-standard ceilings, such as vaulted or concrete.
What Tools Are Needed For Recessed Light Installation?
You’ll need a drill, hole saw, and wire cutters for installation. A screwdriver, measuring tape, and voltage tester are essential. Ensure you have wire connectors and a ladder for safety. Consider hiring an electrician if unfamiliar with electrical work. Proper tools ensure efficient and safe installation.
How Far Apart Should Recessed Lights Be?
Space recessed lights about 4 to 6 feet apart for optimal lighting. Consider room size and ceiling height when deciding. Avoid placing lights too close to walls to prevent shadows. Adjust spacing for specific lighting needs, like task or accent lighting.
Proper placement enhances light distribution and aesthetics.
Conclusion
Fitting recessed lights can seem challenging, but it’s manageable with guidance. Start by gathering all necessary tools and materials. Follow each step carefully for safe installation. Measure your space accurately to ensure a perfect fit. Always turn off the power before starting.
This prevents accidents and ensures safety. Secure the lights properly for long-lasting use. Test the lights to confirm they work correctly. Enjoy the new ambiance in your room. Remember, practice makes perfect, and patience is key. You can do it! With some effort and care, your space will look brighter and more modern.