How to Fix Chipped Wood (Filler vs. Epoxy: Which to Use)
To fix chipped wood, clean the area, remove any loose pieces, then fill the chip with wood filler (small chips) or two-part epoxy (larger chips) and let it cure fully.
Wood filler handles small, cosmetic chips — anything under about 1/8 inch — while two-part epoxy is the better call for larger chips or spots exposed to moisture, since it cures harder and won’t shrink or crack the way filler can on bigger repairs. Picking the wrong one means redoing the patch within a year. This guide covers identifying the damage, filling and reattaching chips, matching the color, and preventing new chips.
Insert your Affiliate Disclosure reusable block here.

Understanding The Damage
Identifying the type of wood damage and assessing how severe the chip is are the two things that decide which repair method — and which product — actually works. Here’s how to tell them apart.
Identifying The Types Of Wood Damage
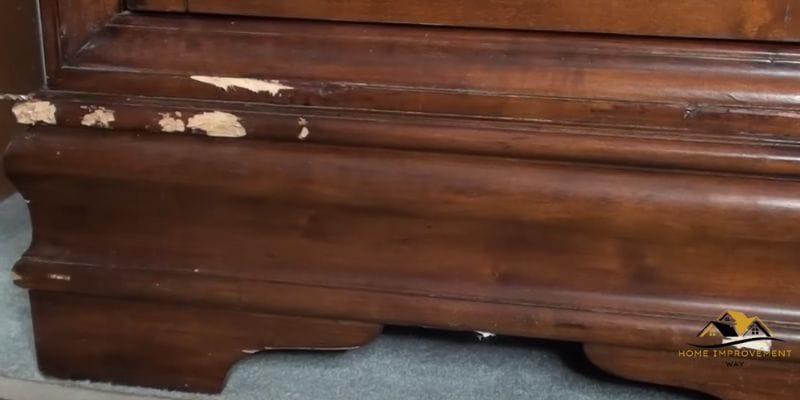
Wood can suffer from a few distinct types of damage, and each needs a different fix:
- Chipped edge: A small piece of the wood’s edge has broken off, leaving a visible gap — usually from an impact.
- Surface scratch: A shallow mark caused by a sharp object or friction. Cosmetic only, and the easiest to fix.
- Deep gouge: A significant chunk of wood is missing, leaving a noticeable groove or depression. This needs a more substantial repair, often epoxy or a wood patch.
Assessing The Severity Of The Chip
Once you know the damage type, measure it before choosing a repair method:
- Size: Measure the chip’s length, width, and depth — this decides whether filler or epoxy is the right call.
- Location: A chip on a visible tabletop needs a closer color match than one on the underside of a shelf.
- Structural integrity: If the chip weakens a joint or load-bearing edge, treat it as a structural repair, not just cosmetic.
| Repair Material | Best Chip Size | Cure Type | Best For |
|---|---|---|---|
| Wood filler (single-part) | Under 1/8 inch | Dries by evaporation, 30 min–6 hrs | Small cosmetic chips, nail holes, interior furniture |
| Two-part epoxy | 1/8 inch and larger | Chemical cure, hardens within an hour | Structural chips, exterior wood, moisture-exposed spots |
| Wax fill sticks | Hairline scratches only | No cure — disguises, doesn’t fill | Quick touch-ups, not real chips |
DIY Solutions For Fixing Chipped Wood
Chipped wood is a real eyesore, but most repairs come down to three approaches: using wood filler, reattaching a splintered or detached piece, or replacing the damaged section with new wood entirely.
Using Wood Filler To Repair Small Chips
For chips under about 1/8 inch, wood filler is the simple, cost-effective fix:
- Clean the damaged area first so no dirt or debris gets sealed under the filler.
- Using a putty knife, press the filler into the chip until it’s level with the surrounding surface.
- Let the filler dry completely per the manufacturer’s instructions before sanding.
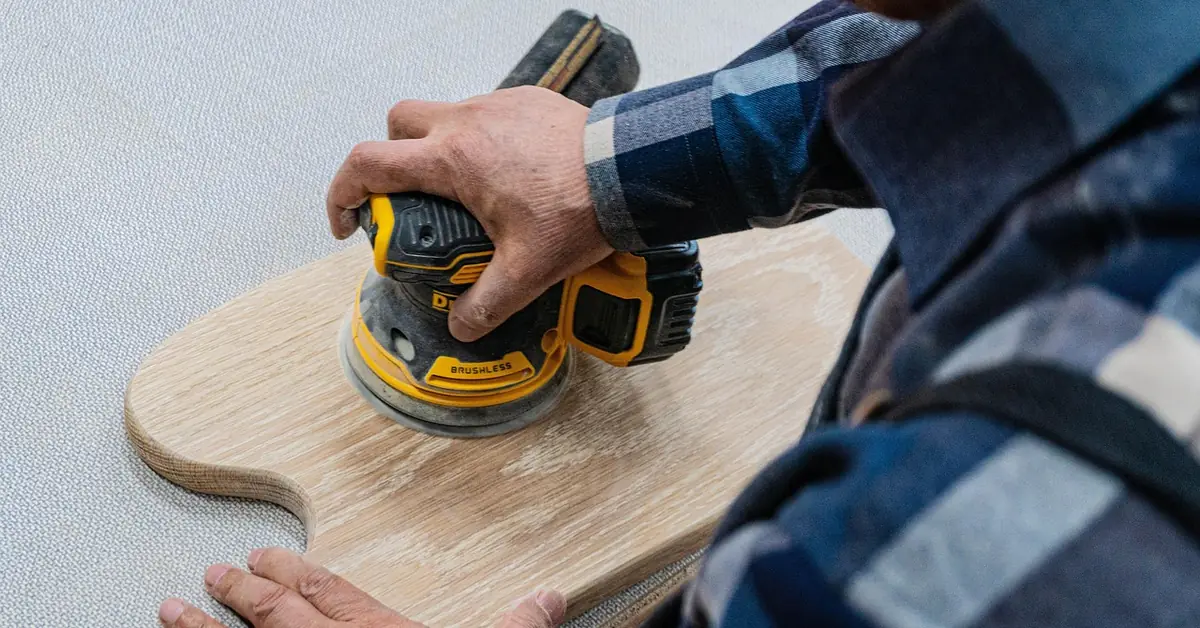
- Sand with 120-grit to shape it, then 150-grit to smooth it, and finish with 400-grit before staining — feathering the edges so the patch blends into the surrounding wood. See our guide on using sandpaper to work a wood finish by hand for more on grit progression.
- Apply a matching stain or paint to blend the repair with the rest of the surface.
Reattaching Splintered Or Detached Pieces
If you still have the piece that broke off, gluing it back is faster and blends better than any filler. See our full comparison of Elmer’s glue vs. wood glue before you pick one — a dedicated wood glue holds up better under stress than a household all-purpose glue.
- Gather all the loose pieces and confirm they still fit together cleanly before gluing.
- Apply wood glue to both the chipped area and the piece being reattached.
- Press the pieces together firmly, aligning the grain exactly.
- Clamp or weight the pieces in place while the glue cures — typically several hours, per the glue’s instructions.
- Once fully dry, sand any rough edges and finish with stain or paint to match the surrounding wood.
Replacing The Damaged Section With New Wood
If the chip is too large to fill or the piece is gone for good, cutting out the damaged section and fitting in new wood — sometimes called a Dutchman patch — is the most durable option:
- Measure and mark the area that needs replacing, keeping the cut lines square.
- Cut out the damaged section carefully along the marked lines.
- Prepare a replacement piece that matches the type and grain direction of the original wood, not just its color.
- Fit the replacement into the gap, checking for a snug, glue-tight fit.
- Secure the new wood with glue and, where needed, nails or screws.
- Sand the edges flush so the transition is seamless.
- Finish the repaired area with stain or paint to match the rest of the piece.
Best Chipped Wood Repair Kit Pick
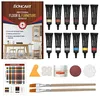
Boncart Wood Furniture Repair Kit, 12 Colors – $17.86
Twelve mixable colors cover the color-matching step this guide walks through, so you’re not stuck with one shade of filler for every repair.
- Best for: small to medium cosmetic chips on furniture, cabinets, and trim
- Why we picked it: the 12-color mixing system matches the guide’s color-matching step
- Main drawback: not rated for exterior or moisture-exposed repairs — use epoxy there instead
Compare more chipped-wood repair options
 Option 1 Gorilla All Purpose Wood Filler Kit – $11.97
|
 Option 2 Weiman Wood Repair System Kit, Sticks + Markers – $9.99
|
 Option 3 SEISSO Wood Furniture Repair Kit, 12 Colors – $20.89
|
As an Amazon Associate we earn from qualifying purchases.
📊 Wood filler is best suited to chips smaller than about 1/8 inch — larger repairs shrink or crack over time and hold up better with a two-part epoxy instead. — Source: wood-repair product testing summarized by TouchUp.com and The Craftsman Blog, 2026
“When choosing wood to make a Dutchman patch, match the grain, not the stain — you can always adjust the color with stain or dye, but you can’t change how the grain runs.”
— This Old House, How to Patch a Chipped Wood Floor
Professional Restoration Options
If you’re not confident in your own DIY skills, or the damage is extensive, a professional restoration is worth the cost. Two main options exist: hiring a skilled woodworker, or using a full furniture refinishing service.
Seeking Help From A Skilled Woodworker
A skilled woodworker can assess the severity of the damage and recommend the right repair method — fillers and putties for smaller chips, color-matched to blend with the surrounding wood, or a full section replacement for larger damage, with precise measuring, cutting, and shaping to get a clean fit.
Considering Furniture Refinishing Services
If the piece needs more than a spot repair, a refinishing service strips the old finish, sands the surface, and applies a fresh coat of stain or paint — fixing the chip and updating the look at the same time. Refinishing works on solid wood furniture; if you’re dealing with engineered flooring instead of furniture, the process differs — see our guide on whether you can refinish engineered hardwood floors before assuming the same approach applies.
Preventive Measures To Avoid Future Damage
A few habits go a long way toward keeping wood furniture chip-free:
Applying Protective Coatings
Varnish, lacquer, and polyurethane all act as a barrier between the wood and everyday impacts. Clean the surface and sand it lightly before applying any coating so it bonds evenly.
Using Furniture Pads And Covers
Pads under furniture legs stop them from scratching or chipping against the floor. Use covers or padding any time you’re moving furniture to prevent accidental impacts.
Proper Handling And Maintenance
Lift and carry furniture instead of dragging it — dragging is one of the most common causes of chipped edges and corners. Use protective mats or coasters under heavy objects, and dust and clean wooden furniture regularly with a mild cleaner to keep the finish intact.
Frequently Asked Questions
What’s the Difference Between Wood Filler and Epoxy for a Chip?
Wood filler is a single-part paste that dries by evaporation and works best on cosmetic chips under about 1/8 inch. Epoxy is a two-part system that cures through a chemical reaction, dries harder, and holds up better on larger or moisture-exposed repairs.
Can You Reattach the Original Chipped Piece Instead of Using Filler?
Yes, if you still have it. Apply wood glue to both the chip and the piece, press them together with the grain aligned, and clamp until cured. A reattached original piece almost always blends better than any filler or stain match.
How Long Does Wood Filler Need to Dry Before Sanding?
Most wood fillers need 30 minutes to 6 hours before sanding, depending on the product and the size of the fill. Always check the manufacturer’s instructions, since a larger repair takes longer to dry all the way through.
What Grit Sandpaper Should You Use to Smooth a Wood Repair?
Start with 120-grit to shape the dried filler, move to 150-grit to smooth it, and finish with 400-grit before staining or finishing. Sanding progressively like this feathers the edges so the patch blends into the surrounding wood.
Can You Stain Over Wood Filler?
Most wood fillers accept stain, but they often absorb it differently than the surrounding wood, which can leave a visible color mismatch. Test the stain on a scrap of filler first, or use a pre-tinted filler that already matches your wood.
What Is a Dutchman Patch?
A Dutchman patch is a woodworking repair where you cut out the damaged section entirely and glue in a new, matching piece of wood. It’s the most durable fix for chips too large for filler or epoxy to handle.
Conclusion
Fixing chipped wood comes down to matching the repair to the damage: wood filler for small cosmetic chips under 1/8 inch, epoxy for anything bigger or exposed to moisture, and a glued-back original piece or a Dutchman patch when the damage is too large for either. Clean the area, sand progressively from 120 to 400 grit, and match the finish before calling it done.
A little prevention — furniture pads, careful lifting, and a protective coating — goes a long way toward making sure you don’t need to do this again anytime soon.
Sponsored / affiliate links. As an Amazon Associate I earn from qualifying purchases. I may earn additional commission from eligible campaigns.