How to Quickly Fix a Dent in the Wall: Expert Tips
To fix a dent in the wall, apply a spackle to the damaged area and smooth it with a putty knife. Then, sand the surface until it is even and repaint if necessary.
This simple process will restore your wall to its original condition in no time. Dents in walls can be unsightly and annoying, but fortunately, they can be easily fixed with a few simple steps. Whether the dent is caused by accidental collisions, furniture bumps, or other mishaps, taking care of it doesn’t have to be a hassle.
We will guide you through the process of fixing a dent in the wall, providing you with an effective solution that requires minimal effort and tools. By following the instructions below, you’ll be able to restore your wall’s smoothness and aesthetics, ensuring that it seamlessly blends with the rest of your room’s decor. So let’s get started and say goodbye to that unsightly wall dent once and for all.
Understanding The Dent
Fixing a dent in the wall is easier than you may think. With simple tools and techniques, you can restore your wall to its original condition.
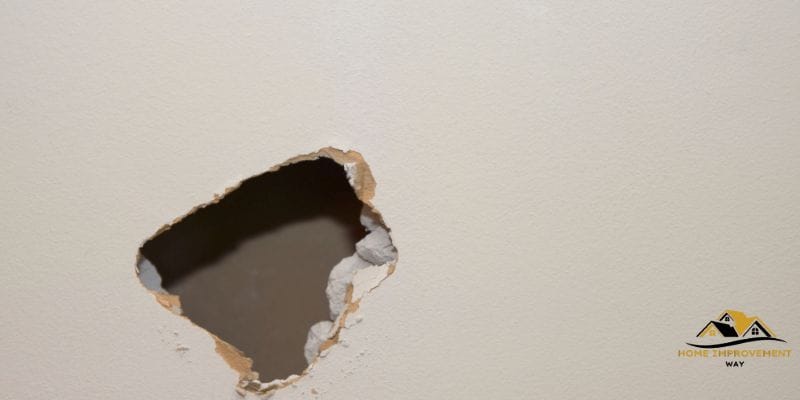
When it comes to fixing a dent in the wall, it’s crucial to have a good understanding of the problem at hand. By correctly identifying the type of dent, determining the severity of the damage, and preparing the wall for repair, you can effectively restore your wall to its former glory. In this section, we will delve into each of these steps in detail, equipping you with the knowledge necessary to tackle this common household issue.
Identifying the Type of Dent
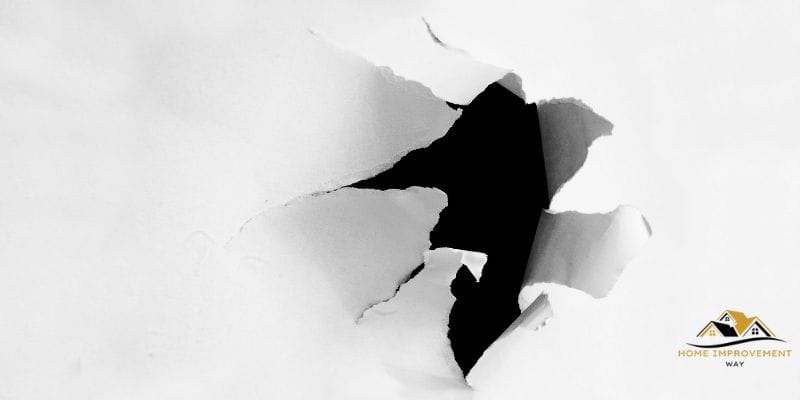
To effectively fix a dent in your wall, it is important to first identify the type of dent you are dealing with. Understanding the nature of the dent will guide you in choosing the appropriate repair method. There are three common types of dents: small and shallow dents, medium-sized dents, and large or deep dents.
Determining the Severity of the Damage
Once you have identified the type of dent, the next step is determining the severity of the damage. This assessment will help you decide whether a simple DIY fix or professional intervention is required. In general, minor surface dents that do not affect the structural integrity of the wall can be easily repaired at home. However, for larger or more significant dents that may involve structural damage, it is advisable to seek professional assistance.
Preparing the Wall for Repair
Before you begin repairing the dent, it is essential to prepare the wall properly. This step ensures that the repair materials adhere well to the wall surface and that the finished result is seamless. To prepare the wall, follow these simple steps:
1. Clean the area around the dent: Use a damp cloth or sponge to remove any dust, debris, or loose paint from the affected area. This will help the repair material to bond effectively.
2. Sand the surface: Gently sand the area around the dent using fine-grit sandpaper. This will create a smooth surface and remove any rough edges.
3. Fill any holes or cracks: If the dent has caused any holes or cracks in the wall, carefully fill them with spackle or joint compound. Smooth the surface using a putty knife, and allow it to dry completely.
4. Prime the repaired area: Apply a coat of primer to the repaired area. This will ensure that the paint adheres properly and creates a uniform finish.
By following these steps and understanding the dent you are dealing with, you will be well-prepared to fix any dents in your wall. Remember, smaller dents can usually be easily repaired at home, while larger or more severe damage may require professional help. Now that you’ve grasped the basics, let’s move on to the next section and explore the different repair methods available.
Fixing Minor Dents
This article provides a quick and easy guide to fixing minor dents in walls. With simple techniques and tools, you can repair the dent and restore your wall to its original condition.
Minor dents on your walls can be a frustrating eyesore. Luckily, there are several simple and effective methods to fix them. In this section, we will explore two popular techniques: using a hair dryer and compressed air and applying heat and pressure. These methods can help you restore the smooth and pristine appearance of your walls with minimal effort and cost.
Using A Hair Dryer And Compressed Air
If you have a minor dent, one of the easiest ways to fix it is by using a hair dryer and compressed air. Here’s how:
- Start by cleaning the dent and the surrounding area to remove any dirt or debris. This will ensure a smooth and seamless repair.
- Position the hair dryer a few inches away from the dent and set it on high heat. Gradually move the dryer in a circular motion around the dent for about a minute. The heat will expand the wall material, making it easier to manipulate.
- Next, grab a can of compressed air, typically used for cleaning electronics. Hold the can upside down and spray the compressed air onto the dent. The cold air rapidly cools the wall material, causing it to contract and pop back into place.
- Repeat the process if necessary, but be cautious not to overheat the area or damage the paint finish.
This method is particularly effective for small and shallow dents. However, for deeper dents, you may need to explore alternative methods.
Applying Heat And Pressure
If the hair dryer and compressed air technique don’t fully fix the dent, you can try applying heat and pressure. Follow these steps:
- Again, start by cleaning the dent and the surrounding area.
- Using a clean cloth or towel, moisten it with warm water. Gently rub the cloth over the dent, applying moderate pressure. The heat and moisture will soften the wall material, making it more susceptible to manipulation.
- After a few minutes of gentle rubbing, switch to a hairdryer set on high heat. This will further soften the wall material and make it more pliable.
- While the area is still warm, use your fingers or a clean cloth to carefully push the dent back into place. Apply firm but gentle pressure until the dent is no longer visible.
- Allow the wall to cool before inspecting the repair. Repeat the process if needed, until the dent is completely fixed.
Remember, this method works best for slightly deeper dents. For more severe damage, you may need to consult a professional or consider other repair options.
Repairing Major Dents
Repairing major dents in the wall is a simple process that can be done by following a few steps. Start by assessing the extent of the dent, then gather the necessary tools and materials. Next, prepare the area and fill the dent with putty or spackling compound.
Smooth out the surface with sandpaper, and finally, prime and paint the repaired area for a seamless finish. With a little time and effort, your wall will be dent-free in no time.
When it comes to fixing major dents in a wall, there are a few specific steps you can take to ensure a successful repair. In this section, we will discuss two crucial techniques: using a stud finder and cutout tool, as well as replacing the damaged section of drywall. Finally, we will cover the finishing touch: applying joint compound and sanding the surface.
Using a Stud Finder and Cutout Tool
Firstly, it is important to locate the studs in your wall before making any repairs. This will ensure that you have a solid surface to attach the new drywall to. To easily find the studs without damaging the wall, use a stud finder.
Once the studs are marked, you can proceed to cut out the damaged section of drywall using a cutout tool. Be sure to cut along the lines you have marked, making straight and clean cuts. This will make it easier to replace the damaged section with a new piece of drywall.
Replacing the Damaged Section of Drywall
Now that you have removed the damaged portion of the wall, it is time to replace it with a new section of drywall. Measure the dimensions of the opening and cut a new piece of drywall to fit using a utility knife. Ensure that the new piece fits snugly into the opening.
Next, attach the new piece of drywall to the studs using drywall screws. Place the screws about 12 inches apart along the edges of the new drywall. This will secure the new section in place, creating a seamless and sturdy repair.
Finishing the Surface with Joint Compound and Sanding
To achieve a smooth and even finish, apply joint compound to the seams and screw holes using a putty knife. Make sure to spread the compound evenly and remove any excess. Allow the compound to dry completely, usually overnight.
Once the joint compound is dry, use sandpaper to sand the surface until it is smooth and level. Be careful not to sand too aggressively, as this can damage the wall. A fine-grit sandpaper is recommended for achieving the best results.
In conclusion, repairing major dents in a wall requires precision and attention to detail. By using a stud finder and cutout tool to remove the damaged section and replace it with new drywall, you can ensure a sturdy repair. Finishing the surface with joint compound and sanding will leave your wall looking seamless and ready for a fresh coat of paint. Follow these steps carefully, and you’ll be able to tackle any major dent with confidence.
Conclusion
To sum up, fixing a dent in the wall is a manageable task that can be accomplished with some simple steps. By preparing the area, filling the dent with spackle, sanding it down, and applying paint, you can restore your wall to its original condition.
Remember to take your time and be patient throughout the process. With these easy-to-follow instructions, you’ll have your wall looking as good as new in no time!