How to Fix a Leaky Shower Faucet: DIY Guide
A leaky shower faucet can be more than just an annoying drip—it can lead to higher water bills and even water damage in your bathroom. But don’t worry, you don’t need to be a plumbing expert to tackle this issue.
In fact, fixing a leaky shower faucet can be straightforward and rewarding. Imagine saving money, conserving water, and enjoying peace of mind knowing your bathroom is in top shape. Are you ready to learn how? In this guide, we’ll walk you through simple steps to stop that drip for good.
You’ll discover how easy it is to fix the problem yourself and regain control over your bathroom. Let’s dive in and transform that pesky leak into a satisfying DIY victory. Your shower deserves it, and so do you!
Tools And Materials Needed
A wrenchis essential to tighten loose parts. A screwdriverhelps remove screws. Plumber’s tapestops leaks in threaded connections. A replacement washersor O-ringsmight be needed. Cleaning clothswipe away grime and dirt. A small bucketcatches water drips. Lubricanteases stuck parts. Sealantprevents leaks around edges. Safety glassesprotect eyes from debris.
Ensure all tools are nearby. Gather all needed materials before starting. This saves time and effort. Fixing a shower faucet is easier with the right tools.
Credit: www.homedepot.com
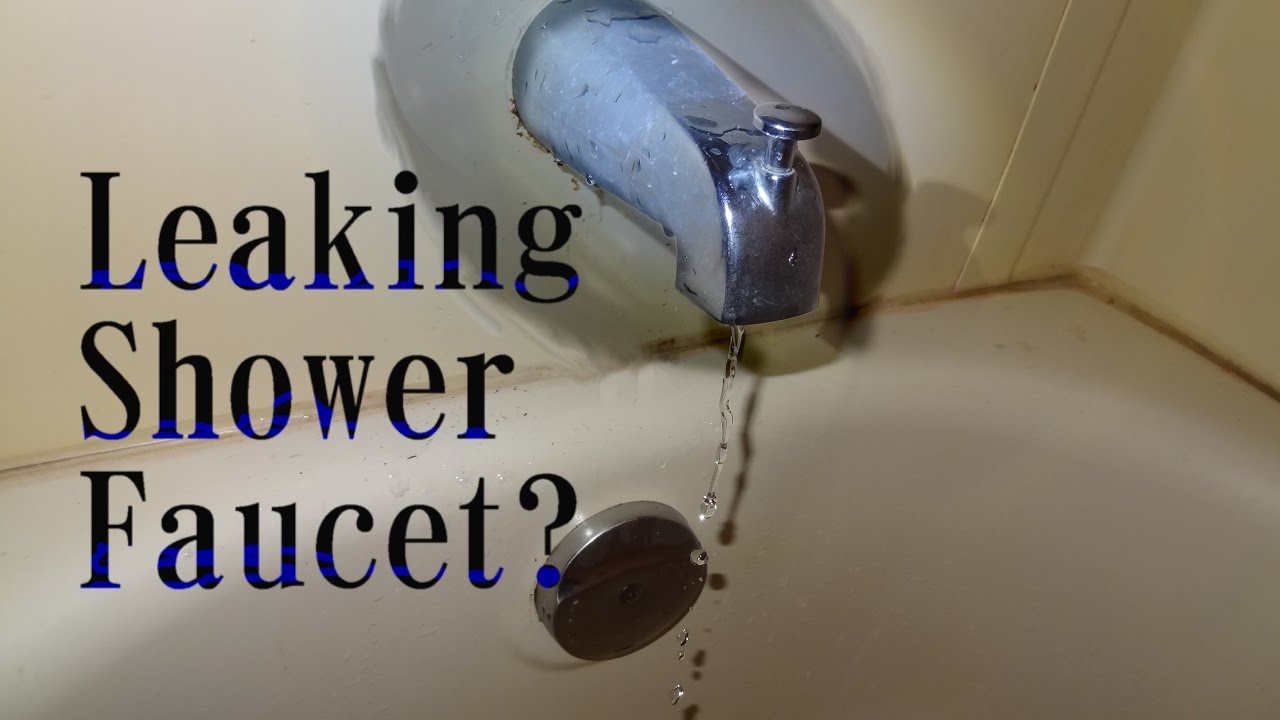
Identifying The Source Of The Leak
A leaky shower faucet can waste water. Worn-out washers are a common reason. Old seals may cause drips. Mineral deposits can harm parts over time. Loose connections might lead to leaks too. Cracks in the valve are another cause. Each issue needs a special fix.
A faulty washer can cause water to drip. If you hear hissing sounds, it might be the O-ring. Water puddles around the faucet are a clue. Dripping when the shower is off is a sign too. Replacing worn parts can stop leaks. Checking often helps keep everything tight.
Turning Off Water Supply
First, find the shut-off valve for the shower. It might be in the bathroom or a nearby room. Look under the sink or behind a panel. The valve stops water from flowing. Make sure to turn it clockwise to stop the water. Test the faucet to see if water has stopped.
Open the shower faucet to let out any leftover water. This step makes sure pipes are empty. Hold a bucket under the faucet if needed. Wait until water stops dripping. This means pipes are now empty.
Removing The Shower Handle
First, find the screw on the handle. It might hide under a cap. Use a screwdriver to remove it. Turn the screw to the left. Keep the screw safe. You will need it later. Once unscrewed, pull the handle off gently. If it’s stuck, try wiggling it. Be careful not to break it.
Locate the escutcheon plate behind the handle. It covers the wall hole. Some plates have screws. Use a screwdriver to remove them. Turn screws to the left. If there are no screws, twist the plate. Rotate it counterclockwise. Gently pull the plate off. Be careful not to damage the wall. Keep all parts in a safe place.
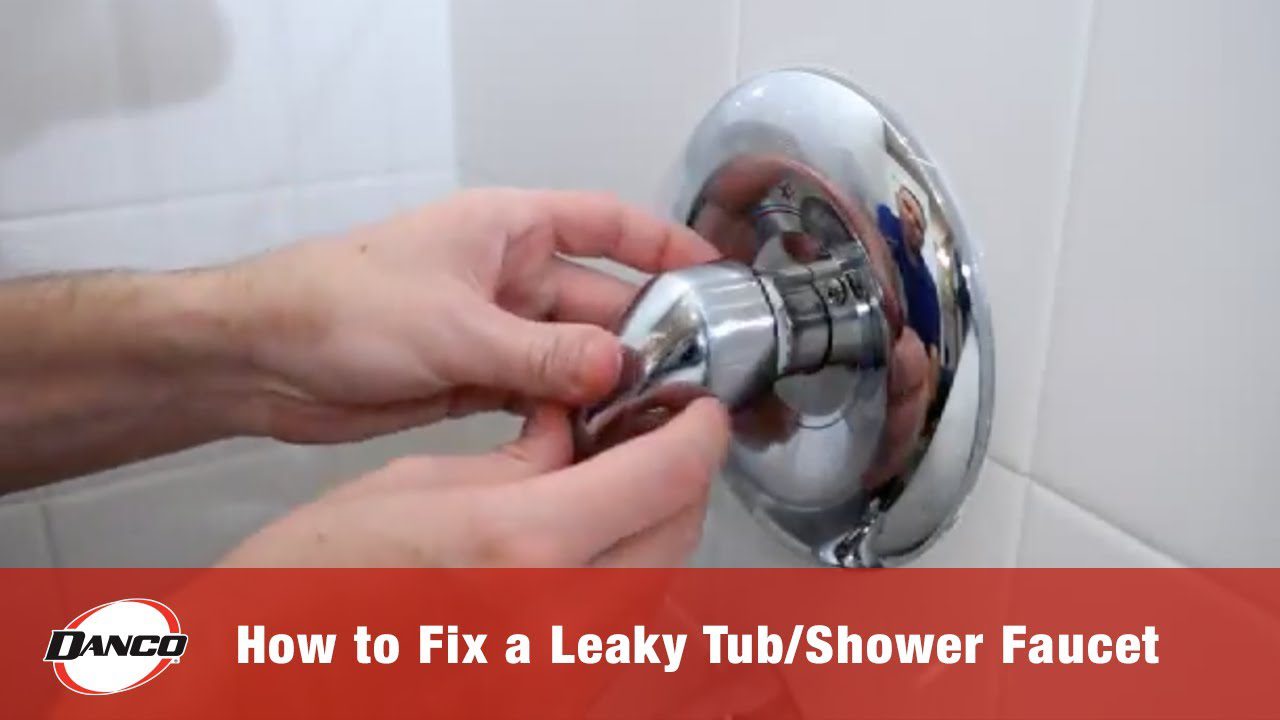
Inspecting And Replacing Parts
Fixing a leaky shower faucet involves inspecting and replacing worn-out parts. Identify the source of the leak by checking the faucet’s cartridge or washer. Replace faulty components to restore proper functionality and prevent water wastage.
Checking The Cartridge
First, turn off the water. This stops leaks. Take off the handle. You will see the cartridge inside. Look for cracks or dirt. Cracks mean you need a new cartridge. Clean dirt with a soft brush. Put the handle back carefully. Test by turning the water on again. Check if the leak stops.
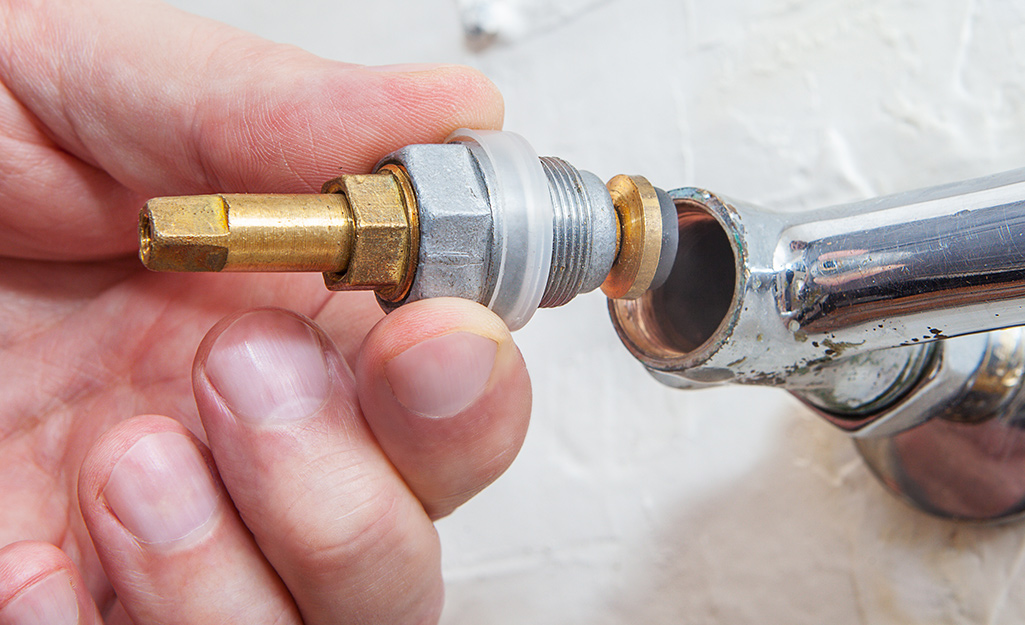
Replacing Washers And O-rings
Turn off the water again. Remove the faucet handle. Find the washers and O-rings. They are small and round. Look for worn-out washers. Worn washers cause leaks. Replace with new ones. Check O-rings for damage. Damaged O-rings need replacement. Put everything back in place. Turn the water on to test. The leak should be gone.
Credit: www.youtube.com
Reassembling The Faucet
Start by placing the faucet handle on the stem. Ensure it fits snugly. Tighten the screw to secure the handle. Use a screwdriver for this step. Make sure the screw is tight but not too tight. This will prevent damage to the handle.
Securing The Handle
Attach the handle cap back in place. Press it firmly until it clicks. The cap hides the screw and gives a clean look. Double-check the handle’s tightness. It should not wobble or feel loose. If it does, tighten the screw again.
Testing For Leaks
Turn the water supply back on. Check if there are any leaks. Look under the sink and around the faucet. Dry areas mean no leaks. Wet spots signal a problem. If there are leaks, check the connections again. Make sure they are tight and secure. Repeat the process if necessary.
Additional Tips For Maintenance
Regular inspection of shower faucet parts can prevent leaks. Keep the area dry and clean to avoid corrosion. Replacing worn-out washers and seals early ensures smooth operation.
Preventing Future Leaks
Leaky faucets are annoying. Check your shower faucet every month. Inspect for any signs of wear. Replace old parts quickly. Use silicone grease on rubber seals. This keeps them soft and tight. Keep the water pressure stable. High pressure can cause leaks.
Regular Maintenance Practices
Clean your showerhead once a month. Remove mineral deposits with vinegar. Turn off the faucet gently. Avoid using too much force. Check for any loose parts. Tighten them as needed. Keep a tool kit handy. You might need it for small repairs.

Credit: www.renos4prosandjoes.com
Frequently Asked Questions
How Do I Know If My Shower Faucet Is Leaking?
A leaky shower faucet often drips continuously, even when turned off. You might notice water stains or mold growth. Another sign is an increase in your water bill. Listen for a constant dripping sound, and check for water pooling around the faucet area.
What Tools Do I Need To Fix A Leaky Shower Faucet?
To fix a leaky shower faucet, you’ll need a wrench, screwdriver, and plumber’s tape. A replacement cartridge or washer might also be necessary. Having a utility knife can help in removing old parts. Always ensure you have a towel or bucket to catch any water.
Can A Leaky Faucet Increase My Water Bill?
Yes, a leaky shower faucet can significantly increase your water bill. Even a small drip can waste gallons of water over time. Fixing the leak promptly can save money and conserve water. Regular maintenance checks can help identify leaks early and prevent costly repairs.
Is It Difficult To Fix A Leaky Shower Faucet?
Fixing a leaky shower faucet is generally straightforward for most homeowners. With basic tools and a little patience, you can handle it. Follow step-by-step instructions or watch online tutorials. If you’re unsure, consult a professional to avoid further damage.
Conclusion
Fixing a leaky shower faucet saves time and money. It also reduces water waste. Follow these steps to solve the problem quickly. First, identify the cause of the leak. Then, gather the necessary tools. Next, replace worn-out parts. Finally, test the faucet for any remaining issues.
Regular maintenance helps prevent future leaks. A working shower ensures a pleasant experience. Feel confident in your ability to tackle this task. Enjoy a leak-free shower and peace of mind. Remember, small repairs make a big difference in home upkeep.
Keep your bathroom in top condition.