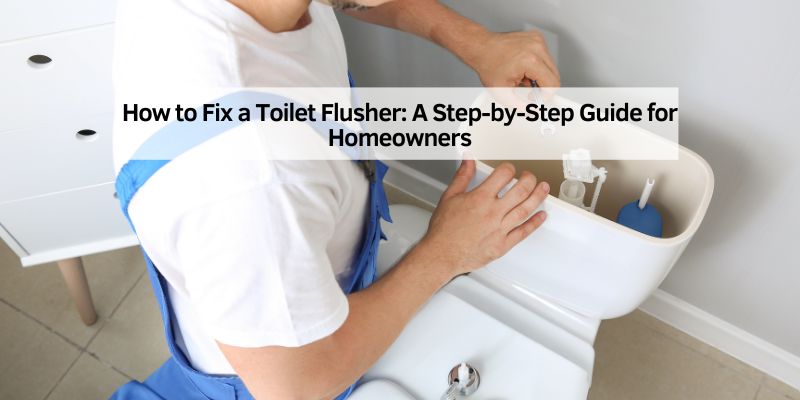
How to Fix a Toilet Flusher: A Step-by-Step Guide for Homeowners
Hey there, friend! If you’re reading this, I’m guessing your toilet flusher is giving you some trouble. Maybe it’s sticking, not flushing properly, or just plain refusing to work. Don’t worry—I’ve been there, and I know how frustrating it can be to deal with a finicky toilet. A broken flusher can turn a simple bathroom trip into a headache, but the good news is that fixing it is often easier than you think. I’ve spent years tinkering with home repairs, and I’ve learned a thing or two about getting a toilet flusher back in working order. In this guide, I’m going to walk you through everything you need to know to fix your toilet flusher, step by step.
Whether you’re a DIY newbie or a seasoned handyman, I’ve got you covered with practical tips, clear explanations, and a sprinkle of encouragement. Let’s dive in and get that toilet flushing like a champ again!
Understanding How a Toilet Flusher Works
Before we grab our tools, let’s take a moment to understand what’s going on inside your toilet tank. The flusher, or flush valve, is the heart of your toilet’s flushing system. When you press the handle, it lifts a chain connected to a flapper or seal, which opens to let water rush from the tank into the bowl. That rush of water creates the flush that clears everything away. Once the tank empties, the flapper closes, and the tank refills with water, ready for the next flush.
Sounds simple, right? But a lot can go wrong. The chain might get tangled, the flapper could wear out, or the handle itself might be loose. Knowing how the system works helps you figure out what’s broken. I remember the first time I popped open my toilet tank—it looked like a jumble of parts! But once you see how it all fits together, it’s like solving a puzzle. Let’s look at the common problems and how to fix them.
Common Toilet Flusher Problems
Toilets are pretty reliable, but the flusher can act up in a few ways. Here are the issues I’ve run into most often:
- The handle sticks or feels loose. You press it, and nothing happens, or it doesn’t spring back.
- The toilet won’t flush completely. The water swirls but doesn’t clear the bowl.
- The flapper doesn’t seal properly. This can cause the toilet to run constantly, wasting water.
- The chain is too tight or too loose. This messes with how the flapper opens and closes.
- The flush valve is worn out. Over time, the whole mechanism can get old and cranky.
Each of these problems has a fix, and most don’t require a plumber. I’ve fixed all of these issues in my own home, and I’m excited to share what I’ve learned. Let’s break it down step by step.
Tools and Materials You’ll Need
Before we start, let’s gather what you’ll need. I like to have everything ready so I’m not running to the hardware store mid-repair. Here’s a quick list:
| Item | Purpose |
|---|---|
| Adjustable wrench | To loosen or tighten nuts and bolts. |
| Screwdriver (flathead or Phillips) | For removing screws on the handle or valve. |
| Replacement flapper | If the old one is worn out. |
| Replacement flush valve kit | For bigger repairs. |
| Cleaning sponge or rag | To clean inside the tank. |
| Gloves (optional) | To keep your hands clean. |
| Bucket | To catch any water spills. |
| Towel | For drying your hands or cleaning up. |
Most of these are probably already in your toolbox. If you need to buy a flapper or flush valve kit, they’re cheap—usually under $20 at any hardware store. I always keep a spare flapper at home because they wear out every few years.
Step-by-Step Guide to Fixing a Toilet Flusher
Alright, let’s get to the fun part—fixing that flusher! I’m going to walk you through the process like we’re standing in your bathroom together. Follow these steps, and you’ll be flushing with pride in no time.
Step 1: Turn Off the Water Supply
First things first, turn off the water to the toilet. The shut-off valve is usually behind the toilet, near the floor. Turn it clockwise until it stops. Then, flush the toilet to empty the tank. This keeps things dry while you work. I learned this the hard way once when I didn’t turn off the water and ended up with a soggy bathroom floor. Trust me, this step is a lifesaver.
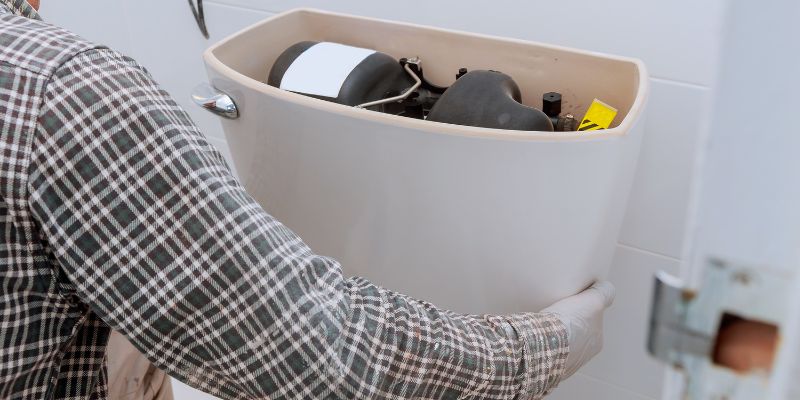
Step 2: Inspect the Handle and Chain
Pop the lid off the tank and take a look at the handle and chain. The handle is connected to a chain that lifts the flapper. If the handle feels loose, wiggle it to see if it’s wobbly. Sometimes, the nut holding the handle in place is loose. Grab your adjustable wrench and tighten it (turn counterclockwise since it’s usually a reverse-threaded nut). If the chain is tangled or too long, it might not lift the flapper properly. Shorten it by hooking it to a closer link or snipping off excess with pliers. I’ve fixed many a flusher just by tweaking the chain length.
Step 3: Check the Flapper
The flapper is that rubber piece at the bottom of the tank. It lifts to let water out and seals to let the tank refill. Over time, it can get warped or cracked, letting water leak into the bowl. Lift it gently with your hand to see if it feels soft or slimy. If it’s worn out, it’s time for a new one. Unhook the old flapper from the chain and the overflow tube, then snap a new one in place. I always make sure the new flapper matches the old one’s size—most hardware stores have universal ones that fit most toilets. This fix is quick and usually costs less than $10.
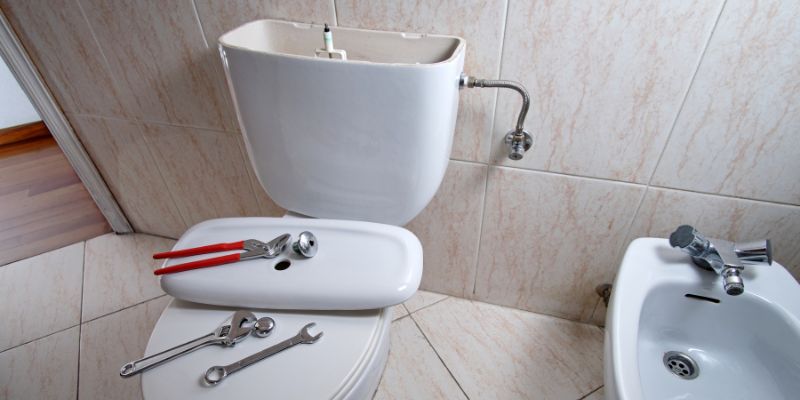
Step 4: Test the Flush Valve
If the handle and flapper are fine, the problem might be the flush valve itself. This is the bigger mechanism the flapper sits on. Check if it’s cracked or if the seal is worn. If it looks rough, you’ll need to replace the whole flush valve. Don’t panic—this sounds harder than it is. A universal flush valve kit comes with clear instructions. You’ll need to unscrew the old valve, remove it, and install the new one. Make sure to follow the kit’s directions for your toilet model. I replaced a flush valve in my guest bathroom last year, and it took about 30 minutes once I got the hang of it.
Step 5: Clean the Tank
While you’re in there, give the tank a quick clean. Mineral deposits or gunk can mess with the flusher’s performance. Use a sponge or rag to wipe down the flapper and valve. If there’s a lot of buildup, pour a cup of white vinegar into the tank and let it sit for an hour before scrubbing. I was amazed at how much better my toilet worked after a good cleaning—it’s like giving it a spa day.
Step 6: Turn the Water Back On and Test
Once everything’s in place, turn the water supply back on by turning the shut-off valve counterclockwise. Let the tank fill up, then flush a few times. Watch the flapper to make sure it opens and closes smoothly. Check for leaks around the base of the flush valve. If the flush is weak, adjust the chain again—it might be too tight or too loose. I always do a few test flushes to make sure everything’s working perfectly before I call it a day.
Troubleshooting Common Issues
Sometimes, the fix isn’t straightforward. Here are a few quirks I’ve run into and how to handle them:
- The toilet still runs after replacing the flapper. Double-check that the flapper seals tightly. If it doesn’t, the overflow tube might be too high, or the flapper might not match your valve. Try a different flapper or adjust the tube height.
- The handle is still loose. If tightening the nut didn’t work, the handle itself might be cracked. Replace it with a new one—most hardware stores sell universal handles for a few bucks.
- The flush is weak. Check the water level in the tank. It should be about an inch below the top of the overflow tube. Adjust the float (the ball or cup that controls water flow) to let more water in.
I’ve had to troubleshoot all of these at some point, and a little patience goes a long way. If you’re stuck, take a break and come back with fresh eyes—it usually clicks.
When to Call a Plumber
Most flusher problems are DIY-friendly, but sometimes you need a pro. If you’ve replaced the flapper and flush valve and the toilet still won’t flush right, there could be a deeper issue, like a clog in the pipes or a problem with the water supply line. I had a toilet that kept running no matter what I tried, and it turned out the supply line was partially blocked. A plumber fixed it in an hour. If you’re not sure, don’t be afraid to call for help—it can save you time and stress.
Preventative Maintenance Tips
Once your flusher is fixed, you’ll want to keep it that way. Here’s what I do to keep my toilets in tip-top shape:
- Check the flapper every six months. If it looks worn, replace it before it causes problems.
- Clean the tank once a year with vinegar to prevent mineral buildup.
- Avoid dropping those blue toilet bowl tablets into the tank—they can corrode the flapper and other parts.
- Don’t flush anything besides toilet paper and waste. Things like wipes or cotton balls can mess with the flush valve.
These little habits have saved me from countless toilet troubles over the years.
Why Fixing Your Toilet Flusher Matters
A broken flusher isn’t just annoying—it can waste a ton of water. A leaky flapper can waste hundreds of gallons a month, jacking up your water bill. Plus, a toilet that doesn’t flush properly can be embarrassing when guests are over. Fixing it yourself saves money and gives you a sense of accomplishment. I still grin every time I flush my toilet and it works perfectly—it’s the little victories, right?
Conclusion
There you go, friend! You’ve got all the know-how to fix your toilet flusher like a pro. From tightening a loose handle to replacing a worn-out flapper, these steps are straightforward and budget-friendly. I’ve been in your shoes, staring into a toilet tank wondering where to start, but with a little patience, you’ll have it sorted in no time. There’s something so satisfying about fixing something yourself, and I hope you feel that same pride when you press that handle and hear a perfect flush. If you run into trouble, don’t stress—troubleshoot, try again, or call a plumber if you need to. Now go tackle that toilet and enjoy the peace of mind that comes with a job well done!
Frequently Asked Questions
Why does my toilet handle stick when I flush?
A sticky handle usually means the chain is too tight or tangled, or the handle’s nut is loose. Check the chain first—make sure it has a bit of slack. If that doesn’t help, tighten the nut inside the tank with an adjustable wrench. I’ve fixed this issue a few times just by tweaking these two things.
How do I know if my flapper needs replacing?
Lift the flapper and feel it. If it’s soft, slimy, or cracked, it’s time for a new one. Also, if your toilet runs constantly or you hear water trickling, the flapper probably isn’t sealing right. Replacing it is cheap and quick—I keep a spare in my toolbox for this exact reason.
Can I fix a weak flush without replacing anything?
Sometimes, yes! Check the water level in the tank—it should be about an inch below the overflow tube. Adjust the float to let more water in. Also, make sure the chain isn’t too tight, as that can stop the flapper from opening fully. I’ve boosted a weak flush just by making these small tweaks.
How long does it take to fix a toilet flusher?
Most fixes take 15-30 minutes. Replacing a flapper is super quick—about 10 minutes. A full flush valve replacement might take closer to an hour if you’re new to it. The first time I did it, it took me a bit longer, but now I can knock it out fast.
Is it safe to clean the toilet tank with vinegar?
Absolutely! Vinegar is great for dissolving mineral deposits without damaging the tank’s parts. Pour a cup in, let it sit for an hour, then scrub with a sponge. I do this every year, and it keeps my toilet running smoothly.