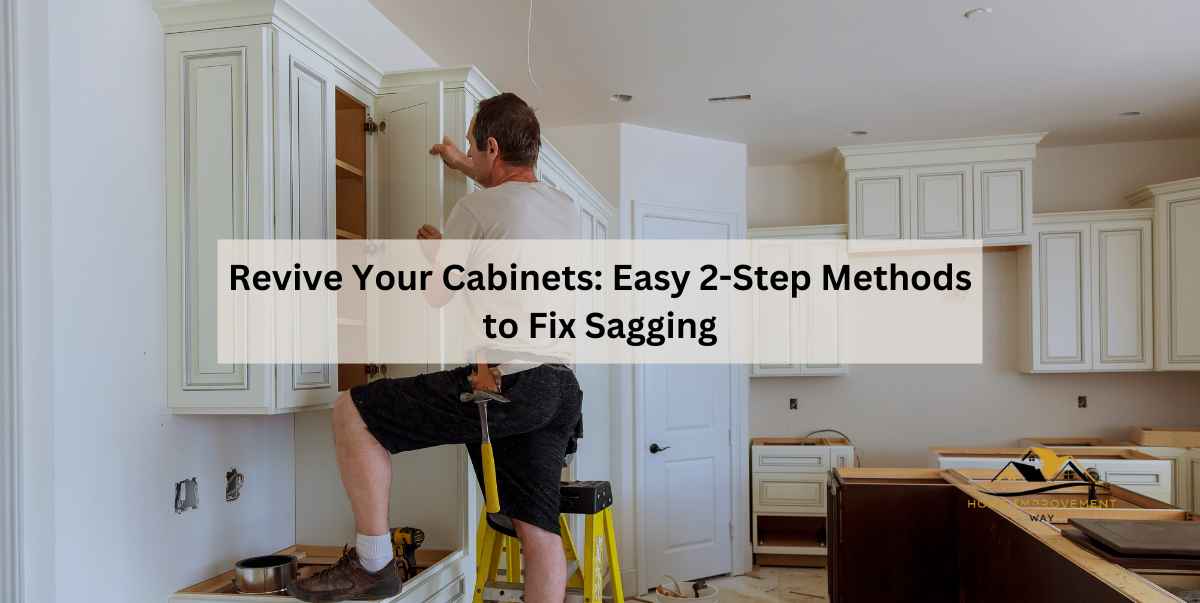
Revive Your Cabinets: Easy 2-Step Methods to Fix Sagging
To fix sagging cabinets, you can use two easy methods: 1) Adjusting the cabinet hinges and 2) Adding support from underneath. These methods are simple to perform and can effectively restore stability to your cabinets.
If you notice that your cabinets are sagging, it is important to fix them promptly to prevent further damage and ensure your cabinets function properly. We will explore these two methods in detail, providing step-by-step instructions on how to fix sagging cabinets.
Whether you have basic DIY skills or are a seasoned home improvement enthusiast, these methods are accessible and can be done without professional assistance.
Method 1: Tightening The Hinges
To fix sagging cabinets, you can try tightening the hinges as a simple and effective method. Adjusting the screws on the hinges can help lift and straighten the cabinet doors, restoring their proper alignment and functionality.
Sagging cabinets can be a real eyesore in any kitchen or bathroom. Luckily, you don’t always have to replace the entire cabinet to fix the problem. One effective and budget-friendly method is to tighten the hinges. This simple solution can help bring back the sturdiness and functionality of your cabinets. Let’s dive into this method step by step.
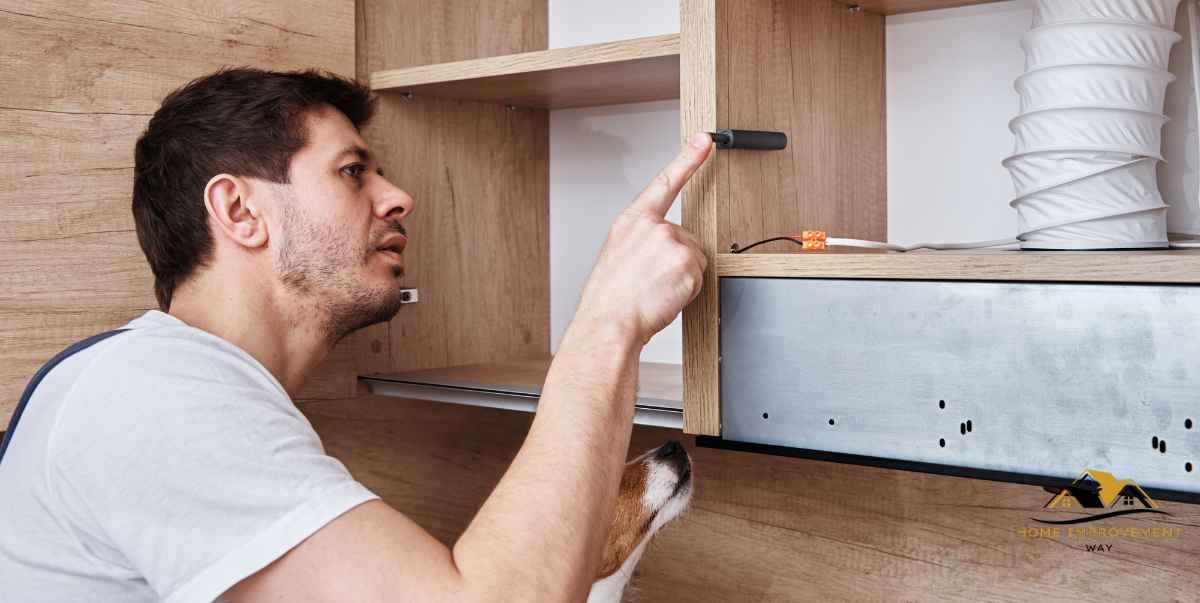
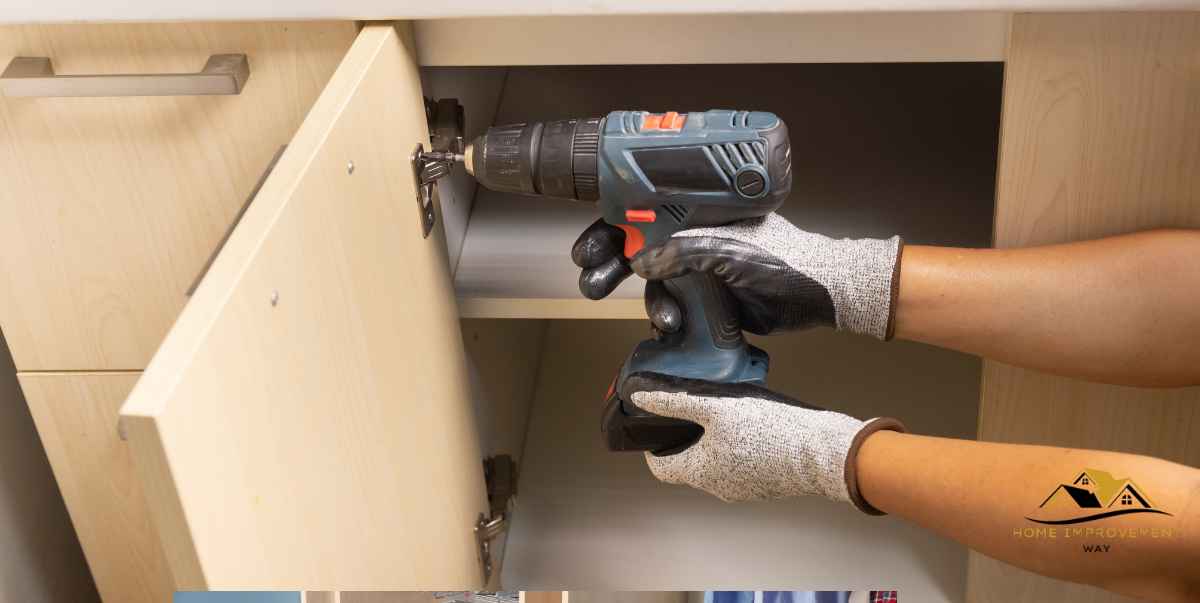
Inspecting The Hinges
First things first, conduct a thorough inspection of the cabinet hinges to identify any issues. Look for loose screws, damaged hinges, or any other signs of wear and tear. This initial inspection will help you determine the extent of the problem and guide you in taking the necessary actions.
Tightening Loose Screws
If the hinges seem to be in good condition but the screws are loose, tightening them can often solve the sagging problem. To do this:
- Open the cabinet door and locate the screws on the hinge.
- Using a screwdriver, turn the screws clockwise to tighten them. Make sure not to overtighten, as it can strip the screw holes.
- Repeat this process for each loose screw on the hinges.
Tightening the screws evenly on all hinges will help restore the alignment of the cabinet doors and alleviate the sagging issue. Remember to test the doors after tightening to check for improvement.
Replacing Damaged Hinges
If you find that the hinges are damaged or beyond repair, replacing them is the next step. Here’s how to do it:
- Remove the screws from the damaged hinge using a screwdriver.
- Take the old hinge off the cabinet frame and discard it.
- Align the new hinge with the existing holes on the cabinet frame.
- Insert the screws into the holes and use a screwdriver to secure the new hinge in place.
- Repeat this process for each damaged hinge.
Replacing damaged hinges will ensure the cabinet doors are properly aligned and functional. It’s essential to use hinges of the same size and type to maintain consistency.
By inspecting the hinges, tightening loose screws, and replacing damaged hinges, you can fix sagging cabinets effectively. These simple steps allow you to restore the stability and appearance of your cabinets without breaking the bank. Give your kitchen or bathroom a quick and affordable facelift by implementing this method.
Method 2: Adding Support
If you’ve assessed your cabinet structure and found that additional support is necessary to fix sagging cabinets, don’t worry! Adding support is a relatively straightforward method that can help restore the sturdiness of your cabinets.
Assessing Cabinet Structure
Before you start adding support, it’s important to evaluate the current state of your cabinet structure. Look for any weak areas, loose screws, or signs of damage that may be contributing to the sagging. By identifying these issues, you can address them effectively.
Installing Support Brackets
One of the easiest ways to add support to sagging cabinets is by installing support brackets. These brackets are typically made of metal and can be mounted to the inside of the cabinet walls or underneath the shelves.
- Start by measuring the width and depth of the cabinet walls or shelves where the brackets will be attached.
- Using these measurements, purchase support brackets that are suitable for your cabinet.
- To begin installation, position the brackets where they will provide the most support, typically near the corners or the middle of the cabinet.
- Mark the screw holes for each bracket, ensuring they are aligned properly.
- Drill pilot holes at the marked spots to prevent the wood from splitting when you attach the brackets.
- Secure the brackets into place using screws, making sure they are firmly attached.
Using Additional Reinforcement
In some cases, you may find that adding support brackets alone is not enough to fully fix the sagging cabinets. In such instances, you can use additional reinforcement techniques to provide extra stability.
- Consider using L-brackets or angle irons to reinforce the corners of the cabinet where the most pressure is exerted.
- Attach these brackets using screws or bolts, ensuring they are securely fastened.
- If needed, you can also reinforce the cabinet with plywood, particleboard, or a similar sturdy material.
By following the steps outlined above, you can effectively add support to your sagging cabinets and restore their strength and stability. Remember to assess the cabinet structure, install support brackets, and use additional reinforcement if necessary.
Conclusion
While sagging cabinets can be a nuisance, fixing them doesn’t have to be complicated. By following these two easy methods, you can restore the stability and functionality of your cabinets in no time. Whether it’s adjusting the hinges or using reinforcement brackets, these simple steps will help you say goodbye to sagging cabinets.
Remember, regular maintenance is key to preventing future issues and keeping your cabinets in top shape. So, roll up your sleeves, get DIY-ing, and enjoy the satisfaction of a job well done!