How to Grout Tiles: Expert Tips for a Flawless Finish
Grouting tiles can transform your space, giving your floors and walls a polished, professional look. Whether you’re revamping your kitchen backsplash or sprucing up your bathroom, learning how to grout tiles is a valuable skill that can save you money and give you a sense of accomplishment.
But let’s face it, the thought of tackling a tiling project can feel daunting. That’s where this guide comes in. Imagine effortlessly achieving the perfect finish, with clean lines and a sturdy seal that enhances your home’s beauty. By the end of this article, you’ll know exactly how to grout tiles like a pro.
Ready to master this rewarding DIY task? Let’s dive in and make your tiling project a success.
Preparing The Surface
First, gather your cleaning tools. Use a soft sponge and warm water. Add a little soap for better cleaning. Gently scrub the tiles to remove dirt. Make sure to clean every tile. Rinse the tiles with clean water. Dry them with a soft towel. Clean tiles are important for good grout.
Look at the spaces between tiles. These are the joints. Check for dust or debris. Use a small brush to remove them. Make sure joints are dry. Wet joints can ruin the grout. If any tile is loose, fix it first. Loose tiles make the grout weak. Now, your tiles are ready for grouting.
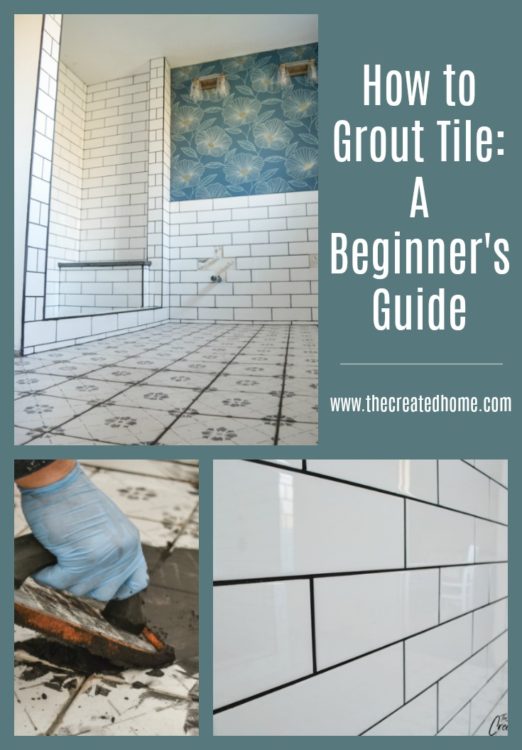
Credit: thecreatedhome.com
Choosing The Right Grout
Grout comes in different types. Some are for small spaces. Others are for larger gaps. Sanded grout is good for big spaces. It has sand. Sand makes it strong. Unsanded grout is for small spaces. It is smooth. Easy to use. Epoxy grout is very strong. It resists stains and water. Perfect for wet areas. Each type has a purpose. Choose the right one.
Grout color is important. It can match or contrast tiles. Light colors can show dirt. Clean often. Dark colors hide dirt. But they might fade. Try a sample first. See how it looks. Bright colors can make a room pop. Neutral colors blend in. Pick a color you like. One that fits your style.
Tools And Materials Needed
Grout float is needed to spread grout evenly. Sponge helps clean excess grout. Bucket holds water for cleaning. Trowel applies grout smoothly. Grout mixer blends grout to perfect consistency. Rubber gloves protect hands. Measuring tape ensures precise tile spacing.
Tile spacers keep tiles aligned. Sealant protects grout from stains. Grout saw removes old grout. Level checks tile flatness. Clean cloths are used for final polish. Masking tape protects edges while grouting. Safety goggles shield eyes from dust.

Credit: www.homedepot.com
Mixing The Grout
The grout should be like peanut butter. Not too thick, not too runny. Stir it well to break lumps. Use a paddle mixer if needed. Check it on a small tile area. It should spread easily. But not drip. If it’s too thick, add water. Just a little at a time. Too runny? Add more grout powder. Mix again. Keep checking until just right.
Don’t rush. Grout needs time to set. Skipping this means weak grout. Too much water can ruin it. Follow instructions closely. Wiping too soon removes grout. Wait for it to harden a bit. Not cleaning tools is bad. Grout hardens fast. Clean immediately after use.
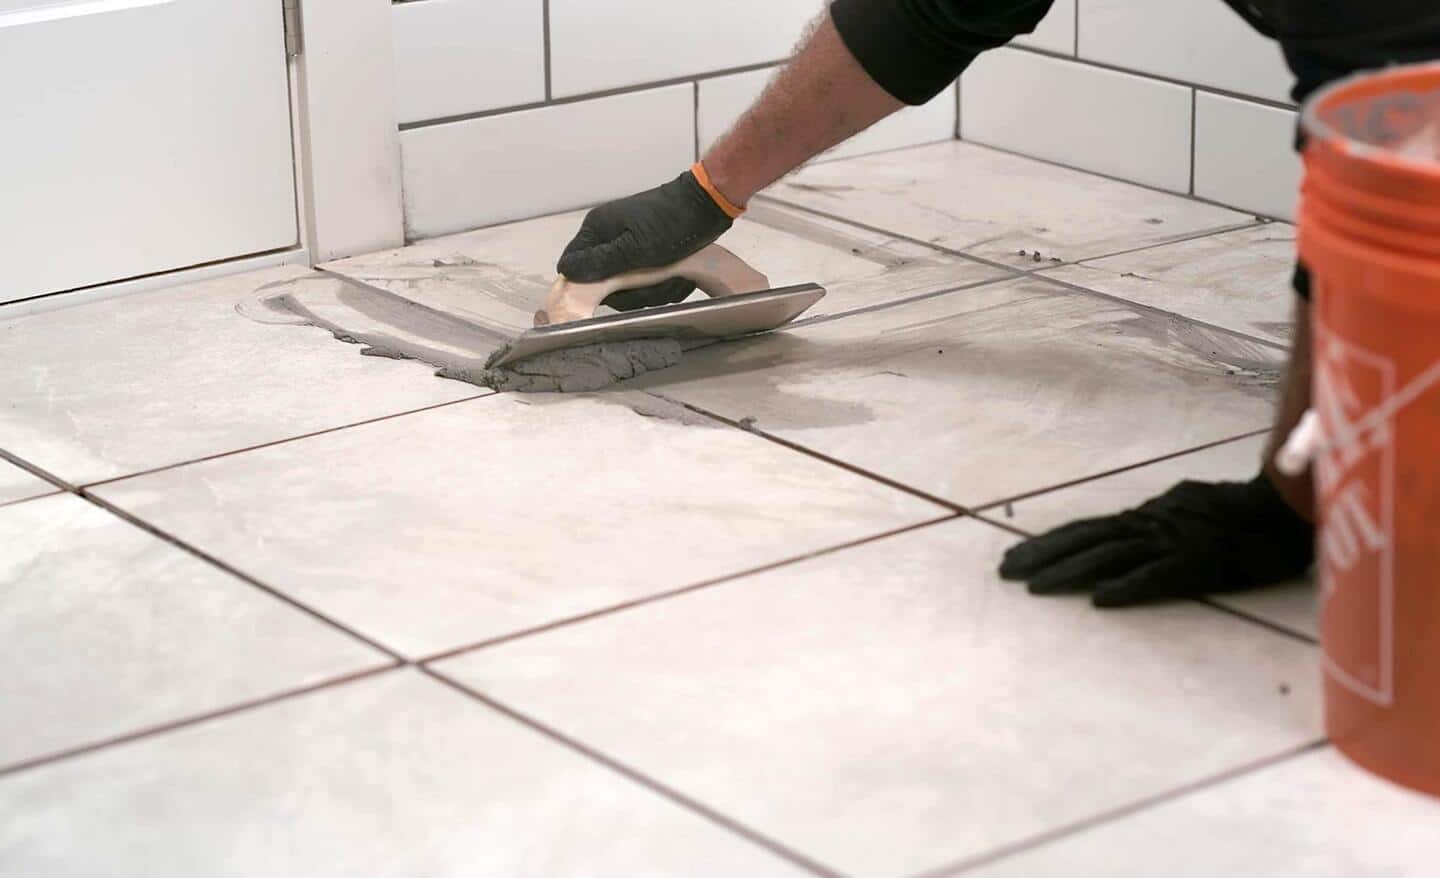
Application Techniques
Use a grout float to fill the spaces between tiles. Hold the float at a 45-degree angle. This helps push the grout into the joints. Fill all the gaps completely. Move the float in different directions. This ensures the grout is packed well.
Keep the float firmly pressed. Use firm, even strokes. Wipe off extra grout from the tile surface. Use the edge of the float for this. Clean tiles make the job look neat. Repeat the process if needed. Check that all joints are filled properly.
:max_bytes(150000):strip_icc()/how-to-grout-a-tile-floor-5208084-hero-b781e1682f3e442ca8f199718bb9bc6d.jpg)
Credit: www.thespruce.com
Cleaning Excess Grout
A sponge is handy for cleaning extra grout. Wet the sponge with clean water. Squeeze it to remove extra water. The sponge should be damp, not dripping. Gently wipe the tiles in a circular motion. This helps in removing grout without damaging tiles. Rinse the sponge often. This prevents grout from spreading back onto the tiles. Use a clean side of the sponge each time.
Timing is crucial in grout cleaning. Start wiping after grout sets a bit. Check the grout with your finger. It should not be sticky. Start cleaning when grout feels firm. Cleaning too early may remove grout. Waiting too long makes it hard. A balanced timing ensures clean tiles. Always follow the grout package instructions for best results.
Sealing The Grout
Grout can absorb moisture. Moisture can lead to damage. Sealing prevents this. It keeps grout strong and durable. Unsealed grout may stain easily. Stains can be hard to clean. Mold might grow in unsealed grout. Mold is bad for health. Sealed grout lasts longer. It looks clean and fresh. Sealing protects tiles too. Tiles remain in good condition.
Start with clean grout. Use a brush or roller for applying. Apply sealant evenly. Cover all grout lines. Let it dry completely. Check for missed spots. Apply a second coat if needed. Use gentle pressure. Avoid splashing on tiles. Clean any excess quickly. Dry for 24 hours.
Maintenance Tips
Tiles need regular cleaning to stay shiny. Use a soft cloth and warm water. Avoid harsh chemicals. They can damage the grout. Clean spills quickly. It prevents stains. Dirt can build up fast. Weekly cleaning is best.
Stains can ruin tile looks. Use baking soda for light stains. Mix it with water. Apply to the stain. Let it sit for a few minutes. Scrub gently. For tough stains, try vinegar. It works well on grout. Bleach can help with deep stains. Use it carefully. Always rinse well after cleaning.
Frequently Asked Questions
How Long Do You Leave Grout Before Wiping Off?
Leave grout for 15-30 minutes before wiping off. Ensure it’s firm to touch but not fully dried. Use a damp sponge for cleaning. Avoid applying too much pressure to prevent grout removal. Adjust timing based on specific grout type and environmental conditions for best results.
What Is The Best Way To Apply Grout Between Tiles?
To apply grout between tiles, use a rubber float to spread evenly. Press grout into gaps firmly. Clean excess grout with a damp sponge. Allow grout to cure, then apply sealer for protection. Ensure tiles are clean and dry before starting for best results.
How Long To Let Grout Sit Before Sponging?
Let grout sit for 15-30 minutes before sponging. This allows it to firm up slightly. Check that it’s not too dry. Use a damp sponge gently to clean excess grout. Avoid pressing too hard to prevent disturbing the grout lines.
Proper timing ensures a clean and professional finish.
Do You Wet Tiles Before Grouting?
Yes, wetting tiles before grouting is recommended. It prevents the grout from drying too quickly. This helps achieve a better bond and finish. Ensure tiles are damp, not soaked, for effective application.
Conclusion
Grouting tiles can seem tough, but with practice, it gets easier. Follow these steps carefully for a smooth finish. Use the right tools to make the job simpler. Clean your tiles well to ensure grout sticks properly. Take your time to avoid mistakes.
Remember, patience is key. Grouting well improves your space’s look and durability. With these tips, your tile project will shine. Always prioritize safety and quality. Happy tiling!