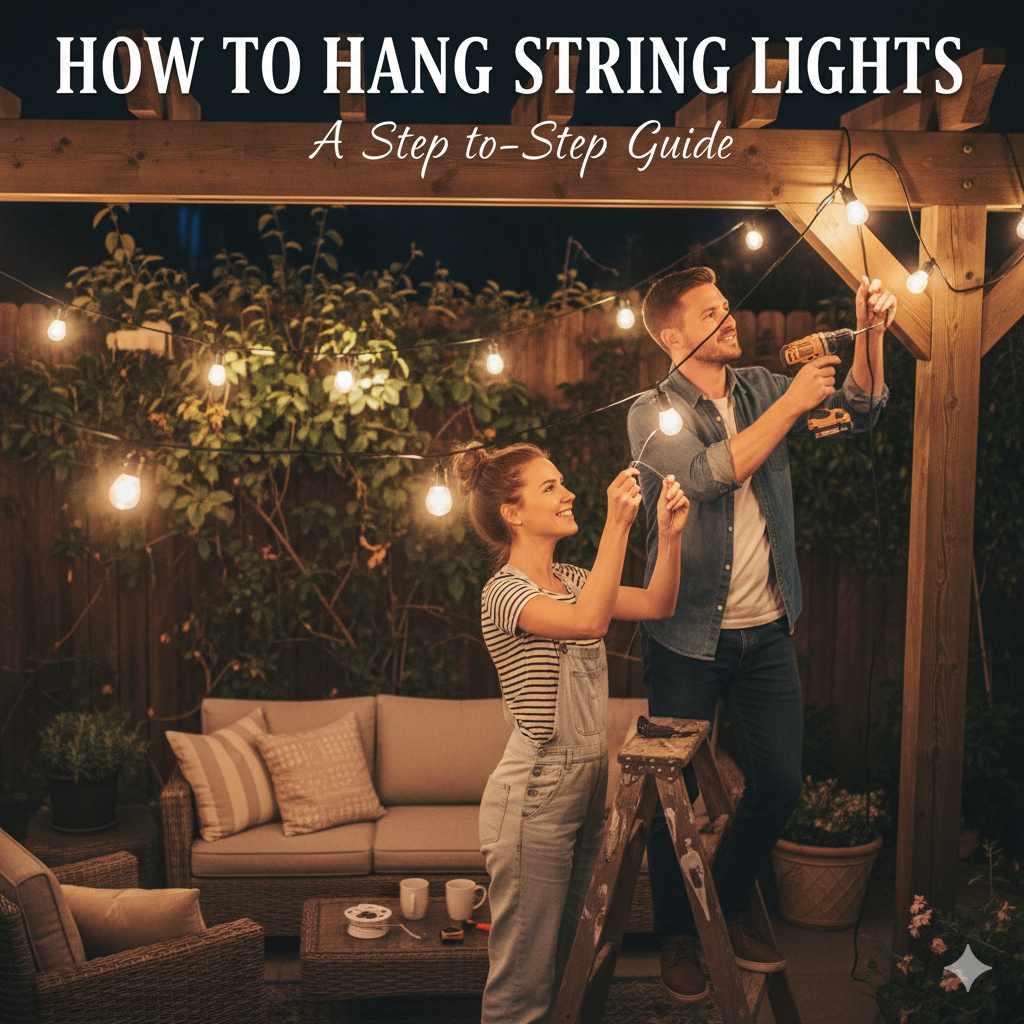
How to Hang String Lights: Genius Ceiling Solution
Quick Summary:
Effortlessly hang string lights from your ceiling with a nail-free, secure, and stylish solution! This guide provides beginner-friendly steps using adhesive hooks, tension rods, or specialized clips for a beautiful ambiance without damaging your walls or ceiling. Get ready to transform your space with ease!
Dreaming of that cozy, magical glow that only string lights can bring? You’re not alone! But the thought of drilling holes or messing with complicated setups can feel daunting. Many of us want to add that charming ambiance to our living rooms, bedrooms, or patios, but worry about damaging our ceilings or walls. It’s a common hurdle for DIYers, but I’m here to tell you it doesn’t have to be complicated or permanent. With a few smart tricks and the right materials, you can hang string lights beautifully and securely, all without a single nail in sight. Let’s banish those worries and get your space twinkling!
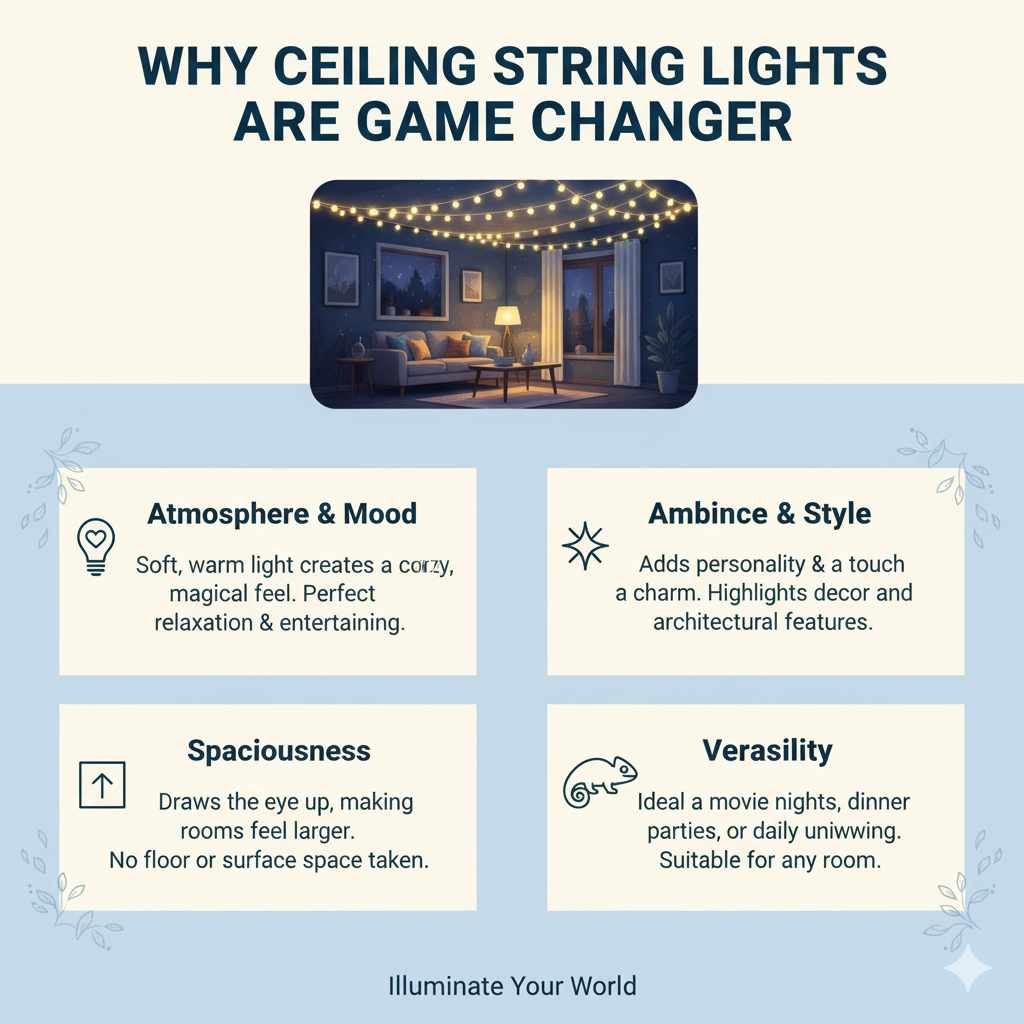
Why Ceiling String Lights Are a Game Changer
Hanging string lights on the ceiling isn’t just about pretty illumination; it’s about creating an atmosphere. Imagine soft light cascading down, making your room feel larger, more inviting, and utterly magical. It’s perfect for movie nights, dinner parties, or just unwinding after a long day. Plus, a well-placed string light can act as a subtle accent, drawing the eye and adding a touch of personality to any room. Unlike floor lamps or table lights, ceiling-hung lights don’t take up valuable floor or surface space, making them a brilliant solution for smaller homes or apartments.
Choosing the Right String Lights for Your Ceiling
Before we get to the hanging part, let’s talk about the stars of the show: your string lights! Not all lights are created equal, and the type you choose will influence how you hang them. Here’s a quick rundown:
- LED vs. Incandescent: LED lights are fantastic because they use much less energy, stay cooler to the touch (a big safety plus!), and last way longer. Incandescent bulbs are classic but can get hot and use more power. For ceiling installations, LEDs are almost always the better, safer choice.
- Bulb Style: You’ll find everything from tiny fairy lights to large Edison bulbs. Consider the scale of your room. Smaller fairy lights are great for a delicate, starry effect, while larger bulbs make a bolder statement.
- Wire Color: Lights come with clear, white, black, or green wires. White or clear wires tend to blend better with lighter ceilings, while black wires can disappear against darker backgrounds.
- Outdoor vs. Indoor: Make sure you buy lights rated for outdoor use if you plan to hang them on a covered porch or patio, as they’re built to withstand more. For indoor use, standard indoor lights are fine.
A popular and highly recommended option for a warm, inviting glow are G40 or G50 globe lights. They offer a vintage feel and are often available in LED versions. You can find great selections on sites like The Home Depot, which offer a wide variety for both indoor and outdoor use.
The Genius Ceiling Solution: Nail-Free Hanging Methods
Now for the exciting part! We’re going to explore the best ways to hang your string lights from the ceiling without causing any damage. These methods are beginner-friendly, affordable, and effective.
Method 1: Adhesive Hooks – The Quick & Easy Go-To
Adhesive hooks are a DIYer’s best friend. They stick directly to your ceiling and can hold your lights securely. They’re ideal for lighter-weight string lights and for renters who can’t make permanent alterations.
What You’ll Need:
- String lights (preferably LED, lighter weight)
- Clear adhesive hooks (e.g., Command Hooks)
- Measuring tape
- Pencil (optional, for marking)
- Rubbing alcohol and a clean cloth
- The string lights’ power cord and plug
Step-by-Step Guide:
- Plan Your Layout: Decide where you want your lights to run. Will they be in a straight line, a swag pattern, or draped around the room? Measure the space to get an idea of how many hooks you’ll need.
- Clean the Surface: This is crucial for a strong hold! Wipe down the ceiling area where you plan to place the hooks with rubbing alcohol. Let it dry completely. This removes any dust or grease that could prevent the adhesive from sticking.
- Apply the Hooks: Carefully follow the instructions on your adhesive hook packaging. Most involve peeling off the backing and pressing the hook firmly onto the ceiling for about 30 seconds.
- Let Them Set: For maximum adhesion, it’s best to let the hooks set for at least an hour (or as recommended by the manufacturer) before hanging anything. This allows the adhesive to form a strong bond.
- Hang Your Lights: Gently place the string light wire or any loops on the light bulbs into the hooks. Work your way along the planned path, ensuring the lights are evenly spaced and taut enough to look neat but not so tight they’ll pull the hooks down.
- Manage the Cord: Use an extra adhesive hook near an outlet to manage the power cord, keeping it tidy and out of the way.
Pro Tip: For heavier lights, look for “heavy-duty” adhesive hooks. Always check the weight limit specified by the manufacturer to ensure safety.
Method 2: Tension Rods – For Swags and Coverage
Tension rods are fantastic for creating a draped or swagged effect across a room without drilling. They work by wedging securely between two walls or even between a wall and a sturdy piece of furniture.
What You’ll Need:
- String lights
- Adjustable tension rods (choose a length that fits your space)
- Measuring tape
- Level (optional, but helpful)
- Small zip ties or twist ties (optional, for securing lights to the rod)
Step-by-Step Guide:
- Measure the Space: Determine the distance between the two points where your tension rod will be installed (e.g., two opposite walls, or a wall and a large bookshelf).
- Adjust the Rod: Extend the tension rod so it’s slightly longer than the measured distance. This will give it tension when you insert it.
- Position the Rod: Place the rod in position and twist it until it’s snug and secure between the walls. You want it to feel firm and stable. A level can help ensure it’s straight.
- Hang the Lights: Drape your string lights over the tension rod. You can let them hang down in a gentle curve or use small zip ties or twist ties to secure the light wire to the rod for a more structured look.
- Connect and Enjoy: Plug in your lights and admire your work! You can use additional adhesive hooks on the ceiling or walls to guide the power cord to the nearest outlet.
Where to Use: This method is excellent for creating a canopy effect over a bed, a romantic glow over a dining area, or a festive look across a living room. You can find reliable tension rods at most hardware stores or online retailers like Amazon.
Method 3: Specialty Clips & Fasteners – For Specific Designs
There are also specialized clips and fasteners designed specifically for hanging string lights. These are often clear and discreet, designed to attach to edges, corners, or even directly to certain types of ceiling materials.
Types of Specialty Fasteners:
- Wire Clips: Small, clear plastic clips that often have an adhesive backing. They are designed to hold the wire of the string lights and can be spaced along your desired path.
- Eave Clips: If you’re decorating a porch, these clips are designed to hook onto the edge of gutters or roof eaves.
- Picture Hanging Strips: For very lightweight fairy lights, strong double-sided picture hanging strips can sometimes work on smooth ceiling surfaces, provided the weight is minimal.
How to Use Them:
- Read Manufacturer Instructions: Each type of clip or fastener will have specific installation instructions. Always follow these carefully.
- Clean the Surface: Just like with adhesive hooks, ensure the surface is clean and dry for the best adhesion.
- Apply and Space: Attach the clips or fasteners along your desired path, spacing them according to the length of your string lights and how you want them to hang.
- Thread the Lights: Carefully weave or attach your string lights to the clips.
Important Note: Always check the weight capacity of these fasteners. They are typically best for lighter-duty applications.
Important Considerations for Ceiling String Lights
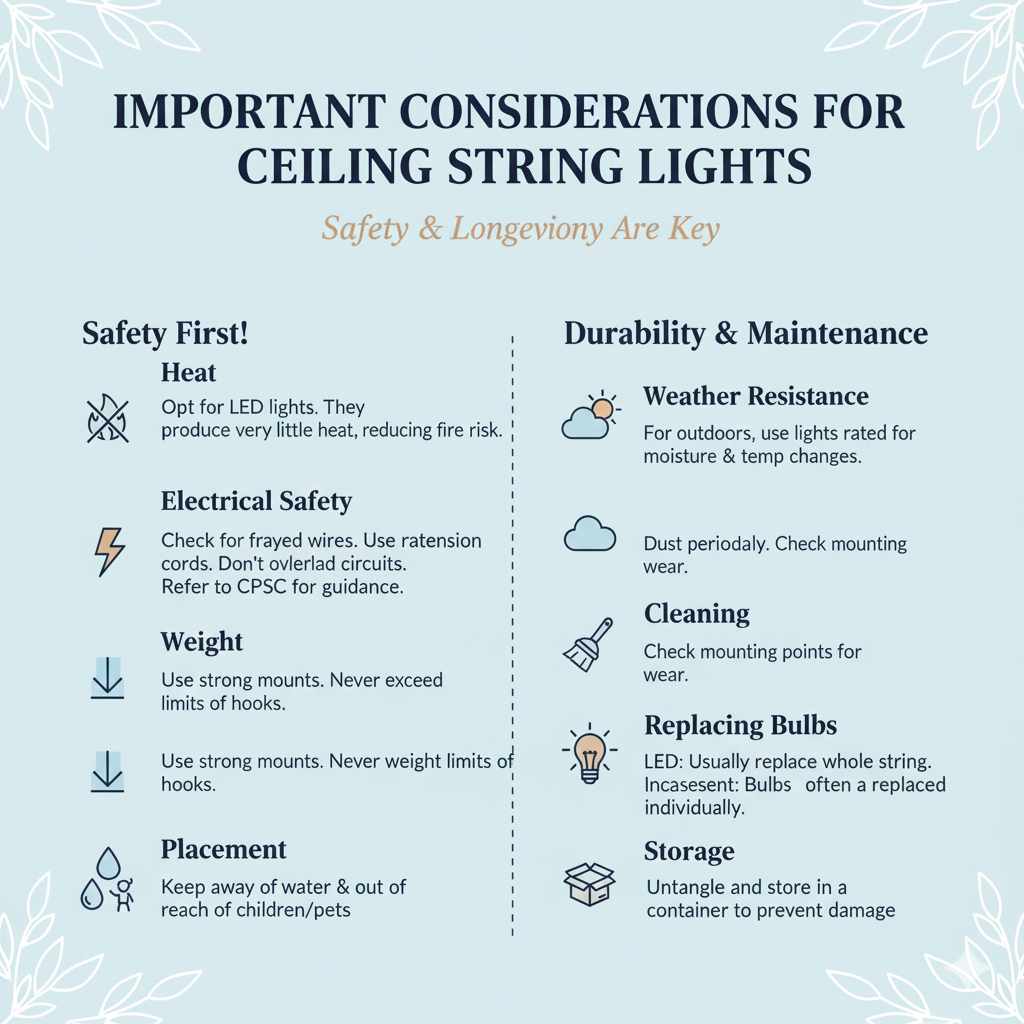
Safety and longevity are key when working with any electrical lighting, especially when it’s overhead. Here are some crucial points to keep in mind:
Safety First!
- Heat: Always opt for LED string lights. They produce very little heat, which is a significant fire safety advantage, especially when they’re close to ceilings or other materials.
- Electrical Safety: Ensure your lights are in good condition – no frayed wires or damaged bulbs. Use extension cords rated for the load and avoid overloading circuits. For guidance on basic electrical safety, the U.S. Consumer Product Safety Commission (CPSC) offers valuable resources.
- Weight: Be mindful of the weight of your string lights. Heavier lights require stronger mounting solutions. Never exceed the weight limit of your chosen adhesive hooks or fasteners.
- Placement: Keep lights away from water sources (unless specifically rated for wet locations) and out of reach of small children and pets who might be tempted to play with them.
Durability and Maintenance
- Weather Resistance: If hanging lights outdoors (even on a covered porch), ensure they are rated for outdoor use. This means they’ll be resistant to moisture and temperature changes.
- Cleaning: Periodically check your lights and the mounting points. Dust can accumulate, and adhesives can weaken over time, especially with temperature fluctuations. A gentle dusting can keep them looking great.
- Replacing Bulbs: If one of your LED bulbs goes out, it’s usually a sign to replace the entire string, as most LED strings are not designed for individual bulb replacement. Incandescent bulbs, however, can often be replaced.
Comparing Hanging Methods: A Quick Look
To help you decide which method is best for your project, here’s a comparison table:
| Method | Best For | Ease of Installation | Damage to Ceiling | Weight Capacity | Cost |
|---|---|---|---|---|---|
| Adhesive Hooks | Light to medium-weight lights, straight runs or gentle curves | Very Easy | None (if removed correctly) | Light to Medium (check rating) | $ – $$ |
| Tension Rods | Draped, swagged, or canopy effects across larger spans | Easy | None | Medium (depends on rod quality) | $$ – $$$ |
| Specialty Clips | Specific light types, edges, or delicate applications | Easy to Moderate | None (if removed correctly) | Light (check rating) | $ – $$ |
This table should give you a good overview to help you pick the perfect solution for your ceiling string light project.
Frequently Asked Questions (FAQ)
Q1: Can I really hang string lights without nails or screws?
Absolutely! As this guide shows, there are several effective and damage-free methods like using strong adhesive hooks, tension rods, or specialized clips. These are perfect for renters or anyone who prefers not to put holes in their ceiling.
Q2: How do I prevent adhesive hooks from damaging my ceiling when I remove them?
The key is to follow the manufacturer’s instructions for removal. Usually, this involves gently stretching the adhesive tab straight down. For Command Hooks, for example, you pull the tab slowly and steadily downwards. If the adhesive feels very stubborn, you can try gently warming it with a hairdryer on a low setting (from a safe distance) before pulling.
Q3: What’s the best way to hang heavier string lights?
For heavier lights, adhesive hooks might not be sufficient. Consider using a tension rod, which distributes weight across a larger span. If you must use hooks, look for heavy-duty options specifically designed for higher weight capacities, and always test their hold before fully committing.
Q4: How far apart should I place my hooks or fasteners?
This depends on the type of string lights you have and the desired look. For lights with bulbs spaced closely together, you might need hooks every 1-2 feet. For lights with larger spacing between bulbs, you might place hooks every 3-5 feet. It’s often best to loosely drape the lights first to gauge spacing before permanently placing your fasteners.
Q5: Can I use string lights outdoors on my ceiling?
Yes, but only if the string lights are specifically rated for outdoor use. These lights are designed to withstand moisture, varying temperatures, and UV exposure. Ensure your chosen hanging method is also suitable for outdoor conditions (e.g., weather-resistant adhesive hooks).
Q6: How do I hide the wires and the extension cord?
You can use additional adhesive hooks or cable management clips to run the wires along the edge of the ceiling or down a wall, tucking them behind furniture or curtains. For a more permanent look, you could consider cord covers that stick to the wall or ceiling.
Conclusion
See? Hanging string lights from your ceiling is totally achievable, even without a single nail! Whether you opt for the simple elegance of adhesive hooks, the creative drape of tension rods, or the discreet hold of specialty clips, you now have the knowledge to transform your space. Remember to prioritize safety by choosing LED lights and checking the weight limits of your chosen fasteners. With these beginner-friendly techniques, you can confidently create that warm, inviting ambiance you’ve been dreaming of. So go ahead, gather your supplies, and get ready to let your home shine!