How to Hang Solar String Lights on Fences, Pergolas, and Brick
Solar string lights hang with clips, hooks, or zip ties — no wiring or outlet needed — but the solar panel must get at least 6 hours of direct sun or the lights won’t hold a charge past a couple of hours. Skipping that step is the single most common reason a new set looks dim by 9pm. This guide covers planning your layout, choosing the right lights, mounting on wood, brick, or gutters, and positioning the panel correctly.
This post contains affiliate links. As an Amazon Associate, we earn from qualifying purchases at no extra cost to you.
Quick Answer
Attach solar string lights with cup hooks on wood, adhesive clips or wall anchors on brick and concrete, and gutter clips on roof edges — then mount the solar panel separately in a spot with 6–8 hours of unobstructed, ideally south-facing, direct sunlight. No electrician or wiring is required for any surface.
Why Choose Solar String Lights?
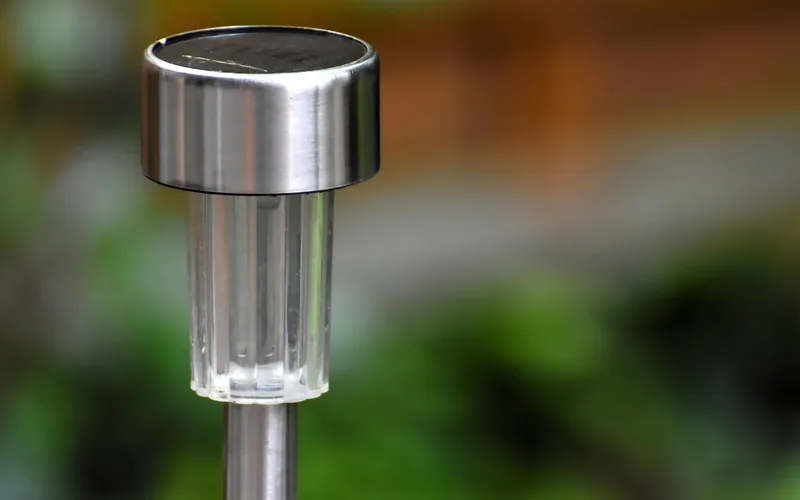
Solar string lights run on solar energy, so there’s no outlet or extension cord to route, and no added cost on your electric bill. They soak up sunlight during the day and switch on automatically at dusk.
They’re also versatile: you can drape them over trees, wrap them around railings, or run them across a patio or pergola with no complicated wiring or tools required.
Planning Your Solar String Light Setup
A little planning prevents the most common mistake: buying the wrong length and ending up short mid-install. Here’s what to figure out first.
First, decide where the lights will go — a canopy over the patio, an outline around the garden fence, or a wrap around a tree. Sketch a rough layout marking where the lights start and end so you buy the right amount.
Next, measure the run with a tape measure. Most solar string lights come in lengths of 20 to 100 feet, so an accurate measurement avoids buying a set that falls short by 10 feet once it’s halfway installed.
Finally, plan the solar panel’s placement before you start. The panel needs direct sunlight to charge, so a stake in an open bed or a wall mount on a sunny wall both work — just confirm the panel’s cord can physically reach where the lights hang.
Choosing the Right Solar String Lights
Not all solar string lights are built the same — quality, brightness, and weatherproofing vary widely between brands. Here’s what actually matters when picking a set.
Bulb type matters first. LED bulbs are standard because they’re energy-efficient and long-lasting. Warm white LEDs give a cozy glow, while cool white or multicolor options suit a party vibe. Check the lumens (brightness) rating — above 100 lumens per bulb works well outdoors.
Strand length and bulb spacing change the look: bulbs spaced 12 inches apart give a tight, clustered effect, while wider spacing covers more ground with fewer bulbs. Battery life matters too — most solar sets run 6–10 hours on a full charge, with premium models reaching 12 hours.
Weather resistance is not optional for an outdoor install. Look for an IP65 rating or higher, which means the set handles rain and dust. Also confirm the set includes mounting hardware — clips or stakes included with the lights save a separate purchase.
Quick comparison of solar string light features:
| Feature | What to Look For | Why It Matters |
|---|---|---|
| Bulb Type | LED (Warm White, Cool White, or Colored) | Affects ambiance and efficiency |
| Strand Length | 20-100 feet | Ensures you cover your space |
| Weather Resistance | IP65 or higher | Protects against rain and dust |
| Battery Life | 6-12 hours | Determines how long lights stay on |
| Mounting Hardware | Clips, stakes, or hooks | Simplifies installation |
Gathering Your Tools and Materials
This project needs very few tools. Here’s the full list:
- Solar string lights: sized for your measured run
- Measuring tape: for accurate measurements
- Ladder: if hanging lights high up, like on a tree or pergola
- Mounting hardware: clips, hooks, zip ties, or adhesive mounts, depending on your surface
- Scissors or wire cutters: for trimming zip ties or excess cord
- Level (optional): to keep a straight run even
- Stakes or poles: for a freestanding setup
Step-by-Step Guide to Hanging Solar String Lights
Here’s the full process, from testing the lights to positioning the panel.
Step 1: Test Your Lights
Test the lights before hanging a full strand — a faulty bulb is much easier to spot or return at this stage. Lay the lights in a sunny spot for a few hours to charge, then cover the panel to simulate nighttime and check that they turn on. If they don’t, check the panel connection or replace the battery if it’s removable.
Step 2: Mark Your Anchor Points
Decide where you’ll attach the lights — pergola edges, trees, fences, railings, or poles all work. Mark the spots with chalk or tape. For a straight line, use a level to keep things even; for a whimsical look draped over branches, skip the level entirely.
Step 3: Install Mounting Hardware
The right hardware depends on the surface. For wooden structures like pergolas or fences, screw in cup hooks or eye hooks — they’re sturdy and simple. For brick or concrete, use adhesive clips or wall anchors; if you’d rather not drill into masonry at all, see our guide on hanging on brick without drilling. For a freestanding run, drive stakes into the ground with a mallet and attach hooks to the top. Zip ties work well and cheaply for securing lights to tree branches.
Pro tip: space anchor points 5–10 feet apart to avoid sagging. Heavier light sets need closer spacing, around 3–5 feet.
Mounting on Gutters and Roof Edges
Gutters and roof edges are common mounting points that plain hooks aren’t designed for. Use dedicated gutter clips instead of cup hooks — they hook over the gutter’s lip without puncturing it or trapping water, and unclip cleanly for winter storage. Avoid draping lights directly over a gutter’s open channel, since standing water and debris will shorten the strand’s life.
Best Long-Run Mounting Pick
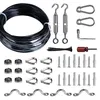
Brightown 100ft Suspension Cable Kit – $19.99
A turnbuckle-tensioned steel cable holds a long run taut between anchor points spaced the 5–10 feet apart this guide recommends, without the sag a zip-tied run develops over time.
- Best for: a canopy run across a patio or between two pergola posts
- Why we picked it: the turnbuckle lets you re-tension the line instead of re-hanging it
- Main drawback: overkill for a short single-tree wrap
Compare more mounting hardware options
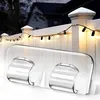 Option 1 Heavy Duty Light Clips (26-Pack) – $16.89
|
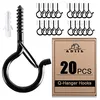 Option 2 Windproof Screw Hooks (20-Pack) – $9.99
|
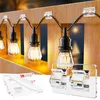 Option 3 Gutter Light Clips (30-Pack) – $8.56
|
As an Amazon Associate we earn from qualifying purchases.
Step 4: Hang the Lights
Start at the solar panel end and work across. Attach the first light to the starting anchor point with a clip or zip tie, then drape the strand to the next anchor with a slight, natural sag — a taut, straight line strains the wire more than a gentle swoop between points. Secure each section as you go.
If wrapping lights around trees or railings, wind them loosely to avoid damaging the wire insulation or the tree bark.
Step 5: Position the Solar Panel
Place the panel where it gets at least 6–8 hours of direct sunlight — a south-facing spot gets the most consistent exposure through the day in the Northern Hemisphere. A stake in open garden soil or a wall-mount bracket both work; the important part is making sure the cord reaches the start of the light strand without stretching.
Step 6: Test and Adjust
Once everything is hung, wait until dusk to test. Walk the space and check the tension — too tight or too loose both look off. Adjust anchor spacing or reposition clips as needed before calling the install finished.
Creative Ways to Style Your Solar String Lights
Solar string lights are versatile. A few layout ideas worth trying:
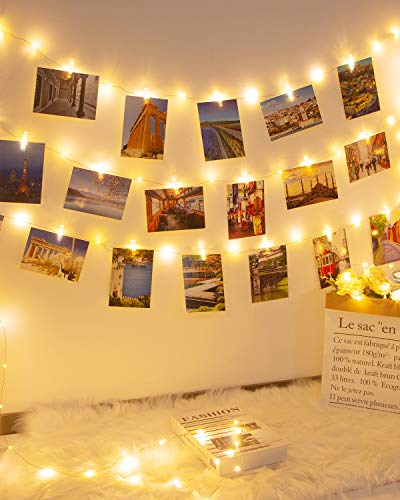
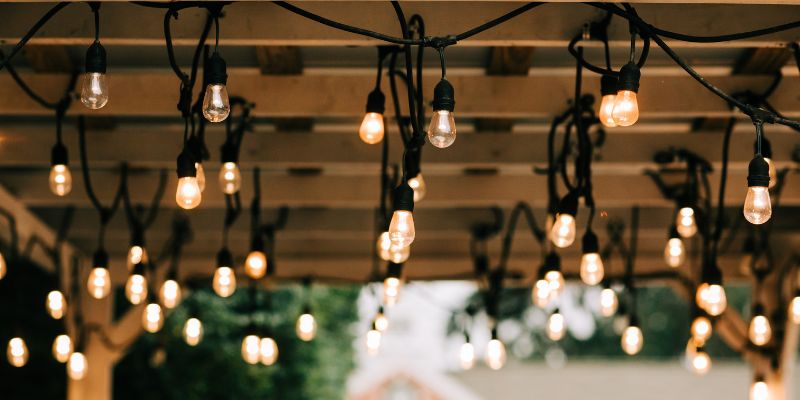
- Canopy Effect: crisscross lights over a patio or seating area for a starry-night feel over an outdoor dining table.
- Tree Wrapping: wind lights around a trunk or branches, loosely, for a fairy-tale look.
- Fence or Railing Outline: run lights along a fence or balcony railing for a clean, defined border.
- Mason Jar Accents: hang jars with a short strand of lights inside for a rustic accent piece.
- Zigzag Pattern: run lights in a zigzag between posts or across a wall for a modern, geometric look.
Maintaining Your Solar String Lights
Wipe the solar panel with a damp cloth every few months to clear dust and dirt — it needs a clean surface to charge efficiently. Check bulbs periodically and replace any that are dim or dead if the set allows it.
If you take the lights down for winter, coil them loosely and store them somewhere dry and cool to prevent the wire from cracking. Check the battery every year or two — some solar panels have a replaceable battery, which extends the whole set’s usable life well past the bulbs alone.
Troubleshooting Common Issues
If the lights won’t turn on, check the panel’s position and confirm it’s getting real, unobstructed sun — and check that the panel’s power switch is actually on, which is an easy thing to overlook.
If the lights are dim, the battery likely needs a full day of direct sunlight to recharge; if that doesn’t help, the battery itself may need replacing. For uneven lighting across the strand, check for loose connections or a damaged bulb.
Safety Tips for Hanging Solar String Lights
Use outdoor-rated lights and hardware so weather doesn’t become a hazard. Don’t overload anchor points — confirm each one is sturdy enough for the strand’s weight before hanging the full run. If you’re on a ladder, have someone spot you rather than working alone.
Keep lights away from power lines and outlets, and if wrapping a tree, don’t wind too tightly — a cinched wrap can damage both the bark and the wire insulation as the trunk grows.
📊 Over 500,000 ladder-related injuries are treated in U.S. emergency rooms each year, and about 97% of those visits stem from home use, not job sites. — Source: CDC/NIOSH, 2026
“I almost tipped over once on the ladder while hanging a strand across the pergola, and my husband’s quick hands saved the day — now I never get on a ladder outdoors without someone spotting me.”
Why Solar String Lights Are Worth the Effort
A well-planned solar string light setup turns a plain backyard into a space worth spending evenings in — no electrician, no plugged-in extension cords running across the lawn, and no added cost on the power bill. The eco-friendly, low-maintenance side of it is a real bonus, not just a nice-to-have.
Common Mistakes to Avoid
- Mounting the solar panel in a shaded or partly-shaded spot instead of 6+ hours of direct, ideally south-facing, sun.
- Using plain cup hooks on a gutter edge instead of dedicated gutter clips, which can puncture the gutter or trap water.
- Pulling the strand taut between anchor points instead of leaving a slight sag, which strains the wire and shortens its life.
Frequently Asked Questions
How long do solar string lights last?
Most solar string lights run 6–12 hours on a full charge, so a typical set glows from dusk until well past midnight. The lights themselves typically last 2–5 years with proper care, though the rechargeable battery may need replacing sooner than the bulbs do.
Can solar string lights work in shady areas?
Yes, but not at full brightness or run time. The panel needs at least 6 hours of direct sunlight to charge fully, so in a shaded spot, mount the panel separately in the nearest sunny location and run its cord back to the light strand.
Are solar string lights safe for outdoor use?
Yes, as long as they carry an IP65 rating or higher, which means they’re built to handle rain, dust, and temperature swings. Make sure mounting hardware is secure and keep the run away from electrical hazards regardless of the light’s own weather rating.
How do I store solar string lights when not in use?
Coil the strand loosely and store it in a dry, cool place such as a bin in a garage or shed. Avoid tight coils or knots, which stress the wire over time, and store a detachable solar panel separately to prevent scratches to the lens.
Can I leave solar string lights up year-round?
In most climates, yes, provided the set is weather-resistant (IP65+). Inspect the strand periodically for cracked housings or frayed wire, and in regions with harsh winters, taking the lights down seasonally will extend their working life.
Conclusion
Hanging solar string lights comes down to three things: measuring the run before you buy, matching the mounting hardware to the surface, and giving the panel real, direct sun. Get those right and the rest — the canopy over the dining table, the tree wrap, the fence outline — is just styling. For more lighting and ceiling fan guides, browse the rest of the site.
Sponsored / affiliate links. As an Amazon Associate I earn from qualifying purchases. I may earn additional commission from eligible campaigns.