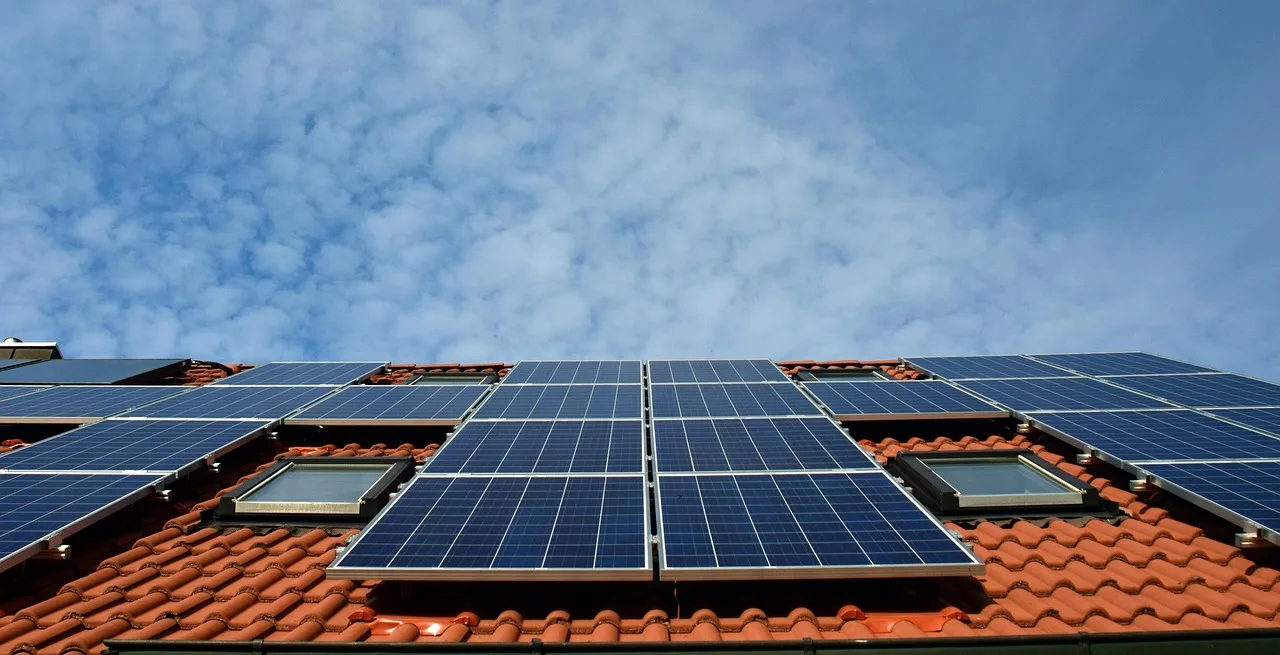
How to Position Solar Panels for Maximum Charging
Aim solar panels at true south in the Northern Hemisphere, or true north in the Southern Hemisphere, and set a latitude-based tilt that matches your charging window. Keep every cell clear of shade, with no shadow touching the active surface. For portable panels, a common rule of thumb is to re-aim them every 1 to 2 hours. Bad placement can cut output sharply, so your battery may charge slowly or stop charging even in full sun. This guide covers direction, tilt, shade checks, controller limits, and quick adjustments for fixed and portable setups.
What panel position gives the best charge?
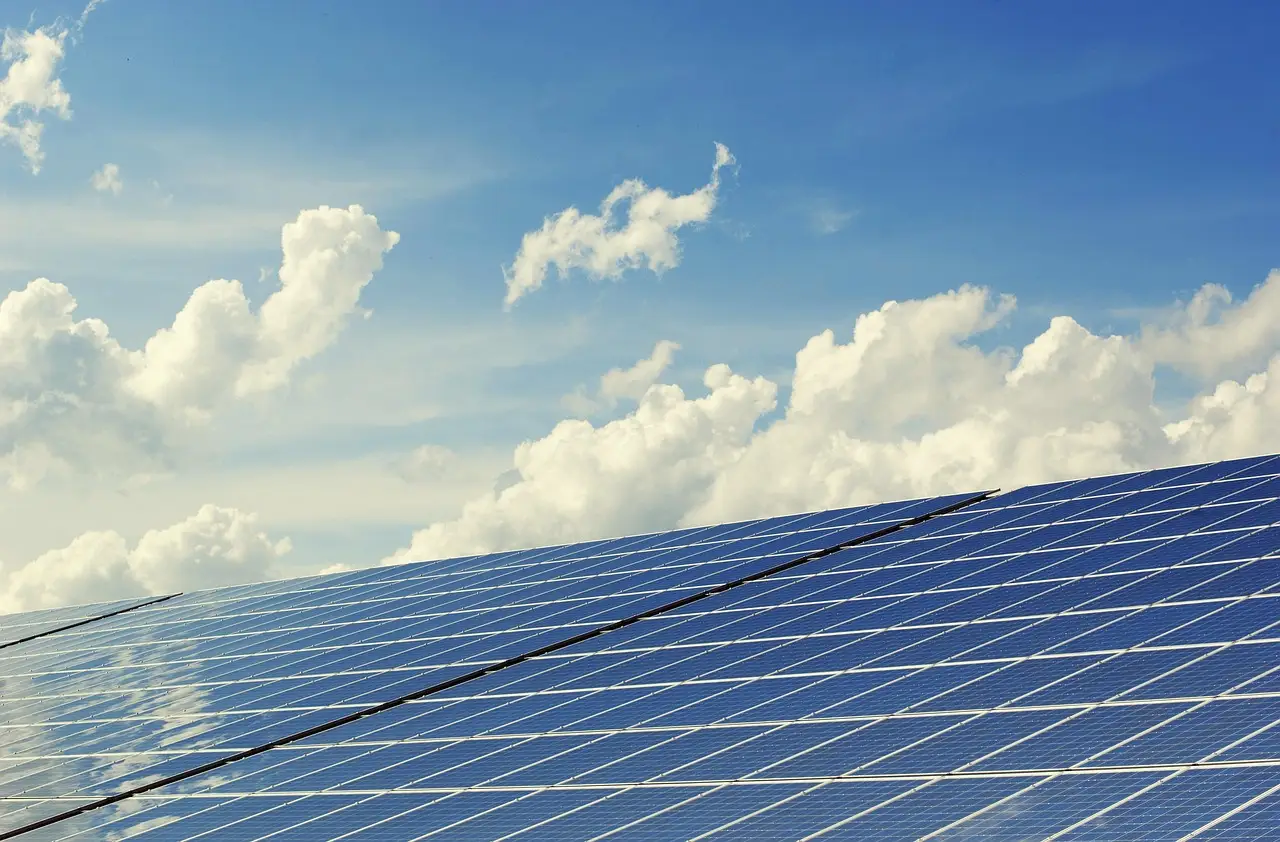

The best charge comes from a panel that faces the sun as directly as possible, with minimal shade and a tilt that suits the season and location. In the UK, south-facing panels capture the most sunlight throughout the day, while north-facing roofs are typically about 20% to 30% less energy than south-facing installations, depending on roof pitch and site conditions. Solar noon is the best reference point for alignment. (PVGIS; UK government solar guidance)
Direction first, then tilt
Direction usually matters more than leaving a panel flat. A flat panel can still charge, but it loses midday input when the sun sits lower in the sky. For fixed setups, start with true south in the Northern Hemisphere or true north in the Southern Hemisphere, then adjust tilt so the panel surface faces the sun path rather than across it. Use a compass corrected for magnetic declination, because magnetic south is not true south. (NOAA declination guidance; NREL solar siting guidance)
How south, east-west, and north-facing setups differ
South-facing panels are the default choice for maximum daily charging. East-west arrays can extend the generation window, which helps if you want earlier morning input and later afternoon input rather than one short peak. North-facing placement is usually the least effective option and is best avoided when charging performance matters. (NREL; PVGIS)
Use solar noon as a reference
Solar noon gives you the clearest check on whether the array is aimed correctly. A sun-tracking app or compass can help you align the panel before that peak window, then you can verify whether controller input watts rise when the panel is square to the sun. That is the quickest way to see whether the setup is close. (NREL solar position basics)
What angle should you use?
The best tilt is the one that keeps the panel surface closer to perpendicular to the sun during the charging window you care about. A practical starting point is a tilt near your latitude, then refine it for season and use case. For fixed panels in Dorset, a commonly recommended range is about 35 to 40 degrees. (PVGIS; UK solar guidance)
Fixed panels in the UK
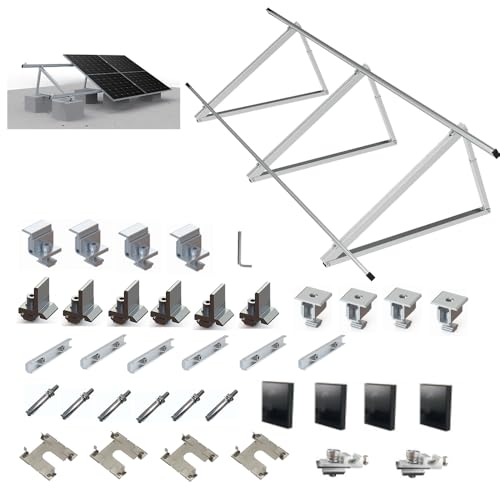
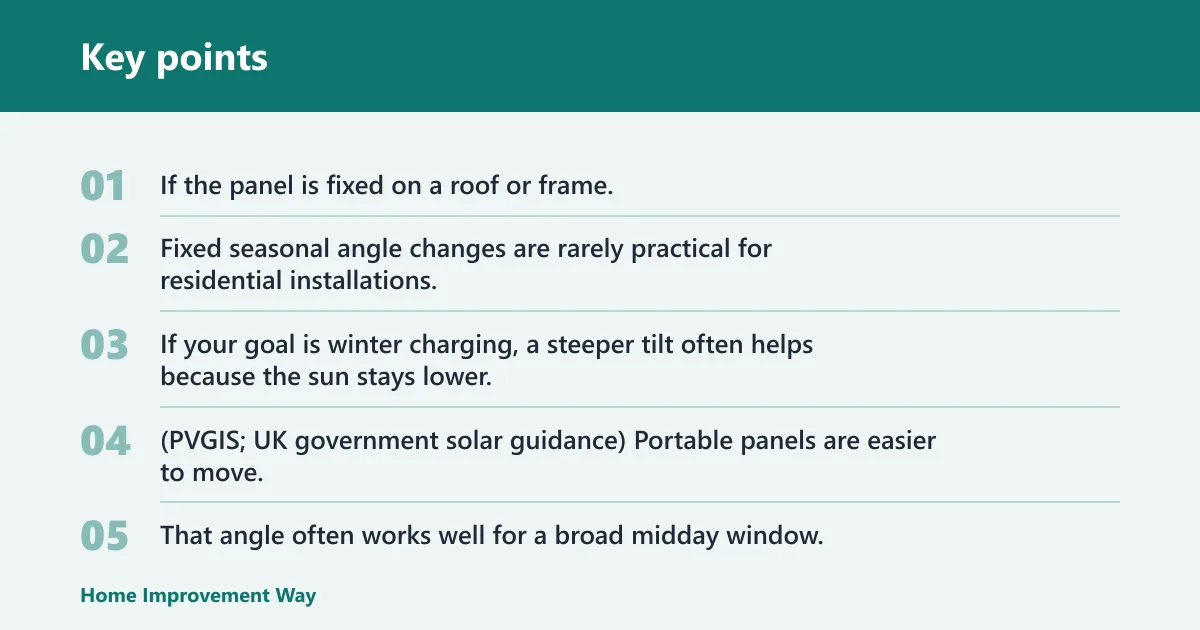
If the panel is fixed on a roof or frame, start with the local tilt range rather than leaving it flat. Fixed seasonal angle changes are rarely practical for residential installations, so the usual answer is to set a good year-round angle and leave it there. If your goal is winter charging, a steeper tilt often helps because the sun stays lower. (PVGIS; UK government solar guidance)
Portable panels: about 45 degrees
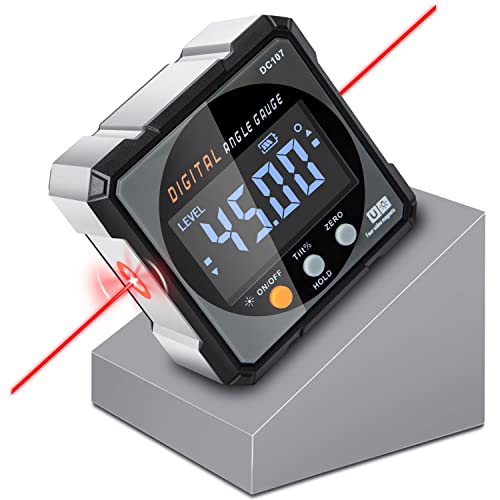
Portable panels are easier to move, so a 45-degree setting is a useful starting point when you do not want to keep adjusting every hour. That angle often works well for a broad midday window, especially when the panel sits on the ground, on a campsite mat, or against an adjustable stand. If output falls, test a steeper or shallower angle.
Seasonal changes where practical
Seasonal tilt changes can improve capture if the panel stays in one place for long periods. A winter setup usually needs a steeper angle than a summer setup. If the panel is portable, use the season to your advantage and adjust it when the sun path changes enough to make a clear difference in input watts. A latitude-based starting tilt is the simplest universal rule, then add about 10 to 15 degrees steeper in winter or 10 to 15 degrees flatter in summer when access is easy. (NREL; PVGIS)
Common latitude bands
Use latitude as the starting point, then adjust for the season and charging goal. The table below gives a compact universal guide for fixed or semi-fixed setups. It is a starting range, not a strict rule, because roof pitch, shading, and local weather all matter.
| Latitude band | Starting tilt | Seasonal adjustment | Typical use |
|---|---|---|---|
| 0° to 15° | Low tilt, roughly 10° to 15° | Small changes only | Tropical or near-equatorial charging |
| 15° to 35° | Roughly equal to latitude | ±10° for season | Year-round portable or fixed use |
| 35° to 55° | Roughly latitude to latitude + 10° | +10° to +15° in winter, flatter in summer | Common residential mid-latitude setups |
| 55° to 70° | Steeper than latitude, often 50°+ | Steeper in winter, moderate in summer | Higher-latitude winter charging |
How do you judge shade losses?
Shade is one of the fastest ways to lose charging power. Trees, buildings, chimneys, aerials, roof features, and moving shadows can all reduce output, and partial shading on one panel can affect an entire string’s output. Even a small shadow can matter if it crosses a cell line, cable, or junction area. (NREL shade and mismatch guidance)
Common shade sources
Check for obstructions at the exact time you want to charge, not only at noon. A roof vent may be clear in the morning but shaded later, and a nearby tree can cast a moving shadow that reaches the array for only part of the day. That moving shadow can matter more than a clean-looking roof at first glance.
Cleaning versus obstruction
Dust and debris reduce output, but cleaning will not fix a bad site. If the panel is clean and still underperforming, look for a tree branch, roof ridge, parapet, cable shadow, or dirt line across the cells. Cleaning helps when grime is the problem; it does little when the real issue is geometry or obstruction.
Common first-timer mistake
A common first-timer mistake is placing a portable panel in a bright spot beside a van or tent, then missing the shadow from the roof edge that slides across the cells by midafternoon. The panel looks sunny at 10 a.m., but the controller input drops later because the shadow crosses the active area.
Charging setup checklist
Use this checklist before you compare positions. It keeps the test focused on direction, tilt, shade, and charge input, rather than guesswork. Record the same battery, the same cable run, and the same controller for each position so the result means something.
| Check | What to record | Pass or fix |
|---|---|---|
| Direction | Compass bearing or true south / true north alignment | Pass only if the panel faces the target direction |
| Tilt | Panel angle in degrees | Pass only if the panel is set for the planned charge window |
| Shade | Tree, roof, wall, chimney, aerial, moving shadow notes | Fix any shadow that touches the cells |
| Controller | MPPT or PWM model, input limits, battery type support | Pass only if the controller matches the panel and battery |
| Cables | Length, connector type, obvious looseness | Fix if plugs are warm, loose, or too long for the run |
| Battery | Li-ion battery, solar generator, or power station model | Pass only if the charging input fits the battery limits |
| Panel rating | Wattage, volts, amps | Pass only if those values fit the system spec |
Three-position comparison table
Test three positions over one sunny day and compare the results. Keep the battery or power station the same for every trial. Use the controller input watts, not the panel label alone, because the live reading shows what actually reached the charger.
| Position | Time range | Tilt | Direction | Shade notes | Controller input watts | Battery start | Battery end | Charge gain |
|---|---|---|---|---|---|---|---|---|
| Test 1 | ||||||||
| Test 2 | ||||||||
| Test 3 |
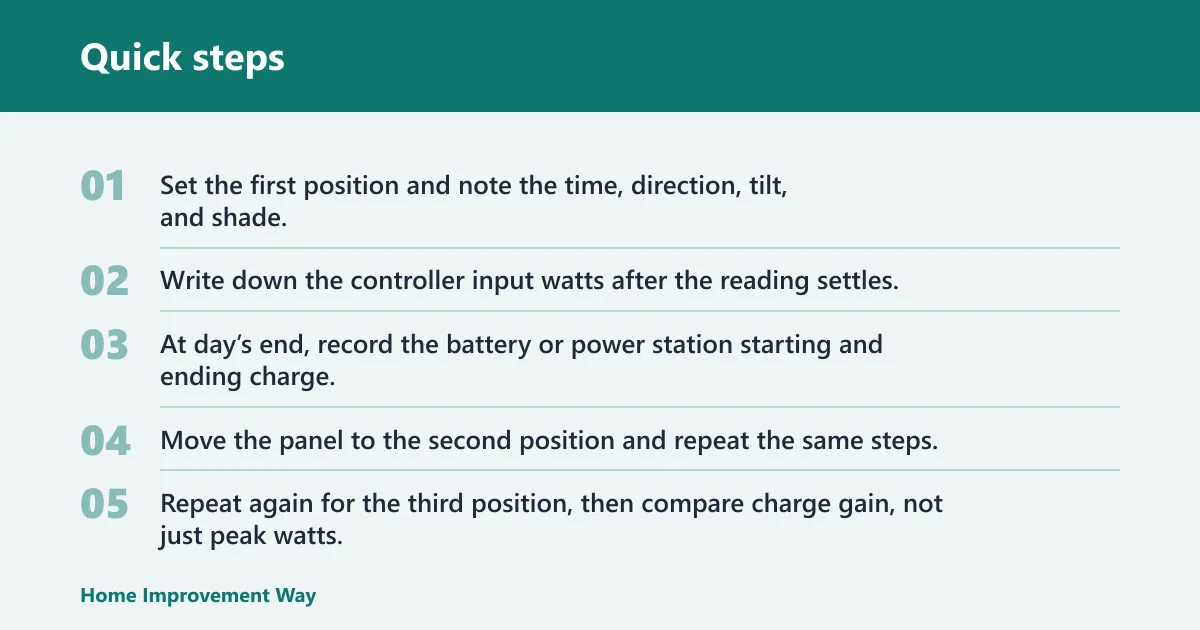
- Set the first position and note the time, direction, tilt, and shade.
- Write down the controller input watts after the reading settles.
- At day’s end, record the battery or power station starting and ending charge.
- Move the panel to the second position and repeat the same steps.
- Repeat again for the third position, then compare charge gain, not just peak watts.
Which panel, controller, and battery match works best?
Panel position only helps if the panel, controller, and battery can work together. Monocrystalline modules commonly reach roughly 20% to 25% efficiency, which is useful when space is tight, and portable panels in the low-to-mid 20% range are strong choices for compact setups. BLUETTI portable solar panels use monocrystalline silicon cells, which fits that same approach. (DOE; NREL; manufacturer specifications)
MPPT versus PWM
An MPPT controller regulates charging to prevent overcharging and usually extracts more usable power than a PWM controller when panel and battery conditions vary. Real-world gains can be significant, often around 10% to 30% depending on panel voltage, battery state, and temperature; some manufacturer manuals quote up to 20% in favorable conditions. That matters most when light is weak, cable runs are longer, or panel voltage sits above battery voltage. (NREL; manufacturer manuals)
Match the panel to the battery
A solar generator or power station needs a panel output that fits its input range, and a Li-ion battery needs charging limits that the controller can respect. A panel that is too small will charge slowly; a panel that is too large for the input stage can trigger limits or wasted potential. Check volts, amps, and wattage together, not one at a time.
What size panel do you need?
There is no single answer because the right size depends on battery capacity, charging window, and controller input limits. A small battery can use a modest panel if the sun window is long, while a larger power station may need more panel wattage to make meaningful progress before sunset. The battery capacity must match panel output in practical terms, or charging will drag.
Do portable panels need to be moved during the day?
Portable panels often benefit from movement because the sun changes angle through the day. Re-aiming every 1 to 2 hours can help keep the panels better aligned with direct sun and may improve charge gain, especially when the charging window is short. This matters most on clear days and in winter, when the sun stays low.
Travel, RV, and campsite placement
For travel use, place the panel where it gets the clearest view of the sky and the least shadow from vehicle sides, awnings, or poles. If you stop for only a few hours, set the panel quickly, aim it toward the sun, and check the controller reading before leaving it alone. For campsite and travel positioning, the best portable solar panels are the ones you can angle safely, move easily, and keep out of self-cast shade. East-west placement can help if you need a longer daily window rather than a single sharp peak.
Weather resistance and handling
Portable panels with IP65 or IP67 protection are better suited to dust and splash exposure during outdoor use. IP65 means protection against dust ingress and water jets; IP67 adds temporary immersion resistance. That rating does not mean the panel should sit in standing water or dirt, but it does help with campsite handling and sudden weather changes. Fold and store the panel carefully so the cells and connectors stay clean. (IEC 60529)
Suppose a 200 W portable panel feeds a power station through a short cable and an MPPT input. If you keep the panel south-facing and adjust tilt once before lunch, you may see better end-of-day charge gain than with a flatter setup that peaks early and fades fast. The useful comparison is the battery gain, not just the momentary watt reading.
What usually stops solar panels from charging well?
Slow charging often comes from simple limits: cable loss, a mismatched controller, battery limits, shade, or dirt. Start with the easiest faults first. If the panel is aimed well but input watts stay low, work through the electrical path from panel to controller to battery before assuming the sun is the problem.
Cable loss and connector choices
Long or poor-quality cables can waste voltage before it reaches the controller. Loose connectors, damaged plugs, and unnecessary adapter chains also add resistance. If the controller input is lower than expected, shorten the run where possible and check that every connector is seated firmly.
Controller mismatch and battery limits
A mismatch between panel output and controller input can cap charging early. Some controllers also limit current or voltage to protect the battery, which is normal, but it can look like a panel problem. If the battery is already near full, the charging rate will taper, so compare readings at similar states of charge.
Dirty panels and partial-string losses
Dust, pollen, bird droppings, and leaf debris can cut output, but partial shading can be worse. Partial shading on one panel can affect an entire string’s output, so a tiny shadow may cause a larger drop than the dirty surface alone. Clean the glass, then look again for the shadow line that cuts across the cells.
How often should you clean solar panels?
Clean panels when dirt, pollen, bird droppings, or salt spray visibly reduce output, rather than on a fixed schedule alone. In many outdoor setups, that can mean a light clean every few weeks or after soiling events, but the real trigger is reduced performance or visible buildup. Avoid harsh tools that can scratch the glass. (NREL; manufacturer care guidance)
Do solar panels hold a charge?
Solar panels do not store usable electrical charge the way a battery does. They generate current when light hits the cells, and that output stops when the light source is gone. Any stored energy in a solar setup comes from the battery, power station, or capacitor-based electronics connected to the panel. (DOE solar basics)
How do you charge solar panels?
You do not usually charge the panel itself; you charge the battery or power station connected to it. Connect the panel through the correct controller or built-in input, then expose the panel to direct sunlight and set the proper direction and tilt. If the battery chemistry or input range is wrong, charging may be slow or blocked. (DOE; manufacturer manuals)
Can east-west orientation beat south-facing panels for usage goals?
Yes, sometimes. South-facing panels usually win for total daily yield, but east-west layouts can better match morning and evening use, flatten the generation curve, and reduce midday oversupply. If your goal is charging during a longer user window rather than maximizing a single peak, east-west can be the smarter fit. (PVGIS; NREL)
Is solar noon always the best charging moment?
Solar noon is often the strongest reference point, but it is not always the best charging moment for every setup. Clouds, shade, roof angles, battery limits, and usage timing can shift the best real-world window earlier or later. The best moment is when the panel is most directly aligned and the battery can accept the power. (NREL solar position guidance)
Frequently asked questions
How do I position solar panels for maximum charging?
Face the panel toward the sun, usually true south in the Northern Hemisphere and true north in the Southern Hemisphere, then set a tilt near your latitude and adjust for season. Keep all cells free of shade, use solar noon as your alignment check, and verify the result by reading controller input watts rather than relying on the label wattage alone.
What angle should solar panels face for best output?
For fixed panels, a tilt near your latitude is a practical starting point, then adjust a little steeper for winter and flatter for summer. For portable panels, about 45 degrees is a good compromise. If you want the best result for winter or a short charge window, a steeper angle often helps.
Should solar panels face south for maximum charging?
Yes, in the Northern Hemisphere south-facing panels capture the most sunlight throughout the day. East-west arrays can extend the generation window, but north-facing roofs are usually the least effective choice and are typically around 20% to 30% less energy than south-facing installations, depending on site conditions. (PVGIS; UK solar guidance)
How much does shade reduce solar panel charging?
Shade can reduce output sharply, and even partial shading on one panel can affect an entire string’s output. Trees, buildings, chimneys, aerials, and moving shadows are common causes. If the panel is shaded for part of the day, the drop can be much larger than the shaded area looks. (NREL)
Do portable solar panels need to be moved during the day?
Often, yes. Portable panels usually work better when you re-aim them every 1 to 2 hours, especially during short charging windows or in winter. If the panel stays put, the sun moves off-axis and input watts fall even though the sky still looks bright.
What size solar panel do I need for battery charging?
The right size depends on the battery capacity, the controller input range, and the charging time you have available. A small Li-ion battery or power station may charge well from a modest panel, while a larger battery bank needs more panel wattage to make useful progress before sunset.
Sponsored / affiliate links. As an Amazon Associate I earn from qualifying purchases. I may earn additional commission from eligible campaigns.