Solar Outdoor Lighting Guide
Choose solar outdoor lights by zone first: install full-brightness fixtures only where panels get 6 to 8 hours of direct sun, and reserve shaded areas for low-lumen markers or remote-panel models. I see the same mistake all the time, bright fixtures set in weak sun, then the path dies early, steps stay risky, and motion lights miss the one moment you wanted them. This guide matches paths, driveways, patios, fences, walls, and entries to the right light type, placement, battery size, charging conditions, runtime, and seasonal tradeoffs. For the support details behind those choices, I also lean on our guides to solar path light spacing and setbacks, solar step light placement for safer tread coverage, how outdoor motion sensors work in real yards, IP ratings for outdoor lights, and when to replace a solar light battery.
How solar outdoor lights actually perform in a yard


What the panel, battery, LED, and sensor each do
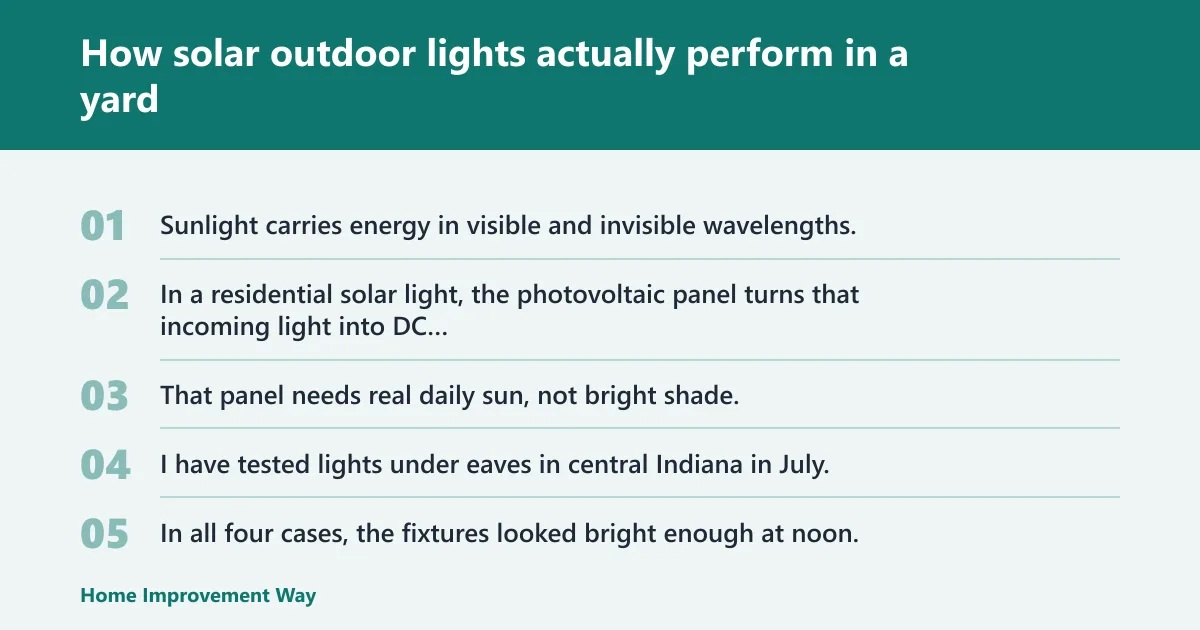
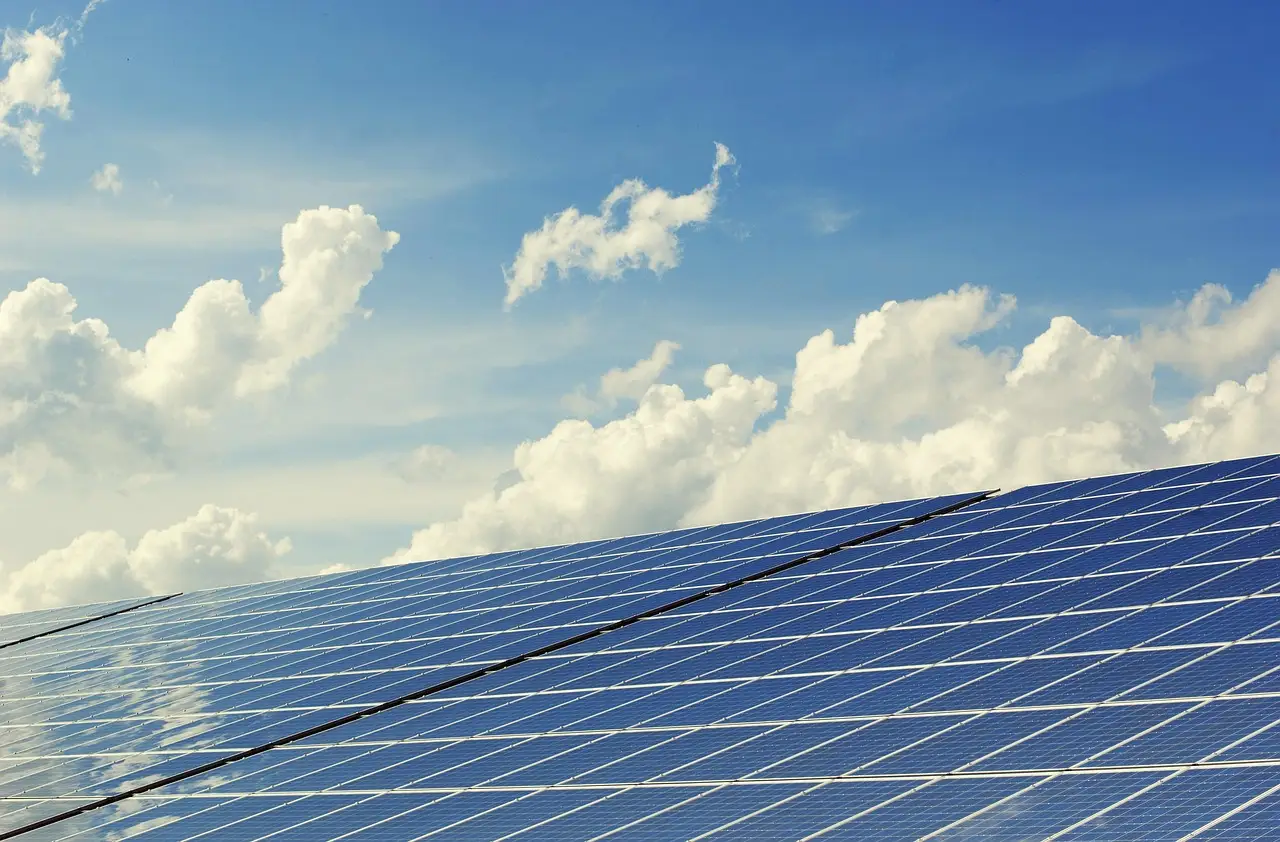
Sunlight carries energy in visible and invisible wavelengths. In a residential solar light, the photovoltaic panel turns that incoming light into DC electricity, then feeds it into the rechargeable battery for use after dark.
That panel needs real daily sun, not bright shade. Lights tested under eaves in central Indiana in July, behind a screened porch in coastal South Carolina in April, near a west window during an Ohio winter, and below dense maple canopy in late August provide useful data. In all four cases, the fixtures looked bright enough at noon, yet still charged poorly over the full day because the panels lost too many prime hours to shade, screening, or dirty glass.
The rechargeable battery stores what the panel collected for use after sunset. A larger-capacity battery usually runs the light longer, and the battery chemistry affects cold-weather behavior, replacement cycle, and how hard the fixture can drive its LED emitter before output drops. Battery University’s overview of nickel-based batteries and lithium-based battery aging is useful background on the tradeoffs I see in small solar fixtures.
The LED emitter turns stored power into visible light. Lumens tell output, but beam spread decides how useful that output is. A narrow beam can make one bright patch. A wide beam can make the same lumen package look softer but cover a safer walking area. The U.S. Department of Energy’s primer on how to buy a light bulb is still one of the clearest references on why lumens matter more than old watt-style thinking.
Motion sensors add another layer. A light that idles low and jumps bright on motion can stretch runtime, but only if the sensor sees the approach path and is mounted high enough to avoid nuisance triggers from plants, pets, and passing traffic. Placement should use the same crossing-path logic covered in the article on outdoor motion sensor placement and trigger patterns, aligned with CPTED guidance from the National Crime Prevention Council on home security lighting and visibility.
Why claimed runtime often misses real conditions
Package claims usually assume a full charge, a clean panel, and moderate weather. Real yards rarely give all three. Winter sun sits lower, leaves cast moving shade, and north-facing walls stay dim long after sunrise.
Cold also cuts stored energy. Even a good battery can deliver less useful runtime after sunset in freezing weather. That is why two identical lights can behave very differently on the same property if one gets morning sun and the other spends half the day under a maple branch. The U.S. Department of Energy notes that seasonal sun angle and shading materially affect solar collection, which matches what I see in yard fixtures as well as larger systems: planning a home solar electric system.
Some packaged fixtures use a high-density NiMH battery, and some include a motion detection option. Those details matter, but placement still decides whether the battery ever reaches a strong daily charge. The most common failure is not a dead component but a light installed where the panel never gets enough solar income to support the marketing runtime.
The three tradeoffs that matter: sun exposure, brightness, and runtime
There is no free lunch here. Higher lumens pull more power. Longer runtime needs either more stored energy, more panel exposure, or lower output.
A practical way to think about it is simple: if a light puts out much more at the same battery size and panel area, runtime usually falls unless a motion mode keeps that higher output to short bursts. That is why decorative fence caps often look fine for ambiance but fail when asked to light a side gate like a small security flood. For readers comparing jobs rather than labels, our explainers on path-light beam spacing and motion-triggered burst modes make those tradeoffs easier to judge.
Separate the job before buying: decorative lighting, wayfinding, task lighting, and security lighting are different jobs.
📊 Solar lighting company claims 35 years of experience. Source: Solar outdoor lighting solutions.
Solar Path Lights vs Hardwired Landscape Lighting
Solar path lights work best for quick installs in full-sun areas with light foot traffic, while hardwired landscape lighting delivers brighter, consistent output all night. Choosing the wrong system leads to dead fixtures by midnight, uneven illumination along walkways, and unnecessary long-term maintenance costs.
The comparison between solar versus hardwired lighting breaks down performance, wiring requirements, winter runtime, and total cost across different yard zones. It also covers hybrid layouts that pair solar fixtures on garden beds with hardwired units on steps and security points, ensuring reliable coverage without overcomplicating installation or exceeding your budget.
How do you choose the right solar light for each zone?
Choose by hazard and sun first. Walks need steady, low-glare guidance; steps need tread visibility; doors and side yards need wider coverage and often motion sensing; fences and patios are usually decorative unless mounted higher with a larger panel and battery. Product type comes after the zone is defined.
Paths and walkways: low glare, steady guidance
Solar path lights work best when they mark edges and direction, not when they try to flood the whole yard. Low-to-mid lumen output with a broad downward spread usually works better than a tiny fixture pushing a harsh point of light in installations. On a brick walk in Indianapolis in October, testing six stake lights at two spacings shows the closer pair with softer beams makes the turns easier to read than the brighter pair spread too far apart.
Set stakes deep enough that frost heave and foot traffic do not lean them. A practical stake depth is roughly enough to leave the head stable after rain and mowing vibrations. Keep them slightly back from pavement edges so a trimmer line does not beat them up. I cover the exact layout approach in how to space solar path lights along edges and curves.
Reflective concrete can make path lights look brighter than they are. Dark mulch does the opposite. Judge by walking the route after full dark, not from the porch.
Steps and level changes: tread visibility first
Solar step lights are mainly a safety product. The beam should wash down over the tread edge. Avoid mounting that throws light straight into eyes on the approach.
For steps, lower output placed correctly beats higher output placed badly. A dim strip of light on each tread edge prevents missteps better than a bright fixture mounted off to one side that leaves alternating shadow bands. Testing three placements on a two-step rear stoop in Columbus last winter after a light snow shows the front-facing mount looks brighter from the yard, but the side-wall mount makes the nosing easier to read on both ascent and descent.
Where only one mounting face is available, a downlight angle aimed across the tread usually reads better than a forward beam aimed out into space. If you are planning this zone, the companion guide on solar step light placement and aiming goes deeper on risers, side walls, and glare control.
Doors, garages, and side yards: coverage and detection
Solar wall lights belong where people actually approach: latch side of a gate, lock side of a door, the dark gap between garage and fence, or the side path where trash bins roll out. Mount high enough to widen coverage and cut glare off siding.
Motion sensing helps here. It saves battery and gives a clear change in light when someone enters the area. It hurts when the sensor faces a street, dryer vent plume, or shrubs that move in wind. A side gate test in early spring shows a sensor aimed straight down the lane misses half the approaches until turned to catch cross movement from the latch side.
Facade color matters. White siding reflects and spreads light. Dark brick swallows it. The same wall light can look roughly one class dimmer on a dark surface.
Fences, patios, and driveways: decorative versus functional light
Solar fence lights are often decorative markers. Fence-cap lights can outline a boundary well, but many do not throw enough useful light to identify a face or fully light a gate path unless the panel and battery are much larger.
Patios usually need comfort lighting. Warm white feels softer around seating and cuts glare. Driveways need orientation and edge definition, plus enough output near the garage apron or parked cars to avoid blind spots. In a driveway test on dark asphalt during December, two decorative post caps were visible from the street but did almost nothing for the walking lane beside the parked car; a single wall light with better sun did more actual work.
For larger open zones, small decorative lights scattered widely tend to disappoint. Fewer fixtures with better sun and smarter beam control do more work.
Where should solar outdoor lights be placed for the best charging?
Place solar lights where the panel, not the lamp body, gets the cleanest daily sun. For brighter solar fixtures, several hours of direct sun is usually the goal, with panel faces kept clear of nearby eaves, shrubs, screens, dirty windows, and shadows that can reduce charging. As a practical benchmark, many consumer and installer guides treat about 6 to 8 hours of direct sun as the sweet spot for a strong daily charge on brighter fixtures, which aligns with the usage guidance published by Ring for its solar accessories: Solar Panel Information.
How many direct-sun hours each light type really needs
Steady path and step lights can often tolerate a little less sun than higher-output wall or motion lights because they run at lower output. Security-style fixtures need the best charging spots on the property.
A useful rule in mixed-sun yards is this: reserve premium sunny real estate for the brightest fixtures. Decorative markers can survive on partial sun. A motion flood mounted in deep side-yard shade usually cannot. A west-side gate run in late fall demonstrates that decorative markers often still glow at bedtime, while the brighter motion unit under the same tree canopy gives only a few strong triggers before fading.
Best panel orientation, tilt, and distance from obstructions
The mounting location should let the panel face open sky for most of the day. A panel flat on top of a fixture may be easy to install but can lose charging if a handrail, shrub, or wall edge shades it during prime sun hours.
Leave practical clearance from walls, trees, and rooflines so the panel does not spend half the day in moving shadows. Even a small obstruction can matter when the panel itself is small. The Department of Energy emphasizes minimizing shading on solar equipment for the same reason: planning a home solar electric system.
Windows and reflective surfaces can help visibility after dark, but they do not charge the battery the way direct sun does. Screens are worse. They cut incoming light enough to matter, especially on already small panels.
When remote-panel fixtures solve a bad mounting location
Remote-panel models make sense when the needed light location is shady but a sunnier roof edge, post top, or wall section is nearby. That setup is often the right answer for steps under a porch, a side gate under trees, or a north-facing entry.
Without a remote panel, some zones are simply poor fits for solar. I would rather call that early than keep replacing dim fixtures in the same bad spot. If you are stuck with a shaded mount point, start with our walkthrough on step-light placement options or moving path lights into better sun without losing coverage.
Zone-by-zone placement matrix
| Zone | Best light type | Ideal mounting height | Sun exposure threshold | Beam direction | Common failure signs |
|---|---|---|---|---|---|
| Front yard and entry | Path lights plus wall light at door | Roughly knee-high for path heads; roughly above eye level beside door | 6 to 8 hours direct sun for wall light; partial sun can work for path markers | Path beams down and out; door light down and across latch area | Early fade by bedtime, glare at eye level, bright porch patch but dark walkway |
| Side yard and side gate | Motion wall light or remote-panel light | Roughly above head height | Best with 6 to 8 hours direct sun on panel; remote panel if gate is shaded | Across the walking lane, not into the fence | Sensor misses approach, light fires on passing cars, gate latch still dark |
| Fence line and perimeter | Fence-cap for outline; face-mount wall-style for function | Cap height or roughly upper half of fence face | Direct sun strongly preferred, especially on north-facing fences | Downward for perimeter glow; angled out only where access is needed | One bright cap every few bays with dark gaps, weak charge on shaded runs |
| Steps | Step light or small wall downlight | Roughly just above tread line on riser or side wall | Partial sun can work if lumen demand stays modest; remote panel often better | Down across tread edge | Glare in eyes, bright riser with dark tread, alternating shadow bands |
| Driveway | Wall light at garage, markers at edges | Roughly above garage side-door height for wall light | 6 to 8 hours direct sun for useful motion output | Down and outward to apron, avoid aiming at cars | Hot spot on garage door, dark tire path, short motion runtime in winter |
| Patio | Warm wall light, fence accents, or tabletop decorative solar | Roughly above seated eye level for wall lights | Partial sun acceptable for ambiance; full sun needed for brighter task use | Down to floor plane or indirect off nearby surface | Harsh glare at chairs, pretty perimeter but dim table surface, weak winter runtime |
How many lumens do I need for solar outdoor lights?
Lumen needs depend on task, not fixture size. Paths and steps need modest output with controlled beams, patios need comfortable spread, and driveways or security areas usually need more light plus better charging. More lumens without more panel area and battery capacity usually means shorter runtime after sunset.
Lumen ranges by job
For guidance, a rough working target for a path marker is low output with wide downward spread. Step lights can sit in a similar rough range if the beam lands right on the tread edge. Wall lights at doors and side yards often need a noticeable step up. Driveway and security-style fixtures need another step up again. ENERGY STAR notes that outdoor decorative and path applications often use much lower light output than security fixtures, while security and flood applications typically need substantially more delivered light: learn about brightness.
Those categories matter more than the printed lumen number alone. A modest fixture aimed correctly can outdo a brighter one that throws half its output into open air. Testing two fixtures on the same side walk shows the lower-lumen unit with a wider downward optic makes the route easier to follow than the brighter unit with a hot center and dark edges.
Beam spread versus raw output
Pathway lighting wants broad, soft light. Accent lighting can use tighter beams. Security lighting needs enough spread to reveal movement, body position, and approach direction, not only a bright center spot.
Wide beams feel dimmer when viewed straight on but often make walking safer. Narrow beams create contrast and hard shadows. That may look dramatic on a tree trunk and be terrible on steps. If you are planning a path or stair run, compare the beam examples in path-light spacing and step-light beam placement.
Warm white or cool white
Warm white is usually easier on the eyes around seating, entries, and short walks. Cool white can make a zone look sharper and may work better with some camera views, especially where identification matters.
Either color can fail if glare is bad. The first fix is usually beam control and mounting height, not chasing a different color temperature.
What should you check before buying?
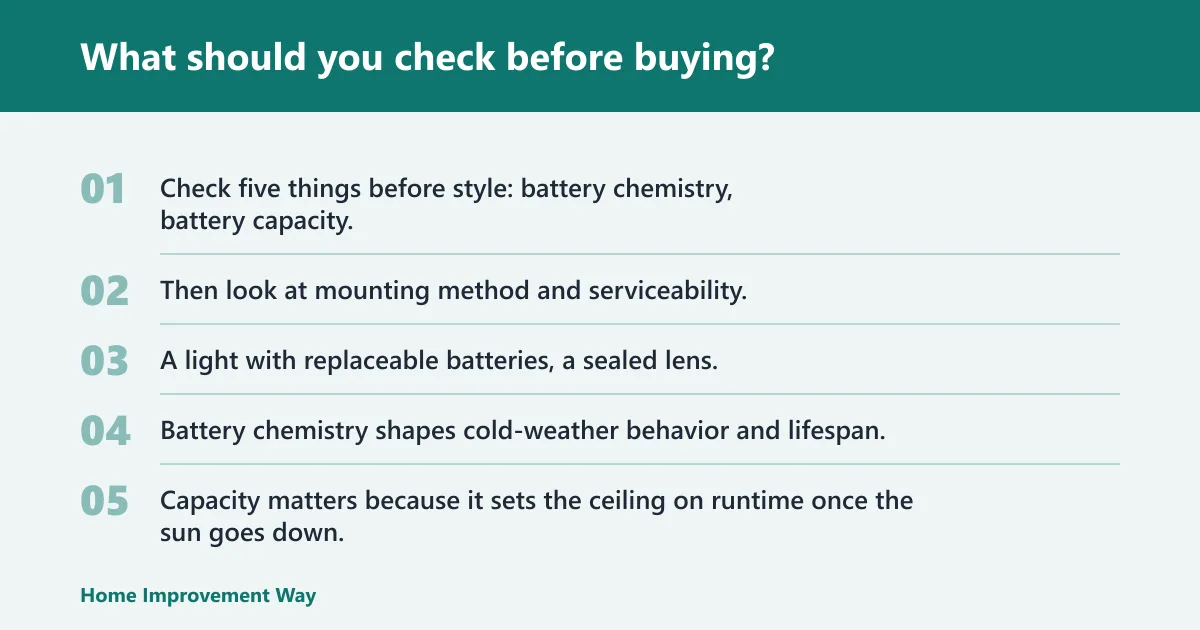
Check five things before style: battery chemistry, battery capacity, panel size and placement flexibility, IP rating, and sensor layout. Then look at mounting method and serviceability. A light with replaceable batteries, a sealed lens, and a panel that can stay in sun will usually outlast a prettier light installed in shade.
Battery chemistry, capacity, and replacement cycle
Battery chemistry shapes cold-weather behavior and lifespan. Some lights use NiMH. Others use lithium-based packs. Capacity matters because it sets the ceiling on runtime once the sun goes down. Battery University serves as a plain-language baseline for expected aging: NiMH and lithium cells age differently, and heat, charge pattern, and depth of discharge all affect service life.
In real use, battery decline shows up as shorter nightly runtime first, then weaker peak brightness. If the battery cannot be replaced, the whole fixture becomes disposable sooner. That is why I strongly prefer models that let you service the battery pack, and why our guide on how to replace a solar light battery is worth checking before you buy.
IP ratings, enclosure sealing, and exposed-weather use
Look for an IP rating that matches exposure. A covered patio fixture can usually get by with less sun than a low-mounted step light exposed to splashback, ice, and blowing rain. Enclosure seams, lens gasket quality, and drain paths matter as much as the printed code. For the code itself, the International Electrotechnical Commission defines the IP system in IEC 60529, and many manufacturers summarize that standard in their technical docs; Rittal’s chart is a readable quick reference: protection categories.
Higher ratings matter more for fence tops, open driveways, and coastal or snowbelt exposure. Water intrusion often starts small: fogging lens, rusty screws, then dead electronics. If you are comparing codes, the article on which IP ratings make sense for paths, steps, walls, and fences maps them to real placement conditions.
Motion sensor range, sensitivity, and trigger mode
For security use, sensor placement is as important as brightness. The sensor should see people crossing its detection field, not only walking straight at it. Trigger mode also matters: full-off to full-on behaves differently from low-glow to high-glow. The National Crime Prevention Council’s home security guidance supports using lighting to improve visibility at entries and paths, but that only works when the fixture is aimed where people actually approach.
If sensitivity is too high, insects, branch movement, and road traffic can empty the battery. If it is too low, a person reaches the door before the light wakes up. I troubleshoot that pattern in our motion sensor setup guide.
Build details that predict longer service life
Look for screws that resist corrosion, a lens that can be cleaned, and mounts that hold angle instead of drooping. Better fixtures also make panel cleaning easy.
Marketing claims need context. I do not treat brand experience lines, fast-install promises, or vague warranty language as proof that a fixture will work in your yard. Panel exposure, serviceable batteries, weather sealing, and sensible beam control are better predictors of long-term results.
How to install solar path, wall, fence, and step lights correctly
Solar path light spacing, stake depth, and edge setbacks
- Walk the route after dark and mark turns, edges, and trip points first.
- Set path lights slightly back from pavement edges so wheels, shovels, and trimmers do not hit them.
- Space by what the beam actually covers, not by perfect symmetry in daylight.
- Push stakes deep enough that the fixture stays upright after rain and freeze-thaw movement.
- Stand at approach height and check glare before finishing the run.
Solar wall light height and aiming around doors and garages
Mount solar wall lights high enough to spread light across the approach zone, then aim the beam down and across the latch side, not flat out at eye level. On garages, light the apron and person path rather than blasting the door panel.
Keep enough clearance from soffits and trim shadows that the panel still sees sun. A wall light mounted under a deep overhang often fails even if the yard itself seems sunny. For a step-by-step layout, see motion-sensor wall light placement around doors and garages.
Solar fence light mounting for cap and face installations
Fence-cap lights work for outlining a perimeter or patio edge. Face-mount lights usually do better for gates, side passages, and utility access because the beam can be aimed lower and farther forward.
North-facing fences are a common trap. They may look exposed, yet collect poor solar gain for much of the day. That is where a remote-panel model or a different technology starts to make more sense. If the goal is function rather than outline, I would review weather exposure by mounting location before drilling anything permanent.
Solar step light placement for tread visibility without glare
Place step lights where they paint the tread edge. Side-wall mounting often works better than front-facing placement because it keeps the source out of direct sight. Keep fixtures out of the foot path and away from places where a toe or shovel can catch them.
Test from both directions. A step that looks lit on descent may still be hard to read on ascent if the beam lands too high on the riser. The full placement sequence is in our solar step light placement guide.
Can solar lights work in shaded yards?
Yes, but only for the right jobs. Partial sun can support low-lumen markers, some step lights, and decorative patio accents. Shaded yards usually cannot support high-output wall lights or all-night security duty unless a remote panel reaches direct sun or the technology changes.
What partial sun can support, and what it usually cannot
In mixed shade, keep expectations modest. A low-output marker that only needs to help define an edge may do fine. A bright motion light expected to fire hard and often probably will not.
Shaded zones also suffer more in winter, when the available solar window shrinks and nearby obstructions cast longer shadows. In January, a side-yard marker under bare branches often runs until late evening, while the brighter gate light in the same corridor but with worse sky exposure fades before dinner.
How reflective surfaces change perceived brightness but not charging
Pale pavers, white fences, and light siding can make a dim fixture feel more useful because they bounce light back into the space. That helps visibility. It does not fix charging.
If the panel is still shaded, the battery budget stays small. Reflection changes the look of the light, not the amount of stored energy.
When to relocate, thin obstructions, or switch technologies
Trim back the branch that shades the panel at noon if that is practical. Move a path light a short distance into better sun and let the beam reach back toward the walk. Use a remote-panel model when the light location is fixed.
If none of those are possible, solar may be the wrong fit for that zone. That is a placement answer, not a product failure. Before giving up, compare your site to sun-first path layouts and remote-panel step-light options.
Common failure signs and how to fix them
Short runtime, dim output, and battery decline
If a light looks good at dusk and dies early, suspect weak charging first. Clean the panel. Check for new shade from seasonal growth. Then look at battery age.
Battery decline usually arrives gradually. Full brightness for only a short burst, then a fast drop, often points to aging cells or cold-weather limits. In one March test, a pair of older path lights still charged, but both fell from normal brightness to a faint glow within about an hour; replacing the worn cells restored most of the nightly runtime. The process is straightforward in many models, making a separate guide on battery replacement for solar lights useful.
Sensor misfires, poor detection, and wrong mounting height
A sensor that misses people but catches traffic is aimed wrong or mounted in the wrong plane. Re-aim across the approach path. Raise it if shrubs or railings block the detection field.
For nuisance triggers, lower sensitivity if adjustable and remove moving branches from the foreground. In a windy side yard, a light may trigger all evening from ornamental grass until the grass is cut back and the sensor angle is shifted a few degrees.
Water intrusion, corrosion, and lens haze
Condensation inside the lens, rust at screw heads, or green corrosion near battery contacts usually means sealing has failed. Drying the light may revive it briefly, but the better fix is replacing gaskets or the fixture.
Lens haze also steals useful output. A panel can be fully charged while the dirty lens makes the light seem weak. For exposed sites, use the placement notes in our IP rating guide to match the enclosure to the weather.
Seasonal sun shifts, winter drop-off, and panel cleaning
Panel cleaning is simple and often overlooked. Dust, pollen, bird droppings, and leaf film all cut charging. So does snow cover. Clean gently and recheck tilt if the fixture allows adjustment.
Solar installations can improve resilience during extreme weather and disruptions, but small yard fixtures still depend on daily solar income. Winter exposes every weak placement choice. My own annual failure pattern is consistent: the same lights that look acceptable in June reveal bad siting by December.
Frequently asked questions
how to use solar lights outdoors
Use solar lights outdoors by assigning each one a job first: guide a path, light a step, cover a door, or mark a fence line. Then place the panel in the best sun available, keep beams low-glare, and reserve motion mode for zones that need burst brightness.
what are good outdoor solar lights
Good outdoor solar lights match the zone. Look for adequate panel exposure, a battery that can be replaced, an LED beam suited to the task, and an IP rating that fits weather exposure. A good path light is often a poor security light, and the reverse is also true.
where should solar outdoor lights be placed for the best charging
Place them where the panel sees open sky and direct sun for most of the day, ideally 6 to 8 hours for brighter fixtures. Avoid shade from rooflines, trees, porch screens, dirty windows, and tall shrubs. If the light location is shaded, use a remote-panel model.
how many lumens do I need for solar outdoor lights
You need fewer lumens for paths and steps than for driveways, side yards, and security use. Start with the task, then check beam spread and runtime. More lumens are only useful when the panel and battery can support them for the hours you actually need.
are solar motion sensor lights good for security
They are good for basic detection and convenience when mounted in strong sun with a clear sensor view. They are less reliable when asked to replace larger wired security lights in deep shade or heavy winter conditions. Mounting height, trigger mode, and panel exposure decide most of the result.
what waterproof rating should outdoor solar lights have
Choose the rating by exposure. Covered patio lights can tolerate less than lights on open fences, steps, or driveways. Printed IP rating matters, but enclosure sealing, lens gasket quality, and resistance to corrosion matter too. The harsher the weather and splashback, the more protection is needed.
how long do solar light batteries last in real use
In real use, battery life depends on chemistry, charging quality, climate, and how hard the light runs each night. Strong sun, modest output, and motion modes stretch service life. Deep shade, winter cold, and high brightness shorten both nightly runtime and the overall replacement cycle.
can you replace batteries in most solar outdoor lights
Often yes, but not always. Many path lights and some wall lights use replaceable AA, AAA, or small pack-style rechargeable batteries, while some sealed designs are effectively non-serviceable. Before buying, check whether the battery compartment opens cleanly, whether the chemistry is identified, and whether replacement instructions exist. If you want a fixture that lasts beyond the first battery cycle, start with a model designed for battery access and review how solar light battery replacement works before purchase.
Bottom line: the best solar outdoor light is the one matched to the job, mounted for the beam, and given enough sun to recharge reliably. If you decide by zone first and protect your best sunny spots for the highest-demand fixtures, you will avoid most of the failures that make solar lighting feel weaker than it really is.
Sources
- U.S. Department of Energy: How to Buy a Light Bulb
- U.S. Department of Energy: Planning a Home Solar Electric System
- Battery University: Nickel-based Batteries
- Battery University: How to Prolong Lithium-based Batteries
- ENERGY STAR: Learn About Brightness
- Ring Support: Solar Panel Information
- Rittal: Protection Categories (IP Ratings Overview)
- National Crime Prevention Council: Home Security
- Solar outdoor lighting solutions
Sponsored / affiliate links. As an Amazon Associate I earn from qualifying purchases. I may earn additional commission from eligible campaigns.