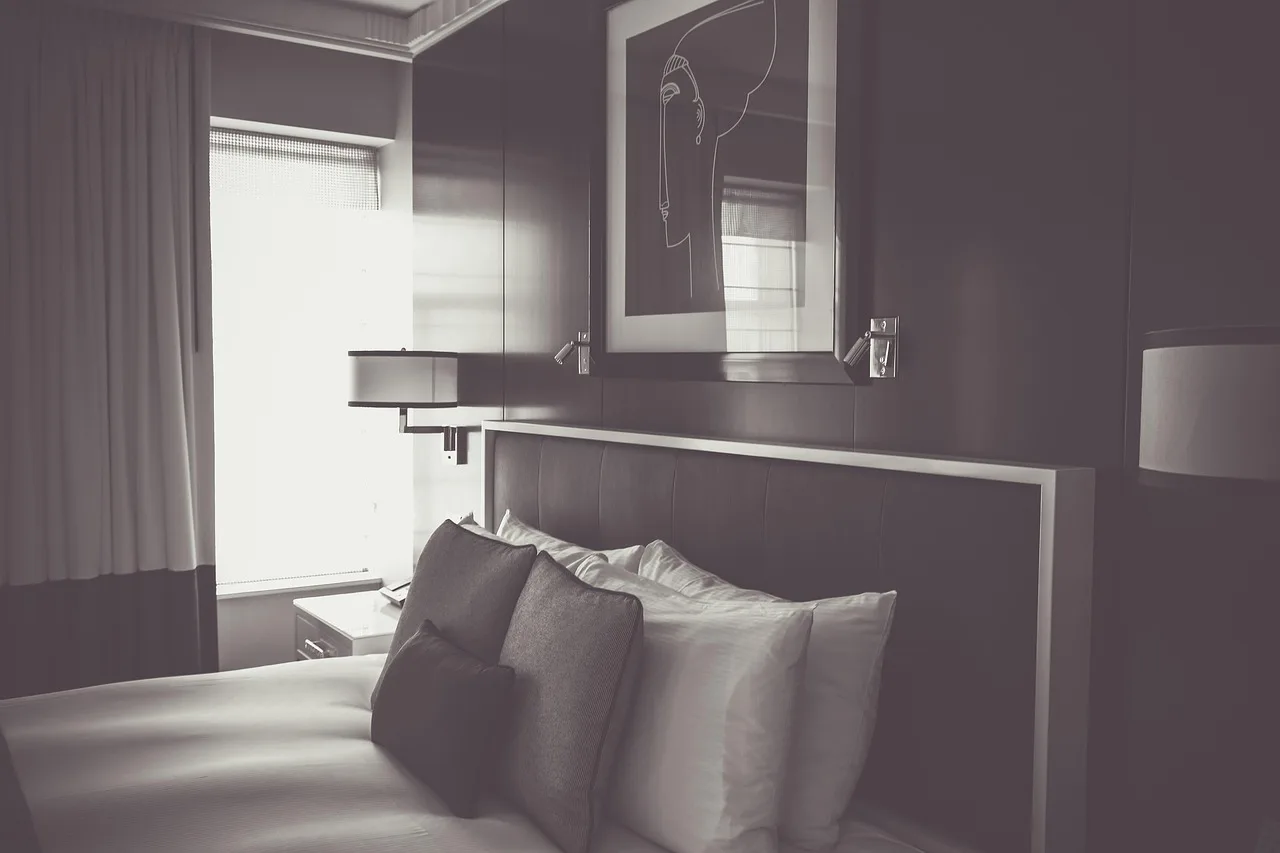
Lighting Fixtures Guide
Choose fixtures by room size, ceiling height, and task: keep 7 feet of clearance in walking areas, size chandeliers by adding room length and width in feet to get a starting point for fixture diameter in inches, and match damp or wet ratings to moisture. Get that wrong, and rooms feel dim, glaring, cramped, or unsafe around steam and showers. This lighting fixtures guide covers fixture types, mounting limits, spacing, lumen targets, and dimmer or smart-switch compatibility by room.
How do I choose lighting fixtures for my home?
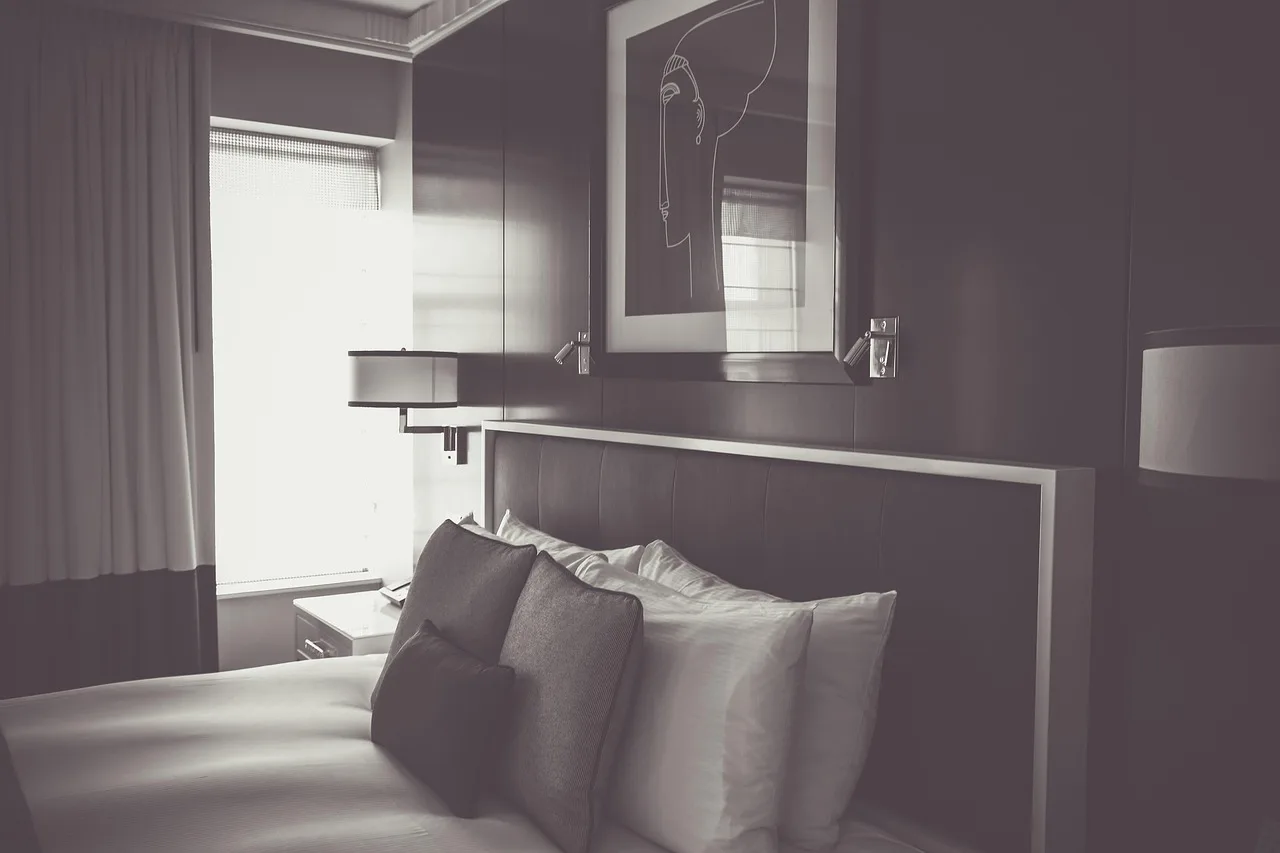


Choose a light fixture by asking four things in order: what work happens in the room, what the ceiling and walls allow, how much light output the room needs, and what controls will run it. Style comes last. I use that order on real jobs because it stops the common mistake of buying a fixture that looks good online and fails the minute it goes up.
Start with the job: ambient, task, or accent
A light fixture does more than hold a lamp. It puts light where you need it and cuts visual glare when the design is doing its job. It also decides where light lands, how much of the source you can see, and how well heat moves away from the lamp or LED module.
Ambient light gives the room its base light so you can move through it and use the space without dark corners. Task light puts stronger light on the work itself, on a cutting board, a book page, a bathroom mirror, or a bench top. Accent light picks out art, shelving, or architectural features. One fixture can cover more than one job, but in a lot of rooms I get better results by splitting those jobs across different fixtures.
In my own remodel work, I almost never let a decorative center fixture carry the whole room unless the room is very small. In one dining room with an 8-foot ceiling, I kept the chandelier modest for proportion and glare, then let the rest of the room brightness come from dimmable perimeter lighting. That decision looked less dramatic on paper and worked much better in use.
Check the room geometry before you shop
Room width, furniture placement, door swings, cabinet doors, and sightlines matter more than finish color. I have seen chandeliers that looked perfectly scaled in a product shot and still blocked the view across a small living room or hung right into the walking path.
Start with the center of use, not the center of the ceiling. Over a dining table, center the fixture on the table. Over an island, center to the island. In a foyer, center to the entry volume and the front door swing, not always to the existing junction box.
On site, I sketch the room and mark where people actually stand, sit, and walk. That simple step catches most bad fixture choices before ordering, especially in kitchens where island stools, fridge swings, and pantry doors compete for the same airspace.
Use mounting constraints to narrow fixture types
Indoor lighting is usually accomplished using light fixtures, but not every fixture can go everywhere. Low ceilings push the choice toward flush or semi-flush ceiling mounted luminaires. Sloped ceilings may require a canopy or stem that can hang plumb. Damp rooms need the right location rating. Heavy fixtures need a box that can carry the load.
For mounting limits, I treat 7 feet as the practical minimum clear headroom in occupied walking areas, consistent with common residential guidance and the intent of code-required headroom. For wet and damp spaces, I check the fixture’s marked location rating and the manufacturer installation instructions rather than guessing from the finish or marketing copy.
If the ceiling box is off-center, fixing that may be harder than changing the fixture type. In many remodels, I find that a pair of sconces or a ceiling-mounted luminaire solves the problem better than forcing a pendant into the wrong spot.
Filter by style after fit and output are right
Once type, size, placement, and controls are set, the style decision gets easier. Shades of Light groups fixtures into chandeliers, ceiling lights, lanterns, pendants, and bath & vanity lighting, which is useful as a shopping map. It is not a decision method by itself.
Antique and decorative categories can still work. 1stDibs shows antique lighting fixtures for sale across categories, including a 19th c. French Louis XVI bronze/crystal mesh beaded flush mount ceiling fixture. The lesson is simple: even ornate pieces still have to fit the room geometry and clearance rules.
If you are comparing adjacent fixture types, it also helps to jump between related room guides before buying. I usually cross-check a plan against recessed lighting layout basics, bathroom vanity lighting, outdoor wall lights, and LED dimmers so the decorative fixture, task lighting, and controls work as one system.
📊 1stDibs shows antique lighting fixtures for sale across categories. Source: Iconic Lighting Fixtures.
What should I consider before buying a lighting fixture?
Before buying, confirm five things: box location, box support, ceiling height, room exposure, and control compatibility. A good-looking fixture with the wrong mount, wrong rating, or wrong dimmer often costs more in patching and rewiring than it did at checkout.
Install-readiness checklist
- Check whether the existing junction box is centered where the fixture should actually go.
- Confirm the box can support the fixture weight.
- Measure floor-to-fixture and furniture-to-fixture clearances.
- Verify sloped-ceiling, damp-location, or outdoor compatibility if needed.
- Check dimmer type, LED driver compatibility, and switch count before ordering.
Junction box location, support rating, and fixture weight
Many buying mistakes start with assuming the existing box is in the right place. In older rooms, it may be centered to the joists, not the table or island. That can leave a chandelier offset from the room’s focal point.
Support matters too. A heavy chandelier or lantern may need more than a basic ceiling box. If the fixture is large, check whether the canopy covers old paint lines or ceiling damage left by the previous fixture.
On older plaster ceilings, I also verify canopy depth and screw reach before ordering. I have had otherwise good fixtures fail a simple install because the supplied hardware assumed a shallower finish layer than the house actually had.
Ceiling height, walking clearance, and furniture clearance
A common baseline is about 7 feet of head clearance in walking paths. Over beds, tables, and islands, fixtures can hang lower because people do not walk under them the same way. Even then, cabinet doors, pantry swings, and sightlines should be checked on paper before purchase.
In practice, the miss I see most is a pendant that looks right by itself and ends up too low once stools, bar seating, or an open sightline across the kitchen is factored in.
For dining fixtures, I usually mock up bottom-of-fixture height with tape before final hanging. That lets me test seated sightlines across the table and whether exposed lamps are visible from the entry.
Sloped ceilings, damp locations, and outdoor exposure
Sloped ceilings need a fixture that can hang correctly from that angle. Bathrooms need attention to steam and splash zones. Outdoor lighting fixtures need a body, lens, and finish that can handle weather exposure.
Outdoor lines often include both wall-mounted and ceiling-mounted luminaires. iGuzzini includes wall-mounted and ceiling-mounted luminaires outdoors, and also lists ceiling mounted luminaires for outdoor use. That matters at covered porches where either mounting style might work.
For bathrooms, I rely on fixture markings and listing language: dry location for ordinary indoor use, damp location where moisture or condensation may be present, and wet location where direct water contact is expected. In shower and tub zones, I follow the luminaire’s listing and the manufacturer instructions instead of treating every bathroom ceiling position the same.
Dimmers, LED drivers, and switch planning
LED fixtures are less forgiving of bad controls than old incandescent fixtures. A dimmer has to match the LED driver or lamp. If it does not, the light may flicker, drop out at low levels, or never dim smoothly.
Plan switching by use. Kitchens often need separate control for general ceiling light, island pendants, and undercabinet task light. Bedrooms benefit from entry control plus bedside control. Bathrooms often work best with mirror light separated from the ceiling light.
When I specify integrated LED fixtures, I check the cut sheet for dimming protocol and low-end behavior first. If the product only says “dimmable” without naming compatible control types, I treat that as incomplete information and keep looking.
Understanding fixture performance: lumens, efficacy, color temperature, and glare
Lumens: compare total fixture output, not bulb wattage
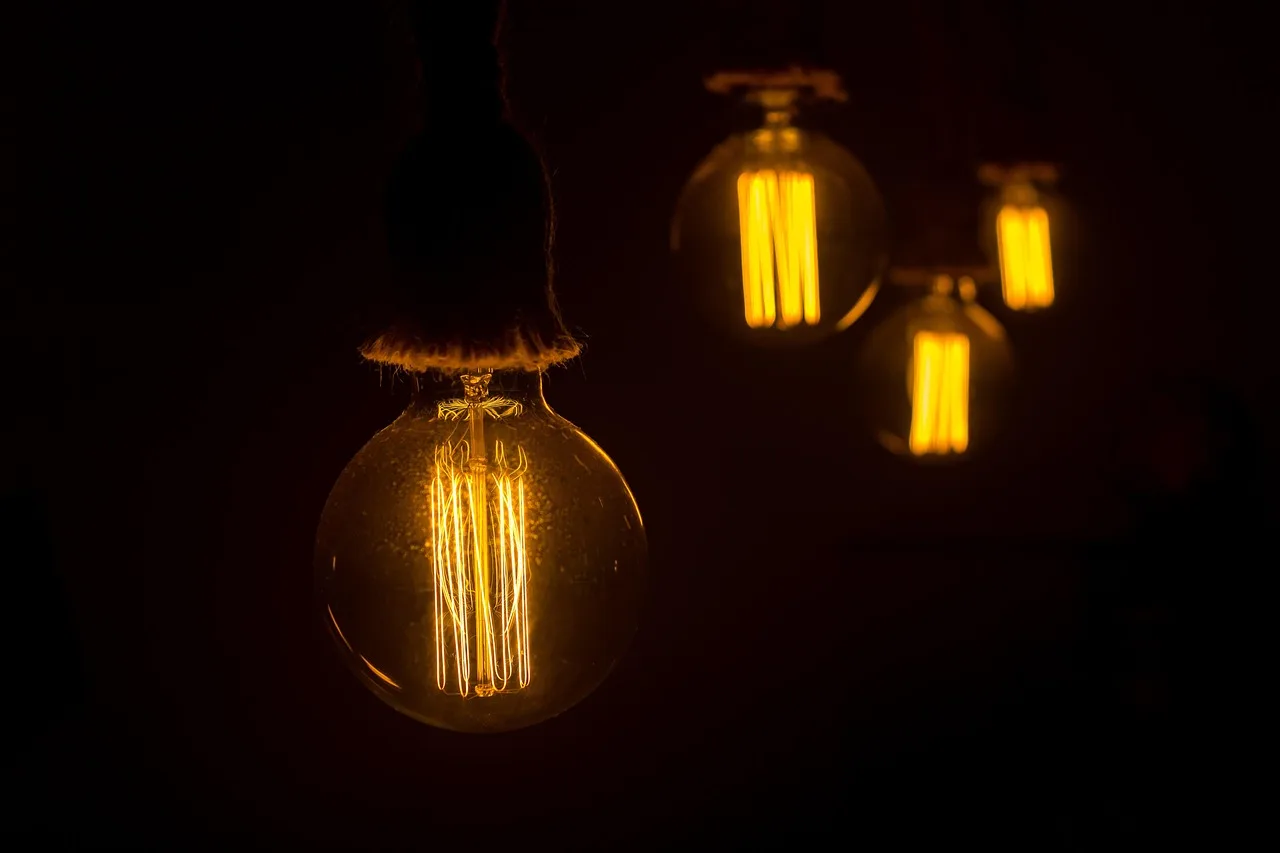
Lumens are the brightness output to compare. Stop thinking in old bulb wattage. Compare the total fixture output, especially with integrated LEDs where the source cannot be separated from the fixture body.
Room use should guide output. A hallway needs enough general light to walk through safely. A vanity needs usable light on faces, not only a bright ceiling spot. In many product lines, integrated LED ceiling lights land roughly in the low-thousands of lumens, while decorative pendants may offer far less useful room light than their size suggests.
For room targets, I use delivered light goals based on room task and then sanity-check the fixture specs. In real homes, that usually means decorative dining fixtures at the lower end, kitchens and baths in the middle, and garages or task areas at the high end.
Lumens per watt: how to compare efficiency across fixture lines
Luminous efficacy is measured in lumen per watt. Higher values are more efficient, which makes this metric useful when comparing LED fixture lines that appear similar but deliver different output for the same power draw.
Use lumens per watt as a comparison tool, not the only buying factor. A very efficient fixture can still fail if it throws glare into the room or puts all the light in the wrong place.
Color temperature in kelvins
A white light source’s color temperature is measured in kelvins. Incandescent bulbs are around 2800 to 3000 kelvins. Daylight is around 6400 kelvins. That spread affects how a room feels and how easy detailed tasks feel under the light. (en.wikipedia.org)
Warmer light generally suits living rooms, dining rooms, and bedrooms. Neutral to cooler light often helps where visual detail matters, such as kitchens, baths, garages, and work zones. The right choice is less about fashion and more about whether the room asks people to relax, read, prep food, or inspect surfaces.
My default starting points are simple: about 2700K to 3000K for living and sleeping spaces, around 3000K to 3500K for kitchens and bathrooms, and cooler only where utility work really benefits. I adjust from there if surface colors or daylight availability push the room warmer or cooler.
Glare control, shade design, and material heat tolerance
Glare is what makes a bright fixture uncomfortable. Bare lamps at eye level, mirrored shades, and open-bottom pendants hung too low are frequent causes. Frosted diffusers, deeper shades, and indirect designs usually control it better.
Material matters. A fixture body has to manage heat around the source or driver, and shades have to tolerate that heat. Good-looking materials can fail early when they trap heat or discolor under a lamp they were never meant to carry.
Compact room-by-room lumen targets
If you want a fast starting point, use the table below and then adjust after checking fixture distribution, ceiling height, and surface reflectance. I treat these as practical planning ranges, not rigid rules.
| Room | Typical lumen target | Notes |
|---|---|---|
| Living room | 1,500 to 3,000 lm | Often split across a ceiling fixture plus lamps or sconces |
| Dining room | 1,500 to 3,000 lm | Decorative fixture can be lower if dimmable and layered with other light |
| Kitchen | 3,000 to 6,000 lm | General light plus separate task light at counters |
| Bathroom | 2,000 to 4,000 lm | Do not count on ceiling light alone for mirror tasks |
| Bedroom | 1,000 to 2,500 lm | Layer with bedside task lighting |
| Hallway | 700 to 1,500 lm | Even spacing usually matters more than a single high-output fixture |
| Garage or utility | 4,000 to 8,000 lm | Higher targets help benches, shelving, and storage walls |
| Outdoor entry | 800 to 2,000 lm | Enough for the lockset, threshold, steps, and address visibility |
Those targets line up with how I actually buy fixtures: I compare the manufacturer’s published lumens for the fixture, not the marketing category name. That is especially important with integrated LEDs, where two fixtures of similar size can differ dramatically in delivered output.
What is the difference between chandeliers, pendants, and sconces?
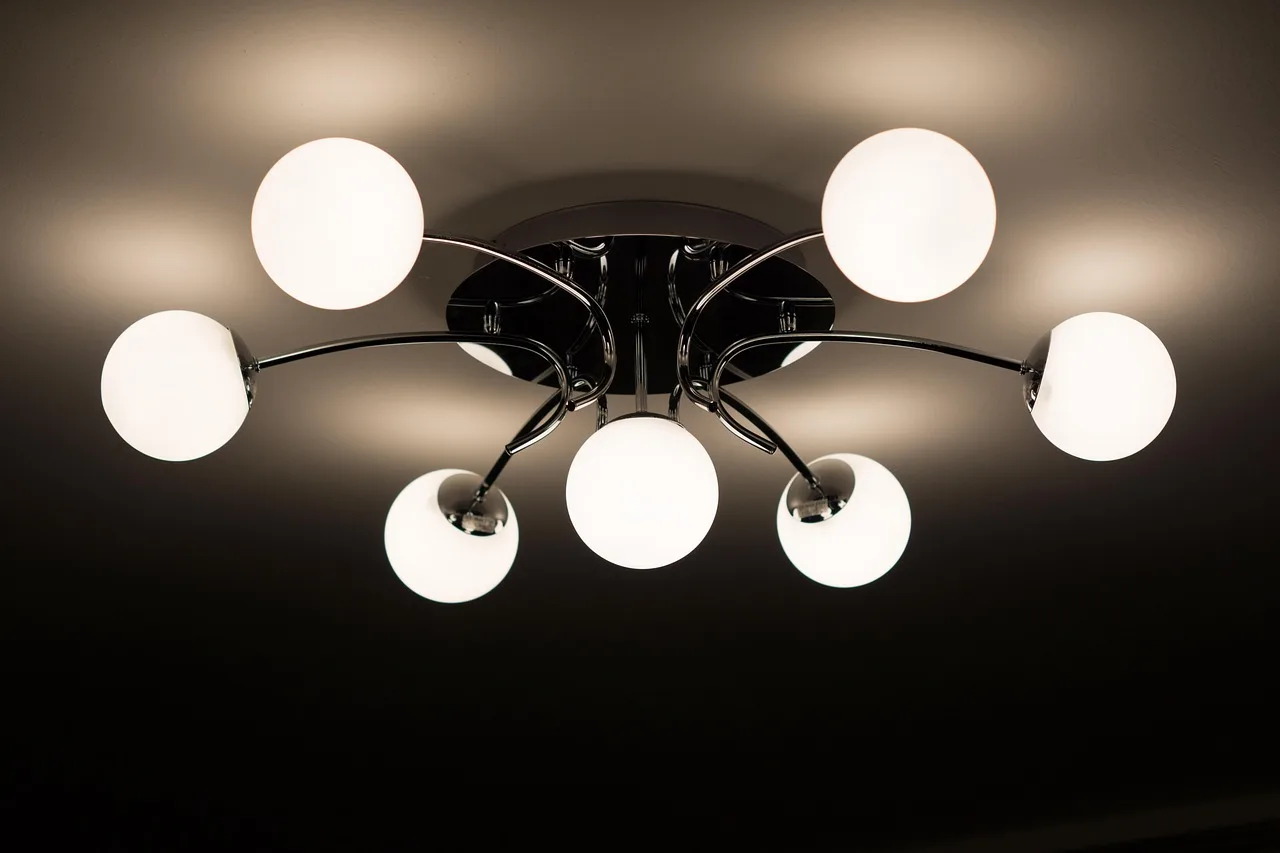
Chandeliers are multi-arm or multi-light hanging centerpieces, pendants are focused hanging fixtures for tables and islands, sconces mount to the wall for circulation or mirror light, and ceiling mounted luminaires sit close to the ceiling. The best choice depends on clearance, beam control, and what people do below it.
Chandeliers: best uses, sizing logic, and common mistakes
A chandelier is a statement fixture category, often best over dining tables, in foyers, or in living rooms with enough volume. The quickest sizing method is the room rule in the opening paragraph: add room length and width in feet, and use that number as a starting diameter in inches.
Common failures are easy to spot. The chandelier is too small for the room, too low for the circulation path, or too bright in the line of sight because the lamps are exposed.
Pendants: single, linear, and grouped layouts
Pendants often work well where light needs a focused target. That makes them strong over islands, breakfast tables, and side-by-side grouped layouts. Single pendants suit small tables. Multi-light pendants or evenly spaced singles suit longer counters.
Over an island, a practical field approach is to keep the outer pendants in from the island ends by roughly the width of one pendant, then adjust by sightline and stool position. I avoid packing pendants too close together, because they start to read as clutter instead of structure.
Sconces: wall light for circulation, mirrors, and layered lighting
A sconce is a wall-mounted fixture that works well in hallways, beside beds, and flanking mirrors. At a bathroom mirror, sconces usually give better face lighting than a ceiling can light by itself because the light arrives from the sides instead of straight overhead.
Bad sconce choices usually fail through glare. Exposed lamps at eye level are tiring. Deep shades or diffused lenses are safer when the fixture sits in a direct line of sight.
Flush and semi-flush ceiling mounted luminaires
Ceiling mounted luminaires include flush and semi-flush options. These are often the go-to choices for low ceilings, small rooms, hallways, closets, and many utility spaces. Shades of Light highlights ceiling lights as a shop category for good reason: they solve clearance problems that hanging fixtures create.
Flush mounts are safest where every inch matters. Semi-flush models can spread light more broadly and look lighter in the room, but they still need careful attention to head clearance.
Quick comparison matrix: chandelier vs pendant vs sconce vs flush mount
| Fixture type | Best use | Strengths | Limits | My usual install choice |
|---|---|---|---|---|
| Chandelier | Dining rooms, foyers, large living spaces | Strong visual presence, can spread light broadly | Needs volume and careful glare control | When the room has enough height and the furniture below defines placement |
| Pendant | Islands, breakfast tables, focused task zones | Precise placement, strong downward emphasis | Easy to hang too low or too close together | When I need targeted light and a clear furniture anchor below |
| Sconce | Mirrors, halls, bedsides, layered living spaces | Saves ceiling clearance, good side light on faces | Wall space and eye-level glare matter | When the ceiling is compromised or mirror lighting is weak |
| Flush or semi-flush | Low ceilings, halls, bedrooms, utility rooms | Best clearance, broad general light | Less dramatic, some decorative models still glare | When headroom is tight or the room wants quiet ambient light |
What size lighting fixture do I need for my room?
Use room dimensions, furniture dimensions, and ceiling height together. Start with fixture width, then test the hanging height against people walking, sitting, and opening doors nearby. A properly sized fixture should feel centered to the activity zone without stealing headroom or blocking sightlines.
Room-based sizing for living areas, bedrooms, and foyers
For living rooms and foyers, the room-length-plus-width method gives a quick chandelier diameter starting point in inches. It is a starting point, not a command. A room with tall ceilings can often carry more visual weight than the formula suggests. A low room usually cannot.
Bedrooms usually reward restraint. Large hanging pieces over the center of a bedroom can feel heavy if the bed dominates the floor area. Semi-flush ceiling mounted luminaires, combined with bedside sconces or lamps, often fit better.
Fixture width over dining tables and kitchen islands
Over a dining table, the fixture should sit comfortably inside the table edges. A practical target is to leave some space between the fixture edge and the table edge on each side, then confirm by mockup with painter’s tape or cardboard.
Over a kitchen island, use either one linear fixture sized to the island or a set of pendants that reads as one composition. The island, not the room, should drive that decision.
When I lay out pendants, I check the visual mass from the main approach to the kitchen, not just from directly in front of the island. A spacing pattern that looks perfect in elevation can feel crowded from the adjacent family room.
Hanging height rules for chandeliers and pendants
In walking paths, keep 7 feet of clearance. Over dining tables, a useful starting point is about 30 to 36 inches above the tabletop, then adjust for fixture glare and sightlines across the table. Over islands, pendants often end up in a similar rough band, but cabinet lines and stool use should break the tie.
For entries and foyers, I also check the front-door swing and the view from the threshold. A fixture can meet clearance and still feel too low if it fills the entire first sightline into the house.
When a smaller fixture needs support from other lighting
A decorative fixture may be correctly sized and still too weak as the only room light. That happens often with chandeliers and small pendants. When output is modest, add recessed lights, sconces, or task lighting rather than upsizing the decorative piece until it overfills the room.
If you are planning a layered room, it helps to compare the center fixture with how many recessed lights per square foot and then match controls through LED dimmers. That combination usually solves brightness better than simply buying the biggest chandelier that fits the budget.
What type of lighting fixture works best in each room?
The best fixture type changes by room task and mounting limits. Living rooms and foyers often take chandeliers or semi-flush lights, kitchens favor ceiling light plus task layers, bathrooms need glare-aware mirror light, and utility rooms need broad, direct output more than decoration.
Living rooms, dining rooms, and foyers
Living rooms do well with a central ceiling light only when it is supported by lamps or sconces. Dining rooms are the natural home for chandeliers and pendants because the table defines both placement and lower hanging height. Foyers can take a statement piece if the clearance and sightlines work.
In my own projects, foyers are where scale mistakes show up fastest. If the entry has standard ceiling height, I usually lean semi-flush or a shallow lantern instead of forcing a “grand” chandelier into a short vertical volume.
Kitchens, islands, and breakfast areas
Kitchens need the clearest split between ambient and task light. A ceiling-mounted luminaire can handle general light. Pendants can mark the island. Undercabinet lighting handles the close work at the counter, where you actually chop, read a recipe, or check doneness. Breakfast areas often take a single pendant or compact chandelier centered to the table.
When the island is the visual center but not the main prep zone, I keep the pendants decorative and let the work happen with ceiling and undercabinet layers. That one choice prevents a lot of “pretty but still dark” kitchens.
Bathrooms, hallways, and bedrooms
Bathrooms work best with a ceiling fixture for general light and sconces for the mirror task. Hallways usually want flush or semi-flush ceiling lights, with sconces where wall width allows. Bedrooms often favor soft ambient ceiling light plus bedside reading light instead of one bright overhead source.
For vanity zones, I usually start with side lighting first. If the room lacks wall space, I fall back to a dedicated vanity bar or a ceiling plan with stronger mirror support, not just a brighter center light. See bathroom vanity lighting if your mirror area is doing too much work under one fixture.
Basements, garages, and utility spaces
These rooms usually reward function first. Use broad, even ceiling light with good shielding. Cooler color temperatures can help with visual detail at workbenches and storage shelves. Decorative open-lamp fixtures tend to disappoint here because glare is high and useful task light is low.
Garages and basements also expose weak fixture specs fast. I choose higher lumen packages, wider distribution, and straightforward maintenance over decorative form almost every time.
Room-by-room fixture decision table
How to read the table
Use the ceiling-height column first, then fixture type, then clearance. The mounting style column helps sort flush, semi-flush, hanging, or wall options. The last column matters most because it names the mistakes that waste money after installation.
Decision table for common rooms
| Room | Ceiling height | Recommended fixture type | Minimum clearance | Typical mounting style | Common failure modes |
|---|---|---|---|---|---|
| Living room | Low to average ceilings | Semi-flush or flush ceiling mounted luminaire; chandelier only if room volume allows | 7 feet in walking paths | Ceiling mounted at room center or seating zone center | Undersized chandelier, exposed-lamp glare, fixture centered to box instead of seating area |
| Kitchen | Average ceilings; island zone may allow hanging fixtures | Ceiling light plus pendants over island and task lighting at counters | 7 feet in paths; roughly 30 to 36 inches above island surface for pendants | Flush or semi-flush ambient light; hanging pendants over island | Pendants too low, blocked sightlines, weak task light, fixture interfering with cabinet doors |
| Bathroom | Any height; moisture exposure drives rating | Ceiling mounted luminaire plus sconces flanking mirror | 7 feet in open path; keep mirror light out of direct eye glare | Ceiling mount for ambient, wall mount at vanity | Weak vanity lighting, overhead-only shadows on face, wrong damp or wet location choice |
| Hallway | Often low ceilings and narrow width | Flush or shallow semi-flush; sconces if wall width allows | 7 feet | Ceiling mounted on centerline or paired wall sconces | Fixture hanging into path, glare at eye level, uneven spacing |
| Foyer | Tall volume or standard entry ceiling | Chandelier, lantern, or semi-flush depending on height | 7 feet at floor level | Hanging from center of entry volume or centered to door and stair view | Fixture too small for vertical volume, too low over door swing, off-center to entry axis |
| Basement | Often low ducts or beams | Flush ceiling mounted luminaires with broad diffusion | 7 feet where possible under structure | Surface ceiling mount | Low-hanging fixture under beams, dark corners, bare-lamp glare |
| Garage | Average to low; doors and tracks affect placement | Ceiling mounted utility luminaire | 7 feet clear of vehicle and walking areas | Surface mount between door tracks and work zones | Fixture blocked by garage door, poor workbench light, shadows near storage walls |
| Outdoor entry | Covered porch or exposed entry | Outdoor wall sconce, hanging lantern, or outdoor ceiling mounted luminaire | 7 feet in path; avoid eye-level glare at door approach | Wall-mounted or ceiling-mounted | Wrong weather rating, glare at lockset, fixture too dim for steps or address visibility |
Common failure modes by room and how to prevent them
The repeat offenders are predictable: chandeliers that are too small, pendants hung too low, vanity lights that throw shadows, and decorative fixtures asked to do the whole room’s work. The cure is also predictable. Size to the room or furniture, keep head clearance, compare fixture lumens, and separate general light from task light when one fixture cannot do both.
At outdoor entries, the most common miss is not style but beam and placement. I see attractive lanterns mounted too close to eye level, too close to the door trim, or with too little output on the landing. The result is a bright source with a dim step. I would rather use a simpler listed exterior fixture placed correctly than a decorative one that leaves the threshold unreadable.
How do I choose a light fixture for a low ceiling or tricky layout?
For low ceilings, start with flush or shallow semi-flush ceiling mounted luminaires, keep 7 feet of path clearance, and avoid hanging fixtures unless they sit over furniture. In tricky layouts, solve geometry first: narrow halls, off-center boxes, beams, and sloped ceilings usually matter more than fixture style.
Low ceilings: flush, semi-flush, and shallow-profile options
Low rooms rarely forgive hanging fixtures. Flush mounts protect clearance and spread light. Semi-flush fixtures can work when their drop is modest and the room does not route people directly beneath them.
If the room still feels flat, add wall light. A pair of sconces can make a low room feel more deliberate without spending any more headroom.
Narrow halls, stairs, and door swing conflicts
Narrow circulation zones punish deep fixtures. Door swings can also clip pendant placement in entries and mudrooms. In stair runs, the sightline changes with each step, so glare and head clearance should be checked from both top and bottom.
On stair landings, I test the bottom of the fixture against the highest tread approach, not just the floor below. That catches a lot of near-misses that look fine in plan view.
Off-center boxes, beams, and sloped ceilings
Off-center boxes tempt buyers into oversized canopies or awkward swag fixes. Sometimes that works. Often it looks forced. A better answer can be a ceiling-mounted luminaire that tolerates the location, or wall lighting that shifts the visual center away from the box.
On sloped ceilings, confirm the stem or canopy can hang plumb. If not, the fixture may list to one side and read as a mistake every time someone enters the room.
With beams and ducts, I usually simplify rather than fight the structure. One clean flush fixture placed well almost always beats a hanging fixture squeezed into the only remaining open patch of ceiling.
When wall lighting solves a ceiling problem better
If the ceiling is crowded by beams, ducts, fans, or low height, stop trying to force another ceiling fixture into the room. Sconces, vanity lights, and plug-in task lights can carry more of the load than people expect.
That is also why I often pair low-ceiling rooms with recessed lighting layout basics instead of a single central fixture. If the room also needs smooth control at night, check LED dimmers before you order the fixture.
How do I choose a ceiling light fixture for a bathroom or outdoor entry?
In bathrooms and outdoor entries, location rating and glare control matter as much as brightness. Choose a fixture that matches moisture or weather exposure, then add the right mirror or door-area light so faces, locksets, and steps are lit without harsh exposed-source glare.
Bathroom ceiling fixtures by moisture exposure and mirror task
A bathroom ceiling light should provide general room light without doing all the mirror work alone. Overhead-only lighting creates eye sockets and chin shadows. Pair the ceiling fixture with sconces at the mirror when wall space allows.
Match the fixture to the wetness of its location. Steam, splash, and enclosed shower conditions are different problems. Read the location rating before buying, not after the electrician opens the box.
For bathroom selection, I use the listing language first and the fixture style second. A dry-location decorative flush mount may look fine in a listing photo and still be the wrong choice near a shower. That is why I compare the marked damp or wet suitability on the cut sheet and then coordinate it with the mirror-lighting plan.
Vanity pairings: ceiling light plus sconces
The most usable bathroom arrangement is often simple: one ceiling-mounted luminaire for the room and one sconce on each side of the mirror. That gives broad light and better face light. It also lets each function sit on a different switch if desired.
If the sink wall is tight, a dedicated vanity bar can work, but I still prefer side-lighting when the wall allows it. For more detail on placement and glare, see bathroom vanity lighting.
Outdoor lighting fixtures for porches and entry doors
Outdoor lighting fixtures need shielding, weather tolerance, and enough output to make the approach legible. Wall-mounted fixtures are common at entry doors. Covered porches can also use ceiling-mounted luminaires or hanging lanterns if head clearance stays safe.
Fixture outputs outdoors can vary widely. For reference, the Lander bollard is listed at 855 lm / 1368 lm, the Wow pole-top fixture is listed at 3070 lm / 10830 lm, and the Twilight Copenhagen span-wire is listed at 2020 lm / 11010 lm. Those figures show why fixture-level lumen comparison matters more than fixture label alone.
At entries, I want enough light on the lockset, threshold, and first step, not just a glowing lantern body. On covered porches, I often combine one ceiling-mounted fixture with side-mounted exterior lights so the door area reads clearly from both the street approach and the standing position at the handle. If you are deciding between entry-mounted forms, compare this section with outdoor wall lights.
Weather rating, lamp shielding, and control choices for exterior use
Shield the source from direct view at the front door. A bright bare lamp near eye level makes a visitor squint while trying to find the lock. Porch and entry fixtures also benefit from dimmers, timers, or occupancy-based control, depending on how the entry is used.
My install rule outdoors is straightforward: exposed location gets a wet-location-listed fixture, covered but moisture-prone areas still get careful rating review, and every front entry gets tested at night from the sidewalk and from the keyhole position. If the fixture makes the lens or lamp brighter than the landing, it is the wrong fixture or the wrong mounting height.
Frequently asked questions
Here are short answers to the eight questions people usually ask before they buy.
How do I choose lighting fixtures for my home?
Choose by task first, then by geometry, then by output and controls. Decide whether the room needs ambient, task, or accent light, measure clearances, confirm box location and support, compare fixture lumens, and only then choose the finish or decorative style that fits the room.
What size lighting fixture do I need for my room?
Use the room-length-plus-width method as a chandelier diameter starting point in inches, then adjust for ceiling height and furniture placement. Over tables and islands, size from the furniture below, not the room, and confirm that the fixture will not block views or headroom.
How many lumens do I need from a lighting fixture?
Compare lumens at the fixture level and tie them to the job. General room lighting needs enough overall output to avoid dim corners, while kitchens, baths, and work areas need extra task light. Decorative fixtures often need support from recessed, wall, or undercabinet lighting.
What is the difference between chandeliers, pendants, and sconces?
Chandeliers are hanging centerpieces with broader visual presence, pendants are more targeted hanging lights for islands or tables, and sconces mount to the wall for circulation or mirror light. Ceiling mounted luminaires are the close-to-ceiling choice when hanging fixtures would waste clearance.
How do I choose a ceiling light fixture for a bathroom?
Pick a bathroom ceiling fixture by location rating, glare control, and how it works with mirror lighting. The ceiling light should cover general room light, while sconces or a proper vanity light handle face lighting. Avoid relying on one bright overhead fixture for everything.
What should I consider before buying a lighting fixture?
Check box location, support, ceiling height, room exposure, and dimmer compatibility before placing the order. Many returns come from buying a fixture that fits the style but not the room, the wiring, the slope of the ceiling, or the control system already in place.
How do I choose a light fixture for a low ceiling or tricky layout?
Use flush or shallow semi-flush fixtures first and protect 7 feet of clearance in walking paths. If the layout is awkward, center to the furniture or use zone, not blindly to the existing box, and consider wall lighting when the ceiling cannot support a good hanging location.
How do I choose a fixture for an outdoor entry?
Choose a wet- or damp-appropriate exterior fixture based on actual exposure, then make sure it lights the door hardware, landing, steps, and address without harsh eye-level glare. Wall sconces, hanging lanterns, and outdoor ceiling lights can all work if the listing, height, and beam control are right.
Sponsored / affiliate links. As an Amazon Associate I earn from qualifying purchases. I may earn additional commission from eligible campaigns.