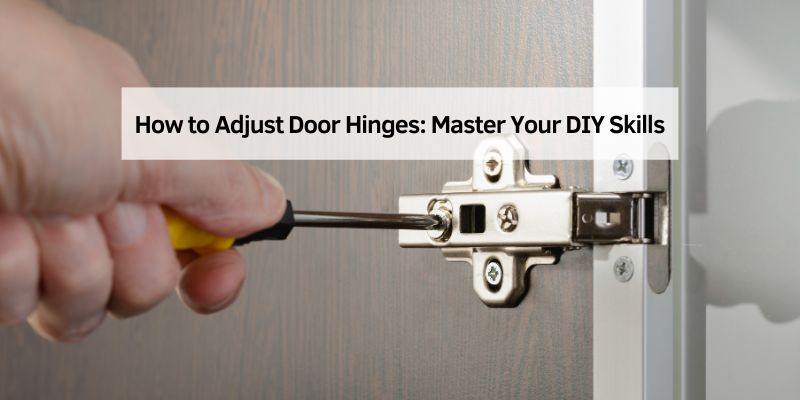
How to Adjust Door Hinges: Fix Sag and Gap the Right Way
A sagging or misaligned door is almost always fixed at the top hinge first — not by guessing at all three. A bigger gap at the top of the door means the top hinge needs a shim or tightening; a bigger gap at the bottom means the bottom hinge does. This guide covers reading the gap correctly, adjusting the right hinge, and reinforcing it with a longer screw if the door has started to sag.
Quick Answer
Check the gap between the door and frame first. Bigger gap at the top: shim or tighten the top hinge. Bigger gap at the bottom: adjust the bottom hinge instead. For a door that visibly sags, replace one top-hinge screw with a 3-inch screw that reaches the wall stud — that’s usually the permanent fix, not just tightening.
Tools Required For Door Hinge Adjustment
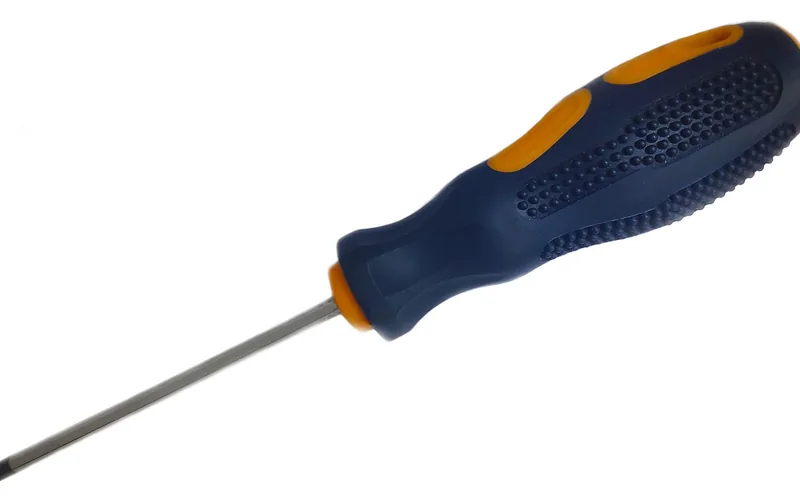
Screwdrivers are vital for hinge adjustment. Flathead and Phillips screwdrivers are best. Hammer helps when taps are needed. Chisel is used for wood shaving. Tape measure ensures accurate measurement. Pliers assist in gripping and twisting. Level checks door alignment. These tools are basic yet crucial. They make the job easier and faster.
Drill aids in creating new holes. Electric screwdriver speeds up tightening screws. Laser level offers precise alignment. Cordless drill is handy for mobility. Multi-tool can be useful for various tasks. Saw may be needed for trimming. Clamps hold doors steady while working. These tools improve accuracy. They provide a more professional finish.
Assessing The Door Alignment
Doors might be hard to close or open. They might squeak or get stuck. Gaps can appear between the door and frame. These are signs the door is not aligned. A misaligned door can also swing open or closed by itself. This happens if the door is not level.
A spirit level is a useful tool. Place it on top of the door. The bubble should stay in the middle. If the bubble moves, the door is not level. Another way is to look at the gap at the bottom. The gap should be even all along. If one side is higher, the door is not level.
Preparing The Work Area
Clear the area around the door for easy movement and access. Remove any obstacles like furniture or rugs. This ensures a smooth process when adjusting door hinges.
Safety Precautions
Wear safety goggles to protect your eyes. Gloves are useful to avoid cuts. Keep a first-aid kit nearby. Check the tools. Make sure they are in good condition. Use a ladder if needed, but ensure it’s stable. Avoid distractions while working. Inform others about your work. Ensure proper lighting in the area. Prevent accidents by being careful.
Clearing The Area
Remove all items near the door. Clear furniture away for space. Ensure no obstacles on the floor. Check the door swing zone. Remove rugs or mats. Make sure kids and pets are away. Organize tools nearby for easy access. Keep parts in a safe place. Use a drop cloth to catch debris. This helps in keeping the area tidy.
Removing The Door
First, gather the right tools. A screwdriver is usually needed. Then, open the door wide. This gives you space to work. Insert the screwdriver under the hinge pin. Tap it gently with a hammer. The pin will start to rise. Pull it out completely. Repeat for all hinges. Keep the pins in a safe place. The door should be free now.
Heavy doors need extra care. Get a friend to help. Two people can handle the weight better. Support the door at both ends. Lift it straight up off the hinges. Set it down carefully. Avoid dropping it. This keeps the door safe. It also protects your feet. Always be careful with heavy doors.
Which Hinge to Adjust, Based on the Gap
Before touching any screws, close the door and look at the gap between the door and the frame on the lock side. The gap tells you which hinge is actually the problem.
- Bigger gap at the top: the top hinge needs to come out slightly — loosen the screws and slide a thin cardboard shim behind the hinge to push it out.
- Bigger gap at the bottom: do the same shim trick on the bottom hinge instead.
- Door visibly sags or drags on the floor: this is usually the top hinge pulling loose from the frame, not a gap issue. Replace one of the top-hinge screws with a longer 3-inch screw that reaches into the wall stud behind the frame.
Adjusting one hinge changes the gap at the other end too, so test the door after every single adjustment rather than adjusting both hinges at once.
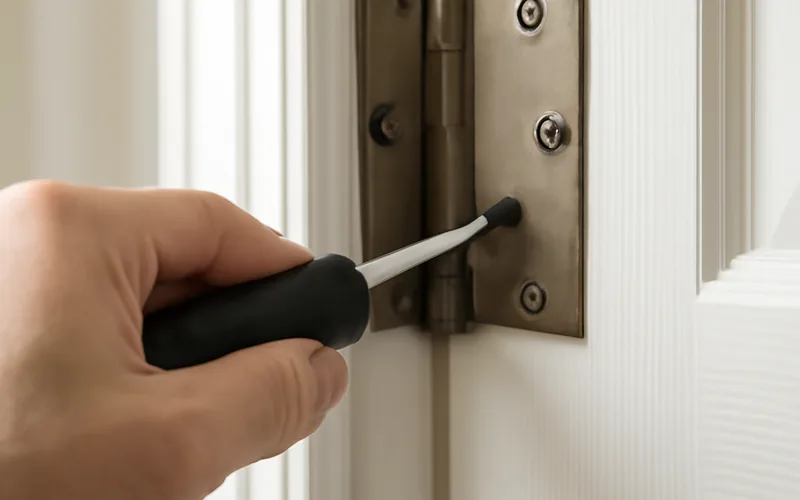
📊 A movement at the top hinge causes an opposite effect at the bottom of the door, and vice versa — which is why adjusting hinges one at a time, with a test after each, works better than adjusting both together. — Source: Fine Homebuilding, 2026
Best Sagging Door Fix Pick
Hinge Outlet 3″ Heavy-Duty Wood Screws
The exact fix this guide recommends for a sagging door — long enough to bite into the wall stud, not just the door jamb.
- Best for: a door that visibly sags or drags, where the top hinge is pulling loose
- Why we picked it: 3-inch length reaches through the jamb into the stud for a permanent fix
- Main drawback: only fixes sag caused by a loose hinge, not a warped door or frame
Compare more hinge-fix options
 Option 1 Reinforced Door Screw Kit
|
 Option 2 Hinge Pin Door Closer
|
 Option 3 Spring Hinge Tension Pin Kit
|
As an Amazon Associate we earn from qualifying purchases.
Adjusting The Hinges
Start by finding the screws on the door hinges. Use a screwdriver to turn the screws. Turn them counterclockwise to make them loose. Be gentle while turning. This helps in adjusting the door hinges. If the screws feel tight, do not force them. You might need some oil to help. Apply a little oil and try again. Keep turning until the door can move easily.
Once the screws are loose, check the hinge position. Move the door slightly to align the hinges. The door should fit in the frame well. Adjust the hinges until the door closes properly. Tighten the screws back once aligned. Turn them clockwise this time. Ensure that the door swings smoothly. If it doesn’t, repeat the process.
Reinstalling The Door
Securing the Door is important. First, hold the door in its place. Make sure it fits well. Use screws to attach the hinges. Tighten them firmly. Check each screw carefully. The door should not wobble. If it does, adjust the hinges again. This ensures the door is stable.
Testing the Alignment is the next step. Open the door slowly. Does it move smoothly? If it sticks, check the hinges. Make sure they are straight. Adjust them if needed. Close the door. It should close without gaps. Look at the edges. They should line up evenly. If not, tweak the hinge positions. This helps the door work right.
Troubleshooting Common Issues
Squeaking hinges can be annoying. Oil can help fix this. Use a small amount on the hinge. Move the door back and forth. This spreads the oil. Make sure to wipe away any extra. Too much oil can cause drips. If the squeak stays, check for rust. Rusty hinges need a good clean. Use a damp cloth to wipe them. Then try oiling again. Sometimes, replacing the hinge might be needed.
Doors should close snug. Check the hinge screws first. Loose screws make doors sag. Tighten them with a screwdriver. If the door still won’t close, look at the hinge position. It might be too low or high. Adjust the hinges by loosening screws slightly. Then, lift or lower the door. Tighten the screws again. If problems continue, the door frame might be off. Fixing this might need a professional.
Maintaining Door Hinges
Check the door hinges every month. Look for any loose screws. Tighten them with a screwdriver. Replace screws if they are rusty. Ensure the door hangs evenly. If not, adjust the hinges. Align the door with the frame. This prevents uneven wear.
Use oil or spray to lubricate hinges. Apply a small amount. Move the door back and forth. This helps the oil spread. Wipe away excess oil with a cloth. Avoid over-lubricating to prevent drips. Regular lubrication keeps the door quiet. It also extends the hinge life.
Frequently Asked Questions
How Do I Adjust My Door Hinges?
To adjust door hinges, tighten screws with a screwdriver. Check alignment and adjust by loosening screws slightly. Shift the hinge and retighten. Repeat until the door fits correctly in the frame. Ensure hinges are not bent or damaged for smooth operation.
Regular maintenance helps keep doors aligned.
How To Fix A Door That Won’t Close Properly?
Check for loose hinges and tighten screws. Adjust strike plate alignment using a screwdriver. Sand or plane door edges if needed. Lubricate hinges with oil. Ensure door frame is not warped.
How To Fix A Gap On The Hinge Side Of A Door?
Adjust the hinges to eliminate the gap by tightening screws. Install a shim behind the hinge plate if needed. Ensure the door frame is square and check for any warping. Use a longer screw for more grip in the door frame.
How To Adjust Cabinet Door Hinge?
To adjust a cabinet door hinge, first locate the screws on the hinge. Tighten or loosen them for alignment. Adjust the top screw to move the door up or down. Use the side screw to shift the door left or right.
Finally, ensure the door closes properly.
Conclusion
Adjusting door hinges is simple with the right tools. Follow these steps carefully. Your door should open smoothly and close easily. No more squeaks or sticking. A well-adjusted door offers peace in your home. It prevents damage and maintains security.
Regular checks keep hinges working well. Quick adjustments save time and trouble. Enjoy a door that operates quietly and efficiently. Feel proud of your handiwork. Keep your home in top shape with these tips. Remember, small fixes lead to big improvements.
Sponsored / affiliate links. As an Amazon Associate I earn from qualifying purchases. I may earn additional commission from eligible campaigns.