How to Level a Door with Hinges (Fix Sticking or Gaps Fast)
A sticking or scraping door is almost always a hinge problem, not a door problem — loose screws, a missing shim, or a hinge that needs bending are the three most common fixes. Ignoring it lets the screws strip further and can let drafts in around the frame. This guide covers inspecting alignment, tightening and shimming hinges, and fixing a door that still won’t sit plumb after that.
Insert your Affiliate Disclosure reusable block here
Quick Answer
Level a sticking door by tightening every hinge screw first, then checking with a level. If it still rubs, unscrew the hinge from the frame side, slip a thin shim behind the leaf, and re-drive the screws — a shim behind the top hinge pushes the door down; a shim behind the bottom hinge pushes it up. Replace stripped screws with longer ones rather than re-driving the same size.
Why Does a Door Need Leveling?
Houses settle over time and humidity makes wood expand and contract, both of which gradually throw a door’s hinge fit off. Add in ordinary daily use — screws loosen, hinges wear — and a door that once closed cleanly starts sticking, scraping the floor, or refusing to latch.
Left alone, a misaligned door can eventually damage the frame or floor finish where it rubs, and a door that won’t close fully lets drafts in and raises energy bills. Leveling the door by adjusting its hinges — rather than trimming the door itself — is the correct first fix in almost every case.
Tools and Materials You’ll Need
| Tool/Material | Purpose |
|---|---|
| Screwdriver (Phillips or flathead) | Tightening or loosening hinge screws |
| Small level | Checking if the door and frame are plumb |
| Shims (cardboard, plastic, or precut hinge shims) | Adjusting hinge position for fine-tuning |
| Drill (optional) | Drilling a fresh screw hole if the old one is stripped |
| Wood filler | Filling old screw holes before redrilling |
| Sandpaper | Smoothing filled holes flush |
| Tape measure | Checking the reveal gap is even top to bottom |
| Replacement screws (longer) | Securing hinges once the original screw holes are stripped |
Gather everything before you start. In a pinch, a strip cut from a cereal box works as a shim — it’s thinner than most precut kits but holds up fine for a light correction.
Best Door Hinge Shim Pick

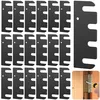
14-Pack Precut Door Hinge Shims (4-Inch) – $14.99
Precut to fit standard 4″ hinge leaves, so you skip cutting cardboard by hand for the shimming step this guide walks through — trimmable if your hinge is a different size.
- Best for: precise, repeatable hinge shimming on standard 4″ hinges
- Why we picked it: precut polycarbonate holds shape better than cardboard long-term
- Main drawback: needs trimming for non-standard hinge sizes
Compare more door hinge shim options
 Option 1 10-Pack Door Hinge Shims – $3.99
|
 Option 2 16-Pack Stainless Steel Shims – $15.99
|
 Option 3 24-Pack Door Hinge Shims – $18.99
|
As an Amazon Associate we earn from qualifying purchases.
Step-by-Step: How to Level a Door with Hinges
- Inspect the door’s alignment: open and close it slowly to find exactly where it sticks, then hold a level against the closed door’s edge to confirm it’s plumb. Check that the gap around the door is an even 1/8″ on all sides — an uneven gap points to which hinge needs adjusting.
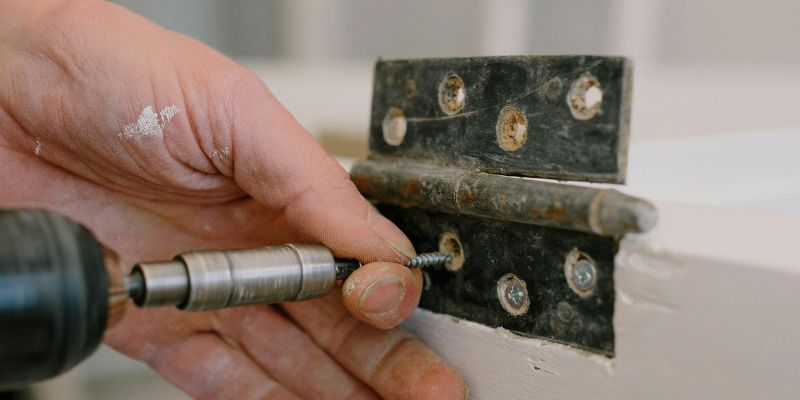
- Tighten every hinge screw: loose screws are the most common cause of a sticking door. Start with the hinge nearest the problem area. If a screw spins without gripping, it’s stripped — replace it with a longer screw of the same type rather than continuing to force it.
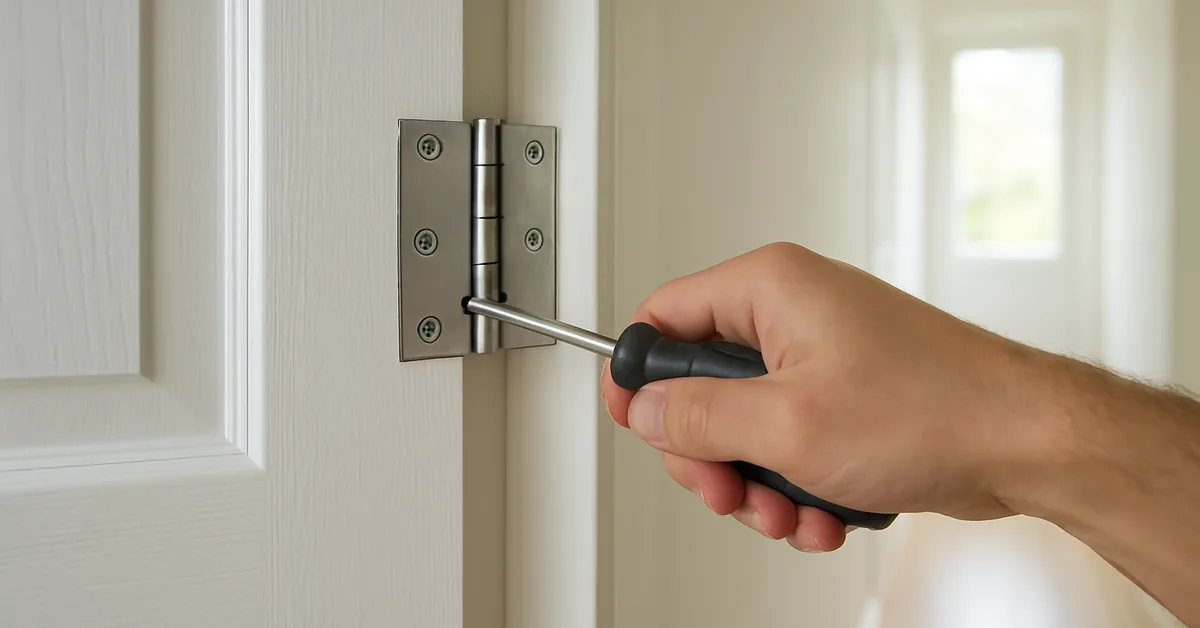
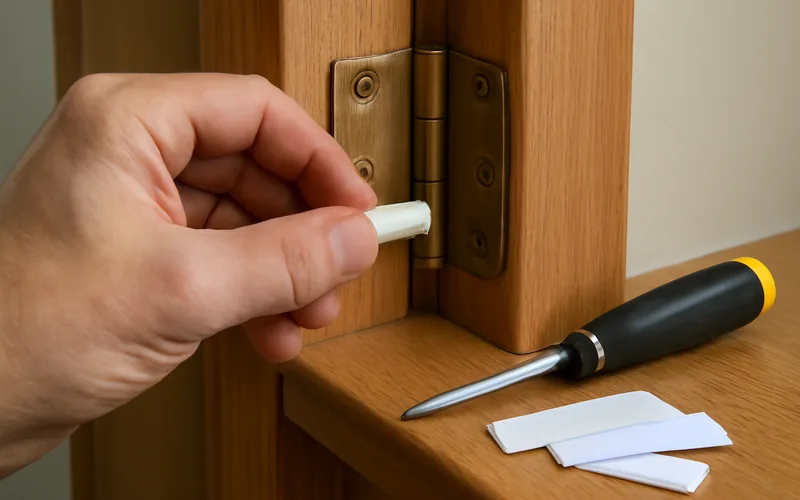
- Add a shim if tightening isn’t enough: unscrew the hinge from the frame side only, slip a thin shim behind the hinge leaf, and re-drive the screws. A shim behind the top hinge pushes the door down; a shim behind the bottom hinge pushes it up. Test after each shim and add a second layer only if needed.
- Check the frame itself: hold the level against the frame’s vertical edge. If the frame is out of plumb rather than the door, shim behind the hinges on the frame side to compensate — in worse cases the trim needs to come off to shim behind the frame directly.
- Test and fine-tune: open and close the door several times, rechecking the gap with a tape measure. Loosen and gently tap a hinge into place if it needs a small nudge, then retighten.
- Fill old screw holes if you moved a hinge: pack wood filler into the old hole with a putty knife, let it cure, sand flush, then drill a fresh pilot hole so the new screw has solid wood to grip.
- Lubricate the hinge pins: a drop of household oil on each pin, worked in by swinging the door a few times, keeps the hinge moving smoothly and prevents squeaking. Wipe off any excess.
- Final check: confirm the door opens and closes without scraping, the latch catches on the first try, and the gap is even all the way around.
Which Side Do You Shim to Fix an Uneven Gap?
Shim placement depends on where the gap is too tight or too wide, not just which hinge looks loose. If the gap is too tight at the top on the latch side, shim behind the bottom and middle hinges to shift the top of the door away from the frame. If the door rubs low on the latch side, shim behind the top hinge instead. When shimming a full hinge to shift the whole door toward the lock side, shim all hinges evenly rather than just one.
📊 Industry guidance recommends orienting the thick end of a tapered shim toward the hinge pin, so the door swings and closes correctly instead of binding — Source: Steel Door Institute, How to Shim Door Hinges.
Common Mistakes to Avoid
- Overtightening screws: can strip the wood around the screw hole and make the hinge looser than before.
- Skipping the level: eyeballing alignment feels faster but usually means redoing the adjustment later.
- Assuming the door is the problem: check the frame for warping before trimming or replacing the door itself.
- Rushing the shimming step: add one thin shim at a time and test — stacking several at once overcorrects the gap.
When to Call a Professional
Most sticking-door fixes are a DIY job with a screwdriver and a handful of shims. Call a professional if the door frame is severely warped or cracked, if the door itself is damaged beyond a simple hinge fix, or if the misalignment keeps returning after repeated adjustments — that pattern often points to a foundation or framing issue rather than the door.
Tips for Long-Term Door Maintenance
Check hinge screws once or twice a year, ideally after seasonal humidity swings, and tighten them before they work fully loose. Removing and lubricating the hinge pins keeps the door swinging smoothly and prevents squeaks from creeping back in. Avoid slamming the door — the repeated shock is one of the fastest ways to loosen a hinge that was correctly adjusted.
“Most gap problems between a door and its frame can be corrected by shimming at the hinge rather than planing or replacing the door — the hinge location determines which part of the door moves.”
Frequently Asked Questions
Why is my door still sticking after tightening the hinges?
If tightening didn’t help, the door or frame is likely out of plumb rather than just loose. Check both with a level, then add a shim behind the appropriate hinge. If humidity has swollen the wood at the sticking edge, light sanding after the hinge adjustment usually finishes the fix.
Can I level a door that’s already installed, or does it need to come off?
No removal needed for almost every hinge adjustment — tightening, shimming, and even swapping a stripped screw can all be done with the door hanging in place. Only major frame repairs or a full hinge replacement typically require taking the door down.
Can I use any material as a hinge shim?
Yes — cardboard or thin plastic both work for a light correction, and precut plastic hinge shims hold their shape longer under repeated door use. Whatever you use, it needs to fit behind the full hinge leaf without covering the screw holes.
How do I know if the door frame, not the door, is the problem?
Hold a level against the frame’s vertical and horizontal members with the door open. If the bubble isn’t centered, the frame itself is out of plumb, and shimming behind the hinges on the frame side is usually the fix.
How often should I check a door’s alignment?
Check once or twice a year, especially after major seasonal humidity shifts in spring and winter. A quick screw-tightening and hinge-pin lubrication at the same time prevents most sagging before it starts.
Once the door swings freely and closes with one clean click, the job is done — recheck it each season, since the same humidity swings that caused the original misalignment will shift it again over time. For hinge adjustments on kitchen cabinets rather than house doors, see our guide on adjusting cabinet door hinges, or browse more door hardware and lock repair guides.
Sponsored / affiliate links. As an Amazon Associate I earn from qualifying purchases. I may earn additional commission from eligible campaigns.