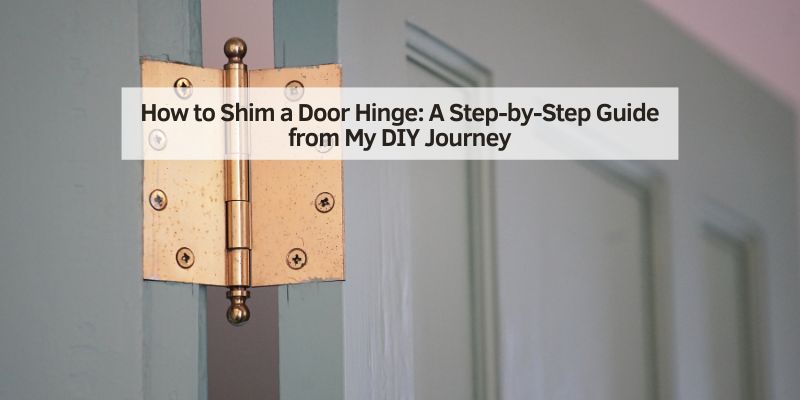
How to Shim a Door Hinge (Fix Sagging or Sticking Doors)
Shim a door hinge by loosening the hinge screws and sliding a thin material (steel, plastic, wood veneer, or cardboard) behind the plate – steel or plastic shims hold up long-term, while cardboard only works for small, temporary interior fixes. Shimming corrects sag or sticking only up to about 3/8 inch of gap; beyond that, the frame itself needs resetting. This guide covers diagnosing which hinge to shim, shim materials, and the full step-by-step process.
What Does It Mean to Shim a Door Hinge?
When I first heard about shimming a door hinge, I had no clue what it meant. I thought it sounded like some fancy carpentry term, but it’s super straightforward. Shimming a door hinge means adding a thin piece of material—called a shim—behind the hinge to adjust the door’s alignment. Think of it like giving your door a little nudge to sit properly in its frame.
The shim changes the angle or position of the hinge, which can fix issues like a sagging door, a door that sticks, or one that doesn’t close all the way. I’ve used shims to level out doors in my home, and it’s amazing how such a small tweak can make a big difference. Whether you’re dealing with an old house like mine or a new door that’s just a bit off, shimming is a game-changer.
Why Would You Need to Shim a Door Hinge?
I’ve run into plenty of situations where shimming a door hinge saved the day – see our full door hardware and locks hub for more fixes. Here are some common reasons you might need to do it:
- Sagging Doors: My front door used to sag so much that it scraped the floor every time I opened it. Shimming lifted it back into place.
- Sticking or Rubbing: The bedroom door in my house kept sticking at the top. A quick shim fixed the alignment.
- Gaps Around the Door: I noticed a draft coming through uneven gaps around my back door. Shimming closed those gaps.
- Loose Hinges: Over time, screws can loosen, causing the door to shift. Shimming can help stabilize it.
- New Door Installation: When I installed a new door in my garage, it didn’t sit quite right. Shimming made it perfect.
Each time I’ve shimmed a hinge, it’s felt like solving a puzzle. It’s satisfying to see a door swing smoothly again, and it’s a fix anyone can tackle with a little know-how.
Tools and Materials You’ll Need
Before I figured out the right tools for shimming, I made the mistake of starting without everything I needed. Trust me, running to the garage mid-project is no fun! Here’s what you’ll need to make the process smooth:
| Item | Purpose |
|---|---|
| Screwdriver (Phillips or Flathead) | To remove and tighten hinge screws. Check your hinge screws first. |
| Shims (Cardboard, Plastic, or Metal) | To place behind the hinge for adjustment. I use cardboard for small fixes. |
| Utility Knife or Scissors | To cut shims to the right size. I’ve used an old cereal box in a pinch! |
| Pencil or Marker | To mark where the shim goes or to trace its shape. |
| Level | To check if the door is even after shimming. |
| Sandpaper (optional) | To smooth rough edges on shims if needed. |
| Tape Measure (optional) | To measure gaps or check alignment. |
For shims, I’ve used everything from store-bought plastic shims to pieces of cardboard cut from a cereal box. Cardboard works great for small adjustments, but for bigger fixes, I recommend plastic or metal shims from a hardware store. They’re cheap and durable.
Best Materials for Door Hinge Shims
Not all shims are equal, and the right material depends on how permanent the fix needs to be. Pre-cut hinge shim kits are sold specifically for this at hardware stores, usually in 0.030″ to 0.090″ thicknesses to match 3.5″, 4″, and 4.5″ hinges – foldable into a “Z” shape when you need to triple the thickness.
| Material | Best For | Durability |
|---|---|---|
| Steel/metal | Exterior or fire-rated doors | Won’t compress or rot – most durable |
| Plastic/composite | Most interior and exterior doors | Water and rot-resistant, pre-scored for easy snapping |
| Wood veneer | Exterior doors where pros want a natural fit | Durable but can swell with moisture |
| Playing cards/cardboard | Small, temporary interior fixes only | Compresses over time – never use on exterior or fire-rated doors |
Best Door Hinge Shim Pick
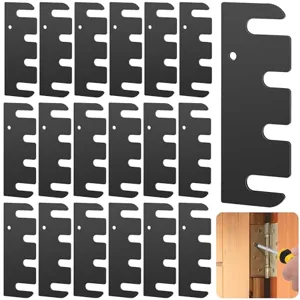
Nkiy Quen Stainless Steel Door Hinge Shims (16 Pcs)
Pre-cut stainless steel shims that won’t compress or rot like cardboard.
- Best for: Exterior or fire-rated doors that need a permanent, non-compressing shim
- Why we picked it: Stainless steel won’t compress or rot like cardboard – matches this guide’s top durability pick
- Main drawback: Costs more than a basic plastic shim pack
Compare more hinge shim options
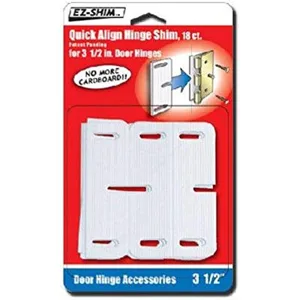 Option 1 E-Z Shim 3.5-Inch Hinge Shim (18-Pack)
|
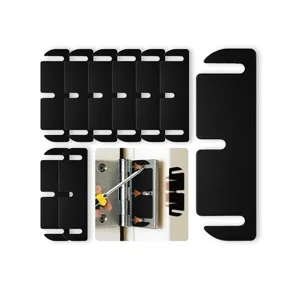 Option 2 12-Pack Black Hinge Spacers, 3.5 Inch
|
 Option 3 KongTiva 30-Pack Stainless Steel Hinge Shims
|
As an Amazon Associate we earn from qualifying purchases.
Step-by-Step Guide to Shimming a Door Hinge
Alright, let’s get to the good part—how to shim that hinge. I’ve done this on several doors in my house, and I’ll walk you through it like I’m right there with you. Follow these steps, and your door will be back in shape in no time.
Step 1: Diagnose the Problem
📊 A single shim moves the hinge pin roughly 1/16 inch, and shimming only works when the gap difference between the top and bottom of the door is under about 3/8 inch. Beyond that, the door frame itself needs resetting, not more shims. Source: Sensible Digs
Before you start shimming, figure out what’s wrong with the door. I learned this the hard way when I shimmed the wrong hinge and made things worse! Open and close the door slowly. Does it sag at the top? Stick at the bottom? Rub against the frame? Check for gaps between the door and the frame. I like to use a level to see if the door is tilting.
Here’s a quick trick I use: slip a piece of paper between the door and frame to find where it’s tight or loose. This helps you pinpoint which hinge needs shimming. For example, if the door sags at the top, you’ll likely shim the top hinge. If it sticks at the bottom, the bottom hinge might need a shim.
Step 2: Gather Your Tools and Shims
Make sure you have everything ready. I set up a little spot near the door with my screwdriver, shims, utility knife, and pencil. If you’re using cardboard, cut a few pieces to about the size of the hinge plate (usually 3-4 inches long and 1-2 inches wide). I keep a stack of shims handy so I can experiment with different thicknesses.
Step 3: Loosen the Hinge
Pick the hinge you want to shim—usually the one closest to where the door is misaligned. For example, I shimmed the top hinge when my front door was sagging. Use your screwdriver to loosen the screws on the hinge plate attached to the door frame (not the door itself). You don’t need to remove the screws completely—just loosen them enough to slide a shim behind the hinge.
The first time I did this, I took out all the screws and the hinge came loose, which was a hassle. Loosen just enough to create a small gap behind the hinge plate.
Step 4: Insert the Shim
Slide your shim between the hinge plate and the door frame. I start with a thin shim, like a piece of cardboard, to see if it’s enough. If the door needs a bigger adjustment, I stack two or three shims. Push the shim in until it’s flush with the back of the hinge plate.
Here’s a tip: if the door only needs a slight tweak, place the shim under one side of the hinge to tilt it slightly. For bigger fixes, cover the whole hinge plate. I once had to stack two cardboard shims to lift my garage door just right.
“I once had to stack two cardboard shims to lift my garage door just right – start thin, and only add a second layer if the first one isn’t enough.”
Step 5: Tighten the Screws
Once the shim is in place, tighten the screws back up. I go slow and make sure the hinge stays aligned with the frame. If the screws feel loose or won’t catch, the shim might be too thick—try a thinner one. After tightening, give the door a test swing. Does it close better? If not, you might need to adjust the shim or try a different hinge.

Step 6: Test and Adjust
Close the door and check how it fits. I like to open and close it a few times to make sure it’s smooth. Use your level or piece of paper to check for gaps. If the door still sticks or sags, you might need to add or remove shims. I’ve had to tweak things a couple of times to get it perfect, so don’t get discouraged if it’s not right on the first try.
Step 7: Trim the Shims (Optional)
If your shim is sticking out from behind the hinge, use a utility knife to trim it flush with the hinge plate. I’ve skipped this step on hidden hinges, but for visible ones, trimming makes it look cleaner. Be careful not to cut too much—you don’t want to weaken the shim.
Shimming Different Types of Hinges
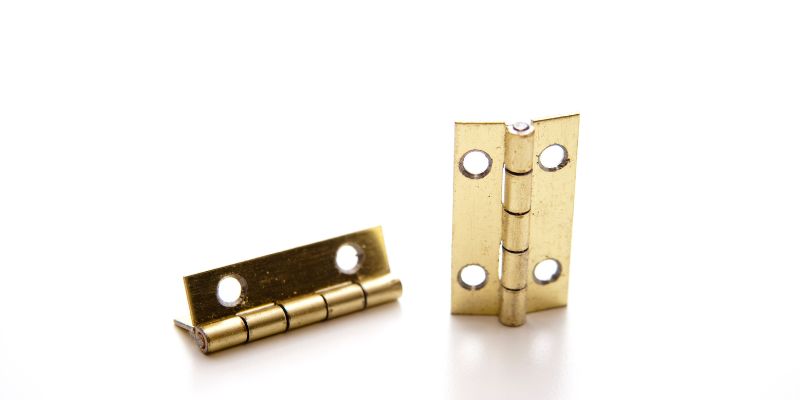
Not all hinges are the same, and I learned this when I tried shimming a heavy exterior door the same way I did a lightweight interior one. Here’s what I’ve found works for different types:
- Standard Butt Hinges: These are the most common, found on most home doors. Shimming is straightforward, as I described above. I’ve used cardboard or plastic shims with great results.
- Heavy-Duty Hinges: On exterior or solid wood doors, like my front door, you might need thicker shims, like metal or heavy plastic. These hinges carry more weight, so double-check that screws are tight.
- Concealed Hinges: Some modern doors have hidden hinges, which are trickier. I had to remove the door to access them, but the shimming process is similar once you get to the hinge.
- Spring Hinges: These self-closing hinges are common on screen doors. I found that shimming them works the same, but you may need to adjust the spring tension afterward.
If you’re unsure what type of hinge you have, take a quick look at the shape and how it’s attached. Most home hinges are standard butt hinges, so you’re likely good to go with the steps above.
Common Mistakes and How to Avoid Them
I’ve made my fair share of mistakes while shimming hinges. Here’s what to watch out for:
- Using Too Thick a Shim: I once stacked too many shims, and the door swung too far the other way. Start with one thin shim and add more if needed.
- Shimming the Wrong Hinge: Shimming the bottom hinge when the top is the problem won’t help. Diagnose carefully, like I mentioned in Step 1.
- Loose Screws: If the screws don’t hold, the shim won’t work. I’ve had to replace stripped screws with slightly longer ones to get a good grip.
- Forgetting to Test: I got lazy once and didn’t test the door after shimming. Big mistake—it still rubbed! Always test before calling it done.
Tips for a Professional Finish
After shimming a few doors, I picked up some tricks to make the job easier and the results cleaner:
- Use Pre-Cut Shims: Hardware stores sell pre-cut plastic shims that are easier to work with than cardboard. I keep a pack on hand now.
- Work in Good Light: I tried shimmying in a dark hallway once, and it was a nightmare. Use a flashlight or work during the day.
- Mark Your Shims: I use a pencil to mark where the shim goes before inserting it. This helps me place it exactly right.
- Check Both Sides: If you’re shimming an exterior door, check for gaps on both the interior and exterior sides. I missed this once and had a drafty door.
- Lubricate Hinges: If the door still creaks after shimming, a quick spray of WD-40 on the hinge pins works wonders.
Why Shimming Is Worth the Effort
Shimming a door hinge might sound like a small thing, but it’s made a huge difference in my home. Not only do my doors work better, but they also look more polished and professional. Plus, it’s saved me from calling a handyman, which is always a win in my book. I love that it’s a fix I can do myself with just a few tools and some patience. Whether you’re a DIY beginner or a seasoned pro, shimming is a skill worth learning.
When to Call a Professional
Most of the time, shimming is a DIY job, but there are cases where I’ve had to admit defeat. If your door frame is warped, the hinges are damaged, or the door is way out of alignment, a professional might be needed. I called a carpenter once when my old back door was so warped that shimming didn’t help. They replaced the frame, and the door worked perfectly after that. If you’ve tried shimming and the door still isn’t right, it might be time to call in the pros.
Conclusion: Transform Your Doors with a Simple Fix
Diagnose which hinge is causing the sag or stick, choose steel or plastic shims for anything permanent, and stop at 3/8 inch of correction – beyond that, the frame needs resetting, not more shims. It’s a fix that takes 10-20 minutes per hinge and a few dollars in materials.
Frequently Asked Questions
What is a door hinge shim?
A shim is a thin piece of material, like cardboard or plastic, placed behind a door hinge to adjust how the door sits in its frame. It’s a simple way to fix sagging or sticking doors.
Can I use anything as a shim?
Yes, but it’s best to use materials like cardboard, plastic, or metal shims. I’ve used cereal box cardboard for small fixes, but plastic shims from a hardware store are more durable.
How do I know which hinge to shim?
Check where the door is sticking or sagging. If it sags at the top, shim the top hinge. If it sticks at the bottom, try the bottom hinge. I use a piece of paper to find tight spots.
Will shimming a hinge damage my door?
No, shimming is safe if done carefully. Just don’t use shims that are too thick, and make sure screws are tight. I’ve shimmed lots of doors without any damage.
How long does it take to shim a door hinge?
It usually takes me 10-20 minutes per hinge, depending on how much tweaking is needed. Testing and adjusting might add a little time, but it’s quick overall.
What if shimming doesn’t fix my door?
If shimming doesn’t work, your door frame might be warped, or the hinges could be damaged. I had to call a carpenter once when my frame was the problem.
Sponsored / affiliate links. As an Amazon Associate I earn from qualifying purchases. I may earn additional commission from eligible campaigns.