How to Apply Oil-Based Polyurethane (Step-by-Step)
Oil-based polyurethane protects wood with a durable, amber-toned finish — apply it in thin coats with a natural-bristle brush, sanding lightly between each one. Rushing the 24-hour dry time between coats is the single biggest cause of a tacky or cloudy finish. This guide covers surface prep, brush/roller/spray techniques, the full coat-by-coat process, and the mistakes that ruin most first attempts.
Disclosure: This post contains Amazon affiliate links. As an Amazon Associate, we earn from qualifying purchases at no extra cost to you.
Quick Answer
Sand the wood to 220 grit, wipe away all dust, then brush on 2–3 thin coats with a natural-bristle brush, sanding lightly between coats and waiting a full 24 hours each time. Stir the can — never shake it — to avoid bubbles, and don’t recoat until the previous layer is hard and dry, not just dry to the touch.
Understanding Oil-Based Polyurethane
Oil-based polyurethane is a clear finish that protects wood while adding a rich, warm amber tone. Compared to water-based polyurethane, it has a few defining traits:
- Durability: it typically outlasts water-based finishes under heavy wear.
- Warm, glossy look: the amber tint deepens wood tone, unlike the clear, colorless finish of water-based poly.
- Longer working time: it dries and cures more slowly, which also makes it more forgiving to apply.
The tradeoffs: it has a stronger odor during application, needs mineral spirits (not water) for cleanup, and — unlike water-based poly, shellac, or wax — it will gradually yellow over time as UV exposure ages the finish. It sits alongside other wood oils and oil-based finishes as one of the most durable clear-coat options for furniture and flooring.
Preparing for Application
Good prep matters more than the application technique itself. Gather a natural-bristle brush or foam applicator, a paint tray, and fine-grit (220) sandpaper before you start.
Sand the surface smooth, vacuum off the dust, then wipe with a tack cloth or a cloth dampened with mineral spirits — a vacuum alone leaves behind fine dust that shows up as grit in the dried finish. Repair any holes or cracks before you sand. Set up in a space between 55–90”F with humidity below 85% and out of direct sunlight; both extremes slow drying and can affect how the finish levels out.
- Tools: natural-bristle brush or foam applicator, tray, 220-grit sandpaper, tack cloth
- Surface prep: sand, vacuum, wipe with tack cloth or mineral-spirits-dampened cloth
- Environment: 55–90”F, humidity below 85%, no direct sunlight
Application Techniques
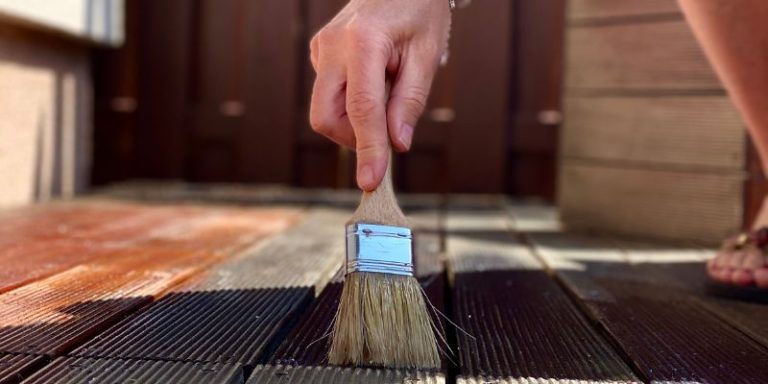
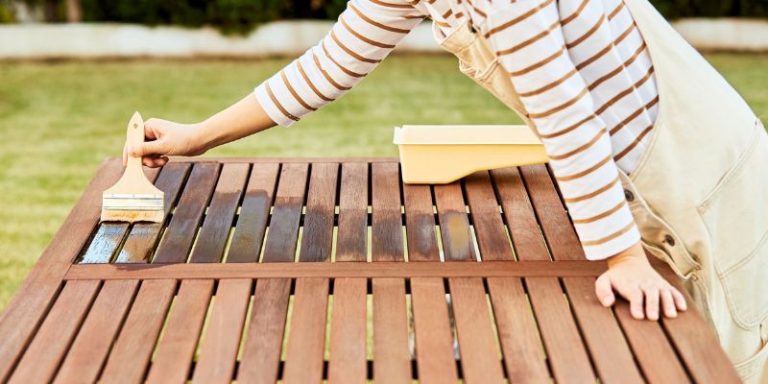
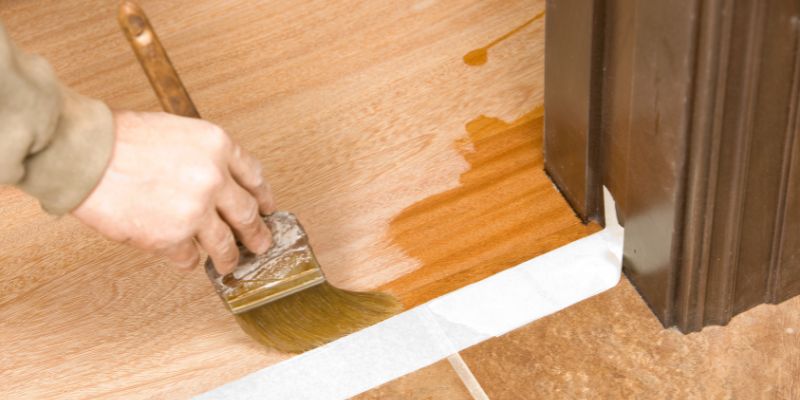
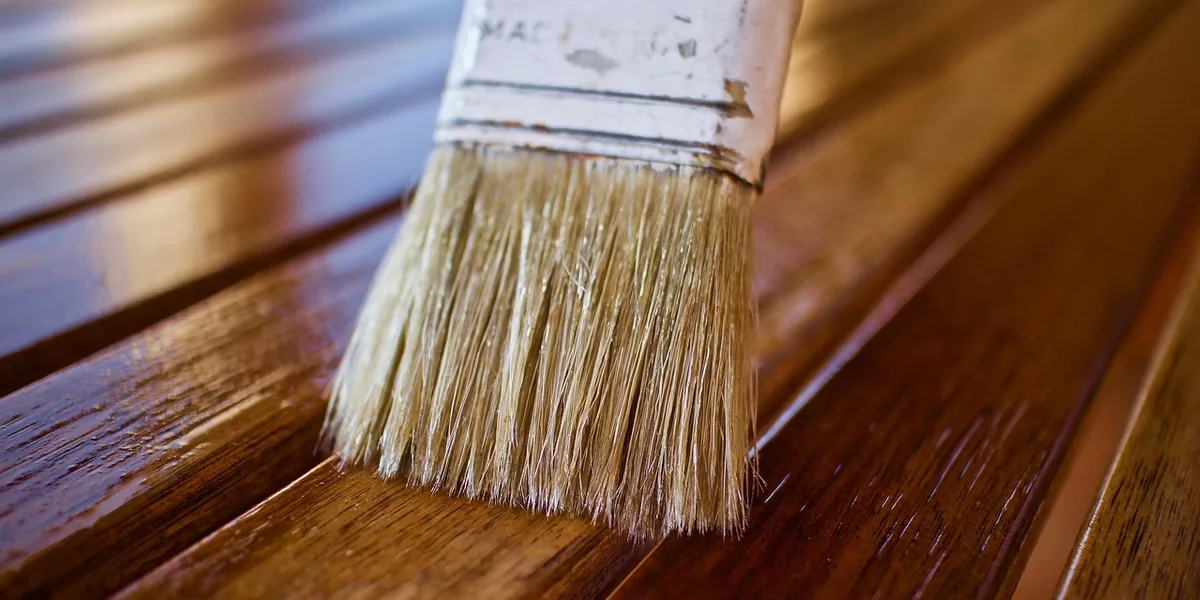
For brush application, a natural-bristle brush works better on oil-based polyurethane than synthetic bristles — it holds more finish and lays it down without streaking. Work with the grain in long, even strokes.
A medium-nap roller speeds up large flat areas like floors, though it lays down a slightly less even coat than a brush. For a sprayed finish, thin the polyurethane per the label, hold the sprayer about 12 inches from the surface, use a respirator, and overlap each pass.
| Application Technique | Best Tools | Tips |
|---|---|---|
| Brush | Natural-bristle brush | Long, even strokes with the grain |
| Roller | Medium-nap roller | Fastest for large flat areas like floors |
| Spray | Paint sprayer + respirator | Hold 12″ away, overlap each pass |
Best Oil-Based Polyurethane Pick
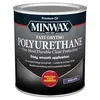
Minwax Fast-Drying Polyurethane, Warm Satin (1 Quart) – $14.97
The same product family referenced in the specific-brand application notes below — a fast-drying oil-based formula that still needs the full 24-hour cure between coats this guide walks through.
- Best for: a durable, warm-amber finish on furniture, trim, or floors
- Why we picked it: fast-drying formula shortens the wait between the 3 coats this guide recommends, in the same satin sheen most competitors default to
- Main drawback: like all oil-based poly, it will amber and yellow further over years of UV exposure
Compare more application tools and options
 Option 1 Minwax Oil-Based Wipe-On Polyurethane, Satin (1 Pint) – $19.99
|
 Option 2 Purdy White Bristle Adjutant Paint Brush (2.5 in) – $15.48
|
 Option 3 3M 220-Grit Sandpaper (5 Sheets) – $5.35
|
As an Amazon Associate we earn from qualifying purchases.
📊 Varathane’s own instructions warn: do not shake the can before use — stir it instead, and don’t apply with a roller. Shaking introduces air bubbles that get trapped in the wet finish; rolling can do the same. This applies to most oil-based polyurethane brands, not just Varathane. — Source: Varathane Interior Oil-Based Polyurethane, Technical Data Sheet
Step-by-Step Guide to Applying Oil-Based Polyurethane
- Apply the first coat: brush a thin, even layer with the grain. Don’t overload the brush — a thin coat levels out better than a thick one.
- Let it dry fully: wait at least 24 hours. It’s ready for the next step when the surface feels hard and isn’t sticky or tacky to the touch.
- Sand lightly between coats: scuff the dried coat with 220-grit sandpaper so the next layer has something to grip. Wipe away all dust with a tack cloth.
- Apply 2 more coats: repeat the thin-coat, 24-hour-dry, light-sand cycle for a total of 3 coats, which is the standard for a durable finish.
- Skip sanding after the final coat: leave the last coat as applied and let it cure fully — full cure takes up to 30 days, even though it’s dry to the touch in about 24 hours.
If you’re not sure how long to wait before using the surface normally, see our guide on how long oil-based polyurethane takes to dry for the difference between dry-to-touch and full cure.
Common Mistakes to Avoid
Most bad results trace back to one of three habits: overworking the finish once it starts to tack up (which drags and tears the surface instead of smoothing it), recoating before the previous layer is actually dry, or skipping surface prep.
| Mistake | Why to Avoid |
|---|---|
| Overworking the product | Leads to a sticky, uneven finish as the coat starts to set. |
| Ignoring drying times | Causes smudges, poor adhesion, and a cloudy finish between coats. |
| Skipping prep work | Results in a lumpy, uneven surface with visible dust in the finish. |
| Shaking instead of stirring | Traps air bubbles in the finish (see the Varathane note above). |
Caring for Your Finished Surface
A properly applied finish holds up for years with minimal upkeep:
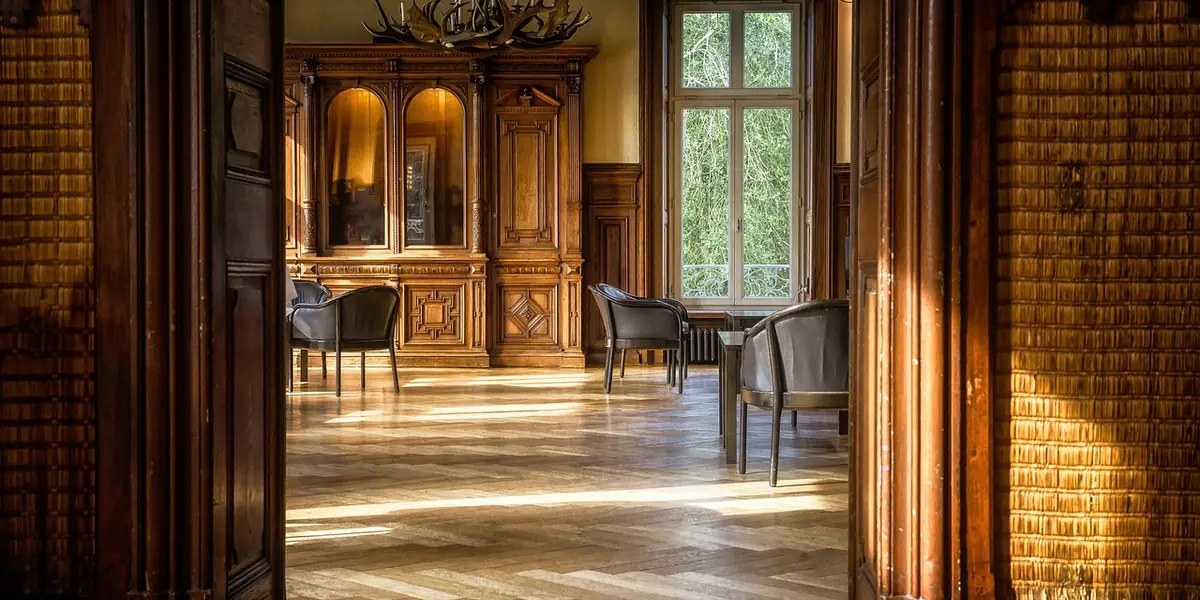
- Cleaning: use a soft cloth and mild soap; skip harsh chemicals that can dull or damage the finish.
- Reapplication: a fresh coat every few years keeps the surface looking new, more often on high-traffic floors.
- Repairs: for scratches, sand the area lightly and add another coat rather than refinishing the whole surface.
- When to refinish fully: once the sheen looks dull and worn across the whole surface rather than in isolated spots, or the wood feels rough, it’s time to strip and reapply.
Alternative Products and Methods
Oil-based polyurethane isn’t the only option. See our full oil vs. water-based polyurethane comparison for a side-by-side breakdown, but in short:
- Water-based finishes: dry faster, have less odor, and don’t yellow — a solid choice for indoor projects where color stability matters.
- Natural oils: eco-friendly and food-safe once cured, but need more frequent reapplication than polyurethane.
- Shellac: easy to apply and gives a warm shine, but isn’t as durable or water-resistant as polyurethane.
If you’re finishing a floor specifically, see our guide to the best polyurethane for hardwood floors for product-specific picks.
“Using this polyurethane over white or lightly painted surfaces could cause discoloration… lower temperatures and/or high humidity may cause slower dry times, and slower drying may also result from application over redwood, cedar, or woods with high oil content.”
Conclusion
A flawless oil-based polyurethane finish comes down to three things: thorough prep, thin coats, and patience between them. Stir instead of shaking, sand lightly between each of the 3 coats, and give the final coat the full 24 hours to dry — and up to 30 days to fully cure — before treating the surface roughly.
Frequently Asked Questions
How long does oil-based polyurethane take to dry?
It’s dry to the touch in about 24 hours and safe to recoat at that point, but full cure — when the finish reaches its final hardness — takes up to 30 days. Avoid heavy use or placing rugs on the surface until it’s fully cured.
Can you apply oil-based polyurethane over other finishes?
Yes, as long as the existing finish is fully cured, clean, and dulled with light sanding so the new coat has something to grip. Glossy or waxed surfaces need to be sanded dull first or the new coat won’t adhere properly.
What should I do if I get bubbles or streaks?
For bubbles, let the coat dry fully, sand it smooth, and apply the next coat after stirring (not shaking) the can. For streaks, thin the polyurethane slightly and use smoother, more even strokes with a natural-bristle brush.
How many coats of oil-based polyurethane should I apply?
Two to three coats is standard for most furniture and trim; floors and other high-wear surfaces often get three. Sand lightly with 220-grit between each coat and wait the full 24-hour dry time before recoating.
How do I clean up after applying oil-based polyurethane?
Clean brushes and tools with mineral spirits or paint thinner while wearing gloves and eye protection. Ventilate the area well during application and cleanup, and dispose of used rags in a sealed, fireproof container — oily rags can spontaneously combust as they dry.
Can I use oil-based polyurethane in a shower or bathroom?
It’s not a good fit for a shower or any surface that stays wet. Oil-based polyurethane isn’t formulated as a submersion-grade waterproof coating, and constant moisture will break the finish down faster than on a normal indoor surface. For wet areas, use a product specifically rated for continuous water exposure.
Does oil-based polyurethane yellow over time?
Yes, all oil-based polyurethane ambers and yellows gradually as it’s exposed to UV light — usually noticeable within 6 months to 2 years. It’s part of the finish’s chemistry, not a defect. If color stability matters more than the warm tone, water-based polyurethane, shellac, or wax stay closer to their original color.
Sponsored / affiliate links. As an Amazon Associate I earn from qualifying purchases. I may earn additional commission from eligible campaigns.