LED Lighting Guide for Home and Garage Renovations
Use an LED lighting plan built around foot-candles: aim for roughly 10 to 20 in living areas, about 30 to 50 in garages and laundry rooms, and about 50 to 75 over benches, then match warmer 2700 to 3000K light for comfort and cooler 4000 to 5000K light for task work. Get this wrong and rooms feel dim, glare gets worse, and you spend money twice replacing bulbs or fixtures that never fit the job. This LED lighting guide for home and garage projects covers lumen sizing, beam spread, color temperature, bulbs versus integrated fixtures, and install mistakes to avoid.
Start with a lighting plan, not a bulb aisle
Good LED planning starts with the room, not the package label. I map how each space is used, where people stop to work, where tall storage cuts light off, and how ceiling height changes spread. That matters far more than watt-equivalent marketing.
Map each zone by task, traffic, and storage
Start with a simple sketch of the house areas being updated in one pass: garage, mudroom, laundry, basement shop, and any nearby hall or entry. Mark vehicle zones, cabinet runs, shelving, utility sinks, folding counters, and benches.
Then divide each room into three layers: general lighting, task lighting, and accent or utility lighting. General lighting is the base layer. It handles safe walking, parking, loading, sorting, and cleanup before any focused light gets added.
Set general lighting before adding task and accent light
Most bad garage and utility lighting plans fail because they jump straight to a bright bench light while the rest of the room stays patchy. That creates hard contrast. Your eyes keep adjusting between bright and dark areas, and that gets old fast.
Lay out the base light first. After that, add task light over benches, sinks, laundry counters, freezer areas, and tool walls. Use accent or strip lighting only where it improves access, such as shelves, cabinets, or pegboard zones.
Account for ceiling height, surface color, and shadow sources
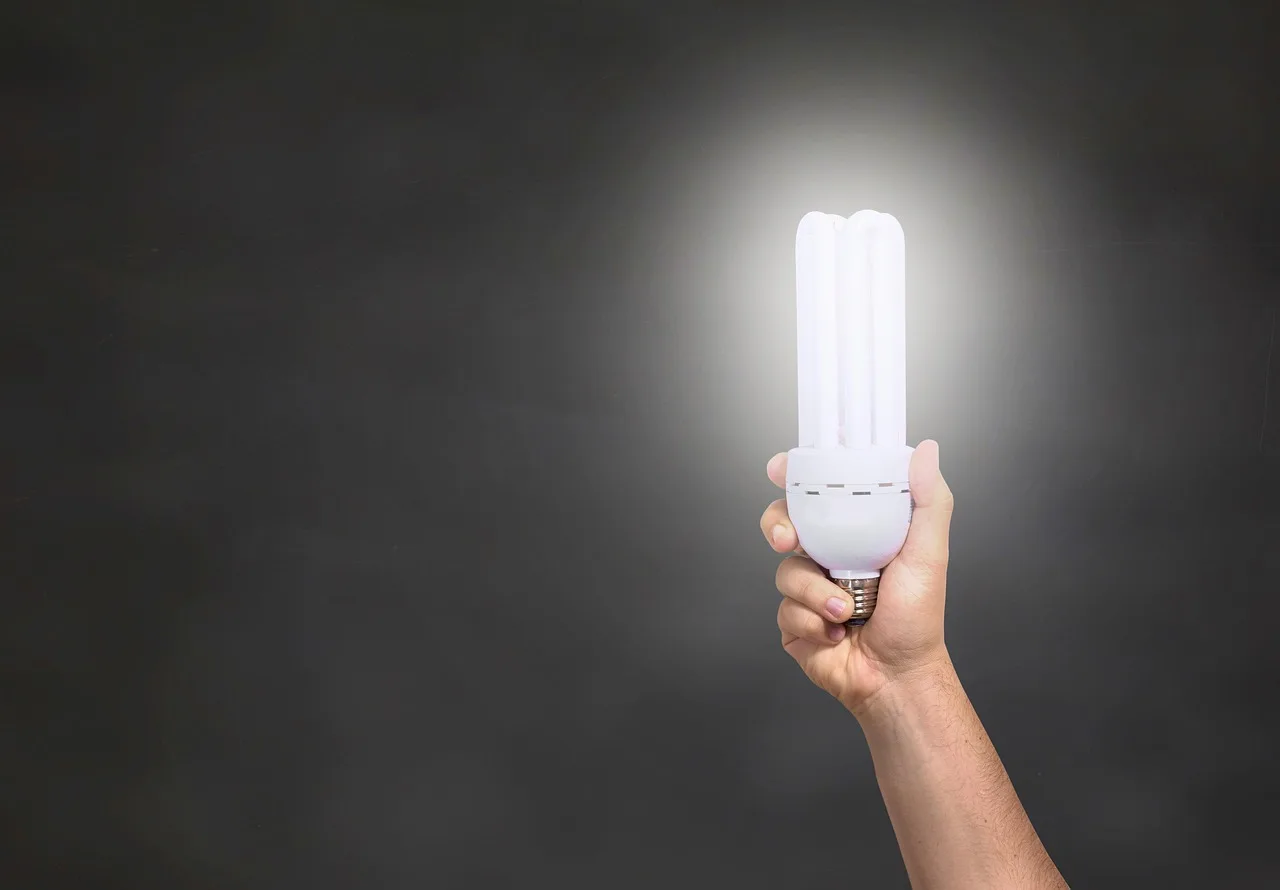
LEDs make light with a tiny electronic chip instead of a glowing filament. In real houses, that means you will see them sold as screw-in bulbs and as complete fixtures with the driver, lens, and housing built in.
They are also directional light sources. That changes planning. An incandescent bulb threw light almost everywhere, but an LED sends more of its output where the optic, lens, or housing points it. Beam spread, lens shape, and mounting height decide whether a room feels even or striped.
White cabinets, glossy epoxy floors, metal shelving, and vehicle paint all bounce light back harder than matte drywall. Concrete can glare too, especially under cooler lamps aimed straight down. I have seen plans that looked bright on paper still feel harsh, while corners stayed dim.
Why garage bays need a different layout than living rooms
A living room usually has softer surfaces, lower visual clutter, and fewer overhead obstructions. A garage has door tracks, opener housings, roof-bracing shadows, tall shelving, and wide empty floor sections between walls. That calls for wider, more even distribution.
One central bulb in a garage rarely works well. It leaves shadows beside vehicles, dark corners behind shelving, and poor coverage at the front wall where tools and chargers often live.
📊 LEDs can be up to 90% more efficient than incandescent bulbs. Source: Learn About LED Lighting.
What LED brightness do you need for a garage or room?
Use lumens as the sizing tool, then match those lumens to room function, mounting height, and fixture distribution. A garage needs more usable light on the floor and bench faces than a bedroom does, while a laundry room needs enough overhead light to sort, read labels, and clean safely.
Use lumens instead of watts when sizing light output
Lumens tell you how much light a lamp puts out. Watts tell you how much electricity it uses. For LED planning, lumens come first. LEDs can be up to 90% more efficient than incandescent bulbs, so they can produce similar light with far less power, but efficiency alone does not tell you if the light will work in a given room.
GE lists brightness filters from 0-19w to 120+w, which shows how retail displays still mix power and output language. For planning, ignore the watt-style grouping until after light level, fixture type, and spread are settled.
Match brightness to room function and fixture distribution
For mixed home and garage projects, a practical planning target is to start with lower total lumens in living rooms, moderate output in mudrooms and laundry rooms, and higher output in garages and basement work areas. Then check whether the light is spread across the space or dumped in one hot spot.
A single-bay garage often works best with moderate-to-high overhead output spread across two or more fixtures. A two-bay garage usually needs more fixtures, not simply brighter lamps, because vehicle bodies and open floor area create wider dark bands.
How mounting height and beam spread change usable light
High ceilings waste narrow beams. Low ceilings can make wide bright fixtures feel glaring. That is why a flush-mount fixture that works in a hall may feel weak in a garage with open rafters or a tall ceiling.
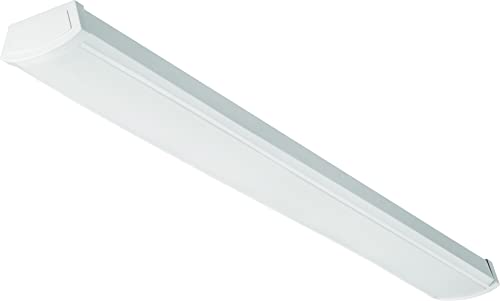
Wraparound fixtures, linear shop lights, and longer bar fixtures usually spread light more evenly over bays and aisles. Recessed cans can work in finished mudrooms or laundry rooms, but they need careful spacing to avoid scallops and dim corners.
Why garages fail when total lumens look fine on paper
Garages fail when all the lumens sit in the middle, behind the garage door opener, or above the car roofline. The paper total looks fine. The usable light at the workbench, shelves, and wall cabinets does not.
Another common failure is putting a very cool, high-output lamp in a bare socket and assuming more brightness solves everything. It often increases glare on concrete and metal while the back corners stay underlit.

What color temperature works best in home and garage spaces?
Choose color temperature by the work being done and by how reflective the room is. Warm 2700K to 3000K usually suits living areas and entries, 4000K often fits laundry and mudroom tasks, and 5000K can help in garages and shops when glare is controlled.
Where 2700K and 3000K fit best
Warm tones usually feel better in living rooms, bedrooms, and adjacent halls. They soften shadows on walls and furniture and make evening spaces easier on the eyes.
For mudrooms that open straight into the house, 3000K is often the easiest bridge. It feels cleaner than very warm light but does not look sterile next to nearby living areas.
Why 4000K often works better in laundry, mudroom, and utility spaces
4000K tends to be a strong middle ground in hardworking rooms. It makes labels, stains, detergent marks, and mixed-color fabrics easier to read without the blue cast that some people dislike in colder lamps.
It also pairs well with white cabinets, tile, utility sinks, and painted trim. In rooms that are part task zone and part passageway, that balance matters.
When 5000K helps in a garage and when it feels harsh
5000K can work well for garages used for repairs, tool setup, small finishing work, and wiring checks. It often improves contrast on hardware and tools, especially when paired with higher CRI.
It can also feel stark in a garage that doubles as an entry or storage room with glossy floors, white walls, and shiny vehicle panels. In that case, 4000K often gives better comfort with less bounce glare.
How color temperature affects glare, comfort, and visual accuracy
Color temperature is measured in Kelvin. Common home ranges often include around 2700K, 3000K, 4000K, and 5000K. GE lists color options including Soft White, Warm White, Cool White, Daylight, and Bright White, but package names vary, so Kelvin is the safer comparison point.
Cooler light can make grime, sawdust, and labels easier to spot. It can also raise perceived glare on concrete floors, glossy cabinet faces, and metal shelving. The right choice supports the task without making the room tiring to use.
What does CRI mean, and when does it matter?

CRI means Color Rendering Index, which describes how accurately colors appear under a light source. It matters most where people match paint, sort wiring, read stains or leaks, inspect finishes, or do close repair work, because poor color rendering can hide important visual differences.
How CRI changes what you see
Two lamps can look equally bright and still show color very differently. In a garage, that affects wire insulation colors, fluid stains, touch-up paint, and small parts sorting. In a laundry room, it changes how whites, darks, and fabric stains read under the fixture.
Where high CRI matters most
High CRI matters at a workbench, shop corner, utility sink, craft table, paint shelf, and repair area. It also helps in basement rooms where daylight is limited and all visual judgment depends on the fixture.
For simple parking or bulk storage, CRI is less important than broad, even general lighting. For hands-on tasks, it moves up the priority list fast.
How to balance CRI with output and fixture cost
Higher CRI often narrows the product field and can affect cost or available output. The practical move is to use strong general lighting with decent color quality, then reserve the best CRI for the places where detail work happens.
That avoids overspending on premium fixtures in corners that only hold bins and seasonal storage.
Should you choose LED bulbs, integrated fixtures, shop lights, or strip lights?

Choose the product type by socket access, ceiling height, spread, and task location. Bulbs are easy to swap, integrated fixtures often distribute light better, shop lights suit open utility ceilings, and strip lights work under shelves, cabinets, and benches when power and controls are matched properly.
Bulbs versus integrated fixtures
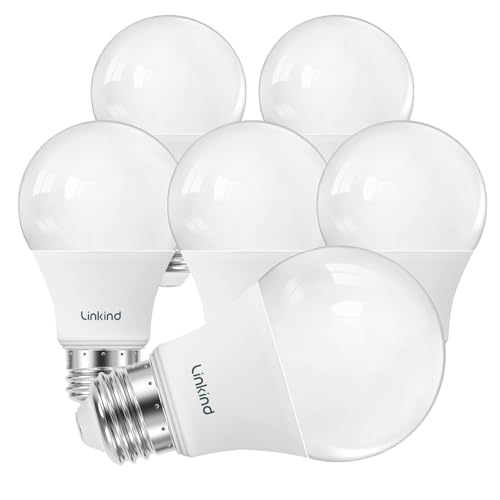
Bulbs make sense when the existing fixture is sound, replacement access is easy, and the housing is rated for the lamp being used. Integrated fixtures make more sense when the old fixture throws light poorly, creates shadows, or limits output because of socket position or lens design.
Integrated LED fixtures can also solve layout problems with longer light distribution. The tradeoff is serviceability. When a bulb fails, it is simple to replace. When an integrated unit ages out, the whole fixture may need replacement.
The broader category of LED lighting apparatus can include fixture designs reflected in products and patents, including some designs associated with US patent 11224103. For homeowners, the useful point is simpler: the housing and optical control matter as much as the diode itself.
When shop lights and wrap fixtures make more sense
In garages, basement shops, and utility ceilings, shop lights and wrap fixtures usually beat single-lamp sockets. They spread light over the bay, reduce striping on the floor, and can be positioned around opener shadows and shelf runs.
Flush fixtures fit lower finished ceilings. Wraparound fixtures suit laundry rooms and wide circulation spaces. Linear shop lights are often the easiest answer for unfinished garages and workshops.
Where LED strip lights and LED kits fit
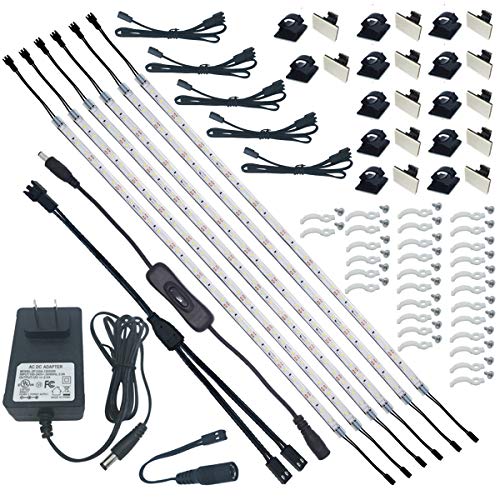
LED strip lights belong under shelves, inside cabinets, along workbench fronts, under wall cabinets, and on tool walls where overhead light leaves a shadow. They are useful utility light, not only accent light.
Strip systems need a matched power supply, connector system, and control method. Flexfire says its kits are fully dimmable, and its kits include strips or fixtures, power supplies, connectors, mounting hardware, and instructions. Flexfire also says most homeowners can complete basic installations in under an hour. Plug-and-play kits simplify small projects, while hardwired setups suit permanent bench and cabinet runs.
Flexfire offers tunable white from 3000K to 6500K, which can be useful under cabinets or benches where one zone shifts between cleanup, repair, and storage tasks. GE also offers Smart Undercabinet Fixtures with pucks and multiple bar sizes, showing how under-cabinet lighting now fits both kitchens and utility rooms.
How to choose by bay width, ceiling height, and task location
Wide bays usually want multiple linear fixtures spaced across the width, not a bright centerline. Higher ceilings usually want fixtures with enough output and spread to reach the floor evenly. Benches, sinks, and tool walls need their own task layer because overhead light alone lands behind the person using the space.
Why do some LEDs flicker, buzz, or fail early?
Most early LED problems come from mismatch, heat, or the wrong housing. Flicker usually points to dimmer or switch incompatibility, while early failure often traces to poor thermal control, enclosed fixtures, vibration, or sockets that were never meant for the lamp being installed.
Dimmer mismatch, minimum load, and switch compatibility
Dimmable LED bulbs must match the switch type. If the dimmer was designed for older incandescent loads, the LED may flicker, drop out at low settings, buzz, or never dim smoothly. Minimum load matters too, because some older dimmers expect more power draw than LEDs provide.
This is why a bulb marked dimmable can still behave badly. The bulb and dimmer both need compatible electronics. Check the dimmer model before buying a whole batch.
Heat sinks, enclosed fixtures, and thermal stress
Heat is managed with a heat sink in LED products. Thermal management is the key factor in LED performance over time. That matters most in enclosed ceiling fixtures, compact retrofit bulbs, hot garages, and ceilings under attics where trapped heat shortens life.
Do not assume low energy draw means no heat concern. The LED itself is efficient, but the electronics still need to shed heat through the lamp body or fixture housing. If a bulb is not rated for enclosed use, putting it in a sealed garage fixture is asking for trouble.
ENERGY STAR certification can be a useful filter for some LED bulbs and fixtures because it signals tested heat management. ENERGY STAR also says LED lifetime is based on 30% light loss, which is a more realistic way to think about aging than a simple on-or-off failure point.
Garage door opener sockets, vibration, and restrictions
Garage door opener light sockets are a special case. Some opener manufacturers restrict bulb shape, weight, vibration resistance, or radio-frequency behavior. Some openers also have small enclosed housings that run warm.
A dimmable LED is not automatically the right choice there. Check the opener manual for LED approval, enclosure limits, and whether the socket is meant for rough-service or vibration-resistant lamps.
Room and garage LED decision table
Use this table as a planning shortcut. The lumen ranges are practical project targets, not a substitute for checking actual layout, beam spread, ceiling height, and reflectivity.
| Zone | Recommended fixture type | Target brightness range | Color temperature | Common mistake to avoid |
|---|---|---|---|---|
| Single-bay garage | Two linear shop lights or two low-profile wrap fixtures, plus task light at bench if present | About 6,000-8,000 lumens total general lighting | 4000K-5000K | One bright center fixture that leaves door-track shadows and dark side walls |
| Two-bay garage | Four linear fixtures in two rows, with separate bench or tool-wall task light | About 12,000-16,000 lumens total general lighting | 4000K-5000K | Chasing total lumens while ignoring bay width, opener shadows, and shelving dead zones |
| Laundry or utility room | Flush or wrap fixture, with under-cabinet strip if folding counter or sink exists | About 3,000-5,000 lumens total general lighting | 3500K-4000K | Using warm decorative bulbs that hide stains, labels, and detergent marks |
| Mudroom | Flush fixture or recessed layout, plus cabinet or bench strip light where needed | About 2,000-4,000 lumens total general lighting | 3000K-4000K | Picking very cool light that clashes with adjacent living spaces and reflects off white cabinetry |
| Basement shop | Linear shop lights or wrap fixtures, plus high-CRI task light over main bench | About 8,000-12,000 lumens total general lighting, with stronger bench lighting | 4000K-5000K | Relying on overhead light alone and skipping focused bench lighting for detail work |
How should you lay out fixtures for better coverage and fewer shadows?
Lay out overhead fixtures to spread light across the full floor area first, then aim task lighting at benches, sinks, and storage faces. In garages, work around door tracks, opener housings, and tall shelving so the light reaches walls and work surfaces instead of only the open center.
Spacing overhead fixtures to reduce dark corners
Keep fixtures away from the exact centerline if the centerline is blocked by an opener, parked vehicles, or a ceiling obstruction. Two rows often outperform one. Even in a single-bay garage, shifting fixtures slightly outward can brighten wall storage and reduce cave-like corners.
Working around tracks, openers, and shelving
Garage door tracks cast long stripes of shade when the light source sits too close to them. The opener housing does the same. Tall shelving creates a vertical shadow wall. Put overhead fixtures where they can clear those obstacles, then add shelf or cabinet lighting where bins and labels still read dark.
Adding task light at benches, sinks, and tool walls
People block overhead light with their own shoulders. That is why benches and utility sinks need frontal or under-cabinet light. A short LED bar or strip under a shelf often works better than simply increasing the ceiling fixture output.
Controlling glare on concrete, metal, and glossy surfaces
Glare comes from angle as much as brightness. If the floor shines back too hard, switch from a punchy point source to a larger linear diffuser, or shift from 5000K to 4000K. If white cabinets flare, use under-cabinet strips with a diffuser rather than bare diodes pointed toward eye level.
Installation and buying checks that prevent expensive do-overs
A careful pre-buy check avoids the usual second trip. Confirm fixture rating, dimmer compatibility, control method, and maintenance access before ordering lamps, strips, or integrated fixtures. In mixed home-and-garage projects, those checks matter more than chasing one brand line across every room.
Pre-buy checklist
- Sketch each room and mark vehicle zones, bench zones, counters, doors, shelving, and tall cabinets.
- Set the general lighting layer first, using fixture spacing that fits ceiling height and room shape.
- Choose color temperature by room use: warmer for comfort, cooler for task-heavy spaces.
- Check CRI for repair areas, paint storage, wiring work, and other detail tasks.
- Confirm whether existing fixtures are enclosed and whether the planned bulb is rated for that use.
- Verify dimmer model, switch type, and minimum load before buying dimmable LED bulbs.
- For strip lights, match voltage, power supply sizing, connectors, and control method from the start.
- Decide whether replaceable bulbs or integrated fixtures make more sense for future maintenance access.
- Use ENERGY STAR certification as a quality screen where long run time or heat stress is expected.
Choose replaceable or integrated based on access
In easy-to-reach laundry rooms, bulb-based fixtures can still be practical. In high garage ceilings or over fixed storage, a better-distributing integrated fixture may reduce maintenance hassle simply by doing the lighting job correctly the first time.
Frequently asked questions
How many lumens do I need for home lighting?
There is no one whole-house number that works everywhere. Size lumens by room use, mounting height, and fixture spread. Living areas need less direct task output than garages, laundry rooms, and shops, and brighter lamps cannot fix poor spacing, narrow beams, or blocked light paths.
What’s the difference between LED bulbs and LED fixtures?
LED bulbs replace the lamp inside an existing fixture, while integrated LED fixtures build the light source into the fixture body. Bulbs are simpler to swap later. Integrated fixtures often distribute light better and solve shadow or glare problems that an old socket-and-globe fixture cannot.
Do LED lights need heat sinks?
Yes. Heat is managed with a heat sink in LED products, and thermal management is the key factor in LED performance over time. That matters most in enclosed fixtures, compact retrofits, hot garages, and attic-adjacent ceilings where trapped heat can shorten useful life.
Why do some LED bulbs flicker on dimmers?
Flicker usually comes from a mismatch between the dimmable LED bulb and the dimmer electronics. Older dimmers often expect a higher minimum load than LEDs draw. The result can be flicker, buzzing, dead travel at low settings, or lamps that shut off before reaching the lowest dim level.
Are LED lights really more efficient than incandescent bulbs?
Yes. LEDs can be up to 90% more efficient than incandescent bulbs. Even so, energy savings should not drive the whole decision. A directional LED in the wrong fixture can still produce poor coverage, glare, and dark corners, so light quality and distribution come first.
Can I use dimmable LEDs in a garage door opener light?
Sometimes, but only if the opener manufacturer allows it and the bulb fits the housing limits. Garage door opener sockets can involve vibration, heat, and radio interference concerns. Check the manual for approved LED types, enclosure limits, and any restrictions on dimmable or specialty bulbs.
Sponsored / affiliate links. As an Amazon Associate I earn from qualifying purchases. I may earn additional commission from eligible campaigns.