Solar Fence Lights: Placement, Height, and Mounting Tips
The panel should get about 6 hours of direct sun, and the light can be mounted about 6 to 8 feet high for general path and boundary lighting. Go lower for step or latch tasks, and place the panel where it gets at least 6 hours of direct sun. Poor placement leaves dark gaps, weak charging, and lights that fail when you need them. This guide covers height choices, sun exposure, spacing, mounting hardware, and fence-material fixes.
What you’ll need


- Solar fence lights matched to the job: boundary, path, gate, security, or decor
- Mounting screws, brackets, anchors, C-clamps, DIY clamps, hooks, zip ties, clips, or weather-rated adhesive or tape
- Drill and bits sized for wood, vinyl, metal, or masonry anchors
- Screwdriver or nut driver
- Level and tape measure
- Pencil or painter’s tape for marking hole locations
- Rubber washers or spacers for uneven surfaces
- Outdoor-rated sealant for drilled holes when the fixture maker allows it
- Panel cleaning cloth
- Optional: remote panel kit for shaded fences
Where should solar fence lights go?
Start with the job, then choose the fence location. Boundary markers can sit lower and dimmer. Path lights need a more even spread. Gate lights need the latch and hinge area covered, and security lights need a clear view without glare or sensor confusion. Fence space alone is not enough.
Choose the job first
Fence lighting should separate boundary, gate, path, and security tasks. A low-output marker can define an edge without lighting the whole yard. A brighter motion light near a gate needs a different aim and height than a decorative glow along a long run.
Check glare and neighbor spill
Mounting height changes how far the beam throws and where the sensor “looks.” Higher mounting can help coverage, but it can also spill light into a neighbor’s yard or into a camera frame. Lower mounting reduces spill, but it can create hotspots and dark gaps if the beam is too narrow.
Picture a 6-foot privacy fence with a camera mounted nearby. A bright face-mounted light at the top rail may wash out the camera view. Dropping the fixture to mid-fence and aiming it downward often keeps the fence lit without blowing out the image.
How high should you mount them?
For general boundary and path lighting, about 6 to 8 feet is a practical mounting range because it balances spread, glare control, and access for maintenance. Lower mounting works better for latch, step, or directional task lighting. Match the fixture height to the post height and the way the light throws its beam.
Set height by fixture style
Face-mounted lights usually work best in the middle third of the fence or slightly above it. Post-cap lights sit on the top of the post, so the post itself sets the height. Gate lights often sit lower so the switch and motion sensor cover the approach and latch zone, not the sky.
Match the mount to post height and fence geometry
Standard post-cap lights are made for common 4×4 and 6×6 posts. If the cap is oversize or undersize, use the adapter the maker specifies or switch to a face mount. A cap that sits loose can collect water, rock in wind, or fail to open correctly if the battery bay is under strain.
Use height to limit sensor problems
Keep the sensor away from other outdoor lights, especially within 10 to 15 feet, because nearby light can confuse dusk or motion sensing. Also avoid aiming a sensor where a porch light, motion flood, or neighboring fixture turns it on and off at the wrong time.
Solar fence lights matrix
This table maps common fence lighting jobs to height, hardware, and failure risk. Use it before you drill. The best setup depends on what the light must do, how much sun the panel gets, and whether the fixture needs to come off for cleaning or seasonal changes.
| Task | Best fixture style | Typical mounting zone on the fence | Minimum sun expectation | Best hardware | Common mistake | When to choose a remote panel instead |
|---|---|---|---|---|---|---|
| Boundary marking | Face-mounted or low-output post-cap | Mid-fence or top rail, around 4 to 6 feet | 6 hours of direct sun daily | Screws, clips, or weather-rated adhesive on light fixtures | Mounting too high, which spills light and wastes output | If the fence face stays shaded for much of the day |
| Path guidance | Face-mounted directional light | 6 to 8 feet for even spread | 6 to 8 hours direct sun if possible | Brackets, screws, or clamps | Spacing too close and creating bright spots instead of a guide line | If nearby trees or buildings block the panel most afternoons |
| Gate lighting | Gate or latch light | Near latch height, often 3 to 5 feet | At least 6 hours direct sun on the panel | Screws, small brackets, or a clamp on the frame | Placing the sensor where it sees other outdoor lights | If the gate area gets shade but a nearby post gets sun |
| Security lighting | Motion light, often face-mounted | 6 to 8 feet with a clear view | Direct sun for 5–8 hours daily | Screws and brackets; anchors if the surface needs support | Aiming the sensor at traffic, windows, or neighboring lights | If the best sensor view is not the best sun location |
| Decor lighting | Post-cap, rail-top, or string-style fence light | Top of post or upper rail | 6 hours direct sun or more | Clips, hooks, zip ties, or tape for light loads | Using light-duty adhesive on a heavy fixture | If the decorative run is shaded but a nearby panel spot is open |
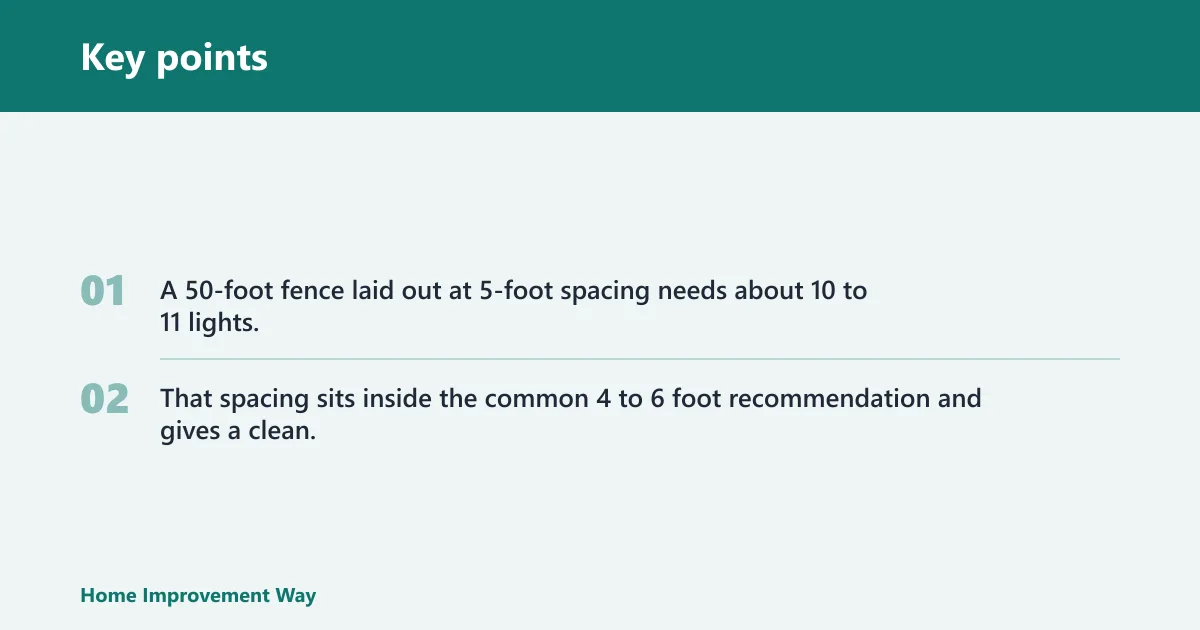
A 50-foot fence laid out at 5-foot spacing needs about 10 to 11 lights. That spacing sits inside the common 4 to 6 foot recommendation and gives a clean, even pattern without crowding the fence line.
How do you mount them on different fence materials?
Fence material changes the fixing method. Wood accepts screws well. Vinyl and composite need careful drilling or clamping so the surface does not crack, warp, or void a warranty. Metal, aluminum, and chain link often work better with clamps, hooks, or straps than with random screws.
Wood
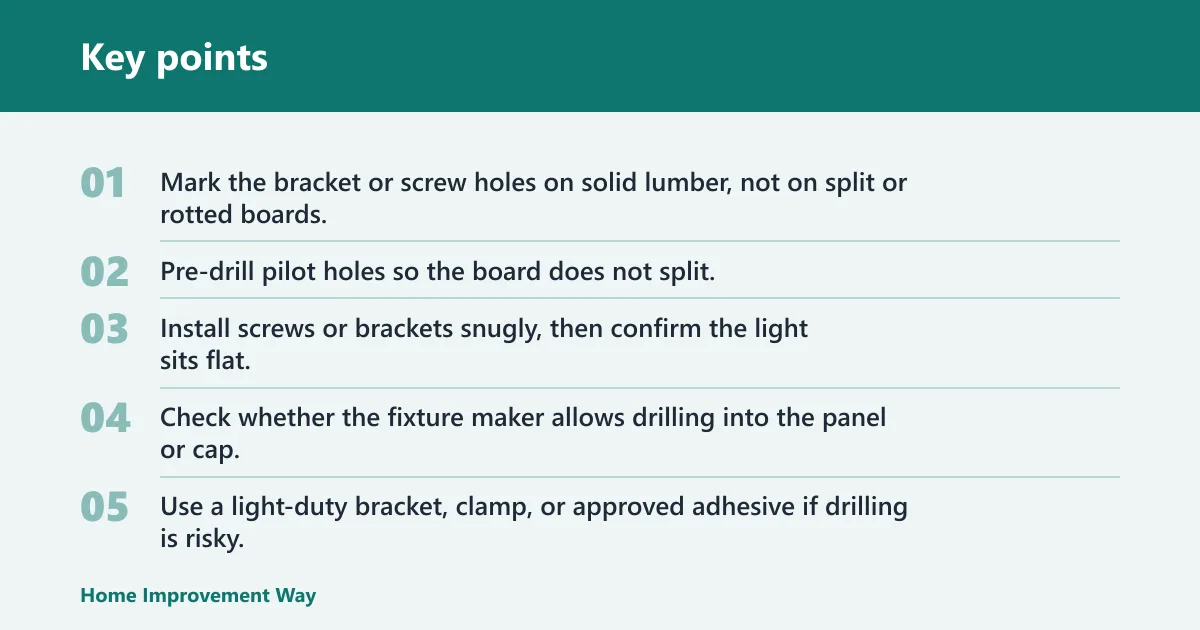
- Mark the bracket or screw holes on solid lumber, not on split or rotted boards.
- Pre-drill pilot holes so the board does not split.
- Install screws or brackets snugly, then confirm the light sits flat.
Wood is the most forgiving surface, but movement from weather still matters. Use exterior hardware and seal drilled holes when the fixture maker allows it.
Vinyl and composite
- Check whether the fixture maker allows drilling into the panel or cap.
- Use a light-duty bracket, clamp, or approved adhesive if drilling is risky.
- Leave room for thermal movement so the mount does not bind as the fence expands and contracts.
Vinyl and composite can crack, flex, or loosen around fasteners. A clamp or clip is often better for small lights, but heavy fixtures still need proper support. Weather-rated adhesive or tape can work on light accessories, yet it is a poor match for a windy, rain-exposed mount.
Metal, aluminum, and chain link
- Use clamps, U-bolts, zip ties, or purpose-made clips that match the frame shape.
- Place the fixture so it cannot rattle against the rail or mesh.
- Check for sharp edges that could cut a wire lead or abrade the housing.
Chain link usually favors straps, hooks, or clips because the mesh gives little flat space. Aluminum rails often take brackets or clamps better than screws, especially where the wall thickness is thin. On metal fences, corrosion-resistant hardware matters.
How do I place the panel so the light actually charges?
The panel needs direct sun for reliable charging, and partial shade reduces brightness and runtime. Put the panel where trees, shrubs, rooflines, and nearby lights will not shade it through the main part of the day. Remote-panel lights are the best fix when the fence face is not sunny enough.
Follow a simple placement sequence
- Check the panel location for a full day of sun and shadow.
- Keep the sensor out of direct glare from porch or landscape lights.
- Pre-charge the light for at least 8 hours before mounting.
- For a first full charge, allow 12 to 14 hours if the guide calls for it.
- Switch the unit on, then mount it and test after dusk.
Suppose a fence panel gets morning sun but is shaded after noon by a maple tree. The fixture may still turn on, but runtime drops and the beam fades early. Moving only the panel to a sunnier post, while leaving the light on the gate, often solves the problem better than changing the whole setup.
Common mistakes
Most failures come from placement, not from the light itself. If a fixture charges but stays dim, the panel is probably under-sunned or dirty. If it flickers or misses motion, the sensor may be aimed at another outdoor light, a reflective window, or the wrong part of the yard.
Wrong hardware
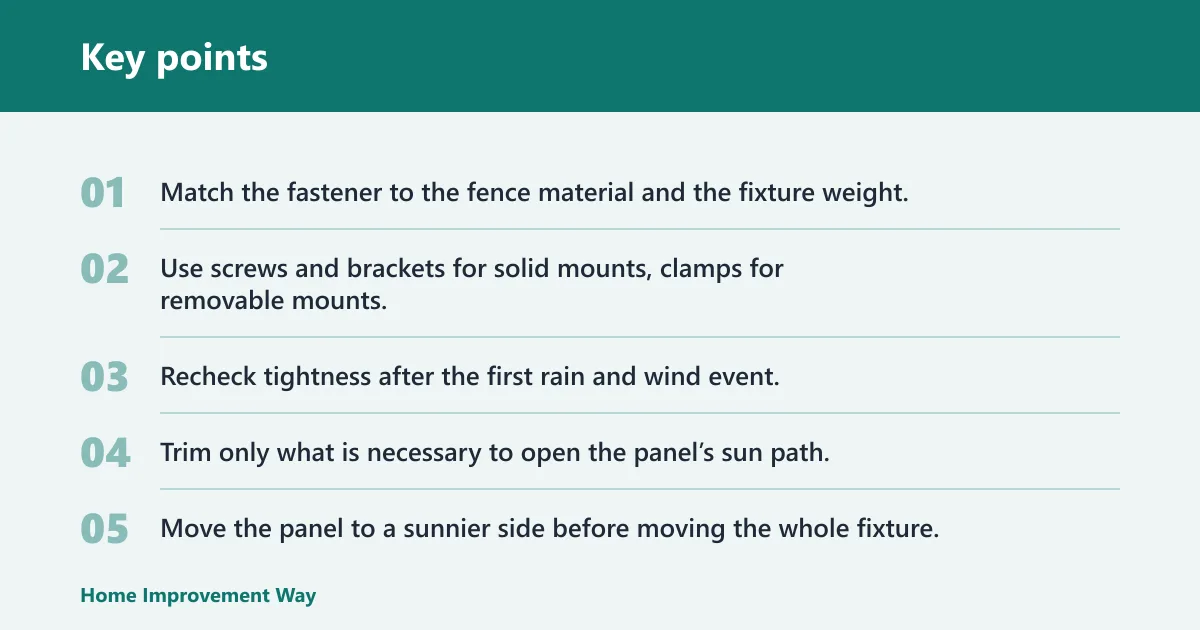
- Match the fastener to the fence material and the fixture weight.
- Use screws and brackets for solid mounts, clamps for removable mounts, and weather-rated adhesive only for lighter loads.
- Recheck tightness after the first rain and wind event.
Shade and panel blockage
- Trim only what is necessary to open the panel’s sun path.
- Move the panel to a sunnier side before moving the whole fixture.
- If the fence stays shaded most of the day, choose a remote panel rather than forcing the light onto the dark side.
Misplaced sensor or post cap
- Keep sensors away from other outdoor lights by at least the 10 to 15 foot range that can cause confusion.
- Check that post-cap lights fit the actual post size before tightening anything.
- If the cap rocks or will not seat, switch to a face mount or use the correct adapter.
Common first-timer mistake: a decorative light is mounted high on a 6-foot vinyl fence because the top rail is the only open spot. The panel gets only a few hours of direct sun, the sensor sees a porch light nearby, and the fixture shuts itself off early. A lower face mount with a remote panel fixes all three issues.
Frequently asked questions
What is the best height to mount solar fence lights?
A practical starting range is 6 to 8 feet for path and boundary lighting. Lower heights work better for gate latches, step edges, or directional light. Use the fixture design and post height to decide, then check that the beam does not shine into windows, cameras, or a neighbor’s yard.
How far apart should solar fence lights be spaced?
A common spacing is 4 to 6 feet apart for even illumination. At 5-foot spacing, a 50-foot fence needs about 10 to 11 lights. Tight spacing is useful for decorative runs, but it can waste output if the job only needs boundary markers.
Should solar fence lights go on the fence face or post caps?
Use post caps when the post size matches the fixture, especially on 4×4 and 6×6 posts. Use face mounts when you need more control over beam direction, gate coverage, or camera visibility. If the cap fits loosely or blocks access, a face mount is the safer choice.
How do I mount solar fence lights on wood, vinyl, or metal?
Wood usually takes screws and brackets best. Vinyl and composite often need clips, brackets, or approved adhesive so the surface is not damaged. Metal, aluminum, and chain link usually work best with clamps, hooks, zip ties, or purpose-made clips that match the frame shape.
Can I use clamps or adhesive instead of drilling?
Yes, if the fixture is light enough and the surface is suitable. Clamps, hooks, zip ties, and clips are often better for removable mounts. Weather-rated adhesive or tape can work on lightweight fixtures, but it is a poor choice for heavy, wind-exposed, or high-heat locations.
Why do solar fence lights stay off after installation?
Start by checking the on-off switch and the first charge. A new light should be pre-charged for at least 8 hours before mounting, and some guides call for 12 to 14 hours for a full first charge. Next, confirm that the panel gets direct sun and that no nearby light is confusing the sensor.
How do I keep solar fence lights from bothering neighbors?
Lower the mounting point, aim the beam downward, and choose a lower-output boundary light when full-yard brightness is not needed. Keep the sensor away from neighboring fixtures and avoid mounting where the light spills over a property line. A more focused fixture often solves the complaint.
What should I do if my fence is shaded most of the day?
Do not force a standard fence-mounted setup onto a dark side and expect full runtime. Move the panel to a sunnier location, use a remote-panel model, or shift the light to a side of the fence that gets direct sun. Shade usually means less brightness and shorter run time.
Sponsored / affiliate links. As an Amazon Associate I earn from qualifying purchases. I may earn additional commission from eligible campaigns.