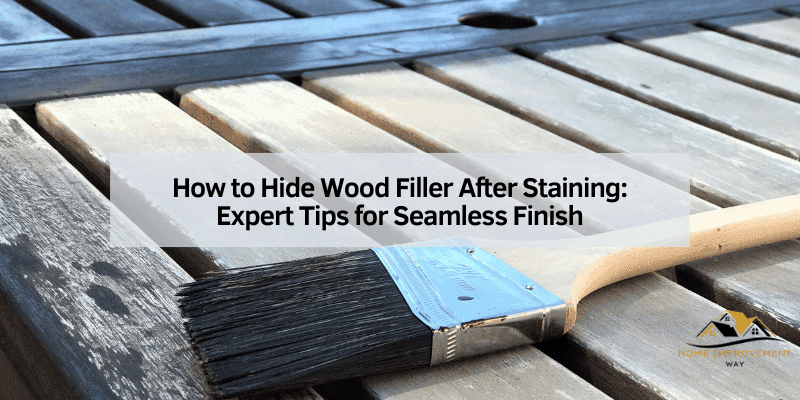
How to Hide Wood Filler After Staining: Expert Tips for Seamless Finish
Quickly hide wood filler for a flawless finish? This guide teaches you how to seamlessly blend wood filler with your stain, leaving your project looking professional. Learn expert tips and tricks for a smooth, beautiful result every time!
How to Hide Wood Filler After Staining: Expert Tips for a Seamless Finish
Hey there, fellow DIYers! So you’ve patched up those pesky holes and cracks in your wood project with wood filler, and now you’re ready to stain. But how do you get that filler to completely disappear, leaving a beautiful, even finish? Don’t worry, hiding wood filler after staining doesn’t have to be a mystery. With a few simple techniques and the right approach, you can achieve a seamless result that will make your project look professionally finished. Let’s dive in and master the art of hide wood filler!
Preparing for Success: The Key to Hiding Wood Filler
Before we even think about staining, let’s ensure our wood filler is perfectly prepared. This is the most crucial step to successfully hide wood filler and achieve a flawless finish. Proper preparation means less frustration later on.
- Choose the Right Filler: Select a wood filler that closely matches the color of your wood. There are many types available, from paste to putty. For beginners, a paintable wood filler is usually the easiest to work with.
- Apply Thinly and Smoothly: Avoid overfilling the holes. Apply the filler in thin layers, allowing each layer to dry completely before adding another. This prevents shrinkage and cracking, which can make it difficult to hide wood filler effectively. Use a putty knife to smooth the surface as much as possible.
- Let it Dry Completely: This is crucial. Refer to the manufacturer’s instructions for drying time. Rushing this step will lead to problems later.
- Sand Smoothly: Once dry, carefully sand the filler using progressively finer grits of sandpaper (start with a coarser grit and finish with a fine grit like 220). Sand with the grain of the wood to prevent scratches. This ensures the filler is level with the surrounding wood.
Techniques to Perfectly Hide Wood Filler After Staining
Now that the filler is perfectly smooth, let’s discuss techniques for achieving a seamless finish after staining. Remember, patience is key!
The Power of Pre-Stain Wood Conditioner
Before applying any stain, using a wood conditioner is like giving your wood a drink of water before applying makeup. A pre-stain wood conditioner helps to even out the absorption of the stain, ensuring that both the filler and the surrounding wood absorb the stain at a similar rate. This is particularly helpful for porous wood types. This simple step significantly helps to hide wood filler.
Matching the Stain Color
You can choose to use a stain that closely matches the existing wood. For a more challenging project, use a stain that is slightly darker than the surrounding wood. Using a darker stain may require several coats and careful observation.
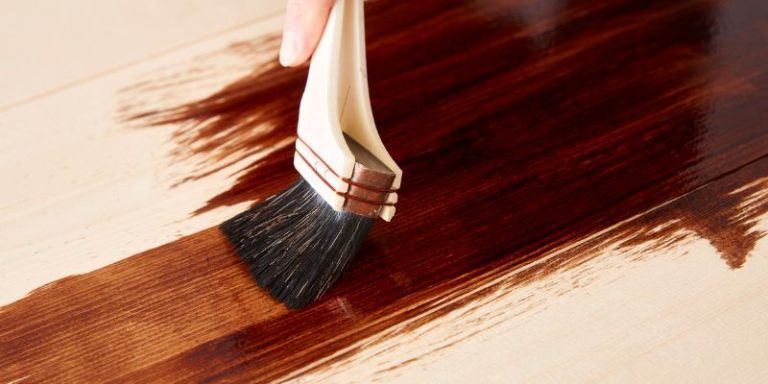
Multiple Thin Coats of Stain
Instead of applying one thick coat, apply several thin coats of stain, allowing each coat to dry completely before applying the next. This helps to ensure even absorption of the stain into both the filler and the surrounding wood, further helping to hide wood filler.
Sanding Between Coats
Lightly sand between each coat of stain with very fine-grit sandpaper (320 or higher). This removes any raised grain or imperfections and helps create an even, smooth surface. Be gentle!
Finishing Touches: Achieving a Professional Look
After the stain has dried, you can apply a topcoat such as polyurethane or varnish to protect your project and enhance its appearance. Always follow the manufacturer’s instructions for the topcoat you choose. This will add a final layer of protection and shine.
Troubleshooting Common Issues
| Problem | Solution |
|---|---|
| Filler is still visible after staining | Apply another thin coat of stain, sand lightly between coats, or consider using a stain that is slightly darker to help blend the filler. |
| Filler is cracking | Make sure the filler is completely dry before sanding and staining. Use thin layers and let each layer dry before applying more. |
For more information on different wood types and their properties, check out the resources available on the USDA Forest Service website: https://www.fs.fed.us/
Conclusion: Mastering the Art of Hiding Wood Filler
Learning how to effectively hide wood filler opens up a world of possibilities for your DIY projects. By following these steps and paying attention to detail, you can achieve a professional-looking finish that you’ll be proud of. Remember, patience and attention to detail are your best friends in woodworking. Now go create something amazing!
“`