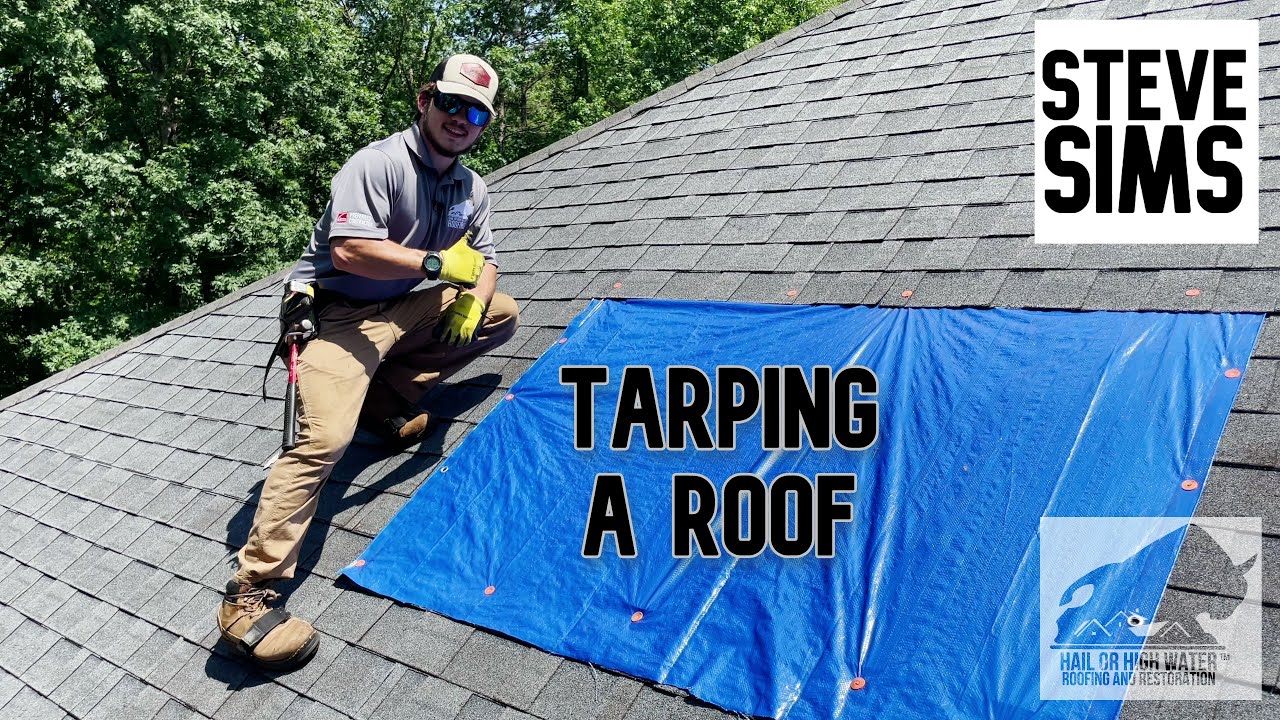
How to Install a Tarp on a Roof: Quick & Easy Guide
Installing a tarp on a roof can protect your home from leaks. It’s a quick fix for roof damage.
Whether from storms or wear, a tarp can help. It acts as a temporary shield. This simple task can prevent costly damage. Understanding how to secure a tarp is crucial. Roofs face harsh weather, and a well-placed tarp can save your property.
It’s not just about covering the roof; it’s about doing it safely and effectively. You’ll need the right tools and methods to ensure it stays in place. This guide will walk you through the steps. From choosing the right tarp to securing it, each step matters. Let’s explore how to install a tarp on a roof to keep your home safe and dry.
Preparing For Installation
Gather essential tools and materials before starting the roof tarp installation. Ensure safety gear is ready, including gloves and goggles. Check weather conditions to avoid installation during high winds or rain.
Gather Necessary Tools
Before starting, make sure you have the right tools. You will need a ladder, work gloves, and safety goggles. A tarp is essential. Bring a hammer and nails too. Don’t forget a measuring tape. It helps with size adjustments. Keep duct tape handy. It can fix small holes. Collect all tools in one place. This saves time. Ensure nothing is missing. Check twice for safety.
Assess Roof Condition
Look at the roof closely. Check for any damage. Inspect shingles. Are they cracked? Search for leaks. Water stains can show leaks. Examine the roof edges. Ensure they are strong. Weak edges may need fixing. Take notes of any issues. Write them down for reference. Safety comes first. Make the roof safe before starting.
Safety Precautions
Safety is very important. Always wear a hard hat. This will protect your head. Use safety goggles for your eyes. Gloves are needed for your hands. Wear non-slip shoes to avoid falls. These items keep you safe. Do not skip any of them.
Keep the area clear of tools. This avoids trips and falls. Use safety cones to mark the area. Keep children and pets away. They can cause distractions. A clean area means a safe area. Check the ladder for stability. Place it on level ground. Always work with a buddy. They can help in emergencies.
Choosing The Right Tarp
Tarps come in different materials. Polyethylene is light and strong. It is good for short-term use. Canvas tarps are heavy and tough. They last longer. Vinyl tarps are very durable. They resist water and tearing. Choose a material that fits your needs. Think about weather and how long you need it.
Measure your roof first. Use a tape measure. Find out the length and width. Get a tarp that is a bit bigger. This gives extra coverage. It helps in case of strong winds. A tarp that is too small will not work well. Check the package for size details. This helps to make the right choice.
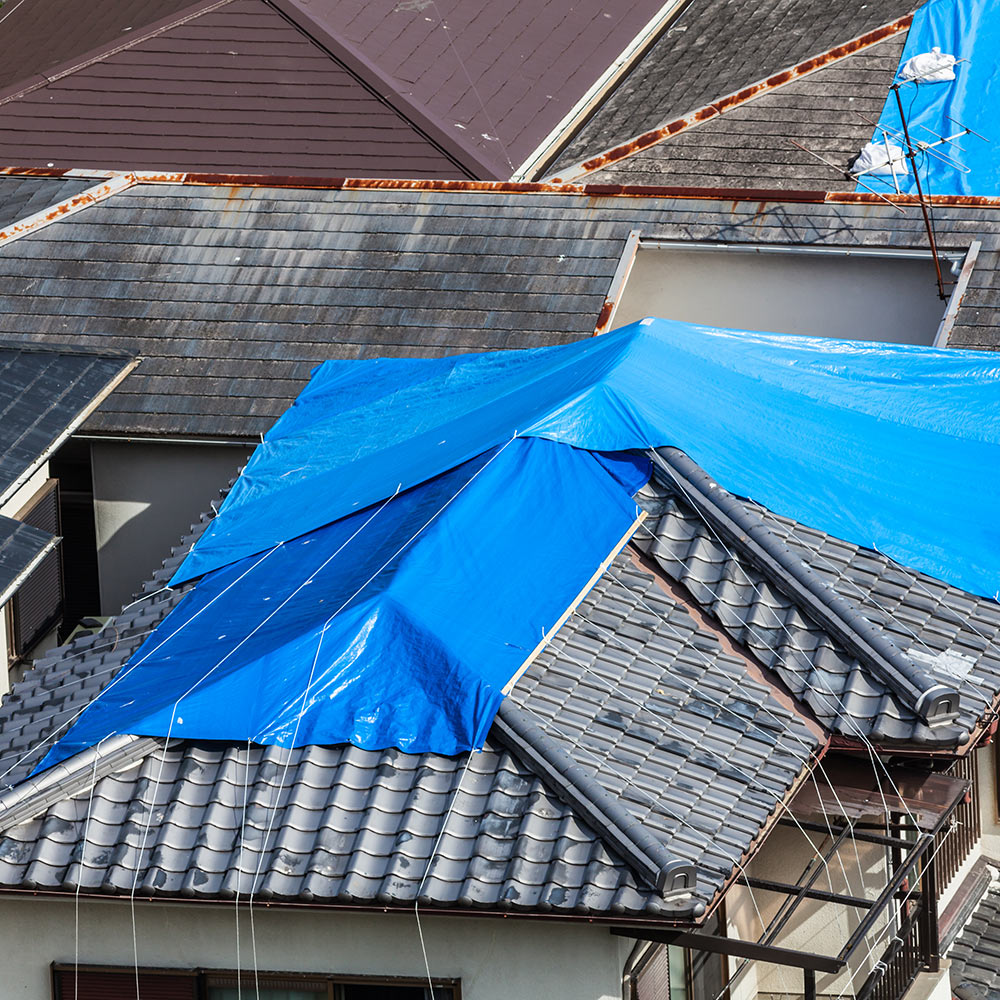
Positioning The Tarp
First, find the damaged spots on the roof. These are your key areas. Check for any holes or leaks. Make sure you cover them well. Use a ladder to get a good view.
Next, look for the edges of the roof. The tarp must align with these edges. This keeps it tight and secure. Ensure each corner of the tarp is in the right spot.
Once positioned, the tarp will stay firm. This helps in avoiding more damage. Always take care while on the roof. Safety is important.
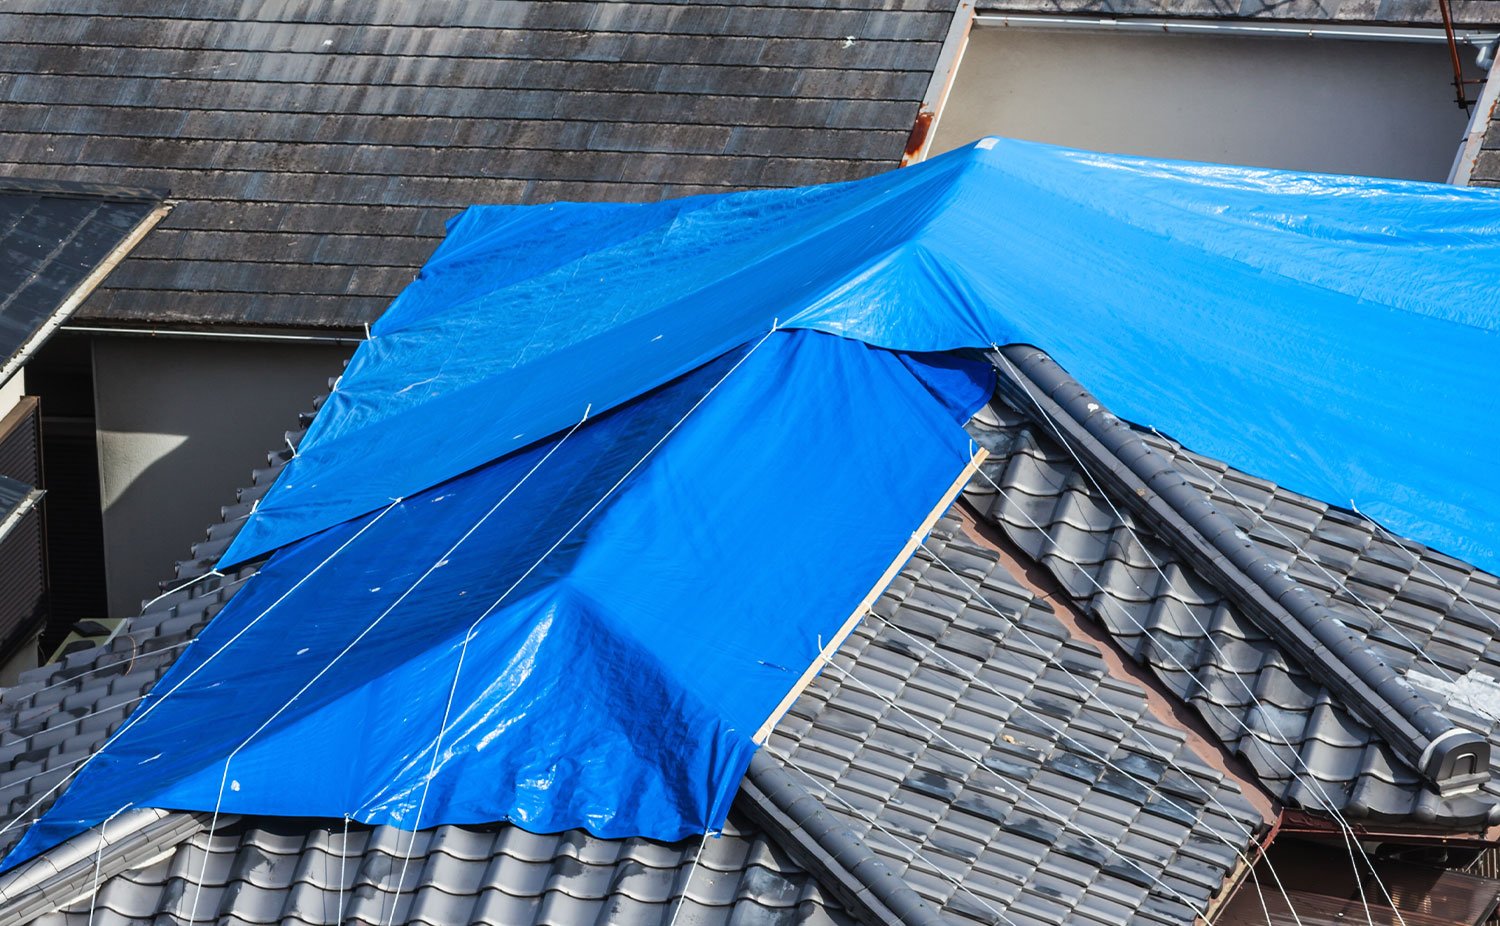
Securing The Tarp
Using the right fasteners is key. Nails and screws work well. They hold the tarp tight. Place them every two feet. This keeps the tarp from moving. Strong winds can’t lift it easily.
Make sure the tarp is tight and stable. Pull it flat over the roof. Check for wrinkles. Wrinkles let water in. Pull the edges tight. Use ropes if needed. Tie them to secure points. This keeps the tarp safe in storms.
Weather Considerations
Weather plays a crucial role in tarp installation on roofs. Avoid windy conditions to prevent tarp damage. Check forecasts to ensure installation on dry days, minimizing risks of slipping or mishaps.
Adapt To Wind Conditions
Strong winds can be tricky. Secure the tarp tightly. Use extra ropes or straps. This keeps it from flying away. Wind can cause flapping. This might damage the tarp. Place weights at the corners. This adds extra stability. Heavy objects like bricks work well. Be sure to cover sharp edges. These can tear the tarp.
Prepare For Rainfall
Rain makes surfaces slippery. Be careful to avoid falls. Ensure the tarp is waterproof. Water pooling can cause leaks. Use a broom to push water off. This helps keep the tarp safe. Anchor the tarp snugly. Water can seep under loose edges. Use clips or nails to secure it. This keeps everything dry.
Checking For Leaks
Look closely at the tarp seams. Make sure they are tight. Gaps can let water in. Use your hands to feel for any gaps. Fix them right away. A small gap can cause a big leak. This can damage your roof.
Watch the tarp while it rains. See if water drips inside. Check under the tarp for wet spots. A dry spot means no leaks. If you see water, the tarp needs fixing. Stay safe while checking. Use a ladder carefully. Always have someone with you.
Credit: www.homedepot.com
Maintenance Tips
Proper installation of a tarp on a roof protects against leaks. Start by securing the edges with nails or screws. Ensure the tarp is tight to prevent it from flapping in the wind. Use ropes or straps for extra stability during harsh weather conditions.
Regular Inspection
Check the tarp every month. Look for tears and holes. Small problems can become big. Fix them early to save money. Use a ladder safely to inspect the roof. Always have someone hold it steady. Wind can cause damage. Check after a storm too. Make sure the tarp is tight. Loose tarps can cause leaks. Tighten any loose spots.
Replace Damaged Areas
Find damaged parts quickly. Replace them before rain comes. Water can ruin the roof. Use strong tape or patches. These keep the tarp strong. Make sure the new piece fits well. Overlapping helps keep water out. Check the edges. They should be sealed tightly. This stops wind from lifting the tarp.
Credit: championroofing.com
Frequently Asked Questions
How Do You Secure A Tarp To A Roof?
Secure a tarp by nailing wooden strips along its edges. Use durable nails for stability. Ensure the tarp covers the damaged area completely. Tighten the tarp to prevent water pooling. Seal edges with adhesive to enhance protection.
Is It Ok To Nail A Tarp On A Roof?
Nailing a tarp on a roof is not recommended. It can cause leaks and damage shingles. Use tarp clips or weights instead to secure it. Ensure the tarp is properly sized and covers the affected area completely. This method provides temporary protection until professional repairs are made.
How To Put A Tarp On A Flat Roof Without Nails?
Use adhesive strips or roof tarps with built-in grommets and ropes. Secure the tarp edges with heavy objects like sandbags or bricks. Ensure proper overlap to prevent water infiltration. Regularly check and adjust the tarp to maintain stability and protection.
How Long Can I Leave A Tarp On My Roof?
A tarp can be left on a roof for up to 90 days. Regularly check for damage or leaks. Prolonged use may lead to deterioration. Secure the tarp properly to prevent wind damage. Replace it if showing signs of wear for effective protection.
Always consider professional advice for long-term solutions.
Conclusion
Installing a tarp on a roof can protect your home. It shields against leaks and weather damage. Remember to follow safety tips. Use the right tools and secure the tarp tightly. Check for any weak spots regularly. This ensures your temporary fix lasts longer.
Always prioritize safety first. It’s important for both you and your property. With practice, you’ll become more confident in handling tarps. This skill can save time and money during emergencies. Keep learning and improving your home repair skills. Your efforts make a difference in maintaining a safe home environment.