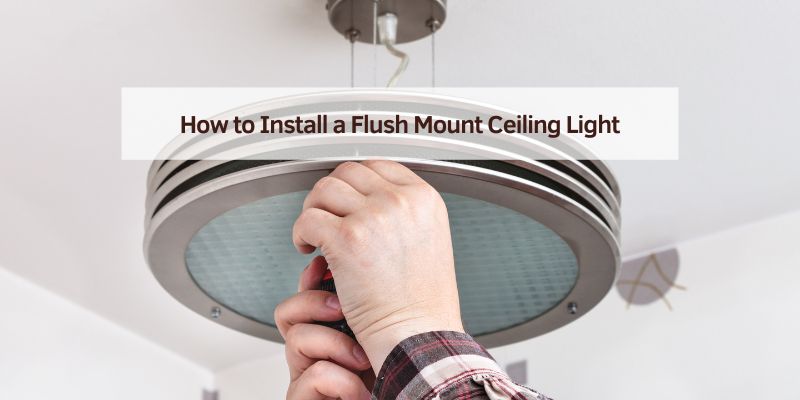
How to Install a Flush Mount Ceiling Light
Hey there! If you’ve ever worked on your car in a dimly lit garage and thought, “I need better lighting,” you’re in the right place. I’ve been there, squinting under a flickering old ceiling light while trying to wrench on my vintage Chevy. Installing a flush mount ceiling light transformed my garage into a bright, inviting workspace, and I’m thrilled to share how you can do it too.
Flush mount lights are sleek, modern, and perfect for illuminating your automotive haven without taking up space. After tackling this project a few times—complete with a few rookie mistakes—I’ve learned the ins and outs of getting it done safely and smoothly. Whether you’re a DIY gearhead or just want to brighten your home or shop, this guide is packed with my real-world tips, personal stories, and step-by-step advice to make installing a flush mount ceiling light a breeze. Let’s light up your space and get started!
Why Choose a Flush Mount Ceiling Light for Your Automotive Space
Flush mount ceiling lights are my go-to for automotive setups. They sit close to the ceiling, so they don’t hang low and get in the way when I’m lifting car parts or swinging tools. I installed one in my garage to replace a bulky fluorescent fixture, and it made a huge difference. The light spreads evenly, perfect for detailing cars or working under the hood.
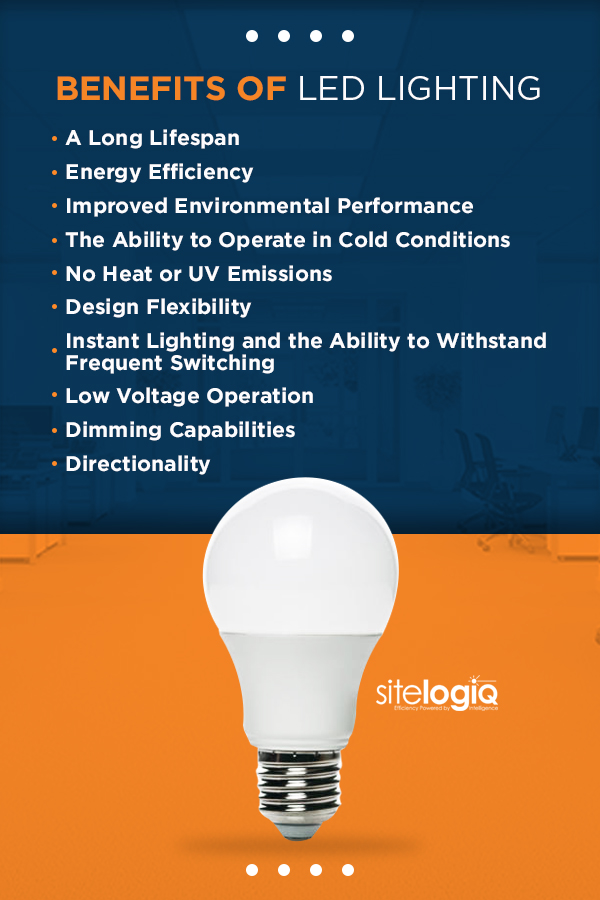
These lights are also stylish and energy-efficient. I picked an LED flush mount that uses half the power of my old fixture but shines brighter. They’re great for garages, workshops, or even a showroom to highlight your pride and joy. Plus, they’re low-maintenance—no dangling chains or exposed bulbs to worry about. Installing one is a weekend project that pays off every time you flip the switch.
Understanding Flush Mount Ceiling Lights
Before we dive in, let’s talk about what a flush mount ceiling light is. I was confused at first, thinking it was just a fancy term for any ceiling light. A flush mount light is a fixture that hugs the ceiling, with no gap between the base and the surface. It has a dome or flat cover (called a diffuser) that softens the light and hides the bulbs.
Flush mounts come in various sizes, styles, and bulb types. Mine is a 12-inch LED model, but you can find ones from 6 to 24 inches, using incandescent, fluorescent, or LED bulbs. I’ve seen them in sleek chrome for a modern shop or classic white for a homey feel. They’re wired into your ceiling’s electrical box, so you’ll need some basic wiring know-how, but don’t worry—I’ll walk you through it.
Tools and Materials You’ll Need
Getting the right tools and materials makes this job smoother. I learned this after starting my first install without a voltage tester—big mistake! Here’s what I use:
- Flush Mount Ceiling Light Fixture: Pick one that fits your space. My 12-inch LED cost $30 at a hardware store.
- Screwdriver: A Phillips and flathead cover most screws. I keep both handy.
- Wire Strippers: For trimming and stripping wires. Mine cost $10.
- Wire Nuts: These connect wires safely. Most fixtures include them.
- Voltage Tester: A non-contact tester ($10) ensures the power is off.
- Ladder: A sturdy step ladder to reach the ceiling. I use a 6-foot one.
- Electrical Tape: For securing wire connections. A roll is $2.
- Drill and Bits (Optional): If you need to mount a new electrical box or drill anchors.
- Safety Glasses and Gloves: To protect against debris and shocks.
I also grab a flashlight or work light for better visibility. Check your fixture’s manual for specific bulb types—mine uses integrated LEDs, so no bulbs needed. Lay everything out before starting to stay organized.
Safety First: Preparing for the Installation
Safety is non-negotiable when working with electricity. I got a mild zap once because I didn’t double-check the power—never again! Here’s how I stay safe:
- Turn Off the Power: Find your circuit breaker and flip the switch for the light’s circuit. I label my breaker box to make this easy.
- Test for Power: Use a non-contact voltage tester to confirm the wires are dead. I test the fixture’s wires before touching anything.
- Work in Good Light: Set up a work light or flashlight. I used my phone’s flashlight once, but a proper light is better.
- Use a Stable Ladder: Ensure your ladder is on flat ground. I almost tipped over on an uneven garage floor—scary!
- Wear Safety Gear: Glasses protect your eyes from dust, and gloves keep your hands safe from sharp edges.
I also let someone know I’m working on electrical stuff, just in case. These steps keep you safe and let you focus on the job.
Step-by-Step Guide to Installing a Flush Mount Ceiling Light
Installing a flush mount light is straightforward once you know the steps. I’ve done this three times now, and here’s my process:
- Turn Off the Power: I flip the breaker and test with my voltage tester to be sure. Safety first!
- Remove the Old Fixture: If you’re replacing an existing light, unscrew the cover and base. I disconnect the wires by removing wire nuts, keeping track of which is which (usually black for hot, white for neutral, green or copper for ground).
- Check the Electrical Box: Ensure the ceiling’s electrical box is secure. Mine was loose once, so I tightened the screws with a screwdriver. If you’re installing a new box, you’ll need a drill and anchors.
- Prepare the New Fixture: Unpack your flush mount light and read the manual. I attach the mounting bracket to the fixture base if it’s not pre-assembled.
-
Connect the Wires: Match the fixture’s wires to the ceiling’s.
- Black (hot) to black or red.
- White (neutral) to white.
- Green or copper (ground) to green or bare.
I strip about ½ inch of insulation with wire strippers, twist the wires together, and secure with wire nuts. A wrap of electrical tape adds extra safety.
- Mount the Fixture: Screw the mounting bracket to the electrical box using the provided screws. I then attach the fixture base to the bracket, making sure it’s snug but not over-tightened.
- Install the Diffuser: Snap or screw the dome cover onto the fixture. Mine clicks into place, but some need screws. Be gentle to avoid cracking it.
- Test the Light: Turn the breaker back on and flip the switch. If it doesn’t light up, I recheck the wire connections or the bulb.
- Adjust and Clean: Ensure the fixture is flush and wipe off fingerprints. I used a microfiber cloth for a polished look.
This takes me about 30 minutes now, but my first try was an hour because I fumbled with the wires. Take your time, and it’ll come together.

Troubleshooting Common Installation Issues
Not every install goes perfectly. I’ve hit a few bumps, so here’s how I fix them:
- Light Doesn’t Turn On: I check the wire connections—loose wire nuts are often the culprit. Once, I swapped black and white wires by mistake and had to rewire.
- Fixture Isn’t Flush: If the light wobbles, I tighten the mounting screws or check if the electrical box is secure. A loose box caused this for me once.
- Bulb Flickers: This could mean a bad bulb or loose connection. I replaced a flickering LED bulb, and it solved the issue.
- Wrong Electrical Box: Some boxes are too small for flush mounts. I had to replace a shallow box with a deeper one for a larger fixture.
- No Ground Wire: Older homes may lack a ground wire. I connected my fixture’s ground to the metal box, which worked fine.
If you’re stuck, turn off the power and double-check each step. Patience saves frustration.
Choosing the Right Flush Mount Light for Your Space
Picking the perfect flush mount light makes a big difference. I’ve tried a few, and here’s what I consider:
- Size: Measure your space. My 12-inch light is great for a 10×10-foot garage section. Larger rooms need 18–24-inch fixtures.
- Brightness: Look at lumens, not watts. My 800-lumen LED is plenty for task lighting. For bigger spaces, aim for 1,500–2,000 lumens.
- Bulb Type: LEDs are my favorite—energy-efficient and long-lasting (up to 50,000 hours). Integrated LEDs mean no bulb changes, but replaceable bulbs offer flexibility.
- Style: I chose a chrome finish for my shop’s modern vibe. White or bronze suits classic garages. Pick what matches your aesthetic.
- Dimmable Option: A dimmable light lets you adjust brightness. I added a dimmer switch for $15, perfect for switching between work and chill modes.
I bought my fixture at a home improvement store, but online retailers have tons of options. Check reviews for quality—I dodged a cheap fixture with bad wiring thanks to reviews.
Comparing Flush Mount Light Types
With so many options, here’s a table based on my experience to help you choose:
| Light Type | Best For | Pros | Cons | Cost |
|---|---|---|---|---|
| LED (Integrated) | Long-term use, low maintenance | Energy-efficient, no bulb changes | Harder to repair if LEDs fail | $30–$80 |
| LED (Replaceable Bulbs) | Flexibility, upgrades | Long-lasting, easy bulb swaps | Bulbs add cost over time | $20–$60 |
| Incandescent | Budget, warm light | Cheap, soft glow | Short lifespan (1,000 hours), inefficient | $15–$40 |
| Fluorescent | Bright, even light | Affordable, good coverage | Bulky, can flicker | $20–$50 |
I went with an integrated LED for my garage—bright, efficient, and no hassle. Incandescent is okay for tight budgets but burns out fast.
Wiring Tips for Beginners
Wiring intimidated me at first, but it’s simpler than it looks. Here’s what I’ve learned:
- Match Wire Colors: Black to black (hot), white to white (neutral), green to green or bare (ground). I label wires with tape if they’re faded.
- Use Wire Nuts Properly: Twist wires clockwise, then screw on the nut until tight. I tug gently to ensure they’re secure.
- Keep Wires Tidy: Tuck excess wires into the electrical box. I had a messy bundle once that made mounting tricky.
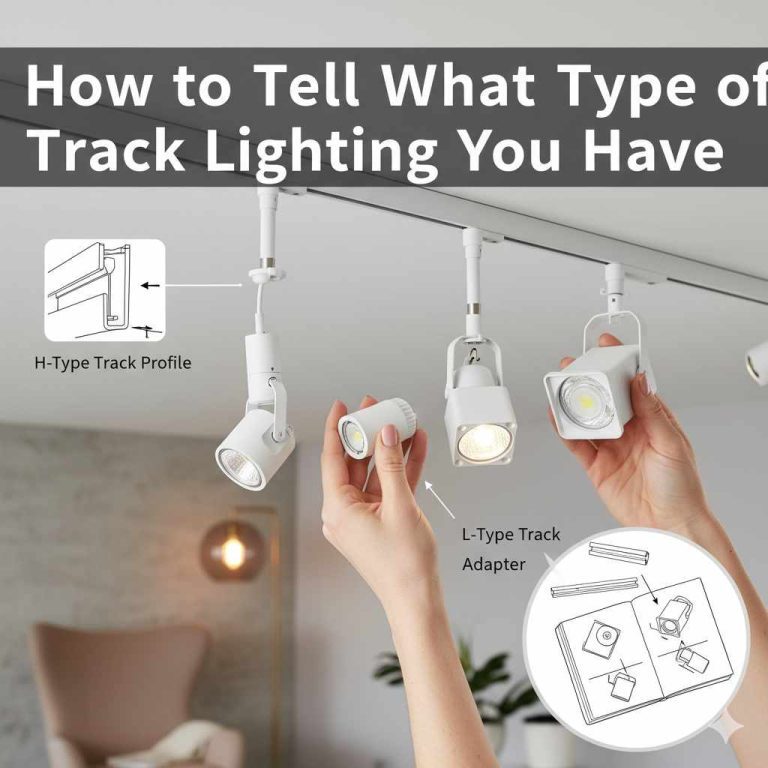
- Check Voltage: Most flush mounts are 120V (standard household). My low-voltage track lights were different, so always confirm.
- Don’t Overload Circuits: If adding multiple lights, ensure your circuit can handle it. I checked my breaker’s amp rating (15A) before installing.
If wiring feels overwhelming, practice on a spare fixture first. I did this with an old lamp to build confidence.
Maintaining Your Flush Mount Ceiling Light
Keeping your light in top shape is easy. Here’s how I maintain mine:
- Clean the Diffuser: Dust dims the light. I wipe mine with a damp cloth every few months.
- Check Screws: Vibrations from garage tools can loosen screws. I tighten them yearly with a screwdriver.
- Inspect Wiring: I peek at the wires every couple of years for wear. No issues so far, but it’s good to check.
- Replace Bulbs Promptly: If your fixture uses bulbs, swap them when they dim to avoid straining the system.
- Keep Vents Clear: Some fixtures have vents for heat. I vacuum the dust off mine to prevent overheating.
These habits keep my light bright and reliable for years.
Common Mistakes to Avoid
I’ve made plenty of blunders installing flush mounts. Here’s what to skip:
- Not Turning Off Power: I got zapped once—always flip the breaker and test with a voltage tester.
- Buying the Wrong Size: A tiny light in a big garage looks silly. I measured my space to get a 12-inch fixture.
- Skipping the Manual: I ignored my fixture’s instructions once and wired it wrong. Read the manual first.
- Over-tightening Screws: I cracked a diffuser by cranking too hard. Snug is enough.
- Ignoring Grounding: Skipping the ground wire is risky. I always connect it, even in older homes.
Avoid these, and your install will go smoothly.
My Flush Mount Installation Triumph
Last spring, I decided to upgrade my garage lighting for a car detailing side hustle. The old fluorescent fixture buzzed and flickered, killing the vibe. I bought a 12-inch LED flush mount with a chrome finish for $35. After turning off the power and testing the wires, I removed the old fixture, wired the new one, and mounted it in about 40 minutes. When I flipped the switch, the garage lit up like a showroom—perfect for spotting every swirl mark on a client’s car. My customers raved about the professional look, and I felt like a DIY champ. That project boosted my confidence, and now I’m hooked on home upgrades.

Enhancing Your Lighting Setup
Once your flush mount is installed, consider these extras to level up:
- Add a Dimmer: I installed a dimmer switch to adjust brightness for work or relaxing. It cost $15 and was easy to wire.
- Pair with Task Lights: I use a flush mount for general lighting and a portable LED work light for under-hood tasks.
- Install Multiple Fixtures: For larger garages, I added a second flush mount to eliminate shadows.
- Smart Bulbs: Some flush mounts take smart bulbs. I’m eyeing one for voice control with my phone.
- Paint the Ceiling: A white ceiling reflects light better. I painted mine, and it boosted brightness noticeably.
These tweaks make your space functional and inviting.
Conclusion: Brighten Your Automotive World
Installing a flush mount ceiling light is a rewarding project that transforms your garage or shop. I’ve gone from wrestling with dim, outdated fixtures to enjoying a bright, professional workspace that makes every car project a joy. With the right tools, a bit of caution, and my step-by-step guide, you can do this too.
Whether you’re wrenching on a classic car, detailing a daily driver, or showing off your collection, a flush mount light will make your space shine. So grab your screwdriver, pick a fixture, and light up your automotive world. You’ve got this, and I can’t wait for you to flip that switch!
FAQs
What tools do I need to install a flush mount ceiling light?
You’ll need a screwdriver, wire strippers, wire nuts, a voltage tester, and a ladder. I also use electrical tape and safety glasses.
Can I install a flush mount light myself?
Yes, if you follow safety steps! I turned off the power and tested the wires to install mine safely. If wiring scares you, call an electrician.
How do I know what size flush mount light to buy?
Measure your space. My 12-inch light works for a 10×10-foot area. Larger garages need 18–24-inch fixtures.
What’s the difference between LED and incandescent flush mounts?
LEDs last longer (50,000 hours) and save energy. Incandescent is cheaper but burns out fast (1,000 hours). I chose LED for my garage.
Why doesn’t my new flush mount light work?
Check wire connections or try a new bulb. I had a loose wire nut once that caused the issue.
Do I need an electrician to install a flush mount light?
Not usually. I installed mine with basic tools and wiring skills. If your home has old wiring or no electrical box, get a pro.
Can I use a dimmer with a flush mount light?
Yes, if the fixture or bulbs are dimmable. I added a dimmer switch for $15, and it’s great for adjusting brightness.