What Are the Lights in a Ceiling Called? (Recessed & More)
Recessed lights — also called can lights, pot lights, or downlights — are what most people mean when they ask what the lights in a ceiling are called, but flush-mount, semi-flush, chandelier, and track fixtures are ceiling lights too. Installing a non-IC-rated housing against insulation violates NEC 410.66 and creates a real fire risk. This guide covers the 5 main ceiling light types, how a recessed housing works, and what code requires before you cut into your ceiling.
Quick Answer
The lights built into a ceiling are usually recessed lights (can lights, pot lights, or downlights). If the fixture sits flat against the ceiling instead of inside it, it’s a flush-mount; a version that drops slightly on a short stem is semi-flush. Fixtures on an adjustable rail are track lighting, and anything hanging lower on a chain or rod is a chandelier or pendant.
What Are Recessed Lights?
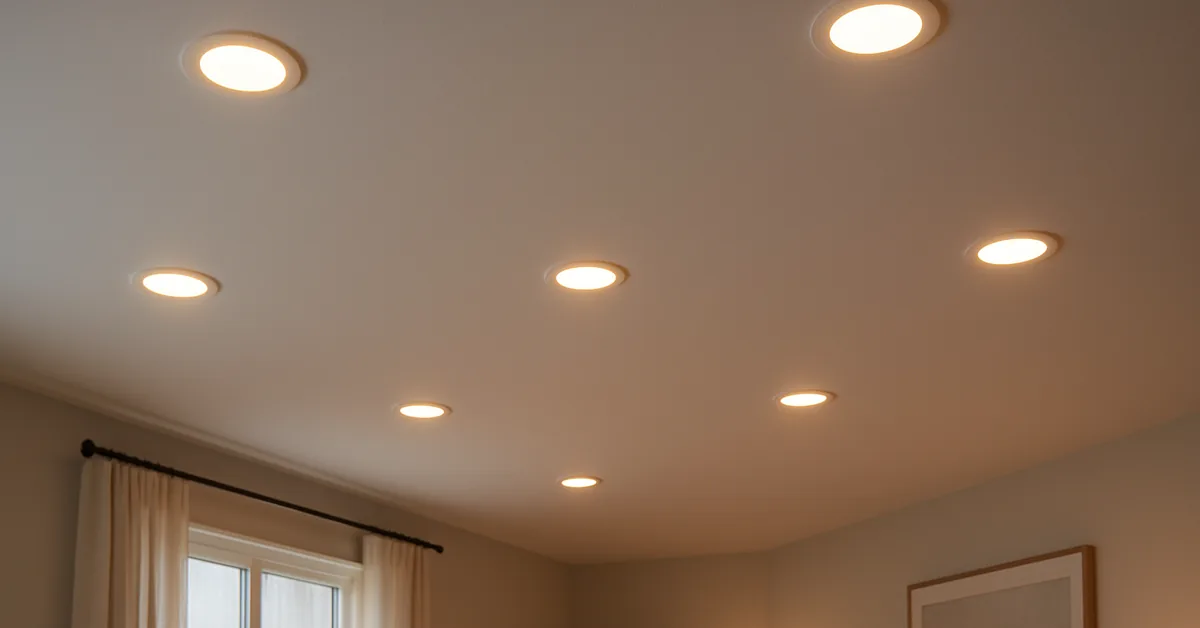
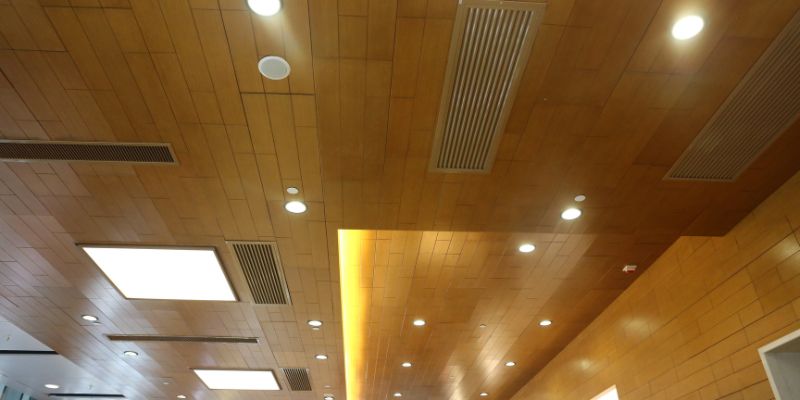
So, those lights tucked neatly into your ceiling? They’re most likely recessed lights — one of the most common fixtures in our lighting and ceiling fan guides. In a newly renovated kitchen, recessed lights can look so clean and modern, almost like they were part of the ceiling itself. Recessed lights, also called can lights, downlights, or pot lights, are fixtures installed into a hollow opening in the ceiling. They sit flush, meaning they don’t hang down like a chandelier or pendant light. Instead, they’re embedded, giving your room a sleek, uncluttered look.
These lights work by directing light downward in a focused beam, which makes them perfect for task lighting (like over a kitchen counter) or general ambiance. I love how they blend into the ceiling, making the room feel bigger and less crowded. They’re super popular in modern homes because they’re versatile and don’t steal the show from your decor. Plus, they come in all sorts of sizes and styles, so you can customize them to fit any room.
Types of Ceiling Lights You Might Find
Now, recessed lights aren’t the only type of lights you’ll find in ceilings. When I was redoing my dining room, I got curious about all the options out there. Here’s a breakdown of the main types of ceiling lights you might come across:
- Recessed Lights: Sit flush with the ceiling. Traditional “can” housings hold a separate bulb; newer canless/integrated LED versions build the LED chip directly into a slim baffle, so there’s no bulb to replace at all. Great for kitchens, bathrooms, or living rooms where you want a clean look.
- Flush Mount Lights: These are flat fixtures that hug the ceiling but aren’t embedded like recessed lights. I have one in my hallway, and it’s perfect for low ceilings.
- Semi-Flush Mount Lights: These hang down just a bit, usually by a short stem or chain. They add a touch of elegance without being as dramatic as a chandelier.
- Chandeliers: Okay, these are more decorative and hang lower, but they’re still ceiling lights! I’ve seen stunning chandeliers in dining rooms that completely transform the space.
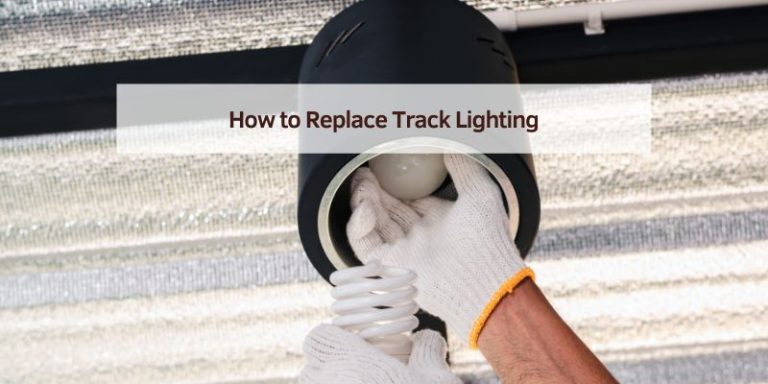
- Track Lights: These are mounted on a track, so you can adjust where the light points. Track lighting can be a game-changer for focusing light on a desk or bookshelves in a home office.
Each type has its own vibe, and choosing the right one depends on your room’s style and purpose. For example, recessed lights are my go-to for a minimalist look, but a flush mount might work better in a cozy bedroom.
| Fixture Type | Sits | Best For |
|---|---|---|
| Recessed / Can Light | Fully inside the ceiling, flush trim only visible | Low ceilings, minimalist rooms, task lighting |
| Flush Mount | Flat against the ceiling surface | Hallways, low ceilings, no cutting required |
| Semi-Flush Mount | A few inches below the ceiling on a short stem | Bedrooms, entryways wanting a bit of style |
| Track Lighting | Mounted on a surface-run track | Home offices, galleries, adjustable accent light |
| Chandelier / Pendant | Hangs well below the ceiling on a rod or chain | Dining rooms, statement lighting over a table |
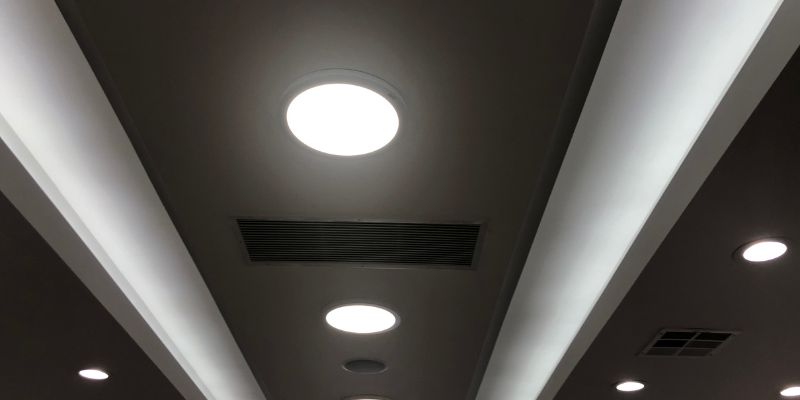
Best Recessed Light Retrofit Kit Pick
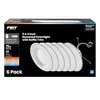
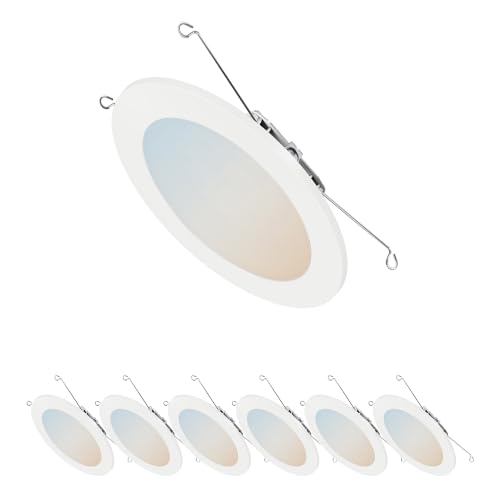
Feit Electric 5/6” LED Recessed Downlight Retrofit Kit – $39.97
A flip-switch lets you preset the color temperature from warm 2700K to daylight 5000K — exactly the warm-vs-cool choice this guide covers for bedrooms versus kitchens.
- Best for: Retrofitting an existing 5″ or 6″ recessed can without rewiring
- Why we picked it: Dimmable, adjustable CCT, and a tool-free torsion-spring install matches the DIY-friendly install this article describes
- Main drawback: Sold as a single unit — buy one per existing can you’re upgrading
Compare more recessed lighting options
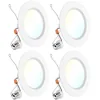 Option 1 Sunco 4-Pack 6” Retrofit LED Recessed Lights – $29.99
|
 Option 2 Amico 12-Pack 5/6” Flat LED Can Lights – $49.99
|
 Option 3 HALO 6” LED Recessed Slim Trim Retrofit (6-Pack) – $89.98
|
As an Amazon Associate we earn from qualifying purchases.
Why Choose Recessed Lights for Your Home?
When first researching ceiling lights, it’s not always clear why recessed lights are so popular. But after installing them in my living room, I totally get it. Here’s why they’re such a great choice:
- Space-Saving Design: Since they’re flush with the ceiling, they don’t take up any visual space. This is a lifesaver in small rooms or homes with low ceilings, like my old apartment.
- Versatile Lighting: You can use them for general lighting, accent lighting, or task lighting. Recessed lights over the kitchen counter are perfect for chopping vegetables.
- Modern Aesthetic: They give your home a clean, contemporary feel. I’ve noticed that homes with recessed lights always look polished and updated.
- Energy Efficiency: Most recessed lights work with LED bulbs, which save energy and last forever. I haven’t had to change a bulb in my living room in years!
- Customizable: Choose different trim styles — baffle trims cut glare, while gimbal (adjustable) trims pivot up to 35° so you can aim the beam at art or a task area — plus sizes and beam angles to get the exact look and spread you want.
One thing to keep in mind, though, is that installing recessed lights requires cutting holes in your ceiling, so it’s not a quick weekend project unless you’re handy or hire a pro. Attempting this as a DIY project often leads to needing to call an electrician. For a full deep dive on how recessed housings, trims, and bulbs work together, see our complete guide to recessed lighting.
How Do Recessed Lights Work?
Okay, let’s get a little technical (but not too much, I promise). When figuring out how to install recessed lights, understanding how they work is essential. Here’s the simple version:
Recessed lights have three main parts: the housing, the trim, and the bulb. The housing is the part that sits inside the ceiling—it’s like a metal can that holds everything together. The trim is the visible part you see from below, and it can be decorative or super simple. The bulb is, well, the light source! Most modern recessed lights use LED bulbs, but you can also find ones that work with halogen or incandescent bulbs.
The housing is wired into your home’s electrical system, and the light shines downward in a focused beam. You can choose different beam angles—narrow for spotlighting a piece of art, or wide for general room lighting. I went with a wide beam in my living room to make the space feel bright and welcoming.
Recessed lights come in different sizes, usually 4 to 6 inches in diameter. Smaller ones are great for tight spaces, while larger ones make a bigger statement. Mixing both sizes in a kitchen can create a balanced look.
Choosing the Right Recessed Lights for Your Space
Picking the right recessed lights can feel overwhelming because there are so many options. When shopping for recessed lights, compare styles and features across multiple hours to find the best match. Here’s what I learned to help you choose:
- Size: The diameter of the light matters. I used 4-inch lights in my bathroom for a subtle look and 6-inch lights in my living room for more coverage.
- Color Temperature: This is about how warm or cool the light looks. Warm white (around 2700K) feels cozy, like a candlelit glow, while cool white (4000K or higher) is crisp and modern. I went with warm white in my bedroom for a relaxing vibe.
- Dimmable Options: If you want to control the brightness, make sure the lights are dimmable. I love dimming my living room lights for movie nights.
- Trim Style: The trim is what you see, so pick one that matches your decor. I chose a white baffle trim for my kitchen to reduce glare, but you can also get sleek metallic or even decorative trims.
- Insulation Rating: If your ceiling is insulated (like in an attic), you’ll need IC-rated (insulation contact) lights to prevent fire hazards. I didn’t know this at first and had to swap out my lights—don’t make my mistake!
Here’s a quick table to help you compare some key factors when choosing recessed lights:
| Feature | Description | Best For |
|---|---|---|
| 4-Inch Lights | Smaller, discreet, less light output | Small rooms, accent lighting |
| 6-Inch Lights | Larger, more light output | Larger rooms, general lighting |
| Warm White (2700K) | Cozy, yellowish light | Bedrooms, living rooms |
| Cool White (4000K+) | Bright, crisp light | Kitchens, offices |
| Dimmable | Adjustable brightness | Mood lighting, versatile spaces |
| IC-Rated | Safe for insulated ceilings | Attics, insulated homes |
📊 The National Electrical Code (NEC 410.66) requires any recessed luminaire installed in an insulated ceiling, or within 3 inches of insulation, to be labeled Type IC (insulation contact) with a thermal cutoff. — Source: Building America Solution Center, U.S. Dept. of Energy / PNNL
“I found out the hard way that non-IC-rated cans can’t touch insulation — my attic had blown-in insulation packed right against the housings, and I had to pull three fixtures back out and swap them for IC-rated ones before an inspector would sign off.”
Where to Use Recessed Lights in Your Home
One of the best things about recessed lights is how versatile they are. Recessed lights work beautifully in almost every room of a house. Here are some ideas for where to put them:
- Kitchen: Place them over countertops or islands for task lighting. Four recessed lights in the kitchen make food prep significantly easier.
- Living Room: Use them for general lighting or to highlight a fireplace or artwork. I spaced mine evenly in my living room to create a soft, even glow.
- Bathroom: They’re great over vanities or in showers (just make sure to get wet-rated ones for showers). My bathroom feels like a spa with recessed lights!
- Hallways: Recessed lights keep hallways bright without taking up space. I added them to my narrow hallway, and it feels so much more open now.
- Bedroom: They’re perfect for creating a calming atmosphere, especially if you use dimmable lights. I paired mine with a bedside lamp for a cozy setup.
Pro tip: Plan your layout carefully. Spacing recessed lights about 4 to 6 feet apart gives even lighting without looking like a runway.
Installation Tips for Recessed Lights
Installing recessed lights isn’t a walk in the park, but it’s doable with the right prep. When tackling this at home, rookie mistakes are common, so avoid these common pitfalls to save trouble. Here’s what you need to know:
- Hire a Professional (or Not): If you’re not comfortable with electrical work, call an electrician. DIYing a first installation can result in a wonky setup until a pro fixes it.
- Check Your Ceiling: Make sure there’s enough space above your ceiling for the housing. Double-check attic space before starting.
- Plan the Layout: Measure twice, cut once! Mark the ceiling with painter’s tape to visualize where each light goes.
- Choose the Right Housing: New construction? Remodel? There are different housings for each. Use remodel housings since the home is already built.
- Safety First: Turn off the power at the breaker before you start. Getting a small zap can happen (don’t worry, it is usually safe!).
If you’re not sure where to start, talk to a professional. It’s worth the investment for safety and a polished look.
Maintaining Your Recessed Lights
Once your recessed lights are installed, they’re pretty low-maintenance, which is why I love them. Still, a little care goes a long way. Here’s what I do to keep mine in tip-top shape:
- Clean the Trim: Dust can build up on the trim, especially in kitchens. Wipe fixtures down with a damp cloth every few months.
- Check the Bulbs: LED bulbs last a long time, but they do burn out eventually. Keep spare bulbs on hand to avoid being left in the dark.
- Inspect the Housing: If you have access to your attic, check the housing for any loose connections. If a light flickers, tightening a wire often fixes it.
- Update as Needed: If your style changes, you can swap out the trim for a new look without replacing the whole fixture. I did this in my dining room to match a new color scheme.
Cost of Recessed Lights
I get it—budget matters. When planning home lighting, it is important to know how much this will cost. The cost of recessed lights varies, but here’s a rough breakdown based on my experience:
- Fixtures: Basic recessed light fixtures cost $20–$50 each. Fancier ones with smart features can go up to $100 or more.
- Bulbs: LED bulbs are $5–$15 each, but they last for years, so it’s worth it.
- Installation: If you hire a pro, expect to pay $100–$200 per light, including labor and materials. I paid about $800 to install six lights in my living room.
- DIY Costs: If you go the DIY route, you’ll just need the fixtures, bulbs, and some tools, so maybe $150–$300 for a small project.
Shop around for deals, and don’t skimp on quality—cheap fixtures can lead to headaches down the road.
Common Mistakes to Avoid
I’ve made my fair share of mistakes with recessed lights, so let me share some lessons learned:
- Wrong Spacing: Too many lights can make your ceiling look like Swiss cheese. Too few, and you’ll have dark spots. I had to reposition a light in my kitchen because I didn’t measure properly.
- Ignoring Insulation: Non-IC-rated lights in an insulated ceiling can be a fire hazard. Always check your ceiling type.
- Skipping Dimmers: Non-dimmable lights limit your options. I wish I’d gone dimmable in every room from the start.
- Poor Bulb Choice: Choosing the wrong color temperature can make a room feel off. My first bedroom lights were too cool, and it felt like a hospital!
Frequently Asked Questions
What’s the difference between recessed lights and flush mount lights?
Recessed lights are embedded into the ceiling, sitting flush with the surface, while flush mount lights are attached to the ceiling but stick out slightly. I find recessed lights look sleeker, but flush mounts are easier to install in some cases, especially if you don’t want to cut into your ceiling.
Can I install recessed lights myself?
You can, but it’s tricky if you’re not handy with electrical work. I tried DIY-ing mine and ended up calling an electrician to fix my mistakes. If you’re confident, go for it—just make sure to turn off the power and follow safety guidelines.
Are recessed lights expensive?
They can be affordable, with fixtures costing $20–$50 each and LED bulbs around $5–$15. Installation is the big cost if you hire a pro—expect $100–$200 per light. I budgeted about $800 for six lights in my living room, and it was worth every penny.
What’s the best room for recessed lights?
They work almost anywhere! I love them in kitchens for task lighting, living rooms for ambiance, and bathrooms for a spa-like feel. Just make sure to space them evenly and choose the right bulb color for the mood you want.
Do recessed lights use a lot of energy?
Not if you use LED bulbs! They’re super energy-efficient and last for years. I’ve had the same LED bulbs in my living room for three years now, and they’re still going strong.
Do recessed lights need to be IC-rated?
Yes, if the ceiling above the fixture is insulated or the housing sits within 3 inches of insulation. NEC 410.66 requires an IC-rated (insulation contact) housing with a thermal cutoff in that situation — a non-IC-rated can overheat and become a fire hazard when insulation is packed against it.
How far apart should recessed lights be spaced?
For general room lighting, space recessed lights 4 to 6 feet apart and 4 to 6 feet from walls. Task-lighting areas like kitchen counters need tighter spacing, around 2 to 3 feet. See our full recessed light spacing guide for room-by-room layouts.
Conclusion
Recessed lights are the answer most people are looking for when they ask what the lights in a ceiling are called, but flush-mount, semi-flush, track, and chandelier fixtures all count too. Whichever type you have, matching the housing to your ceiling’s insulation (IC-rated where required) is what keeps the installation both code-compliant and safe.
Plan your layout before you cut into drywall — spacing, trim style, and color temperature are easy to change on paper and expensive to redo once the fixtures are in.
Sponsored / affiliate links. As an Amazon Associate I earn from qualifying purchases. I may earn additional commission from eligible campaigns.