How to Remove Bathroom Light Fixture: Easy Guide
Have you ever looked up at your bathroom light fixture and thought it was time for a change? Maybe it’s outdated, or perhaps it just doesn’t fit your style anymore.
Whatever the reason, you’re not alone. Many homeowners find themselves wanting to update their space but feel intimidated by the idea of removing a light fixture. But what if I told you that you could do it yourself, saving time and money?
Imagine the satisfaction of transforming your bathroom with your own hands, and the comfort of knowing you did it safely and effectively. In this guide, you will discover simple, straightforward steps to remove your bathroom light fixture without the fuss. Whether you’re a DIY enthusiast or a complete beginner, you’ll find everything you need to know right here. So, let’s dive in and illuminate your path to a brighter, more personalized bathroom space.
Safety Precautions
Safety is very important. Before you start, turn off the power. Go to your home’s electrical panel. Find the switch for the bathroom. Flip it to the “off” position. This keeps you safe from electric shocks.
You need some tools to do the job. Get a screwdriver. You might need a ladder if the light is high. You also need pliers. Have a small flashlight for better vision. Gather these tools before you start. It saves time later.

Credit: prettyhandygirl.com
Identifying Fixture Type
Wall-Mounted Fixtures are attached to the wall. They often have a glass cover. These fixtures can be round or long. To remove them, first find the screws. The screws hold the fixture in place. Unscrew them carefully. Sometimes, the cover needs to be turned or lifted. Check for hidden screws.
Ceiling-Mounted Fixtures hang from the ceiling. They might be round or square. These fixtures often have a base plate. Locate and remove the screws on the plate. The cover might twist off. Be gentle to avoid breaking it. Always turn off the power first. Safety is important when working with lights.
Removing The Light Bulbs
Start by turning off the power. Safety comes first. Make sure the switch is off. Check the bulb to see if it’s cool. Hot bulbs can burn. Use a cloth to hold the bulb. Grip it gently. Turn the bulb counterclockwise. This direction loosens it. If stuck, don’t force. Try again with care.
Check the socket. Be sure it’s clean. Dirt can make removal hard. Look for any broken pieces. These can cause problems. Be gentle with the socket. Don’t use sharp tools. Once bulbs are out, inspect them. Make sure they aren’t broken.
Place bulbs in a safe spot. Avoid dropping them. Glass can shatter easily. Handle with caution. Store in a box or on a shelf. Keep away from edges. This prevents falls.
Credit: prettyhandygirl.com
Detaching The Fixture Cover
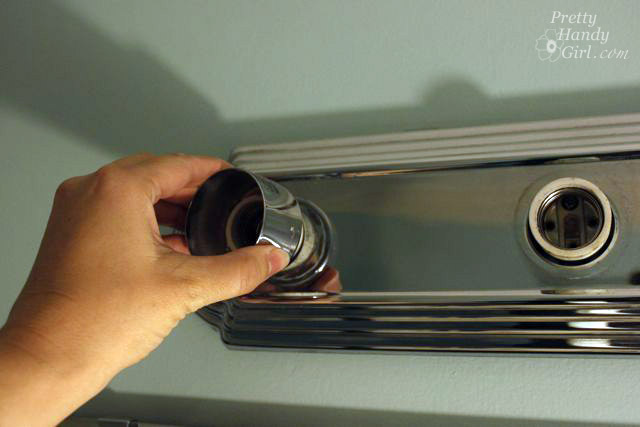
First, find the screws on the light fixture. These screws hold the cover in place. Use a screwdriver to turn them counter-clockwise. This will loosen the cover. Be gentle to avoid breaking the screws.
Some covers are made of glass. Hold the glass with one hand. Use the other hand to turn the screws. Keep a firm grip on the glass. This stops it from falling and breaking. Once the screws are out, set the cover aside carefully.
Unscrewing The Fixture Base
Turn off the light switch before starting. Safety first! Find the mounting screws on the fixture base. Look closely. These screws hold the fixture in place. Use a screwdriver to loosen each screw. Be gentle. Avoid damaging the fixture or the wall. Hold the fixture with one hand. This keeps it steady.
Support the fixture while unscrewing. It may fall if not held. Use both hands if needed. Ask someone to help if the fixture is heavy. Once all screws are loose, gently remove the fixture. Keep it safe. Place it on a soft surface. This prevents scratches or breaks. Store screws safely for later use.
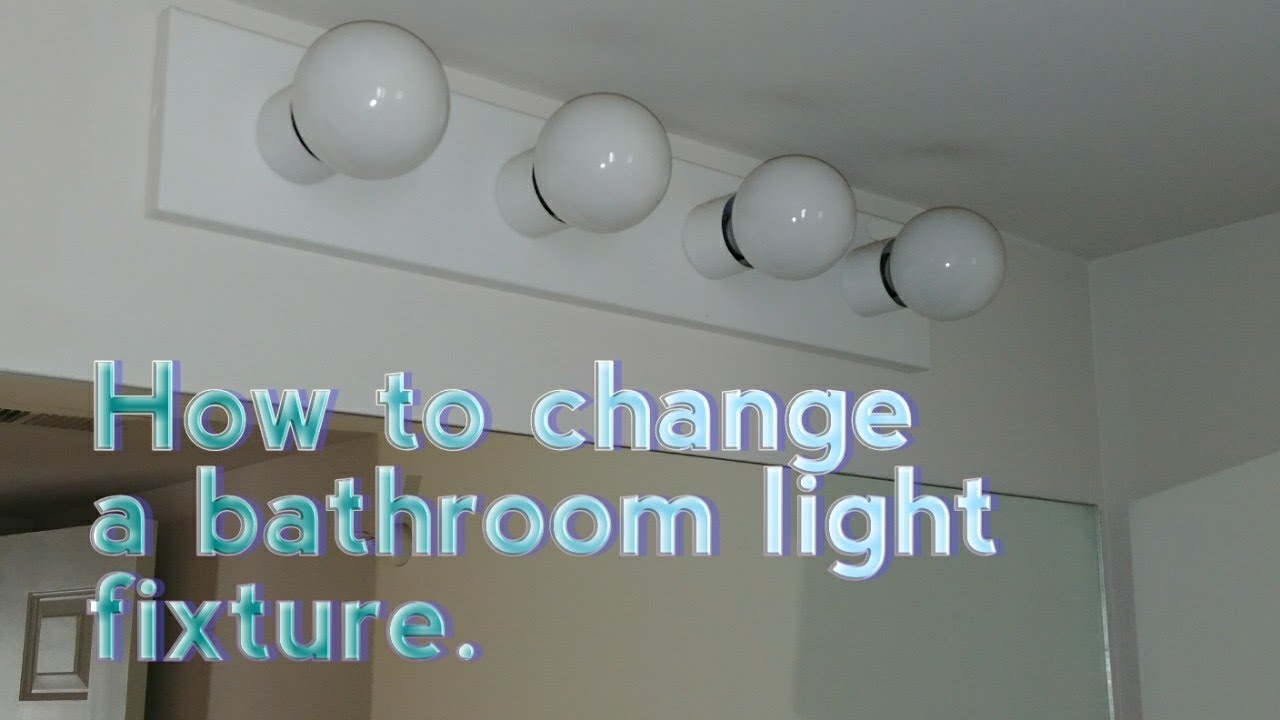
Credit: www.youtube.com
Disconnecting Wires
Disconnecting wires is crucial before removing a bathroom light fixture. Start by turning off the electricity at the circuit breaker. Carefully detach the wires connected to the fixture, ensuring safety and precision.
Identifying Wire Connections
Start by turning off the power. Use a screwdriver to open the fixture. Look for the wires. Usually, there are three: black, white, and green or copper. The black wire is the hot wire. The white wire is the neutral wire. The green or copper wire is the ground wire. Identify each wire carefully.
Using Wire Caps
Wear rubber gloves for safety. Gently pull the wires apart. Use wire caps to cover the ends. Twist the cap over the exposed wires. Ensure the cap is tight. This prevents electrical shock. Double-check each wire. Make sure all wires are covered well. This keeps everyone safe. Put the fixture aside. Now you can move to the next step.
Removing The Fixture From The Wall Or Ceiling
Turn off the power before starting. This keeps you safe. Use a screwdriver to loosen screws. These screws hold the fixture in place. Some fixtures have clips. You might need to remove them. Be gentle while pulling the fixture away. Wires connect the fixture to the wall. These wires are important. Disconnect them carefully. Note how they connect for later. If wires seem tight, ask for help. Now the fixture is free. Check for any loose parts. Keep them safe for reuse.
Cleaning The Area
First, get a soft cloth. Wipe the light fixture gently. This removes dust and debris. Be careful around wires. Never pull or tug them. Use a small brush for tight spots. A dry brush works best. Try not to use water. Water can damage the fixture.
Look closely at the fixture. Check for cracks or broken parts. Inspect wires for fraying. Damaged wires are dangerous. Loose screws need fixing. Tighten them with a screwdriver. If parts are missing, replace them. Ensure everything is secure. Safe fixtures work better.
Preparing For New Fixture
Removing a bathroom light fixture can be simple and safe. First, switch off the power supply to avoid accidents. Then, unscrew the fixture carefully, detach the wires, and remove it from the wall.
Checking Electrical Box
The electrical box holds the light fixture. It must be safe and strong. Turn off the power before you start. Use a tester to check for any power. This will keep you safe. Look inside the box. Check if it is clean and dry. If you see any damage, fix it first. The box should be tight in the wall. Loose boxes can cause problems. Ensure all wires are neat. Neat wires make work easier. Label each wire to remember where it goes. This helps when adding a new light.
Ensuring Proper Support
The new light needs strong support. The electrical box must handle the fixture’s weight. Look for the weight limit marked on the box. The limit tells you if it is strong enough. Use a stud finder to locate wall studs. Studs offer extra support for heavy fixtures. If the box is not on a stud, use a mounting bracket. The bracket gives added support. Always double-check the support before installing the fixture. This keeps it safe and secure.
Frequently Asked Questions
Do You Need An Electrician To Remove A Light Fixture?
Hiring an electrician to remove a light fixture ensures safety and compliance with electrical codes. DIY removal can be risky, especially without experience. Electricians have the expertise to handle electrical systems properly, preventing potential hazards. Consider professional help to avoid complications and ensure the job is done correctly.
How Do You Remove A Bathroom Light Cover Without Screws?
Locate the clips or tabs securing the cover. Gently squeeze or twist them to release the cover. Carefully lower the cover, ensuring not to damage the fixture. If stuck, softly wiggle or rotate the cover for easier removal. Always handle with care to avoid breaking the light cover.
How To Remove Circular Bathroom Light Cover?
Turn off the power. Twist the cover counterclockwise gently. If it’s stuck, use a flathead screwdriver to assist. Carefully remove the cover, ensuring you support its weight. Clean the fixture and replace the cover by twisting it clockwise. Make sure it’s securely in place before turning the power back on.
How To Center A Vanity Light Fixture When The Junction Box Is Off Center?
Use a mounting bracket to adjust the fixture’s position. Align the fixture with the desired center point. Secure it using extension bars or adjustable arms. Ensure the fixture is level and tightly fastened. Make necessary adjustments for aesthetics and functionality.
Conclusion
Removing a bathroom light fixture is simpler than you think. Gather your tools first. Switch off the power for safety. Remove screws and detach wires carefully. Keep everything organized to avoid confusion later. Consider asking for help if unsure about any step.
Remember, patience is key. Take your time to avoid damage. Once done, check if everything works correctly. If not, retrace your steps. Practice makes perfect. Soon, you’ll gain confidence in handling such tasks. Enjoy the satisfaction of a job well done.
Now, your bathroom lighting can shine bright once more.