How to Install a Toilet Flange: Step-by-Step Guide
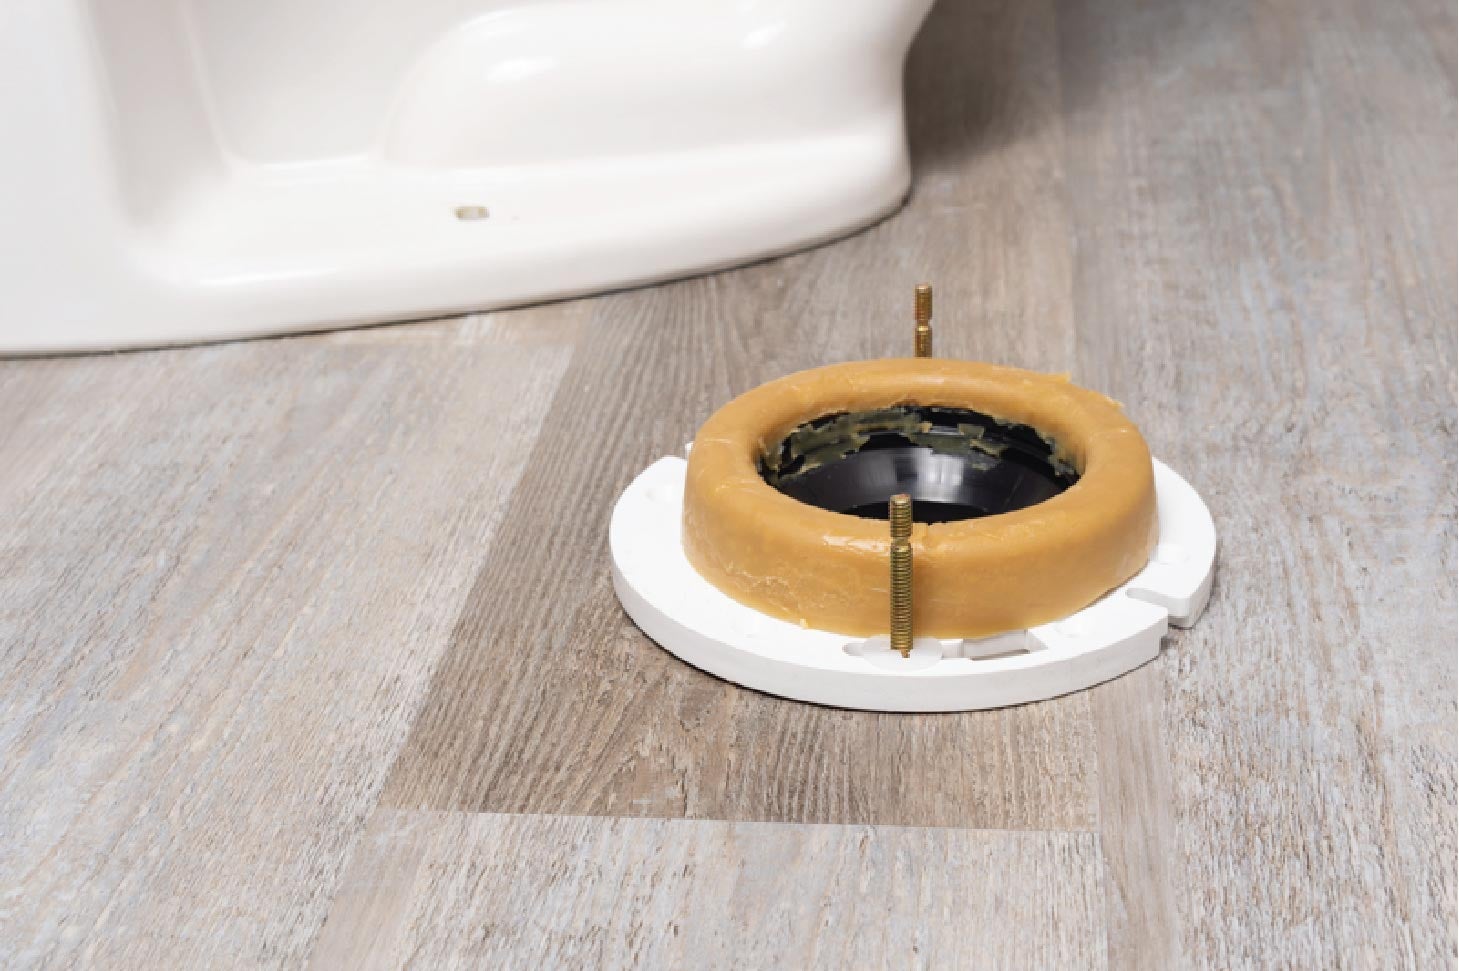
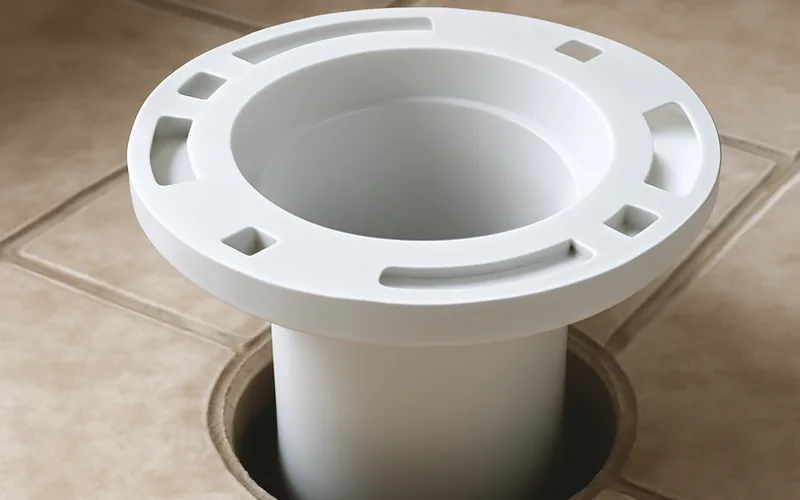
A toilet flange must sit flush with the finished floor (not recessed or raised) and match your drain pipe size, usually 3 or 4 inches, or the toilet will rock and leak at the wax ring seal. PVC and ABS flanges are the most common and easiest to install; cast iron and stainless steel cost more but resist damage longer. This guide covers removing the old flange, choosing the right replacement, and setting the toilet without breaking the wax seal.
Tools And Materials Needed
To install a toilet flange, you need specific tools. A wrench is essential. It helps tighten bolts. Use a screwdriver for screws. A hacksaw can cut pipes. A tape measure is useful for size checks. Ensure you have a new flange. It should fit well. Wax ring is another important item. It seals the toilet. Don’t forget safety goggles. They protect your eyes. Gloves keep your hands clean. A bucket may be needed. It holds water and waste. Make sure you have all items ready.
Preparation And Safety Tips
Always wear protective gloves and goggles. These keep you safe from dirt and debris. Make sure to turn off the water supply. Water can cause mess and slippery floors. Use a towel to catch any spills. Check your tools and materials. You will need a wrench, screwdriver, and sealant. Keep these handy to avoid delays.
Ensure the area is well-ventilated. Open windows or use a fan if needed. It helps to prevent inhaling dust or fumes. Read instructions for your flange kit. Follow steps to avoid mistakes. Use a flashlight if the area is dark. Bright light helps see hidden corners. Keep a bucket nearby. It will help catch any leaking water.
Removing The Old Toilet Flange
First, turn off the water supply. This stops water flow. Use a wrench to loosen the nuts on the toilet base. Lift the toilet carefully. You might need help. Now, you see the old flange.
The flange connects to the floor. It holds the toilet in place. Use a scraper to remove the old wax ring — note that not all wax rings are the same size, so match the replacement to your flange. The wax ring seals the toilet to the flange. Clean the area well. Any dirt can cause leaks.
Check the flange for damage. Replace it if broken. A good flange is key. It prevents leaks. Make sure the new flange fits snugly.
Cleaning The Drain Area
Start by removing the old flange. Use a screwdriver or wrench. Make sure to take out all screws. Check for any debris or old wax. A clean surface is important for a good fit. Use a putty knife to scrape off old wax. Be careful not to damage the pipe.
Now, inspect the drain pipe. Look for cracks or damage. A smooth pipe ensures a tight seal. Use a damp cloth to wipe the area. Remove any dust or dirt. This helps the new flange sit well. Proper cleaning prevents leaks later. Take your time to do it right.
Selecting The Right Toilet Flange
Choosing the correct toilet flange is very important. Measure the drain pipe size first — see our guide on what size pipe a toilet drain uses if you are not sure. Most homes use a 3-inch or 4-inch pipe. Find a flange that fits this size. Flanges come in different materials. Plastic flanges are affordable. Metal flanges last longer. Each type has its benefits. Check the installation space next. Some flanges fit under the toilet. Others fit over the pipe. Know your space before buying.
Look at the flange height. Flanges should sit flush with the floor. Check the floor type. Tile floors need different flanges than wood floors. Make sure the flange is compatible. Choose a flange with a strong seal. This prevents leaks and keeps smells away. A good seal is essential for a clean bathroom. Buy the correct screws for your flange. Follow these tips for a smooth installation.
Data Callout: Flange Height Tolerance
Flange height above the finished floor is not just a rule of thumb — some state plumbing codes spell out an exact tolerance. South Dakota's plumbing code (ARSD 20:54:02:01, amending Uniform Plumbing Code §402.6.1) requires the top of the closet flange to sit above the finished floor by no more than 3/8 inch. A flange set below the floor, even by a little, is the single most common cause of a toilet that rocks and leaks at the wax ring.
Best Toilet Flange Kit Pick
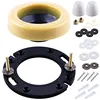
MENNTY Toilet Flange with Wax Ring Kit for 3 or 4 Inch Pipes – $20.85
Bundles a PVC flange, wax ring, and brass bolts in one box — exactly the flange-plus-seal combo this guide walks you through installing, sized for the 3-inch or 4-inch pipe you measured above.
- Best for: Replacing a cracked or rocking PVC flange in one trip, without hunting down a separate wax ring and bolts.
- Why we picked it: Pre-pairs the wax ring with the flange so the seal height and flange height work together, matching both common pipe sizes.
- Main drawback: Still needs a solid, level subfloor — it won’t fix a flange sitting below the finished floor past the 3/8″ tolerance covered above.
Compare more toilet flange and wax ring options
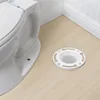 Option 1 Yariwiz PVC Twist-N-Set Closet Flange – $19.99
|
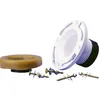 Option 2 Oatey Cast Iron/PVC Flange Repair Kit – $36.05
|
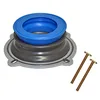 Option 3 Danco Perfect Seal Wax Ring with Bolts – $7.99
|
As an Amazon Associate we earn from qualifying purchases.
Installation Of The New Flange
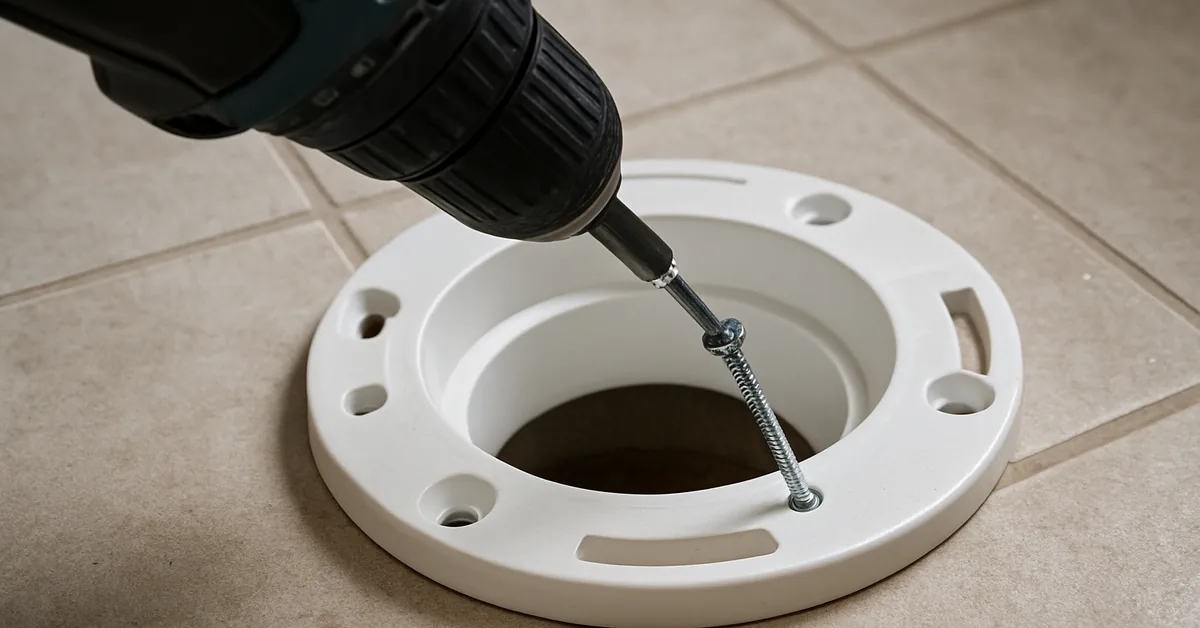
Place the flange on the pipe. Ensure it sits flat. The bolt slots should line up with the toilet. Make sure it is level. A crooked flange can cause leaks. Check the alignment again. Be precise. It is very important.
Use screws to secure the flange. Tighten them firmly. But not too tight. Over-tightening can damage the flange. Check each screw. They should be even. If they wobble, adjust them. This keeps the flange stable. A secure flange prevents leaks. It is crucial for proper toilet function.
Attaching The Toilet
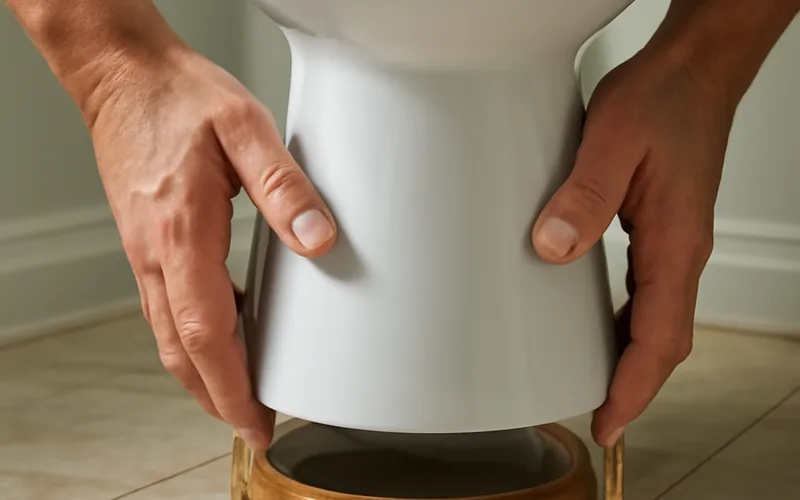
First, lift the toilet carefully. Align the toilet with the bolts on the flange. Gently lower the toilet onto the flange. Ensure the toilet sits flat on the floor. Press down firmly to secure it. Check if the toilet wobbles. If it does, adjust it again. Ensure a tight seal with the wax ring — if the old seal was already failing, see how to replace a toilet seal for wax ring versus tank seal options. This prevents leaks.
Find the water valve behind the toilet. Turn the valve to the off position. Attach the water supply line to the toilet tank. Use a wrench to tighten the connection. Don’t over-tighten it. Turn the water valve back on. Check for any leaks. If you see water, tighten the connection more. Once secure, flush the toilet to test it.
Testing For Leaks
Check for leaks after installing the toilet flange. Use a flashlight to look for water drops. Feel around the base for any damp spots. Wet spots mean a leak. If you find a leak, you may just need to tighten the toilet rather than replace the flange again. Make sure everything is snug. Flush the toilet and watch for drips. Repeat the check a few times. Listen for any hissing sounds. Water sounds can mean a leak. Turn off the water supply and try again. A dry base is a good sign. Keep checking every few days to be sure. Leaks can cause damage over time.
“Proper flange height is critical for achieving a stable, leak-free toilet installation.”
— Oatey, What Are the Different Types of Toilet Flanges? A Complete Guide to Choosing the Right One
Final Touches And Clean-up
Check the toilet flange for any leaks. Use a flashlight to look closely. Clean the area around the flange. Remove any old debris or dirt. A clean surface is important. Tighten all bolts and screws. Make sure everything is secure. Use a wrench for this task. Double-check the water supply. Ensure it is turned off. Before finishing, test the toilet. Flush to see if it works well. If you notice water on the floor, fix it. Look for any loose connections. Adjust as needed. Wipe the toilet and the floor. Use a clean cloth for this. A clean bathroom makes a difference. Dispose of any trash properly. Put tools away safely. Enjoy your clean bathroom.
Frequently Asked Questions
What Tools Are Needed To Install A Toilet Flange?
To install a toilet flange, you’ll need a wrench, screwdriver, and possibly a drill. These tools help secure the flange to the floor and connect the toilet. Ensure you have a wax ring and bolts ready for installation. Always follow manufacturer instructions for best results.
Can I Replace A Toilet Flange Myself?
Yes, you can replace a toilet flange yourself with basic tools. Ensure you follow safety precautions and instructions carefully. If unsure, consult a professional plumber to avoid damaging your plumbing system. DIY replacement can save money, but expertise is vital for a proper installation.
How Do I Remove An Old Toilet Flange?
To remove an old toilet flange, first turn off the water supply. Disconnect the toilet and unscrew the flange from the floor. Use a wrench or screwdriver to carefully lift and remove it. Clean the area thoroughly before installing the new flange for a secure fit.
What Are The Common Types Of Toilet Flanges?
Common types include PVC, ABS, cast iron, and stainless steel flanges. PVC and ABS are popular due to their affordability and ease of installation. Cast iron is durable but heavier, while stainless steel offers corrosion resistance. Choose based on your plumbing material and preferences.
Conclusion
Installing a toilet flange doesn’t have to be difficult. With the right tools and steps, anyone can do it. Remember to check for leaks after installation. Tighten all connections securely. A well-installed flange ensures a stable toilet. Take your time and follow each step carefully.
This will prevent future issues. If you face problems, seek professional help. Proper installation saves you time and money. Keep your bathroom functioning smoothly. You now have the knowledge to install a toilet flange confidently. Enjoy your new, secure toilet setup.
Happy plumbing!
Sponsored / affiliate links. As an Amazon Associate I earn from qualifying purchases. I may earn additional commission from eligible campaigns.