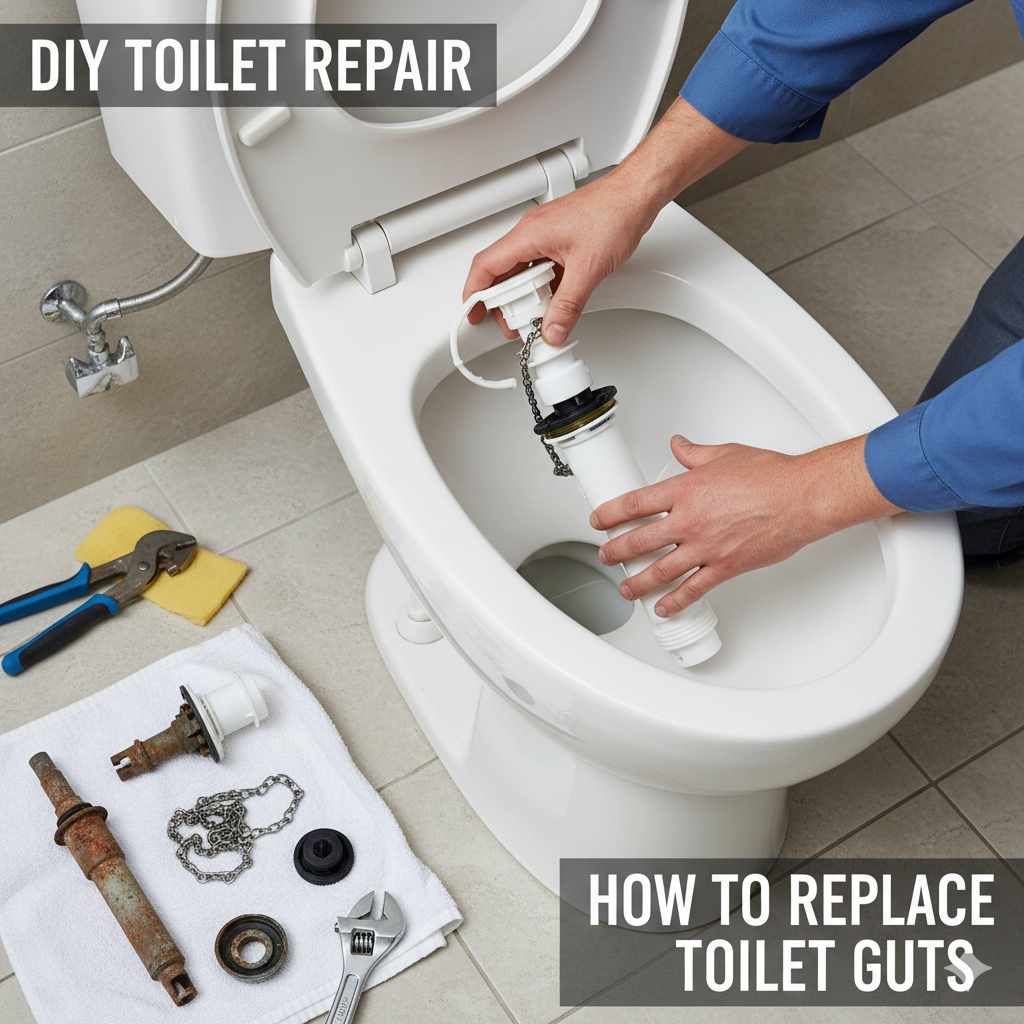
How to Replace Toilet Guts: Flapper & Fill Valve (9 Steps)
A toilet that runs constantly, flushes weakly, or leaks almost always traces back to two $10-30 parts: the flapper and the fill valve, not the whole toilet. Ignoring it can waste hundreds of gallons a month and inflate your water bill, even though the fix rarely takes a plumber. This guide covers removing the old flapper and fill valve, installing new ones, and testing the flush so it works the first time.
Why Replace Your Toilet Guts?
Over time, the rubber and plastic parts inside your toilet tank can wear out. This is perfectly normal! When they degrade, they can cause a variety of frustrating toilet issues. Here are some common signs that it’s time to replace your toilet’s internal parts:
- Constant Running: If you hear water trickling or running continuously into the bowl, even when the toilet hasn’t been flushed, a worn-out flapper or fill valve is likely the culprit. Fluidmaster, a leading parts manufacturer, notes that flappers also wear out faster if you use drop-in bleach tank tablets, since the chlorine degrades the rubber.
- Weak Flush: If your toilet isn’t flushing completely or requires multiple flushes, the flapper might not be sealing properly, or the fill valve might not be providing enough water.
- Leaks: Water pooling around the base of the toilet or in the tank can indicate a faulty flush valve seal or a problem with the fill valve.
- Age: If your toilet is more than 5-10 years old and you’ve never replaced the internal parts, they’re likely nearing the end of their service life.
Tools and Materials You’ll Need
Gathering your supplies before you start makes the job much smoother. Thankfully, you won’t need many specialized tools for this project. Most of these are common household items.
Essential Tools:
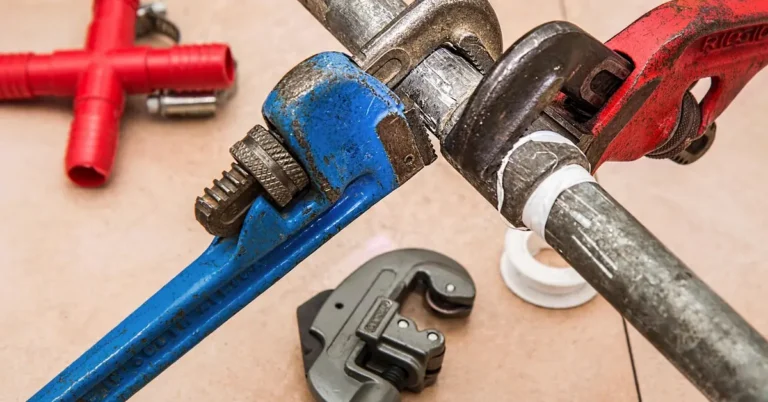
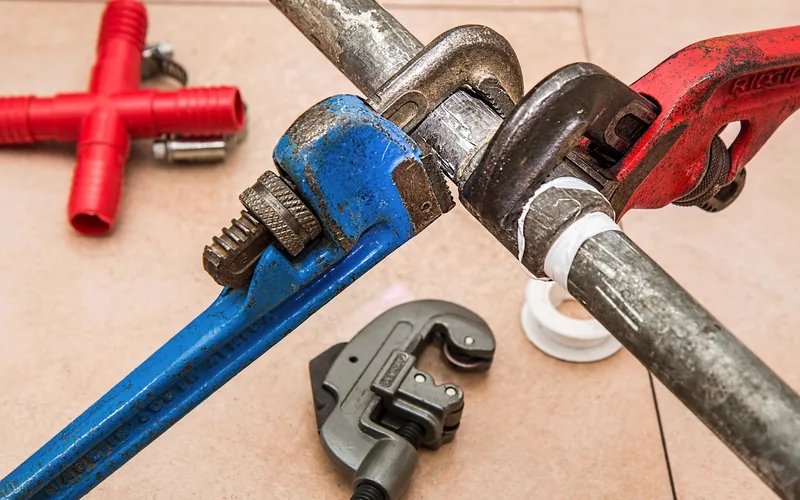
- Adjustable Wrench or Pliers: For loosening and tightening the nuts that hold the tank to the bowl and connect the water supply line.
- Screwdriver (Phillips and Flathead): Might be needed for some fill valve assemblies or other minor adjustments.
- Bucket: To catch any residual water from the tank and supply line.
- Old Towels or Rags: To clean up spills and dry parts.
- Scrub Brush (Optional): For cleaning the inside of the tank if it’s grimy.
- Gloves (Optional): To keep your hands clean.
Replacement Parts:
The most common parts to replace are the fill valve and the flapper. You can often buy these as a kit, which is convenient and ensures compatibility. When buying parts, it’s helpful to know your toilet’s brand and model, but universal kits usually work well.
- Universal Flapper: These are designed to fit most standard toilets.
- Universal Fill Valve: Many modern fill valves are adjustable and easy to install.
Pro Tip: Take a picture of your current toilet’s internal parts before heading to the hardware store. This can help you find the right replacements if you’re unsure.
Step-by-Step Guide: Replacing Your Toilet Guts
Let’s get down to business! Follow these steps carefully, and you’ll have your toilet running like new in no time. Remember to work at a comfortable pace and don’t hesitate to re-read a step if you’re unsure.
Step 1: Turn Off the Water Supply
This is the most crucial first step. Look for the shut-off valve on the wall behind your toilet, usually near the floor. Turn the handle clockwise until it stops. This completely shuts off the water flow to the toilet.
To be absolutely sure the water is off, try flushing the toilet. The tank should empty, and no new water should enter it.
Step 2: Drain the Toilet Tank
With the water supply off, flush the toilet one more time. Hold the flush lever down to drain as much water as possible from the tank. You can use a sponge or rags to soak up any remaining water at the bottom of the tank. This prevents a big mess when you start removing parts.
Step 3: Remove the Old Flapper
The flapper is the rubber or plastic piece at the bottom of the tank that lifts to let water into the bowl when you flush. It’s usually attached to a chain that connects to the flush lever. Most flappers have two small hooks or ears that slide onto posts on the overflow tube (the vertical pipe in the center of the tank).
Carefully unhook the chain from the flush lever arm. Then, simply pull the old flapper off its posts. If it’s a type that seals directly to the overflow tube, you might just need to lift it straight up. Make a note of how it was attached – this will help when installing the new one.
Step 4: Remove the Old Fill Valve
The fill valve is the taller mechanism, usually on the left side of the tank, that refills the tank after each flush. It has a water supply line connected to it from the shut-off valve.
First, disconnect the water supply line from the bottom of the fill valve. You might need your adjustable wrench or pliers for this. Be prepared for a small amount of water to drip out, which is why you have your bucket handy.
Next, look inside the tank at the base of the fill valve. There’s usually a large plastic nut or a lock ring holding it in place. Unscrew this nut or release the lock ring. Once it’s loose, you should be able to lift the old fill valve straight out of the tank.
Tip: If your fill valve is a very old type, it might be a different design. Consult your toilet’s manual or look up your toilet model online if you’re having trouble identifying it.
Step 5: Clean the Inside of the Tank
Now that the tank is empty and you have access, it’s a great time to give the inside of the tank a good cleaning. Use a scrub brush and some mild cleaner (avoid harsh chemicals that could damage the porcelain or rubber seals) to remove any mineral deposits or grime. Rinse it out with a little water.
Step 6: Install the New Fill Valve
Your new fill valve likely came with instructions, but here’s the general process:
- Position the new fill valve: Insert the new fill valve into the hole in the bottom of the tank from the inside. Ensure it’s centered and oriented correctly.
- Secure the fill valve: From underneath the tank, screw on the retaining nut or engage the lock ring. Tighten it firmly, but don’t overtighten, as you could crack the porcelain. The fill valve should be snug and not wobble.
- Connect the water supply line: Reconnect the water supply line to the bottom of the new fill valve. Tighten the nut with your wrench or pliers.
Important: Make sure the new fill valve is the correct height. Most are adjustable. The top of the fill valve should be about 1-2 inches below the top of the overflow tube. Check the markings or instructions on your new valve for precise adjustments.
Step 7: Install the New Flapper
This is usually the easiest part:
- Attach the flapper: Connect the new flapper to the overflow tube posts, just like the old one was.
- Connect the chain: Attach the chain to the flush lever arm. You’ll want to adjust the chain length so it has just a little bit of slack (about ½ inch) when the flapper is closed. Too much slack, and the flapper won’t lift properly. Too little slack, and it won’t seal correctly, causing leaks.
Consider a Universal Toilet Repair Kit: Many hardware stores offer universal toilet repair kits that include both a flapper and a fill valve, along with other small parts. These kits are designed to fit most toilets and can simplify the purchasing process. You can often find them for around $15-$40.
Best Toilet Repair Kit Pick
Fluidmaster Fill Valve & 2-Inch Flapper Repair Kit – $16.67
This is exactly the combo kit this guide recommends in Step 7 — one box covers both parts replaced in Steps 6 and 7, so they’re guaranteed to fit together.
- Best for: Replacing both worn parts in one trip
- Why we picked it: Matches the fill valve + flapper combo this guide walks through
- Main drawback: Standard 2-inch flapper only — check your flapper size first
Compare more toilet repair parts
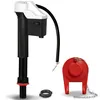 Option 1 Korky QuietFILL Repair Kit – $14.95
|
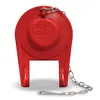 Option 2 Korky Universal 2-Inch Flapper – $6.84
|
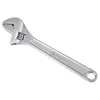 Option 3 10-Inch Adjustable Wrench – $10.99
|
As an Amazon Associate we earn from qualifying purchases.
Step 8: Turn the Water Supply Back On
Slowly turn the shut-off valve counter-clockwise to restore the water supply to the tank. Listen for the fill valve to start working and the tank to fill. Keep an eye on all connections for any immediate leaks.
Step 9: Test the Flush
Once the tank is full, flush the toilet. Watch and listen carefully:
- Does the flapper lift properly?
- Does the tank refill quickly?
- Does the water stop running after the tank is full?
- Does the toilet bowl flush effectively?
- Are there any leaks around the fill valve connection or the tank itself?
If everything seems to be working correctly, congratulations! You’ve successfully replaced your toilet guts.
Troubleshooting Common Issues
Even with careful work, sometimes a small adjustment is needed. Here are a few common issues and how to fix them:
- Toilet still running: The flapper might not be sealing correctly. Check the chain for slack and ensure the flapper is seated properly. You might need to adjust the chain length or replace the flapper again if it’s defective. If it’s the fill valve, ensure it’s set to the correct water level.
- Weak flush: The flapper might be too heavy or not opening wide enough. Ensure the chain has a little slack. If you have a universal flapper, some have adjustable settings or different weights. The fill valve might also not be filling the tank high enough; adjust the water level.
- Leaks at the fill valve connection: Tighten the nut slightly. If it persists, you may need to reseat the fill valve or check the rubber washer for damage.
Understanding Your Toilet’s Internal Parts
Knowing what each part does can help you troubleshoot and understand why replacements are necessary. Here’s a quick rundown of the main components inside your toilet tank:
| Part Name | Function | Common Issues |
|---|---|---|
| Fill Valve | Controls the flow of water into the tank after flushing and maintains the correct water level. It also shuts off the water supply when the tank is full. | Leaking, running water, not filling the tank, or filling too slowly. |
| Flapper | A rubber or plastic seal at the bottom of the tank that lifts to allow water to flow into the toilet bowl during a flush and then reseals the opening. | Not sealing properly (causing running water), not lifting fully (causing weak flushes), or deteriorating over time. |
| Flush Lever/Handle | The external part you push or pull to initiate a flush. It’s connected to a chain or rod that lifts the flapper. | Loose handle, broken internal linkage. (Less common to replace than valve/flapper). |
| Overflow Tube | A vertical pipe in the center of the tank. The fill valve empties into it, and if the tank overfills, water flows down this tube into the bowl to prevent overflowing the tank. The flapper attaches to its base. | Cracks can cause leaks; damage to the base can prevent proper flapper sealing. |
| Water Supply Line | Connects the toilet’s fill valve to the water shut-off valve on the wall. | Leaking connections, kinks, or deterioration. |
Understanding these parts makes it easier to diagnose problems. For instance, if water is constantly running into the bowl, the flapper is the most likely cause. If the tank isn’t refilling or is making odd noises, the fill valve is probably the issue. If your unit still runs after replacing both, also check for a toilet overflowing at the bowl or a slow-flushing toilet, since those point to a different part of the system entirely.
When to Call a Professional
While replacing toilet guts is a very accessible DIY project, there are times when it’s best to call in a professional plumber. If you encounter any of the following, don’t hesitate to seek expert help:
- Cracked Tank or Bowl: If you notice any cracks in the porcelain of your toilet tank or bowl, it’s a serious issue that requires professional attention and likely replacement of the entire toilet.
- Persistent Leaks: If you’ve replaced the parts and are still experiencing leaks, especially around the base of the toilet where it meets the floor, there might be a problem with the wax ring seal or the bolts holding the tank to the bowl.
- Uncertainty or Discomfort: If you’re uncomfortable at any point during the process, or if you’re unsure about a specific step, a plumber can quickly and efficiently resolve the issue. It’s better to pay for professional help than to risk causing further damage.
- Old or Unusual Fixtures: Very old toilets or those with unique designs might have parts that are hard to find or require specialized tools and knowledge. If yours makes an odd noise even after this repair, see our guide on why a toilet makes noise before calling anyone out.
📊 EPA WaterSense-labeled toilets use 1.28 gallons per flush or less — about 20% less than the federal 1.6-gallon standard — but a worn flapper or fill valve is the most common reason a compliant toilet quietly wastes far more water than that rating promises. — Source: EPA WaterSense, Residential Toilets, 2026
“Flappers wear out more often if you use drop-in bleach tablets.”
For more information on plumbing basics and safety, the EPA’s WaterSense program offers excellent resources on water conservation and common household plumbing fixes.
Frequently Asked Questions
How long does it typically take to replace toilet guts?
For a beginner, replacing the flapper and fill valve usually takes about 30-60 minutes. If you’re experienced, you can often do it in 15-30 minutes.
Can I replace the toilet guts without turning off the water supply?
No, it’s essential to turn off the water supply at the shut-off valve before you begin. This prevents flooding and allows you to drain the tank properly.
What is the most common reason a toilet runs constantly?
A worn-out or improperly seated flapper is the most common cause of a toilet that runs continuously. The flapper is supposed to create a watertight seal at the bottom of the tank.
Do I need to buy specific parts for my toilet brand?
For flappers and fill valves, universal parts are widely available and designed to fit most standard toilets. However, if you have a very old or unusually designed toilet, checking your toilet’s brand and model can help you find the right replacement part.
How do I know if I need to replace the fill valve or the flapper?
If the toilet runs constantly and you can hear water trickling into the bowl, it’s usually the flapper. If the tank isn’t refilling properly after a flush, or if it makes strange noises while filling, it’s likely the fill valve.
What if the new parts don’t seem to work correctly?
Double-check that the water supply is fully turned on and that all connections are secure. Review the installation steps, especially the flapper chain length and fill valve height adjustment. Sometimes, a small adjustment is all that’s needed.
Conclusion
You’ve done it! By following these steps, you’ve successfully tackled the task of replacing your toilet’s internal flushing components. This is a fantastic accomplishment and a great way to save money while keeping your home running smoothly. Remember, the key is to take your time, gather your tools, and work methodically. With a little patience, you can handle many common home repairs yourself, building confidence and skills along the way. Enjoy the quiet peace of a properly functioning toilet!
Sponsored / affiliate links. As an Amazon Associate I earn from qualifying purchases. I may earn additional commission from eligible campaigns.