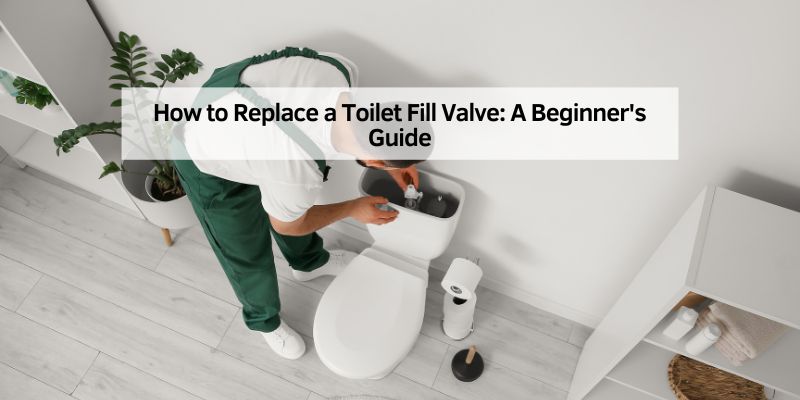
How to Replace a Toilet Fill Valve: A Beginner’s Guide
A toilet fill valve controls how the tank refills after every flush — replace it once the toilet runs constantly, fills slowly, or leaks, using a universal valve like Fluidmaster or Korky for $10–$20. A worn valve wastes water and can add $20 or more to a single month’s water bill. This guide covers the exact tools needed, the full replacement steps, and the precise water-level clearance manufacturers specify to prevent a running toilet.
What Is a Toilet Fill Valve?
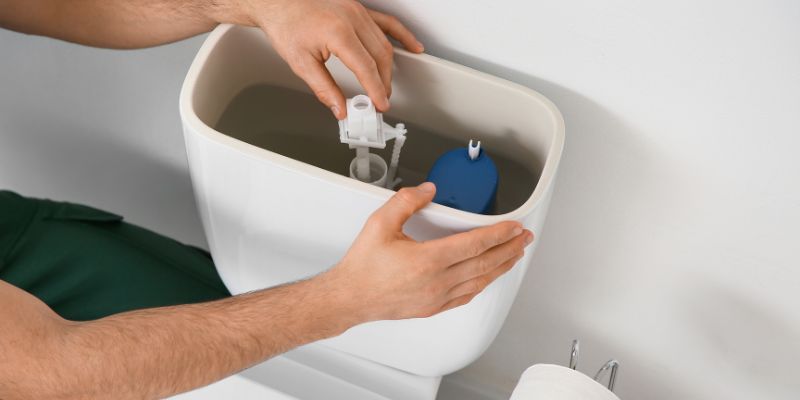
A toilet fill valve is a small device inside your toilet tank. It controls water flow to refill the tank after a flush. Think of it as the gatekeeper for your toilet’s water. If it’s faulty, your toilet might run constantly, fill slowly, or leak. Replacing it is a quick fix that anyone can do with a few tools. It’s like swapping a light bulb but with a bit more water involved!
Why Replace a Toilet Fill Valve?
A bad fill valve wastes water and spikes your bill. I once ignored a running toilet, and my water bill jumped $20 in a month! Here are signs you need a new one:
- Constant running: Your toilet hisses or refills non-stop.
- Slow filling: The tank takes forever to fill after a flush.
- Leaks: Water seeps from the tank or supply line.
Fixing it yourself is cheaper than calling a plumber. Plus, it’s satisfying to say, “I fixed that!”
Tools and Materials You’ll Need
You don’t need a fancy toolbox. Here’s what I used:
- Adjustable wrench or pliers: To loosen nuts.
- New fill valve: Universal ones like Fluidmaster work for most toilets.
- Bucket or towel: To catch drips.
- Sponge: To soak up leftover water.
- Optional: A small cup or milk jug (cut in half) to catch water.
Table 1: Tool Costs and Where to Find Them
| Tool/Material | Approx. Cost | Where to Buy |
|---|---|---|
| Adjustable wrench | $10–$20 | Home Depot, Lowe’s |
| Universal fill valve | $8–$15 | Hardware stores, Amazon |
| Sponge | $1–$3 | Grocery stores |
Most of these tools are already in a household toolbox, and a universal fill valve costs less than a takeout dinner.
Best Toilet Fill Valve Pick
Fluidmaster 400H Universal Toilet Fill Valve – $14.97
The same universal Fluidmaster valve style referenced throughout this guide — fits most 2-inch flush-valve toilets and installs with the same 11 steps covered above.
- Best for: Standard 2-inch flush valve toilets needing a quiet, reliable refill
- Why we picked it: Widely stocked, adjustable height, matches the step-by-step process above exactly
- Main drawback: Height adjustment dial can be stiff on the first try
Compare more fill valve options
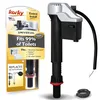 Option 1 Korky QuietFILL Platinum Toilet Fill Valve – $9.98
|
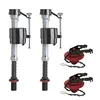 Option 2 Fluidmaster 400A Fill Valve & Flapper Repair Kit – $27.84
|
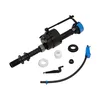 Option 3 American Standard Universal Toilet Fill Valve – $24.99
|
As an Amazon Associate we earn from qualifying purchases.
Step-by-Step Guide to Replace a Toilet Fill Valve
Here’s how I replaced my fill valve. It’s a piece of cake if you follow these steps:
- Turn off the water: Find the shutoff valve behind the toilet. Turn it clockwise until it stops. If it’s stuck, don’t force it—call a plumber to avoid a leak.
- Flush the toilet: Hold the flush lever down to empty the tank. Some water will stay at the bottom.
- Soak up leftover water: Use a sponge or towel to dry the tank. I used an old kitchen sponge—it worked great!
- Disconnect the supply line: Place a bucket under the tank. Use a wrench to loosen the nut where the water line connects to the tank. Turn counterclockwise.
- Remove the old fill valve: Find the locknut under the tank holding the valve. Loosen it counterclockwise with a wrench. Lift the old valve out.
- Install the new fill valve: Slide the new valve into the tank’s hole. Hand-tighten the locknut under the tank, then give it a quarter-turn with a wrench.
- Adjust the valve height: Follow the package instructions. The top of the valve should be 1 inch above the overflow tube. Twist or clip to adjust.
- Connect the supply line: Reattach the water line to the new valve. Hand-tighten, then add a quarter-turn with a wrench.
- Attach the refill tube: Clip the small tube from the fill valve to the overflow pipe inside the tank.
- Turn on the water: Open the shutoff valve. Watch the tank fill. Check for leaks.
- Adjust the float: The water should stop 1–2 inches below the overflow tube. Adjust the float screw or clip until it’s perfect.
Installation Angle and Water-Level Clearance
Most manufacturer instructions call for mounting the fill valve at roughly a 45-degree angle from the back of the tank, with the refill tube and float mechanism facing where you can reach them. Never use plumber’s tape or pipe sealant on the supply-line connection — hand-tighten, then add a quarter-turn with a wrench, no more.
📊 Fill valve makers spec the water level at about 1/2 inch below the top of the overflow tube — going higher risks a constant trickle into the overflow; going lower can cause weak flushes. — Source: Korky Toilet Repair Help, 2026
Common Mistakes to Avoid
I messed up my first try, so learn from me! Here are pitfalls to dodge:
These mistakes come up across most bathroom fixture repairs, not just fill valves, so the same care applies if you’re also troubleshooting a noisy toilet or a tank that won’t hold the right water level.
- Not turning off the water: This leads to a wet floor. Always check the shutoff valve first.
- Over-tightening nuts: Plastic parts can crack. Hand-tighten, then add a slight turn.
- Wrong valve size: Check your toilet’s brand or take the old valve to the store to match it.
Benefits and Drawbacks of Replacing a Fill Valve
Benefits:
- Saves water and lowers bills.
- Quiets a noisy toilet.
- Takes less than 30 minutes.
Drawbacks:
- Tight spaces can make it tricky.
- Older toilets may need special valves.
- Risk of leaks if not installed right.
Table 2: Fill Valve Types Compared
| Type | Pros | Cons | Best For |
|---|---|---|---|
| Plunger-style | Quiet, durable | Harder to find | Older toilets |
| Diaphragm | Anti-siphon, reliable | Plastic can wear out | Modern toilets |
| Floatless | Compact, budget-friendly | Less adjustable | Low-profile tanks |
Matching the valve type to your tank shape avoids a second trip to the hardware store.
My Top Tips for Success
After fixing a few toilets, I’ve learned some tricks:
“The first time I ignored a running fill valve, it added about $20 to my water bill in a single month. Now I test with a few drops of food coloring in the tank any time a toilet sounds even a little off — if color shows up in the bowl within an hour, the valve or flapper is due for replacement.”
- Buy a universal valve: Brands like Fluidmaster fit most toilets, so you can’t go wrong.
- Check for leaks twice: After turning the water on, wait 5 minutes and check again.
- Keep a towel handy: Spills happen, even to pros!
- Test the flush: Flush a few times to ensure the tank fills correctly.
Alternative Approaches
If replacing the valve sounds daunting, you can try cleaning it first. Soak the valve in vinegar to remove mineral buildup. But if it’s over 5 years old, replacing it is better. Another option is a dual-flush valve for water savings, but it’s pricier ($20–$30). For tough cases, a plumber might be worth the $100–$150 cost, especially for older toilets. If the water level itself looks off rather than the valve being faulty, see our guide on adjusting the water level in a toilet bowl first.
Cost-Saving Ideas
- Shop around: Check Amazon or local hardware stores for deals on fill valves.
- Reuse the supply line: If it’s not damaged, you don’t need a new one.
- DIY to save: Plumbers charge $100+, but a valve costs $10–$15.
Table 3: Cost Comparison
| Option | Cost | Time Needed |
|---|---|---|
| DIY fill valve | $10–$15 | 20–30 minutes |
| Plumber | $100–$150 | 1–2 hours |
| New toilet | $100–$500 | 2–4 hours |
Even a first-time DIYer comes out well ahead of a service call at these prices.
Safety Tips
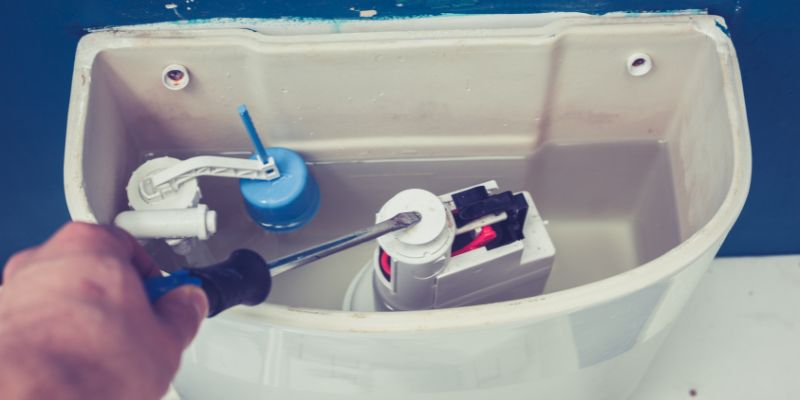
- Turn off the water: Double-check the shutoff valve to avoid flooding.
- Use a bucket: Catch drips to keep your floor dry.
- Don’t force parts: If a nut won’t budge, apply penetrating oil and wait 10 minutes.
Frequently Asked Questions
How Do I Know If My Fill Valve Is Bad?
A bad fill valve causes constant running, slow filling, or leaks. Add a few drops of food coloring to the tank. If color leaks into the bowl after an hour without a flush, the valve or flapper is letting water past and needs replacing.
Can I Replace a Fill Valve Without a Plumber?
Yes, it’s a simple DIY job. You need a wrench, a new valve, and about 20–30 minutes. Following the steps above saves roughly $50–$240 in plumber fees compared to a professional service call.
What Type of Fill Valve Should I Buy?
Get a universal valve like Fluidmaster or Korky for $10–$20. It fits most standard toilets. Take your old valve to the store to match it if the tank shape looks unusual or you’re unsure.
How Often Should I Replace a Fill Valve?
Replace it every 5–7 years as routine maintenance, or sooner if you have hard water, which shortens a valve’s working life. Older valves wear out and waste water, so don’t wait for a full leak to act.
What If the Locknut Won’t Budge?
Apply penetrating oil and wait 10 minutes. Use a wrench or channel-lock pliers carefully. If it’s still stuck, call a plumber rather than forcing it — over-torquing a stuck locknut is a common way to crack the tank.
Can I Clean the Fill Valve Instead of Replacing It?
Yes, soak it in vinegar to remove mineral buildup. But if it’s more than 5–7 years old or already cracked, replacing it is more reliable and costs less than $20 in parts.
Why Does My New Fill Valve Leak?
Check the locknut and supply line for tightness — hand-tighten, then add a quarter-turn only. Confirm the rubber washer is seated flat against the tank, and never use plumber’s tape or sealant on the supply-line connection, since it can prevent a proper seal.
Conclusion
Replacing a toilet fill valve is easier than it sounds — a few tools and about 20–30 minutes are all it takes to stop a running toilet and stop wasting water. For more plumbing reference, see Fluidmaster’s Repair Guide, The Home Depot’s DIY Tips, or Family Handyman’s Guide.
Sponsored / affiliate links. As an Amazon Associate I earn from qualifying purchases. I may earn additional commission from eligible campaigns.