How to Fix a Lamp Shade: Tears, Frames & Dents
Fabric glue like E6000 fixes most torn, stained, or loose lamp shades in one evening — but a bent or broken wire frame should be replaced, not glued, since a shaky frame will fail again. Skipping the wrong fix voids nothing, but it does waste your glue and your evening. This guide covers fixing tears and holes, straightening or replacing frames, and repairing dents without buying a new shade.
Quick Answer
Small tears and holes: clean the spot, apply a thin layer of clear-drying fabric glue (E6000 works on fabric, paper, and plastic shades), and press the edges together for a minute. Loose wire frames: re-twist with pliers. Bent or snapped frames: replace the frame instead of gluing it. Dents in paper or plastic shades: warm gently with a hairdryer and reshape by hand.
Materials And Tools Needed
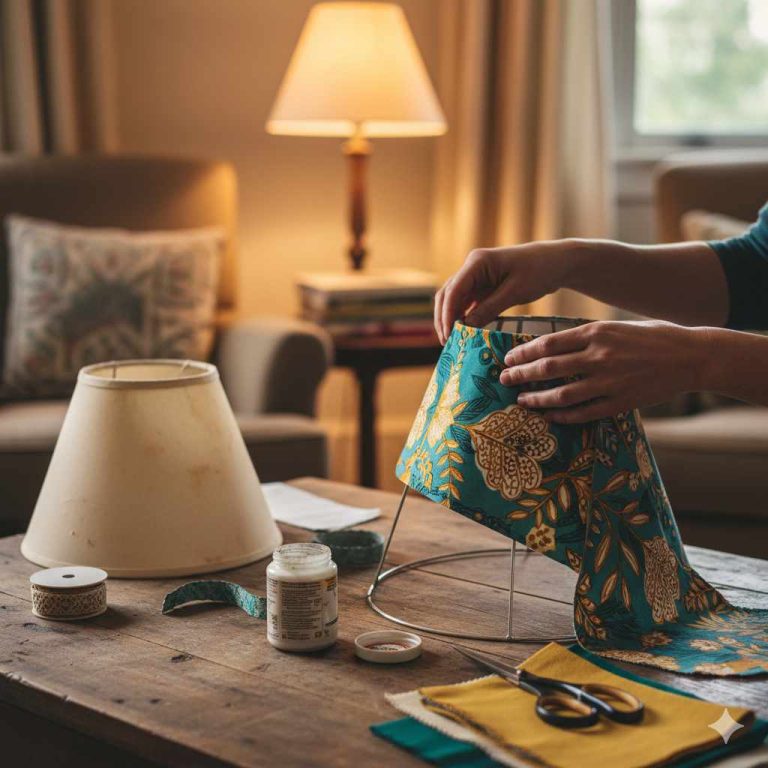
You need a short list of supplies before starting: a clear-drying fabric glue (E6000 or similar), a scrap of matching fabric for patches, sharp scissors, a needle and thread for seam tears, a small screwdriver for shade hardware, pliers for wire frame work, a measuring tape, and a clean cloth. If your lamp uses a different shade style entirely, see our guide on properly attaching a replacement lampshade, or browse more fixture guides in the Lighting & Ceiling Fan section.
Assessing Damage
Check the shade for tears, holes, stains, or discoloration first. Then check the wire frame itself — run a hand around the top and bottom rings feeling for bent sections or loose joints where the frame meets the fabric. A shade that no longer sits level on its harp usually has a bent ring, not a fabric problem.
Small tears, stains, or a single loose seam are easy weekend fixes. A cracked or badly bent frame, or fabric that has become brittle and is tearing in multiple new spots each time you touch it, is usually cheaper to replace than to keep patching.
Best Lampshade Repair Glue Pick
E6000 Craft Adhesive, 3.7 fl oz – $8.58
The clear-drying, flexible glue this guide recommends for fabric tears and holes — it stays flexible once cured instead of going stiff and cracking at the seam.
- Best for: fabric-to-fabric tears and patching small holes
- Why we picked it: dries clear, stays flexible, and won’t yellow the shade over time
- Main drawback: needs 24 hours to cure and up to 72 hours for full bond strength — not a quick fix
Compare more lampshade repair glue options
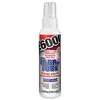 Option 1 E6000 Fabri-Fuse Adhesive, 4 fl oz – $9.90
|
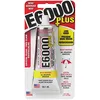 Option 2 E6000 Plus Multi-Purpose Glue – $9.94
|
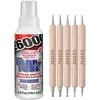 Option 3 E6000 Fabric Adhesive, 4 fl oz – $15.99
|
As an Amazon Associate we earn from qualifying purchases.
Cleaning The Lampshade
Wipe the shade with a soft cloth or a feather duster first, rotating it so you reach every side. A vacuum with a brush attachment lifts dust that a cloth pushes around instead of removing.
For actual stains, mix warm water with a drop of mild soap and dab — never scrub — with a sponge. Rinse the spot with a clean, damp cloth and let it air dry fully before touching it again. A little white vinegar in the water helps lift stubborn marks, but test any cleaner on a hidden inside edge first, since some dyes bleed.
Repairing Tears And Holes
Clean the damaged area with a barely damp cloth and let it dry completely — glue won’t bond to a wet or dusty surface. Apply a thin bead of fabric glue along the tear, press the edges together, and hold for about a minute while the initial tack sets.
For a hole, cut a patch slightly larger than the damaged area from matching fabric, glue it to the underside of the shade so the edges are hidden, and press it flat. Let any glued repair cure undisturbed — don’t test it early.
If the fabric is torn in several spots or has become brittle enough that patching won’t hold, replacing the whole panel of fabric works better than adding more patches. This video walks through that full re-covering process step by step:
📊 Fabric-safe adhesives like E6000 need a full 24 hours to cure, and up to 72 hours to reach maximum bond strength — handling the shade before then is the most common reason a “repaired” tear reopens. Source: Eclectic Products, E6000 manufacturer
Fixing Dents And Creases In A Lamp Shade
Paper and plastic (styrene) shades hold dents because the material stays rigid at room temperature. Set a hairdryer to low heat, hold it 4–6 inches from the dent, and warm the spot for 20–30 seconds while pushing gently from the inside with your other hand or a rounded tool like a spoon handle. The material softens just enough to reshape, then holds the new shape as it cools. Misting a stubborn dent lightly with water before applying heat helps on thicker paper shades. Fabric shades rarely dent the same way — a crease there is usually a frame issue, not a material one.
Reattaching Loose Frames
If the wire frame itself is loose at a joint, twist a short piece of thin wire around the connection and tighten it with pliers until the frame feels rigid again — not just re-glued fabric flexing against a frame that still moves underneath it. If the frame is bent rather than loose, straighten it gently by hand before reattaching fabric; a frame that’s cracked or snapped should be replaced rather than wired back together, since a repaired break tends to fail again under normal handling. Not sure which frame part you’re looking at? Our guide to the spider lamp shade fitter breaks down each piece by name.
Once the frame is solid, glue the fabric to the frame edges and press for a few seconds to seat it. Let the glue cure fully before trimming any excess fabric flush with the frame for a clean edge.
Restoring Color And Texture
A faded fabric shade can be refreshed with fabric paint or dye rather than replaced. Acrylic paint applied thinly in even coats works on most woven fabrics; heavier spray paint covers larger shades faster but needs light coats to avoid cracking once dry. Fabric dye works best on natural fibers — mix it per the package instructions, dip or brush it on evenly, then rinse and dry the shade fully before use. Test any paint or dye on a small hidden section first, since some synthetic blends don’t absorb dye evenly.
Adding Decorative Touches
Trim, ribbon, or beading glued along the top and bottom edges can freshen a plain shade without a full fabric replacement — use fabric glue so the trim stays flexible instead of cracking off. Stencil work with a stiff brush adds pattern without the cost of a full recover. If you’d rather change the fabric completely instead of just touching it up, see our guide on recovering a lampshade with new fabric for that full-swap process.
Maintaining Your Lampshade
Dust with a soft brush weekly and spot-clean stains as soon as you notice them — dried-in dirt is harder to lift than fresh dirt. Keep paper shades away from direct water; a damp cloth is fine, a wet one isn’t. Rotate the shade occasionally so one side doesn’t fade faster than the rest from direct sunlight, and check the frame and seams for early wear during cleaning rather than waiting for a full tear.
Experts who repair lamp shades professionally generally recommend replacing — rather than relining or recovering — a shade whose frame is bent or broken, since a damaged frame usually causes the same failure again even after a fresh fabric job.
Frequently Asked Questions
Can You Repair A Lampshade?
Yes. Small tears and holes can be fixed with clear-drying fabric glue, and loose frame joints can be re-tightened with wire and pliers. Replace the shade instead of repairing it when the frame itself is bent, cracked, or broken, since a damaged frame tends to fail again even after the fabric is fixed.
How Do You Get Fly Spots Off Lampshades?
Wipe fly spots with a damp cloth and a drop of mild soap, working in small circles rather than scrubbing. Let the shade dry completely before turning the lamp back on, since a damp shade near a hot bulb is a fire risk.
What Is The Best Glue To Repair A Lampshade?
A clear-drying, flexible craft adhesive like E6000 is the standard choice for lampshade repairs because it bonds fabric, paper, and plastic without turning brittle. Allow 24 hours to cure and up to 72 hours for full bond strength before handling the repair normally.
How Do You Fix A Tilted Lamp Shade?
A tilted shade almost always means the harp or finial isn’t seated evenly. Loosen the finial, straighten the shade on the harp so it sits level, then retighten. If it tilts again right away, the harp itself may be bent and should be replaced rather than re-adjusted repeatedly.
How Do You Fix A Dented Lamp Shade?
Warm the dent with a hairdryer on low heat held a few inches away for 20–30 seconds, then gently push the dent out from the inside by hand or with a rounded tool. This works on paper and plastic shades because the heat briefly softens the material. Fabric shades rarely dent this way — a crease in fabric usually points to a frame problem instead.
Should You Repair Or Replace A Damaged Lamp Shade?
Repair fabric tears, small holes, stains, and loose frame joints — these are quick, inexpensive fixes. Replace the shade when the wire frame is bent, cracked, or snapped, since gluing fabric back onto a damaged frame usually just delays the same failure.
Conclusion
Most lampshade damage is fixable at home: clean the shade, assess whether the problem is fabric or frame, and match the repair to that — fabric glue for tears and holes, wire and pliers for a loose frame, gentle heat for a dent, and paint or dye if the color has faded. Replace the shade only when the frame itself is bent or broken, since that’s the one repair that doesn’t reliably hold.
Sponsored / affiliate links. As an Amazon Associate I earn from qualifying purchases. I may earn additional commission from eligible campaigns.
 Lamp Shade Harp, 7 8 9 10 inch Adjustable Lamp Harp Kit, Hardware Parts Included Harp Frame and Finials, Standard Saddle, E14 E26 E27 Light Base UNO Fitter Adapter, Lamp Shade Holder (Black)
 12inch Ceiling Medallion, Decorative Ceiling Fan Light Cover Plate, Ceiling Medallions with Round PU Medallion for Replacement Canopies Home Chandelier Fans(1pcs)