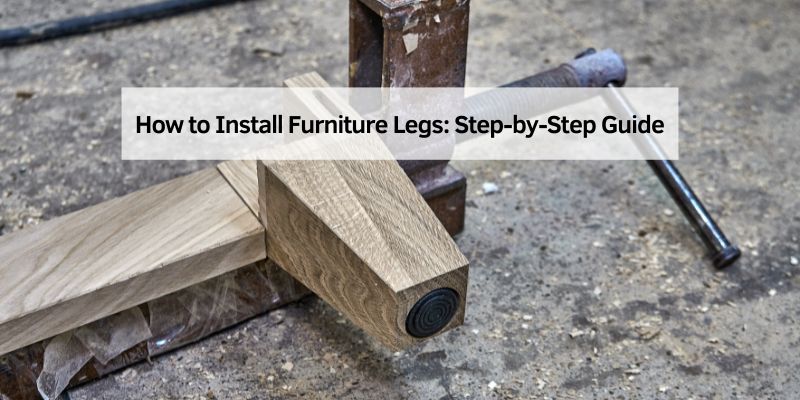
How to Install Furniture Legs: Step-by-Step Guide
Installing furniture legs is easier than you think. With a few tools and some guidance, you can transform your furniture in no time.
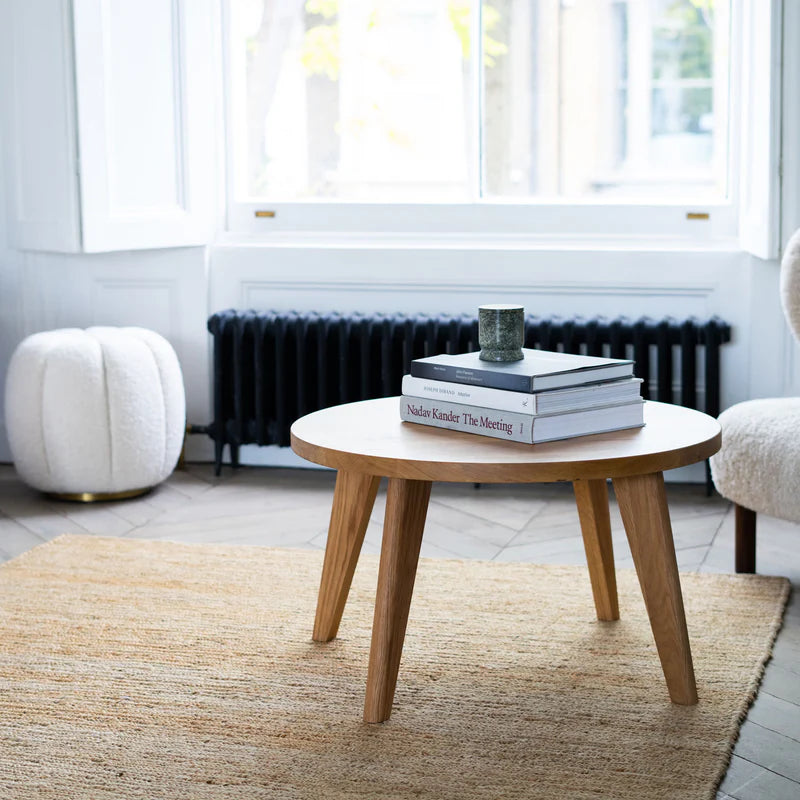
Whether you’re refreshing an old piece or assembling new furniture, attaching the right legs can make all the difference. It’s a simple way to update your home decor and add a personal touch to your spaces. Furniture legs come in many styles and materials, giving you endless possibilities to match your taste.
The process of installing them requires basic tools and a bit of patience. Even if you’re new to DIY projects, this task is manageable. This guide will help you through each step, ensuring your furniture is sturdy and stylish. Ready to elevate your furniture game? Let’s dive in and learn how to install furniture legs the right way.
Choosing The Right Furniture Legs
Furniture legs come in different materials like wood, metal, and plastic. Wood gives a warm and classic look. Metal offers a modern and sleek style. Plastic is often lightweight and colorful.
Think about the style of your room. Tall legs make furniture look elegant. Short legs give a cozy feel. Choose legs that match your furniture’s design. Round legs are soft and friendly. Square legs look bold and strong.
:max_bytes(150000):strip_icc()/1020026749-8467d723f46142378968a4de4d7f3afb.jpg)
Credit: www.woodmagazine.com
Tools Needed For Installation
You will need a few tools. A screwdriver is important. Make sure it’s the right size. A measuring tape helps with accuracy. You need a drill too. Choose a drill with the right bit. A wrench is useful for tightening nuts. Don’t forget a level. It helps keep things straight.
Some tools can make work easier. Sandpaper smooths rough edges. Wood glue can add strength. Furniture pads protect floors. They stop scratches. Paint or varnish can enhance appearance. Use them for a nice finish. Not all tools are necessary.
Preparing The Furniture
Dust and dirt make furniture legs stick poorly. Use a damp cloth to wipe away debris. Ensure the surface is completely dry. Clean surfaces help legs stick better.
Measure twice to avoid mistakes. Use a ruler or tape measure. Accurate measurements ensure legs fit perfectly. Mark spots lightly with a pencil. Double-check your marks before drilling.
Marking The Placement
Templates help mark where legs should go. It’s important for even placement. Choose a template that fits your furniture. Place it on the underside of the furniture. Mark the spots for the screws with a pencil. These marks guide you later.
Even spacing keeps furniture balanced. Measure the distance between marks. Use a ruler or tape measure. Check all sides for equal distance. Adjust if necessary. Double-check your marks. This makes sure legs are even.
Attaching The Furniture Legs
Before attaching legs, it’s important to drill pilot holes. This helps prevent wood from splitting. First, measure the location for each leg. Mark the spots with a pencil. Make sure the marks are even. Use a drill bit slightly smaller than the screw. This ensures a snug fit. Hold the drill straight and steady. Drill into each marked spot. Don’t drill too deep. Just enough for the screw to grip. Pilot holes make attaching easier and safer.
Once the pilot holes are ready, it’s time to secure the legs. Place each leg over a hole. Align it properly. Insert a screw into the hole. Use a screwdriver to tighten it. Turn the screwdriver clockwise. Ensure the leg is tight and firm. Repeat for each leg. Check that all legs are secure. The furniture should now stand steady. Enjoy your handiwork!

Credit: www.youtube.com
Checking Stability
Good furniture must stand firm. Furniture stability is key. Shake the piece gently. Observe any wobbling. Check the legs are firmly attached. Tighten them if loose. All legs should touch the ground equally. This ensures balance. Use a level tool for accuracy. Adjust until the bubble stays centered. Stability prevents accidents.
Testing Weight Capacity
Furniture should hold weight easily. Place heavy items slowly. Watch for any bending. Listen for creaking sounds. These are signs of stress. Remove items if they appear unsafe. Consider weight limits provided by the maker. This keeps your furniture safe. Test with care to avoid damage.
Adjusting For Balance
Balance matters for comfort and safety. Check if the furniture leans. Use shims under legs if needed. Adjust until it stands straight. Balance ensures no tipping over. It also looks neat in the room. Regular checks help maintain balance. A balanced piece lasts longer.
Finishing Touches
Installing furniture legs adds style and function. Start by choosing the right legs to match your furniture. Securely attach legs using screws or brackets, ensuring stability and balance. This simple upgrade enhances the overall look and usability of your furniture pieces.
Adding Protective Pads
Protective pads are small cushions for furniture legs. These pads help prevent scratches on floors. They also reduce noise when moving furniture. Choose pads that fit your furniture legs. Some pads stick with glue. Others have nails or screws for attachment. Clean the bottom of the legs before attaching pads. This ensures a strong bond. Replace worn pads to keep floors safe.
Polishing The Legs
Polishing makes furniture legs shiny and new. Use a soft cloth for polishing. Apply wood polish gently on the legs. Ensure even coverage for a smooth finish. Let the polish dry completely. This keeps the shine longer. Regular polishing maintains the beauty of the furniture. It also protects the wood from damage.
Credit: www.thehairpinlegcompany.co.uk
Troubleshooting Common Issues
Wobbly legs can make furniture unsafe. Check each leg carefully. Make sure they are screwed in tightly. If a leg is loose, tighten it with a screwdriver. Sometimes, the floor is uneven. Place a small pad under the wobbly leg. This can help balance the furniture. Always ensure the furniture is stable before use.
Uneven heights can make tables or chairs tilt. Measure each leg to see if they are the same height. If one is shorter, you can add a pad or felt tip. This will help even out the height. For adjustable legs, twist them to the same level. Ensuring equal height makes furniture more comfortable and safe to use.
Frequently Asked Questions
How Are Furniture Legs Attached?
Furniture legs are typically attached using screws, brackets, or dowels. Some legs screw directly into pre-installed metal plates. Others use bolts with nuts for added stability. Adjustable legs might have threaded inserts for easy height customization. Ensure tight connections for safety and durability.
How To Drill Holes For Furniture Legs?
Mark the leg positions on the furniture. Use a drill bit matching the screws’ diameter. Drill straight holes into marked spots. Secure legs with screws using a screwdriver. Double-check alignment for stability.
How Do You Install Leg Mounting Plates On Furniture?
Position each leg mounting plate where you want the legs. Mark and drill pilot holes for screws. Secure the plates using screws. Attach furniture legs to plates by screwing them tightly. Ensure stability by checking all screws and connections. Your furniture is now ready for use with securely mounted legs.
Can You Add Legs To Any Couch?
Yes, you can add legs to most couches. Check the couch’s underside for attachment points or a wooden base. Purchase compatible legs from furniture stores or online. Ensure the legs are sturdy and match the couch style. Always follow installation instructions for safety and stability.
Conclusion
You’ve learned how to install furniture legs easily and safely. Follow these steps for a sturdy and stylish result. Remember, proper tools make the job simpler. Double-check measurements before drilling. Secure the legs tightly for stability. This ensures your furniture stands strong.
Regular maintenance keeps everything looking great. Feeling confident? Try different leg styles for a fresh look. Enjoy the satisfaction of doing it yourself. Your furniture now has a new, elegant touch. Happy crafting and decorating!