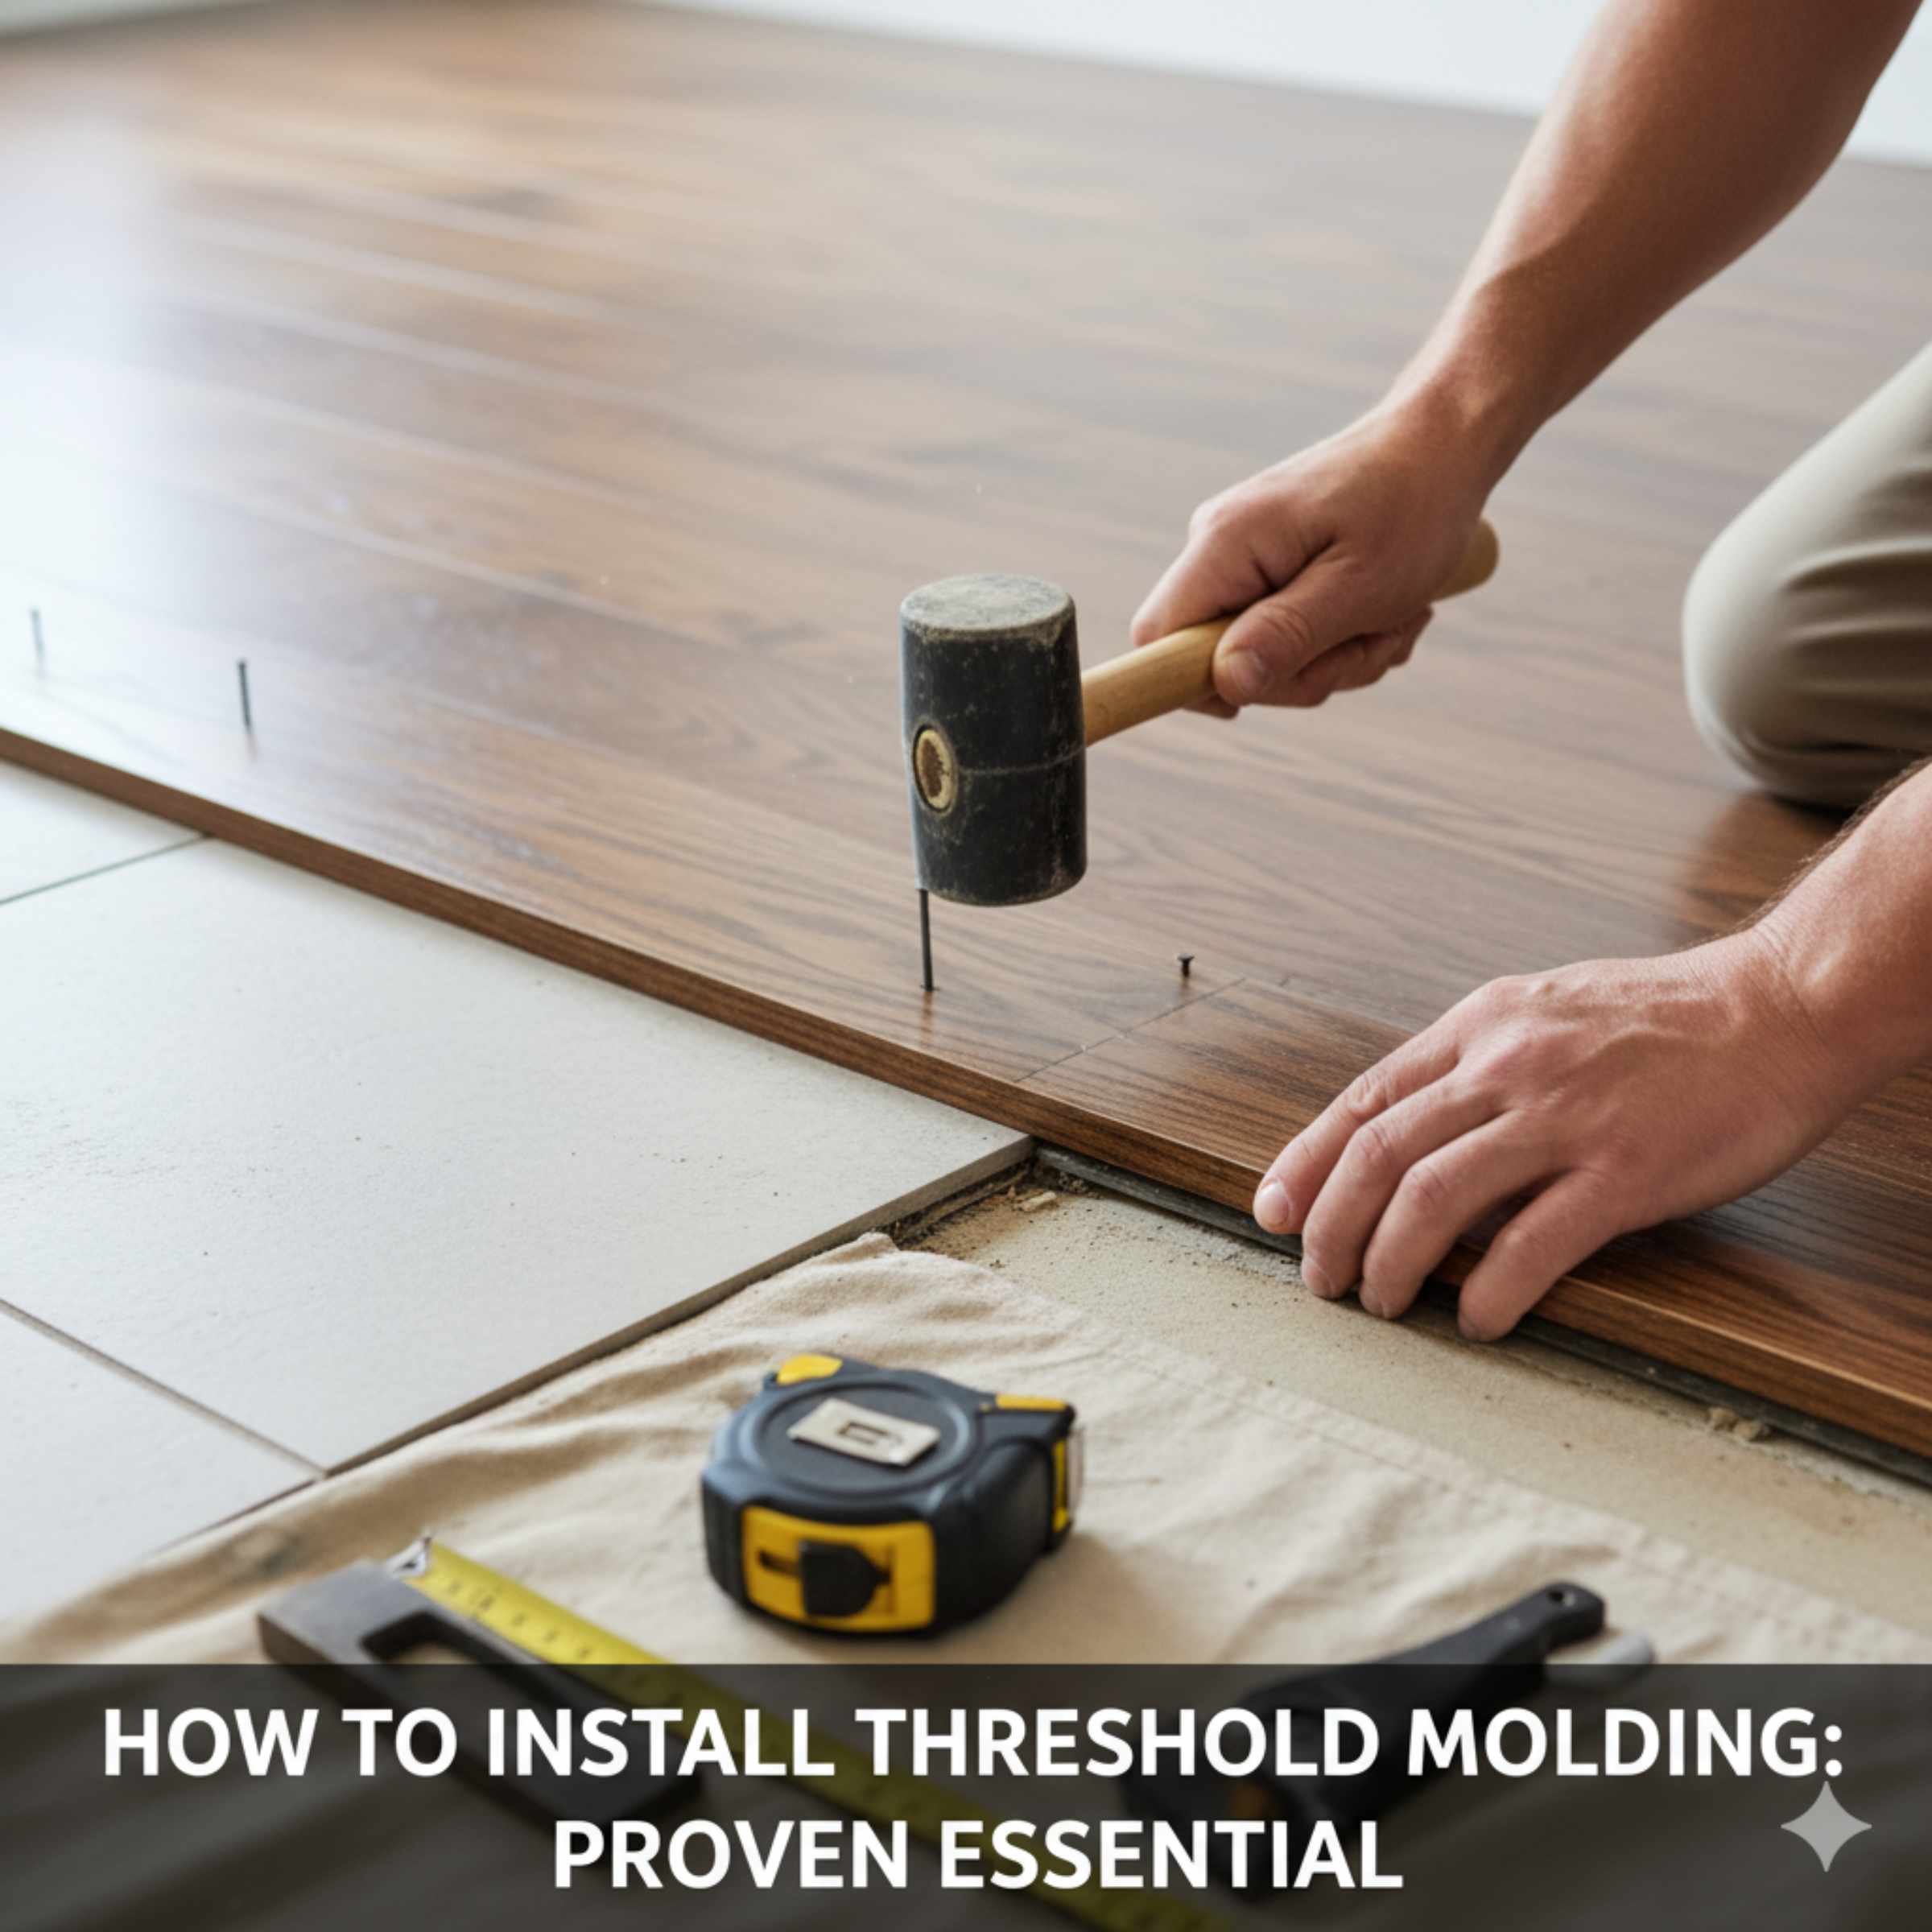
How To Install Threshold Molding: Proven Essential
Installing threshold molding is easy! Measure the doorway opening accurately, cut the transition piece to fit snugly using a miter saw, and secure it firmly to the subfloor using glue or nails. This simple fix creates a smooth, safe transition between two different flooring types.
Do you have an annoying gap where your carpet meets your wood floor? Maybe the two floors don’t quite line up, creating a tripping hazard. That gap is begging for a threshold molding, also called a transition strip. It finishes the look and makes walking safe.
Many homeowners think this job is tough, needing special skills. I promise you, it is not! With the right tools and a little patience, you can tackle this project in an afternoon. We will walk through every single step, from measuring to that final, satisfying tap of the nail.
Let’s dive into exactly how to install threshold molding so your floors look professional and feel finished.
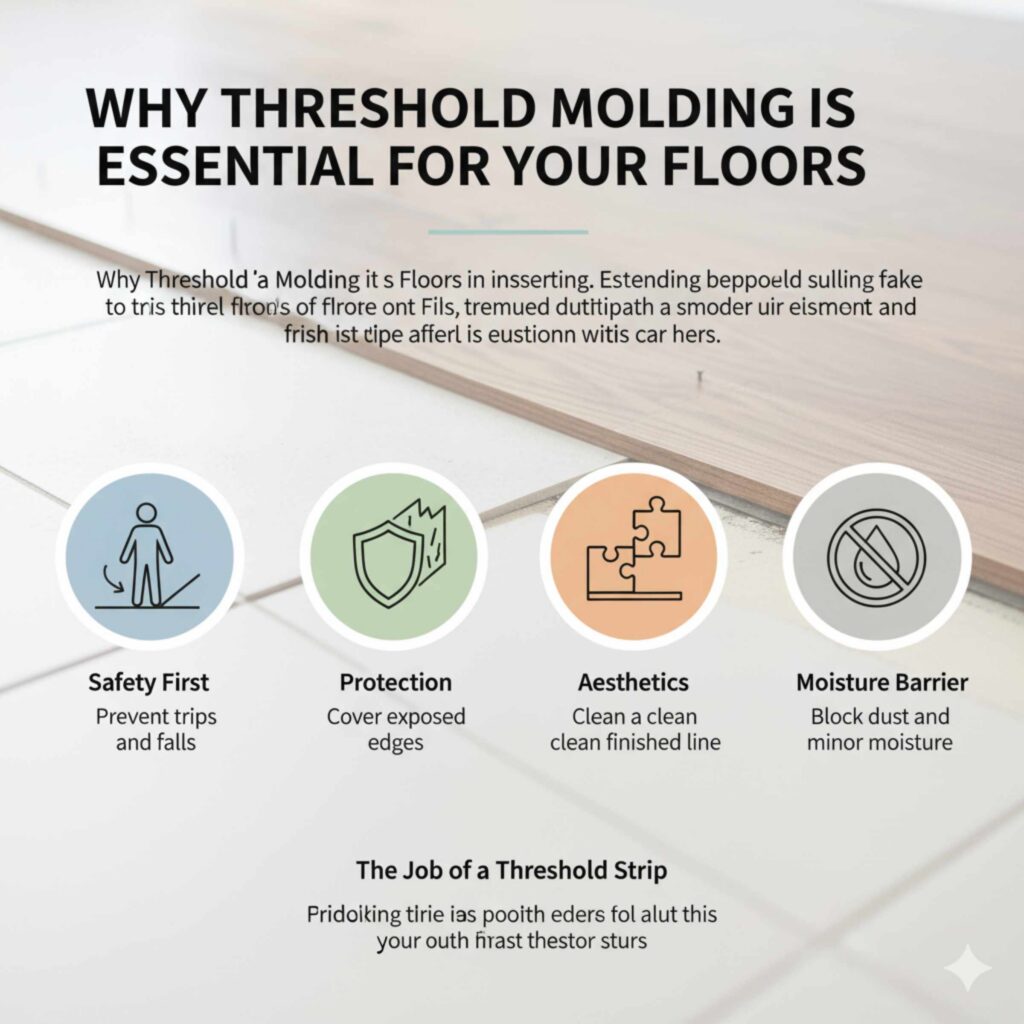
Why Threshold Molding is Essential for Your Floors
Threshold molding is more than just a pretty piece of trim. It serves crucial functions that protect your investment and improve your home safety. Think of it as the professional handshake between two different rooms.
The Job of a Threshold Strip
What exactly does this small piece of wood or metal do? A lot, actually!
- Safety First: It eliminates height differences between floors (like carpet ending at tile), preventing trips and falls.
- Protection: It covers the exposed edges of your flooring materials, stopping them from fraying, chipping, or lifting up.
- Aesthetics: It provides a clean, finished line where two materials meet, making your rooms look intentional and complete.
- Moisture Barrier: In some cases, it helps block dust and minor moisture from traveling directly between rooms.
Types of Threshold Molding to Know
Before we start cutting, you need to know what you are installing. Thresholds come in various shapes depending on the floor heights:
| Molding Type | Best For | Description |
|---|---|---|
| Reducer/T-Molding | When one floor is slightly lower than the other (usually 1/4 inch difference). | Slopes gently from the higher floor down to the lower one. |
| Saddle/Threshold | When two floors are nearly the same height. | A flatter piece that covers the seam directly. |
| Double Reducer | When the transition is very gradual across a wide opening. | Slopes down slightly on both sides of the center line. |
For most beginner projects, you will be dealing with a standard saddle or a slight reducer.
Tools and Materials: Getting Ready to Work
Preparation is the secret sauce to any successful DIY project. Don’t start until you have everything gathered. Rushing to find a specific screw mid-cut is never fun!
Essential Tools You Will Need
Gather these items. You likely have most of them already, but if you need to buy a tool, invest in quality—it makes the job much easier.
- Miter Saw (Chop Saw): This is your best friend for getting clean, accurate 90-degree and 45-degree cuts. A manual miter box can work, but a power miter saw is faster and straighter.
- Tape Measure: Needs to be accurate!
- Pencil: For marking cuts.
- Hammer or Brad Nail Gun: To secure the molding. A brad nailer (electric or pneumatic) is faster and leaves smaller holes, but a hammer works fine.
- Utility Knife: To score carpet edges if needed.
- Safety Gear: Safety glasses are non-negotiable when cutting!
- Construction Adhesive (Optional): For gluing down the strip before nailing.
Materials Checklist
- The new threshold molding piece (ensure it matches or complements your existing floors).
- Finishing nails or brad nails (usually 1.5 inches long). If your subfloor is concrete, you will need appropriate concrete screws or anchors instead of nails.
Pro Tip on Nail Selection: If you are nailing into wood, use nails that are about twice as long as the thickness of your molding base. This ensures they grab the subfloor underneath.
Step-by-Step Guide: How to Install Threshold Molding
This process is broken down into easy, manageable steps. Read through them all before you pick up the saw. Remember, measure twice, cut once!
Step 1: Prepare the Opening and Measure Accurately
First, clear the area. Remove any old, damaged threshold strips. If you have carpet, you may need to pull back the edge slightly to expose the subfloor where the new threshold will sit.
This is the most critical step. Your measurement must cover the exact width between the two finished surfaces.
- Take your tape measure and measure the width of the opening precisely at the floor level—not at the top of the door frame.
- Measure the opening in at least two spots: near the bottom and near the top of the threshold space. Sometimes, walls aren’t perfectly plumb, meaning the space might be slightly wider at the floor than at the top of the jamb.
- If the measurements differ, use the shorter measurement. You can always trim more off, but you cannot add material back!
- Mark your threshold material clearly with your pencil on the side you plan to cut.
Step 2: Making the Initial Square Cut (The 90-Degree Cut)
Most threshold moldings require a perfect 90-degree (square) cut on the ends that meet the door jambs.
- Place your threshold material flat on the bed of your miter saw.
- Set the saw blade angle to exactly 90 degrees. Double-check this with a reliable speed square if you are unsure about your saw’s calibration.
- Align your pencil mark precisely with the saw blade (usually you cut just to the waste side of your line).
- Put on your safety glasses! Hold the molding firmly against the fence and the saw bed.
- Make the cut. Hold the piece securely until the blade stops spinning.
Step 3: Fitting the Threshold for Height (If Needed)
If you have a transition piece (like a reducer) that needs to meet two different floor heights, you might need to angle the ends where they meet the jambs. For standard saddles connecting two materials of the same height, you can skip to Step 4.
For reducers, the ends that butt up against the door casing often require a small miter cut so they sit flush against the vertical trim.
Consulting official installation guidelines, such as those from organizations promoting quality building standards, often shows that complex transitions require precise angles, but for a basic transition, a slight 45-degree bevel or a square cut against the casing usually suffices for beginners.
If you are installing a metal or plastic transition strip, check the manufacturer’s instructions, as some require a specific miter cut to snap into the included retainer track.
Step 4: Dry Fit and Fine-Tuning
Before gluing or nailing, test how the piece fits in the doorway.
- Carefully place the cut threshold into the opening.
- It should sit snugly against the door jambs on both sides. If it’s too tight, mark the excess length and trim a tiny bit off—remember, slow and steady wins here.
- If you have carpet, ensure the threshold covers the carpet tack strip and overlaps the edge of the carpet backing slightly (about 1/8 inch) to lock it down securely. If the carpet is too high, you might need to trim a small amount off the carpet edge using a sharp utility knife.
Step 5: Securing the Threshold Molding
Once you are happy with the fit, it is time to lock it down permanently. Most modern installations use a combination of adhesive and nails for the best hold.
Option A: Adhesive and Nailing (Recommended for Durability)
- Remove the threshold piece. Flip it over.
- Apply a thin, continuous bead of construction adhesive (like Liquid Nails) to the underside of the molding, focusing especially on the center where the subfloors meet. Avoid applying adhesive right near the edges, as squeezing out can be hard to clean.
- Carefully set the molding back into place, ensuring it aligns perfectly with your previous dry fit.
- If you have carpet on one side, press down firmly to embed the base into the carpet padding.
- Now, drive your finishing nails or brads through the molding. Aim for one nail near each end and space the rest evenly, usually every 12 to 16 inches. Drive them just below the surface of the wood using a nail set or the head of your hammer.
Option B: Nailing Only (For Quick Fixes or Very Low Transitions)
- Place the threshold down.
- Use your brad nailer or hammer to secure the strip, aiming for the same spacing as above. If you hit a floor joist or a concrete slab underneath, the nail might not go in fully. If this happens, use a small drill bit to pre-drill a pilot hole, then use a screw designed for that subfloor material.
Step 6: Finishing Touches
The last step makes all the difference between a DIY look and a professional finish.
- If you used finishing nails, use a nail set to tap the heads just below the surface of the wood, creating a small divot.
- Fill those divots with wood putty or colored wood filler that matches your molding.
- Once the filler is dry, lightly sand the filled spots smooth.
- If your molding is unfinished wood, apply stain or paint to match your trim or baseboards.
Dealing with Different Subfloor Materials
The material underneath your transition matters significantly for how you secure the molding. Getting this wrong leads to loose strips down the road.
Nailing into Plywood/OSB Subfloor
This is the easiest scenario. Standard 1.5-inch finishing nails or brads driven at a slight angle (to bite into the wood better) will hold well, especially when combined with adhesive.
Nailing into Concrete Slab
You absolutely cannot use standard nails into concrete; they will bend or bounce out. You must use specialized fasteners. Referencing best practices from organizations like the American Concrete Institute (ACI), the correct approach involves either:
- Adhesive Only: Using a very strong, construction-grade polyurethane adhesive specifically rated for bonding wood to concrete. Allow ample curing time.
- Concrete Screws: Drilling pilot holes through the molding and into the concrete slab, then securing the strip with Tapcon or similar concrete screws.
Working with Existing Carpet
When installing a threshold over existing carpet, the height of the carpet pile and padding must be accounted for. The molding should compress the carpet enough so the top surface of the threshold is flush or slightly higher than the carpet pile.
If the carpet is too high, you need to remove the carpet edge from the tack strip in that doorway area and trim the carpet backing itself. This ensures the threshold sits firmly on the subfloor, not just on top of soft padding.
Troubleshooting Common Threshold Installation Issues
Even with the best planning, sometimes things don’t line up perfectly. Here are the most common hurdles beginners face and how to fix them easily.
Problem 1: The Molding Doesn’t Sit Flat (Warping)
If your new molding has a slight curve or warp and won’t sit flat on the floor, it’s fighting the tension of the wood itself.
The Fix: Don’t rely only on nails. Use the construction adhesive liberally. After applying the adhesive and placing the piece, place heavy objects (like stacks of books or buckets of paint) on top of the strip for the entire curing time recommended by the adhesive manufacturer. This pressure forces the molding to conform to the floor.
Problem 2: Nails Won’t Go In Fully
This usually happens when you hit a piece of old wood, a knot, or concrete beneath your subfloor.
The Fix: If it’s wood, use a small drill bit (smaller than your nail shaft) to drill a pilot hole. Then, drive the nail. If it’s concrete, switch to concrete screws as described above. Never try to hammer a finishing nail through concrete.
Problem 3: The Transition Piece is Too Short
You measured, but it seems short by a fraction of an inch on one side, creating a visible gap against the door jamb.
The Fix: This means your initial measurement was slightly off, or the wall isn’t straight. Trim a small piece (maybe 1/16th of an inch) off the opposite end of the molding. Then, use a piece of wood filler or colored caulk to fill the tiny remaining gap against the jamb where the trim meets the door frame.
Problem 4: Gaps Where the Molding Meets the Flooring Edge
If you have tile or vinyl, and the molding doesn’t perfectly meet the edge without leaving a tiny, uneven gap.
The Fix: Use color-matched silicone caulk or acrylic latex caulk designed for flooring transitions. Run a very thin bead along the seam where the threshold meets the tile or vinyl. Wipe away excess immediately with a damp cloth. This seals the gap beautifully.
Maintaining Your New Threshold Molding for Longevity
You put in the hard work; now let’s make sure it lasts! Threshold molding is durable, but it takes a lot of foot traffic, so care is important.
Cleaning Best Practices
How you clean your floors directly affects the molding’s finish.
- Wood Thresholds: Clean with a slightly damp mop or cloth. Avoid saturating the wood, as excess water can cause the wood to swell or lift the finish. Use pH-neutral cleaners if possible.
- Metal Thresholds: These are very easy to clean. A simple wipe-down usually suffices. Be careful not to use abrasive scrubbers that might scratch polished finishes.
Repairing Scratches and Wear
Over time, keys, luggage, or even pets can scratch the molding, especially if it is metal or painted.
- For wood, lightly sand the damaged area with very fine sandpaper (220 grit).
- Apply matching stain or paint directly to the repair spot.
- If you used putty to cover nail holes, you can touch up those spots as well.
- For metal, consider using a touch-up paint kit specifically designed for aluminum or brass if you know the original material, though often a discreet coat of clear sealant is enough to prevent further oxidation.

Frequently Asked Questions (FAQ) About Threshold Installation
Q1: Do I need to remove my door before installing the threshold?
Usually, no. For standard saddle or reducer strips, you do not need to remove the door. You measure the opening floor-to-floor and cut the molding to fit snugly against the door jambs on either side. If you are installing a complex track system, consult the manufacturer, but most homeowners skip door removal.
Q2: How long should I wait before walking on the new threshold?
If you used nails only, you can walk on it right away. If you used construction adhesive, wait at least 12–24 hours (or follow the adhesive manufacturer’s instructions) before heavy foot traffic to allow proper curing.
Q3: Can I install threshold molding without a miter saw?
Yes. While a miter saw gives the cleanest and most accurate cuts, you can use a hand saw with a miter box for straight cuts. It may take more time and patience, but it works well for beginners.
Q4: What if my floors are uneven in height?
That’s exactly what transition moldings are designed for. Use a reducer or double reducer molding to create a smooth slope between floors of different heights. Choosing the right molding type is more important than forcing a flat threshold.
Q5: Should I glue or nail the threshold molding?
For best results, use both. Adhesive provides long-term hold and prevents movement, while nails keep the molding secure as the adhesive cures. For concrete subfloors, adhesive or concrete screws are required.
Conclusion: A Simple Upgrade That Makes a Big Difference
Installing threshold molding may seem like a small detail, but it has a huge impact on both safety and appearance. It protects your flooring edges, removes tripping hazards, and gives your rooms a clean, finished look.
The best part? This is a beginner-friendly DIY project. With accurate measurements, the right tools, and a bit of patience, you can complete the job in just an afternoon—no professional skills required. Whether you’re transitioning from carpet to wood, tile to laminate, or working with uneven floor heights, the right threshold molding ties everything together seamlessly.
Take your time, follow each step carefully, and don’t rush the measuring and fitting stages. Once installed, your threshold will handle years of foot traffic while making your floors look polished and intentional.
In short: small effort, big payoff. Your floors—and your feet—will thank you!