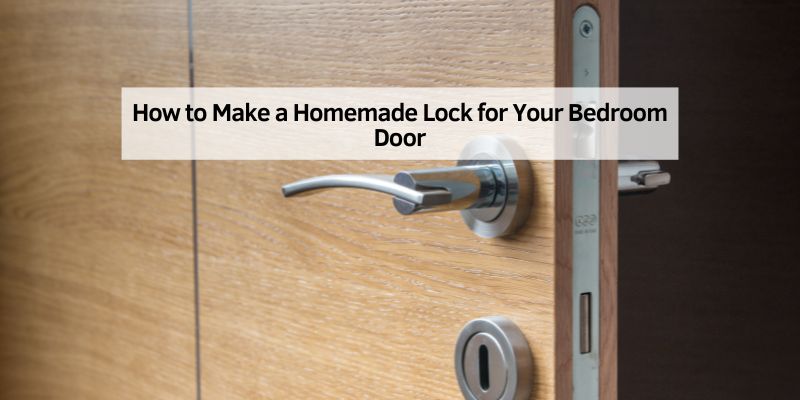
How to Make a Homemade Lock for Your Bedroom Door
Hey there! Have you ever wanted a little extra privacy in your bedroom but didn’t want to spend a fortune on a fancy lock? Maybe you’re renting and can’t make permanent changes, or you just love a good DIY project. I’ve been there, and after tinkering around in my own home, I’ve learned how to make a homemade lock for a bedroom door that’s simple, affordable, and effective. Today, I’m sharing everything I’ve discovered so you can create your own lock with confidence. Whether you’re a seasoned DIYer or just starting out, this guide is for you. Let’s dive into the world of homemade locks and make your bedroom a private sanctuary!
Why I Wanted a Homemade Lock
A few years ago, I moved into a new apartment. It was cozy, but the bedroom door didn’t have a lock. I wanted privacy without drilling holes or upsetting my landlord. Store-bought locks were pricey, and I wasn’t sure they’d fit my door. So, I decided to get creative. After some trial and error, I came up with a few homemade lock ideas that worked like a charm. These solutions are perfect if you’re looking for something budget-friendly, non-permanent, and easy to install. Plus, making your own lock is kind of fun—it feels like you’re solving a puzzle for your home!
What You’ll Need to Get Started
Before we jump into the methods, let’s talk about what you’ll need. The beauty of a homemade lock is that you probably already have most of the materials lying around. I’ve kept things simple, using everyday items or stuff you can grab at a hardware store for cheap. Here’s a quick rundown of the basics for the methods I’ll share:
| Item | Purpose | Where to Find It |
|---|---|---|
| Fork | For a fork lock (yes, really!) | Your kitchen drawer |
| Screwdriver | To bend or adjust materials | Toolbox or hardware store |
| Rope or strong cord | For a rope-based lock | Hardware store or craft store |
| Wooden dowel or stick | For a wedge lock | Hardware store or backyard |
| Duct tape | To secure parts or reinforce | Any general store |
| Small metal brackets | For a latch-style lock | Hardware store |
| Screws or adhesive | To attach brackets (if allowed) | Hardware store |
You don’t need everything on this list—it depends on which lock you choose. I’ll explain each method step-by-step, so you can pick what works best for your door and situation.
Method 1: The Fork Lock
This is my favorite because it’s so quirky and surprisingly effective. I stumbled across this idea online and thought, “A fork? Really?” But after trying it, I was hooked. It’s perfect for temporary privacy and requires minimal tools.
How It Works
The fork lock uses a regular metal fork from your kitchen. You bend it into a specific shape to create a lock that slides into the door’s strike plate (the metal piece on the door frame where the latch goes). It holds the door shut and is super easy to remove when you don’t need it.
Step-by-Step Instructions
- Find a sturdy fork. I grabbed an old metal fork from my kitchen. Stainless steel works best because it’s strong.
- Cut or break off the handle. Use a hacksaw or pliers to remove the handle, leaving about 1-2 inches of the fork’s neck attached to the prongs.
- Bend the prongs. Heat the fork with a lighter (carefully!) to make it easier to bend. Use pliers to bend the prongs into a “U” shape. The prongs should fit snugly into the holes of the strike plate.
- Test the fit. Close your bedroom door and slide the bent prongs into the strike plate. The fork’s neck should stick out, preventing the door from opening.
- Secure it. For extra strength, I wrapped duct tape around the neck to keep it in place. You can also tie a string to pull it out easily when you’re done.
Pros and Cons
- Pros: Cheap, easy to make, no damage to the door.
- Cons: Not super secure for heavy-duty needs, might not work on all door frames.
I love this method because it’s so unconventional. It’s like a secret handshake for your door—nobody expects a fork to keep them out!
Method 2: The Rope and Hook Lock
If the fork lock feels too wild, this rope-based lock is a bit more traditional. I used this when I wanted something sturdier but still removable. It’s great for renters or anyone who doesn’t want to mess with the door itself.
How It Works
You tie a strong rope or cord to the door handle and secure it to a fixed point, like a nearby piece of furniture or a wall hook. The tension keeps the door closed, making it tough to open from the outside.
Step-by-Step Instructions
- Choose a strong rope. I used a nylon cord from a hardware store—it’s about $5 for a good length.
- Find an anchor point. Look for something solid near your door, like a heavy dresser or a wall-mounted hook. I used a coat rack bolted to the wall.
- Tie the rope. Loop the rope tightly around the door handle. I made a double knot to be safe.
- Secure the other end. Tie the other end to your anchor point. Pull it tight so there’s no slack. The door should feel firm when you try to open it.
- Test it. Try opening the door from the outside. If it budges, tighten the rope or move the anchor point closer.
Pros and Cons
- Pros: Strong, fully removable, works on most doors.
- Cons: Needs a nearby anchor point, not as discreet as other methods.
This lock gave me peace of mind when I had roommates who kept barging in. It’s simple but does the job well.
Method 3: The Wedge Lock
This one is the easiest of the bunch. I tried it when I was short on time and didn’t want to fuss with tools. It’s perfect for quick privacy and works on almost any door.
How It Works
You wedge a piece of wood or a hard object under the door to keep it from opening. The pressure from the wedge makes it nearly impossible to push the door open.
Step-by-Step Instructions
- Find a wedge. I used a wooden dowel from a craft project, but a thick stick or even a folded towel can work.
- Shape it if needed. If your wedge is too big, sand it down or cut it to fit snugly under the door. I aimed for a 45-degree angle for maximum grip.
- Place the wedge. Close the door and slide the wedge under the gap at the bottom. Push it in firmly until it’s tight.
- Test it. Try opening the door. If it moves, adjust the wedge or use a thicker one.
Pros and Cons
- Pros: Super simple, no tools needed, works on most doors.
- Cons: Only works if your door has a gap at the bottom, not great for heavy traffic areas.
I used this when I just needed a quick fix for a night. It’s not fancy, but it gets the job done.
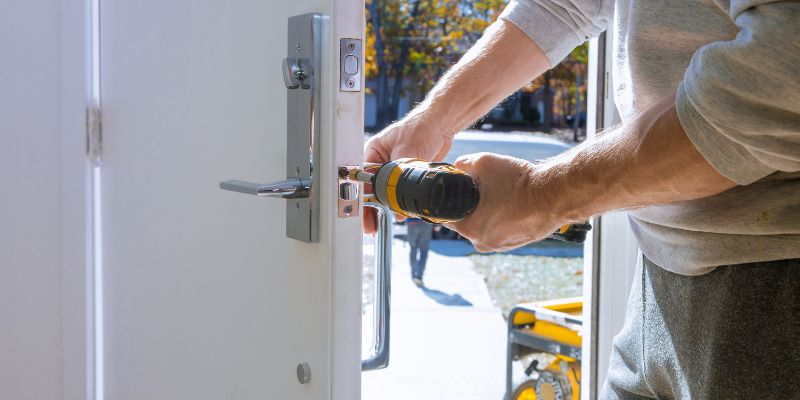
Method 4: The Bracket Lock
This one is a bit more involved, but it’s the closest to a “real” lock. I tried this when I wanted something more permanent but still renter-friendly.
How It Works
You attach a small metal bracket to the door frame and door, creating a latch that holds the door closed. You can use screws for a stronger hold or adhesive for a no-damage option.
Step-by-Step Instructions
- Get your materials. I bought two small L-shaped brackets and some adhesive strips from a hardware store. Screws work too if your landlord is okay with it.
- Position the brackets. Hold one bracket on the door frame and one on the door, so they align when the door is closed. Mark the spots with a pencil.
- Attach the brackets. Stick the brackets on with adhesive or screw them in. I used adhesive to avoid damage.
- Add a latch. I used a small metal pin to connect the brackets, like a mini deadbolt. You can also use a padlock for extra security.
- Test it. Close the door and slide the pin through the brackets. Try opening the door to make sure it holds.
Pros and Cons
- Pros: Feels like a real lock, very secure, customizable.
- Cons: Takes more effort, adhesive might not stick on all surfaces.
This was my go-to when I wanted something that looked legit. It’s a bit more work, but it’s worth it for the extra security.
Tips for Success
After trying all these methods, I’ve learned a few tricks to make your homemade lock work better:
- Test everything. Always try opening the door from the outside to make sure your lock holds.
- Check your door type. Some methods work better on inward-opening doors, while others are great for outward-opening ones.
- Keep it discreet. If you’re renting, choose methods that don’t leave marks or require tools.
- Have a backup. I always kept a spare wedge or rope in case one lock failed.
- Safety first. Make sure your lock is easy to remove in case of an emergency, like a fire.
Why I Love Homemade Locks
Building these locks was more than just a practical fix—it was empowering. I felt like I was taking control of my space without breaking the bank. Each method has its own charm, whether it’s the quirky fork lock or the sturdy bracket lock. They’re all proof that you don’t need fancy tools or big budgets to make your home feel safer.
Conclusion
Creating a homemade lock for your bedroom door is a fun, affordable way to add privacy to your space. I’ve tried everything from forks to ropes to brackets, and each method has its own magic. Whether you’re a renter, a parent, or just someone who loves DIY, these locks are a game-changer. Pick the one that fits your needs, grab your materials, and get to work. You’ll be amazed at how simple it is to make your bedroom feel like a true sanctuary. So, what are you waiting for? Let’s make your door a little more private today!
Frequently Asked Questions
Can a homemade lock be as secure as a store-bought one?
Homemade locks are great for privacy but aren’t as strong as professional locks. They’re best for keeping out curious roommates or kids, not for high-security needs. If you need serious protection, consider a store-bought deadbolt.
Will these locks damage my door?
Most of these methods, like the fork, rope, or wedge, won’t harm your door. The bracket lock might leave adhesive residue or small screw holes, so check with your landlord if you’re renting.
How long does it take to make a homemade lock?
It depends on the method. The fork lock takes about 10 minutes with pliers. The rope lock is even faster—maybe 5 minutes. The bracket lock might take 20-30 minutes if you’re using adhesive or screws.
Can I use these locks on any door?
Most work on standard bedroom doors, but check your door’s setup. The fork lock needs a strike plate, the rope lock needs an anchor point, and the wedge lock needs a gap under the door.
What if I don’t have tools like pliers or a screwdriver?
The wedge or rope lock is your best bet. They need minimal or no tools—just a stick or cord and something to tie it to.