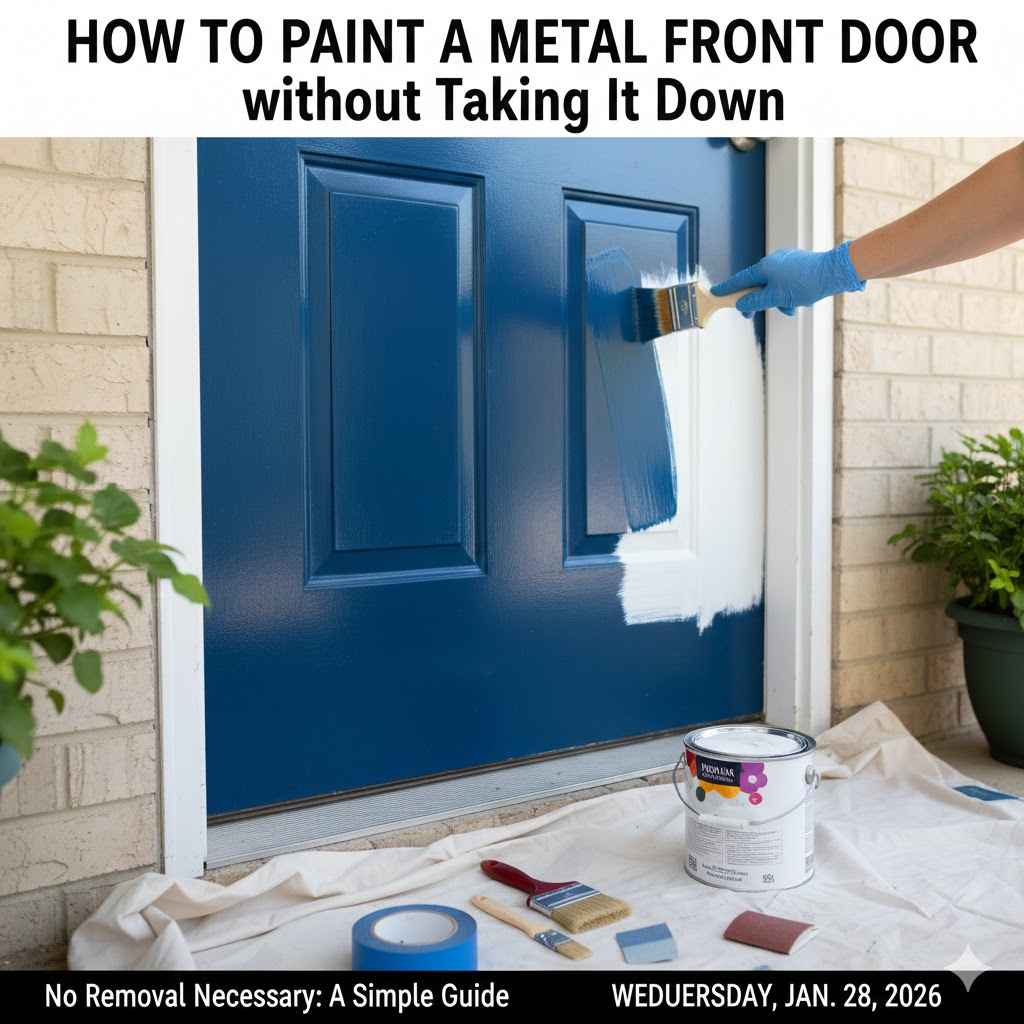
How to Paint a Metal Front Door without Taking It Down
Painting a metal front door can seem hard at first. The idea of removing a heavy door and setting up sawhorses might seem like a lot of work! Many folks worry about messing up the paint job. But don’t fret! It’s much simpler than you think. This guide will walk you through, step by step, the process of How to Paint a Metal Front Door Without Removing It. You’ll soon have a fresh-looking door without the hassle. Let’s get started!
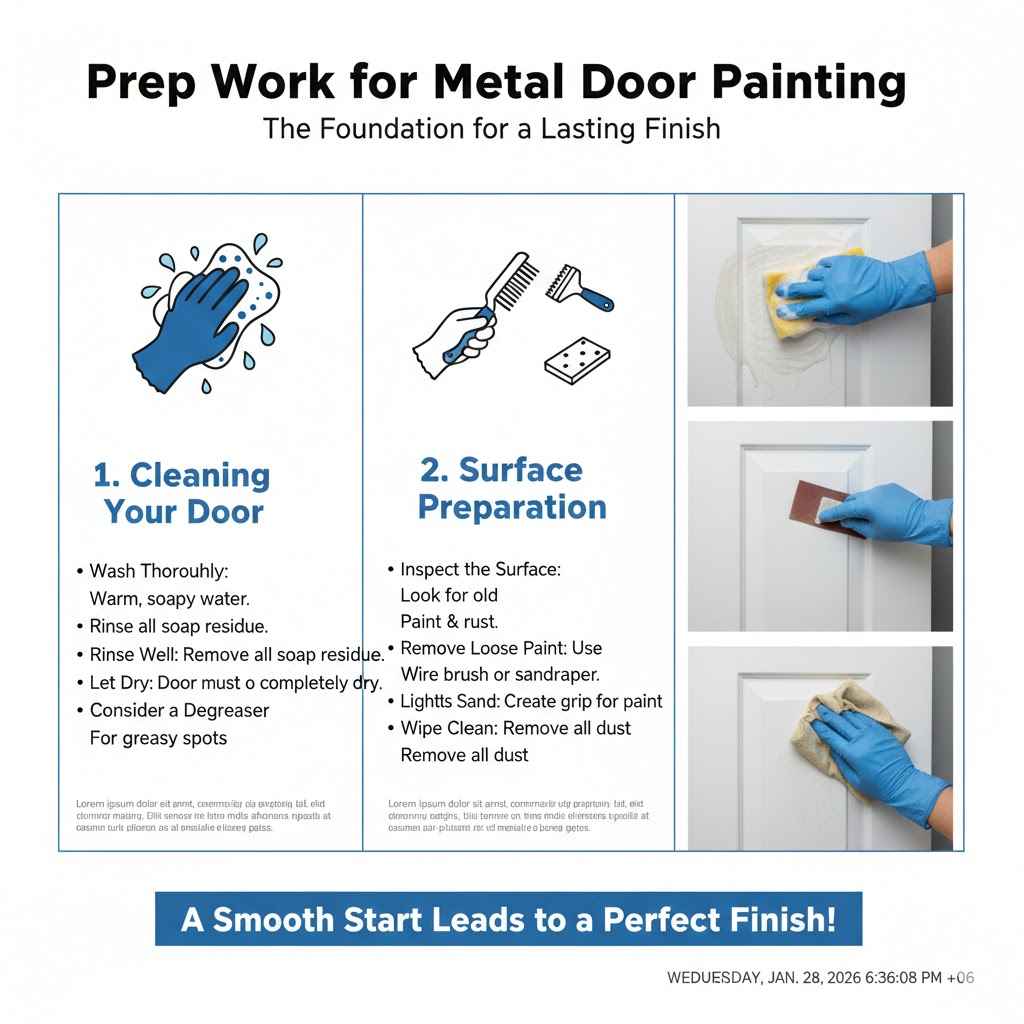
Prep Work for Metal Door Painting
Before you even think about grabbing a paintbrush, you’ve got to get ready. This initial stage is super important. Think of it like building a strong foundation for a house. If the foundation is weak, the whole structure suffers. The same applies to painting. The prep work is the groundwork for a long-lasting, great-looking paint job. Cleaning and surface preparation are key to making sure the paint sticks well and looks good for years. Let’s explore each part of this process.
Cleaning Your Door
The first step is cleaning. Your front door collects dirt, dust, and grime. These things will stop the paint from sticking properly. You want to clear all that away. Grab some warm water, a mild soap (dish soap works great), and a sponge or soft brush. Wash the entire door. Pay close attention to any areas that get a lot of exposure. Rinse the door really well to get rid of any soap residue. Leaving soap behind is as bad as leaving dirt. Make sure the door is completely dry before moving to the next part. Now, you’re ready to move on.
- Wash Thoroughly: Using warm, soapy water and a sponge to remove dirt and grime.
- Rinse Well: Make sure to rinse off all soap residue completely.
- Let Dry: Allow the door to dry completely before any other steps.
- Consider a Degreaser: For extra greasy spots, think about using a degreasing cleaner.
Many homeowners skip the cleaning step, which can lead to peeling paint later. For instance, imagine a front door in a coastal area. Salt spray from the ocean and regular dust can quickly build up on the door’s surface. A thorough cleaning is absolutely essential to get rid of these corrosive elements and prepare the door for painting. This ensures paint adhesion and protects the door from early damage. The result? A door that looks better and lasts longer.
Surface Preparation
Once your door is clean and dry, it’s time for surface prep. This means making sure the surface is ready to accept paint. Start by inspecting the door for any problems. Look for any loose paint or rust. Gently scrape off any loose paint using a paint scraper. If there’s rust, use a wire brush or sandpaper to remove it. Then, lightly sand the entire door to create a slightly rough surface. This will help the new paint grip better. Finally, wipe down the door again to get rid of any sanding dust. This creates the best surface for your paint to bond to.
- Inspect the Surface: Look for old paint, rust, and any other issues.
- Remove Loose Paint: Use a scraper to remove any loose or flaking paint.
- Address Rust: Use a wire brush or sandpaper to remove any rust that is present.
- Lightly Sand: Gently sand the entire door to create a better surface for paint.
- Wipe Clean: Remove any sanding dust with a tack cloth or a clean cloth.
Sanding is a crucial stage. It gives the paint something to hold onto. Without sanding, the paint may not stick well and could peel. A simple sanding job can really make a difference. Imagine you are painting a door that has been exposed to the sun and rain for a long time. The existing paint may have lost its grip and started to crack. Sanding smooths out these imperfections and gives the new paint a surface that allows for proper bonding. This results in a much smoother and lasting paint job.
Choosing the Right Paint and Supplies
Picking the right paint and supplies is just as important as the prep work. The correct paint type will resist weather and wear. You want something that will stand up to the elements and look good. Getting the right paint and tools will make the painting easier and produce the best results. Plus, having everything you need before you start will help you avoid annoying trips to the store! Let’s figure out what you need to make this project a success.
Selecting the Proper Paint
When picking paint for a metal front door, go with a high-quality exterior paint. Oil-based paints were common, but many people now prefer latex-based paints. Latex paints are easier to clean up with water. They are also less smelly. Look for paints that say they are made for exterior use. These paints are made to fight off weather conditions. If you’re painting in a location that experiences extreme temperatures, check for paints designed to withstand these conditions. The finish you pick is important too. Gloss or semi-gloss paints are great for doors because they are easy to clean and resist wear and tear. Make sure you get the right paint for metal surfaces.
- Exterior Paint: Use paint made for outdoor use.
- Latex or Oil-Based: Latex is easy to clean. Oil-based gives a harder finish.
- Gloss or Semi-Gloss: These finishes are easier to clean.
- Metal-Specific: Ensure the paint is made for metal surfaces.
A homeowner in a place with heavy rain and sun might choose a paint that has UV protection to protect the paint from fading. They might also select a paint that has mildew resistance to prevent mold and mildew growth. Choosing the right paint can save you time and money. It also keeps your door looking great for longer. Using a paint designed for metal doors means you will get the best results. With good paint, you’ll protect your door from the elements and keep it looking fresh. Many paints are available; choose what works for your situation.
Gathering Your Tools
Now, let’s talk about the tools you need. To paint your door, you’ll need a few supplies. Get good quality paintbrushes and a small roller. A roller will help you get a smooth finish on the flat parts of the door. A paintbrush will be used to get into the little corners and edges. You’ll also need painter’s tape to protect any areas you don’t want to paint, like the doorknob, hinges, and any trim. Don’t forget drop cloths to protect the ground around your door. You should also get paint thinner if you are using oil-based paint. Having these items on hand will make your job much simpler.
- Paintbrushes: Different sizes for different areas.
- Small Roller: For a smooth finish on flat surfaces.
- Painter’s Tape: Protects areas you don’t want to paint.
- Drop Cloths: Protect the surrounding area.
- Paint Thinner (if needed): For oil-based paints.
If you’re painting a door with lots of detailing or intricate designs, you’ll need the right tools. A smaller, angled paintbrush lets you get into all the little corners and grooves. This ensures full coverage. High-quality brushes and rollers make a big difference in the finish of your work. They can leave a much smoother and more even layer of paint. Having these tools ready to go makes the painting process more efficient and lets you create a professional-looking finish.
Painting Your Metal Front Door
Okay, it’s time for the best part! With your door cleaned, prepped, and all your tools ready, it’s time to start painting. Remember to work in a well-ventilated space. Painting without removing the door requires a bit of strategy to avoid drips and mess. It might require you to paint in sections. Let’s explore the best way to get this done!
Taping and Preparing
Before you begin painting, take time to prepare the door. Use painter’s tape to protect areas you don’t want to paint. Tape around the doorknob, hinges, and any windows or trim. Use drop cloths to protect the area around your door. This helps to catch any drips or spills. Be sure the weather is right. Painting outdoors works best on a dry, calm day. This ensures a smooth and professional result.
- Tape Carefully: Tape around all the areas you want to protect.
- Protect the Area: Use drop cloths to protect the ground.
- Check the Weather: Paint on a dry, calm day.
Consider a situation where a homeowner has a glass-paneled front door. They’ll need to carefully apply painter’s tape around each pane to prevent paint from getting on the glass. This might take a little extra time, but it’s worth the effort. It helps make sure you get sharp, clean lines. Doing this ensures the finished paint job looks professional and neat. Take your time with the taping part; it sets the stage for a great finished look.
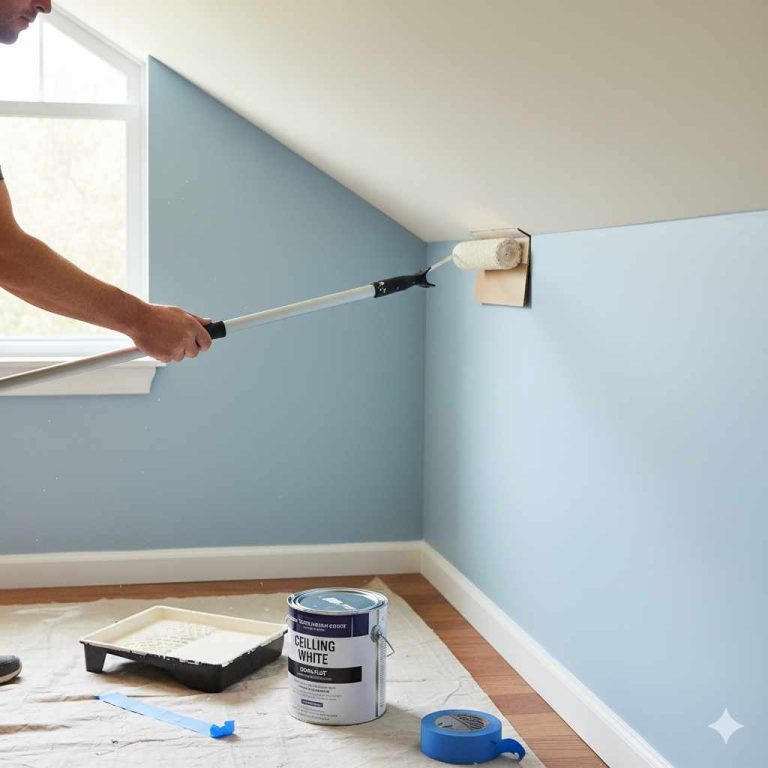
Applying the Paint
When you start painting, use a paintbrush to get paint in the corners and on the edges first. Then, use the roller for the flat parts of the door. Use smooth, even strokes. Don’t load the brush or roller with too much paint. This can lead to drips and runs. Apply the first layer evenly. Let the first coat dry completely, following the paint instructions. Once dry, lightly sand the door. This will make the surface ready for the second layer. Apply a second coat of paint for the best look. Then, let the paint dry completely. This will ensure full coverage and a smooth, even finish.
- Start with Edges: Use a brush to get into corners and edges.
- Use the Roller: Use the roller for the flat parts.
- Apply Even Coats: Paint with smooth, even strokes.
- Let Dry: Let the first layer dry completely.
- Apply Second Coat: After sanding, apply a second coat.
Imagine you’re painting a door with a raised panel design. You might start by painting the recessed parts with a brush to make sure you get good coverage. Then, use the roller on the flat panels for a consistent look. It’s smart to paint one section at a time. This approach ensures an even finish and helps avoid drips. This makes the finished look better. It also helps the paint dry correctly.
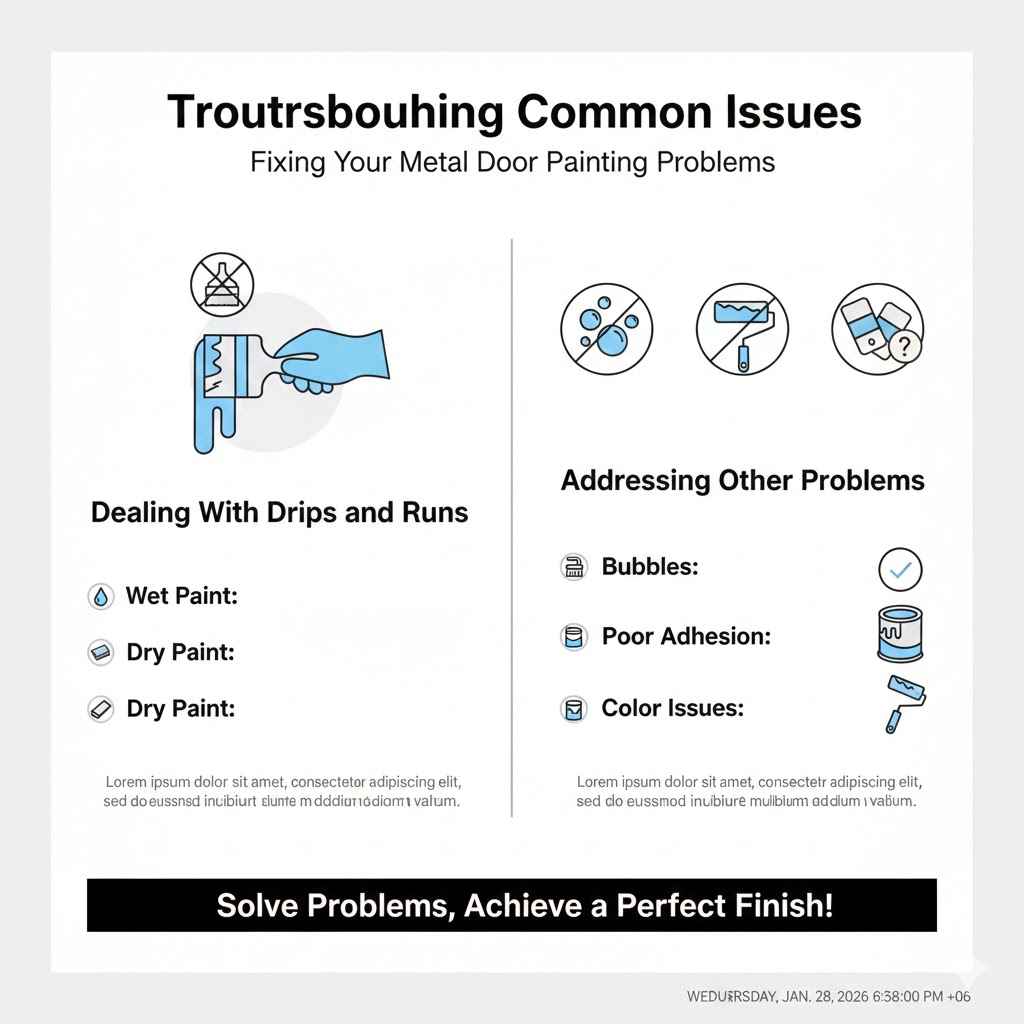
Troubleshooting Common Issues
Even with careful preparation and painting, you might face some issues. Knowing what to do if these problems pop up can save you time and make sure you get the best outcome. It’s better to get familiar with these issues. This way you’ll be prepared for anything. Let’s cover some of the most common issues that can happen when you’re painting a metal door and how to fix them.
Dealing With Drips and Runs
Drips and runs are common when painting. If you notice a drip, don’t panic! You can often fix it easily. If the paint is still wet, you can carefully wipe it away with a brush or rag. If the paint is dry, you can gently sand the area to make it smooth. Then, touch up the area with a small amount of paint. To stop drips in the first place, don’t load your brush or roller with too much paint. Work with even strokes and avoid overpainting an area. Take your time to get the best outcome.
- Wet Paint: Wipe away the drip with a brush or rag.
- Dry Paint: Sand the area gently and touch it up with paint.
- Preventing Drips: Avoid using too much paint.
- Use Even Strokes: Ensure uniform paint strokes.
If you’re painting during hot weather, paint can dry too fast. This can cause drips and unevenness. To fix this, consider painting in the shade or during a cooler time of day. If you see drips forming, try brushing the paint a bit more to smooth it out before it dries. Doing things carefully can make your paint job look much better. Even with a problem, you can fix it. Having these solutions will allow you to do a nice job on your project.
Addressing Other Problems
Beyond drips, other issues can pop up. If you notice bubbles in the paint, this could be because of applying paint over a dirty surface or applying too many layers without letting the paint dry. You might need to sand the area, clean it again, and repaint. If your paint isn’t sticking, that could be because of poor preparation. Make sure your door is clean, sanded, and properly prepped before painting. If the paint doesn’t match, you may need to repaint the entire door.
- Bubbles: Sand, clean, and repaint.
- Poor Adhesion: Make sure the door is clean and properly prepped.
- Color Issues: Repaint the entire door for a consistent look.
Imagine you are painting your door and see the paint pulling away from the surface. This can happen if the metal door wasn’t prepped correctly. You may need to sand it, clean it thoroughly, and use a primer specifically made for metal. By addressing these concerns, you can fix issues and improve your results. This will help you get a paint job that will stay in good condition for many years to come. Knowing how to fix these problems can make a big difference in the final look of your door. You’ll also learn more skills for your next project.
Frequently Asked Questions
Question: Do I need to remove the door to paint it?
Answer: No, you do not need to remove the door. You can paint a metal front door while it’s still attached to the frame.
Question: What kind of paint is best for a metal front door?
Answer: Exterior-grade latex paint is a good choice. Semi-gloss or gloss finishes are excellent for easy cleaning and durability.
Question: How do I prepare the door before painting?
Answer: You should clean the door, remove any loose paint or rust, and then lightly sand the surface.
Question: How many coats of paint should I apply?
Answer: Two coats of paint are usually needed for the best look and protection.
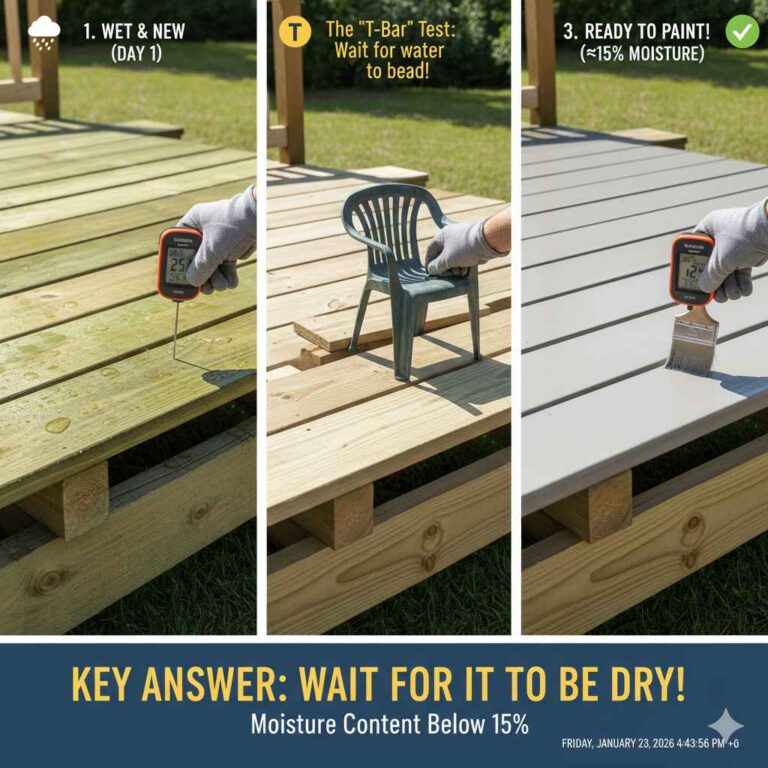
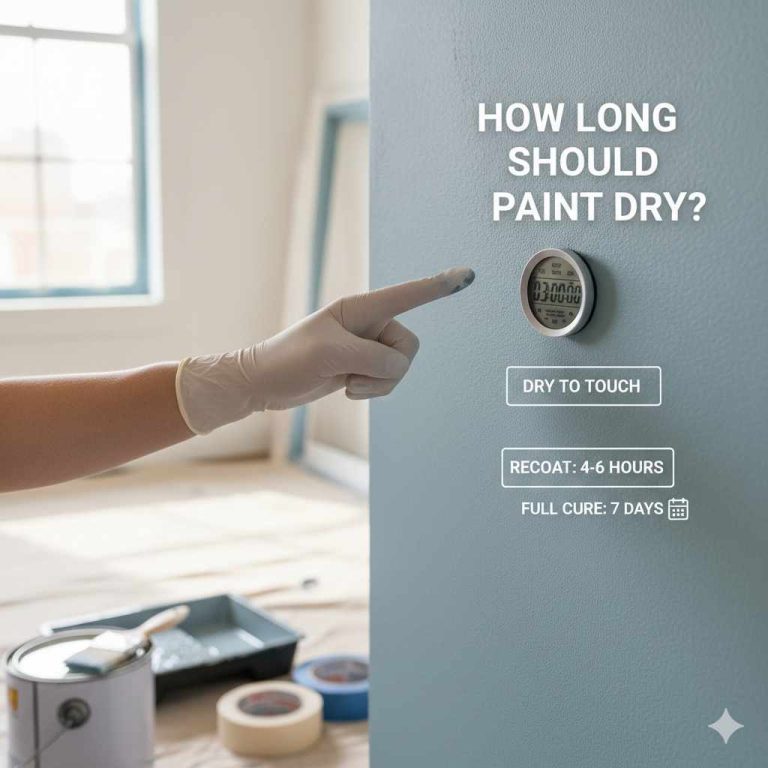
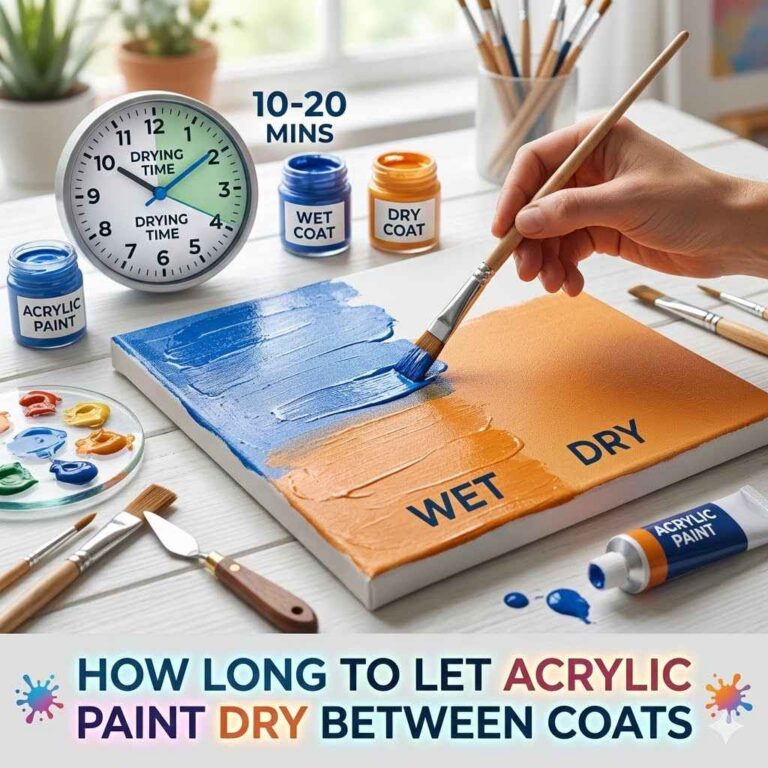
Question: How long does it take for the paint to dry?
Answer: Check the paint instructions. The time can vary, but generally, allow at least a few hours between coats.
Final Thoughts
Painting a metal front door without removing it is a project you can easily complete. It involves preparing the surface, choosing the right paint and tools, and applying the paint carefully. Cleaning, sanding, and taping are essential parts of the project. Selecting high-quality paint will make a difference. Using paint in the right order and knowing how to fix issues can really enhance the results. You can now approach this project with confidence. Now that you have these steps, it’s time to get started! Grab your supplies, follow the steps, and get ready to enjoy a fresh, new look for your front door. Good luck!