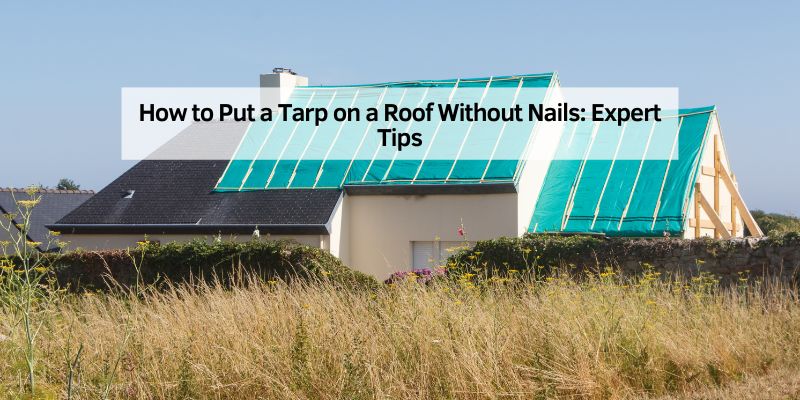
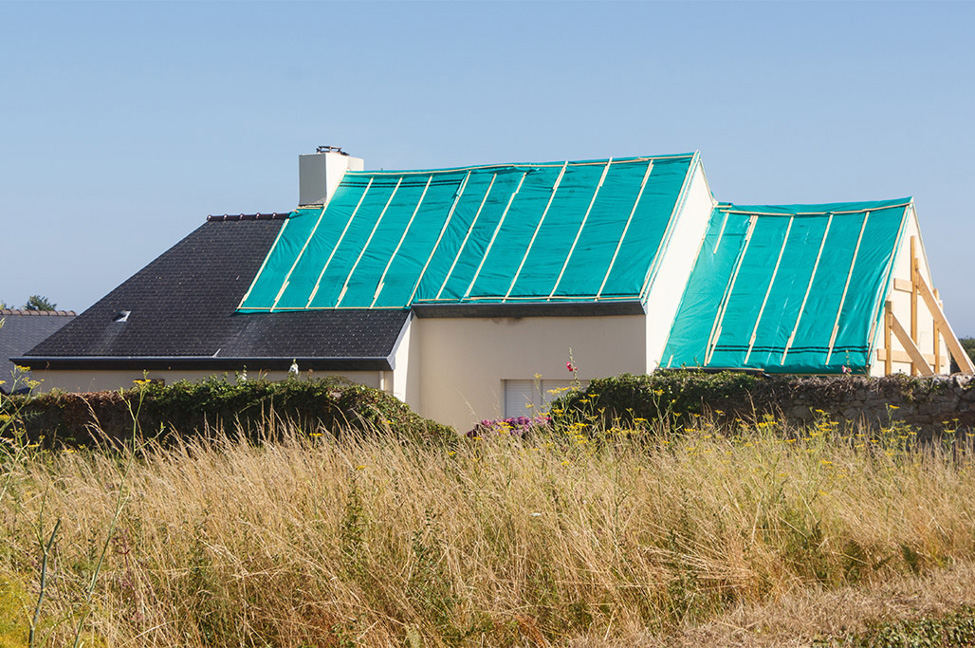
How to Put a Tarp on a Roof Without Nails: Expert Tips
Are you worried about a leaky roof but hesitant to drive nails into it? You’re not alone.
Many homeowners face the same dilemma, wanting to protect their homes without causing more damage. Fortunately, there’s a solution that doesn’t involve nails, hammers, or even a trip to the hardware store. Imagine being able to safeguard your home with a simple tarp, all while avoiding the risk of further wear and tear.
By the end of this article, you’ll know exactly how to secure a tarp on your roof efficiently and safely, preserving your peace of mind and your home’s integrity. Let’s dive in and discover how you can tackle this challenge with ease and confidence.

Credit: m.youtube.com
Choosing The Right Tarp
Plastic tarps are light and easy to manage. They are good for short-term use. Canvas tarps are strong and can last longer. They are heavier and may need help to lift. Vinyl tarps are waterproof. They keep the rain out and protect the roof. Each material has pros and cons. Choose based on weather and needs. Pick a tarp that suits your roof best.
Measure the roof before buying a tarp. Get a tarp that covers the roof fully. Big tarps are better for large roofs. They cover more area and offer more protection. Smaller roofs need smaller tarps. They are easier to handle and fit well. Ensure the tarp goes over the roof edges. This keeps water from getting in. Right size means better protection.
Credit: www.iko.com
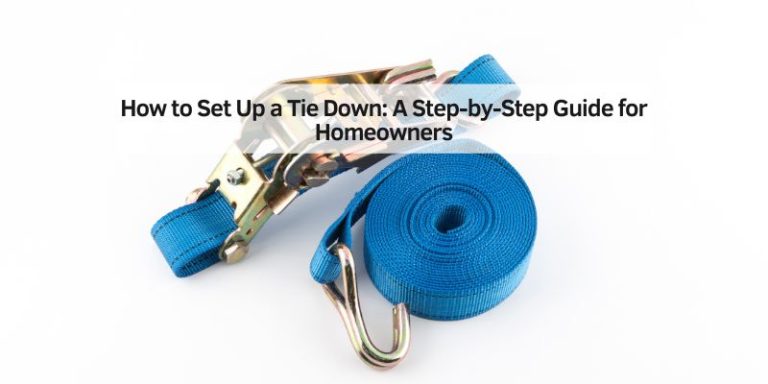
Tools And Materials Needed
A ladder is needed to reach the roof safely. Gloves protect your hands while working. Safety goggles shield your eyes from debris. A tarp is the main item you’ll use. Rope or strong cords help secure the tarp. A measuring tape helps in getting the tarp size right.
Use bungee cords to hold the tarp in place. They stretch and grip tightly. Sandbags can weigh down the tarp edges. This stops the wind from lifting it. Clips or clamps are handy for securing the tarp. They grab onto the edges firmly. Velcro strips offer another fastening choice. They are easy to attach and remove.
Preparing The Roof Surface
Start by clearing the roof surface of any dirt. Leaves and sticks can be everywhere. Use a broom or brush for easy cleaning. Make sure all debris is removed. Look for small branches and twigs. They can damage the tarp.
Check the roof for any cracks or holes. Look carefully around the edges. Damaged spots need fixing before placing a tarp. Small holes can grow big in a storm. Use patches to cover them. Make sure the roof is ready for the tarp.
Securing The Tarp
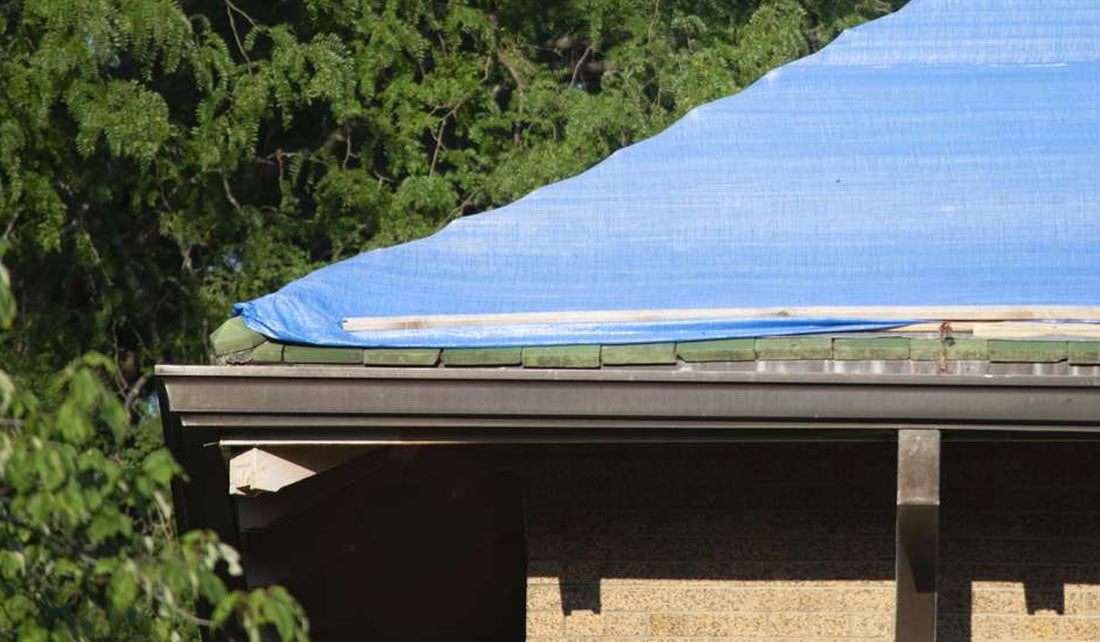
Use strong rope to tie the tarp to the roof. Wrap the rope around sturdy objects. Trees or fence posts are good choices. Make sure the tarp is pulled tight. This will keep it from flying away. Use heavy weights like sandbags. Place them on the edges of the tarp. This will help keep it in place. Be careful when walking on the roof. Safety first!
Choose a tarp made from heavy-duty material. This will resist strong winds. Lay the tarp flat with no wrinkles. Wrinkles catch wind and cause damage. Secure all corners tightly. This will help in windy weather. Use extra weights for more security. This ensures the tarp stays put.
Safety Precautions
Working at Heights can be dangerous. Always use a sturdy ladder. Wear a helmet and gloves for protection. Ensure your shoes have a good grip. Never work alone. Someone should be nearby to help if needed. Check your ladder is secure before climbing. Take breaks to stay alert. Avoid working when tired.
Weather Considerations are essential before starting. Avoid working in rain or snow. Wet surfaces can be slippery. Wind can make tarp handling difficult. Plan for a clear day. Check the weather forecast for sudden changes. If weather is bad, wait for better conditions. Safety comes first.
Maintenance And Monitoring
Check your tarp often. Look for tears or holes. Small problems can get bigger. Fix them quickly. Bad weather can damage tarps. Wind and rain are not friends. A strong tarp will last longer. Keep it tight and secure. Use rope or bungee cords. Attach them to the roof edges. Check the tarp after every storm. Make sure it stays in place.
Adjust the tarp if it moves. Pull it tight again. Loose tarps can cause leaks. Repair any tears with tape. Special tape for tarps works best. Cut a piece larger than the hole. Press it down firmly. Replace the tarp if it’s too damaged. It should protect your roof well. Always keep a spare tarp ready. Prepare for any surprise weather.
Credit: www.rhinousainc.com
Frequently Asked Questions
What Can I Use To Hold Down A Tarp On My Roof?
Use sandbags, roofing nails, or screws with washers to secure a tarp on your roof. Rope or bungee cords help tie it down. Ensure the tarp is tightly stretched to prevent wind damage. Always prioritize safety when working on rooftops.
How Do You Tarp A Roof With A Rope?
Secure the tarp’s edges with ropes to anchor points on the roof. Pull tightly to prevent movement. Use additional rope to crisscross over the tarp, tying securely at each end. Ensure the tarp covers leaks. Check for gaps and adjust as needed for maximum protection.
How Long Can I Leave A Tarp On A Roof?
A tarp can stay on a roof for up to 90 days. Ensure it is securely fastened and check regularly for damage. For long-term solutions, consider professional repairs.
How To Tarp A Damaged Metal Roof?
Start by clearing debris from the roof. Secure a tarp with nails or screws using 2×4 wood strips. Ensure the tarp covers the damaged area completely and tightly. Check for any gaps and secure them. Regularly inspect for any shifts or tears in the tarp to maintain protection.
Conclusion
Securing a tarp without nails protects your roof efficiently. It’s simple and quick. Use bungee cords or ropes for a snug fit. This method saves the roof from damage. Remember, safety first when working on a roof. Use a sturdy ladder and have help nearby.
Practice these techniques to shield your home effectively. A little effort goes a long way in preventing leaks and water damage. It’s a cost-effective solution for temporary roof coverage. Now, you’re ready to protect your roof without causing harm. Stay safe and dry!