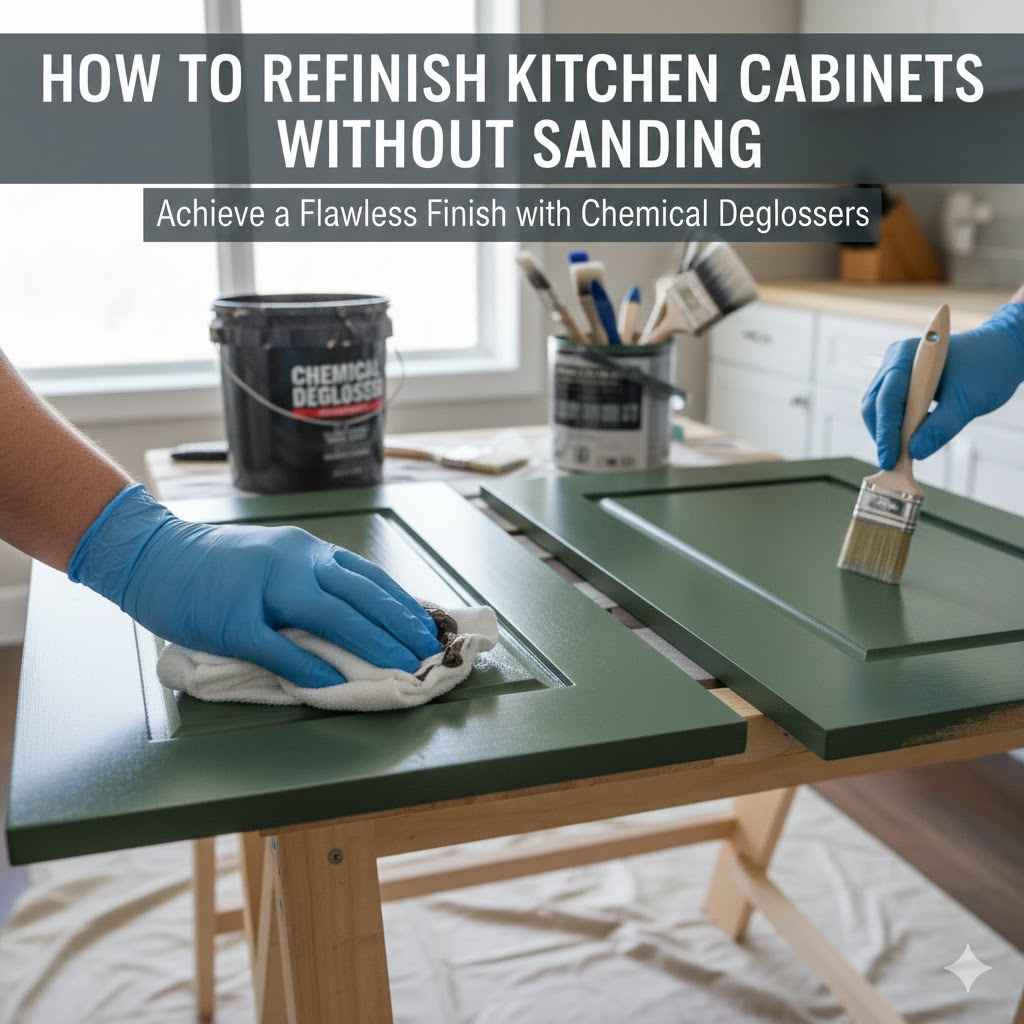
How to Refinish Kitchen Cabinets Without Sanding
Tackling kitchen cabinet refinishing can seem tricky, especially if you’re new to DIY projects. Many people worry about the sanding part, thinking it’s a messy and time-consuming step they want to avoid. But what if you could get beautiful, updated cabinets without all that dust and effort? Good news, you absolutely can! This guide makes how to refinish kitchen cabinets without sanding super simple. We’ll walk you through easy steps to transform your kitchen look.
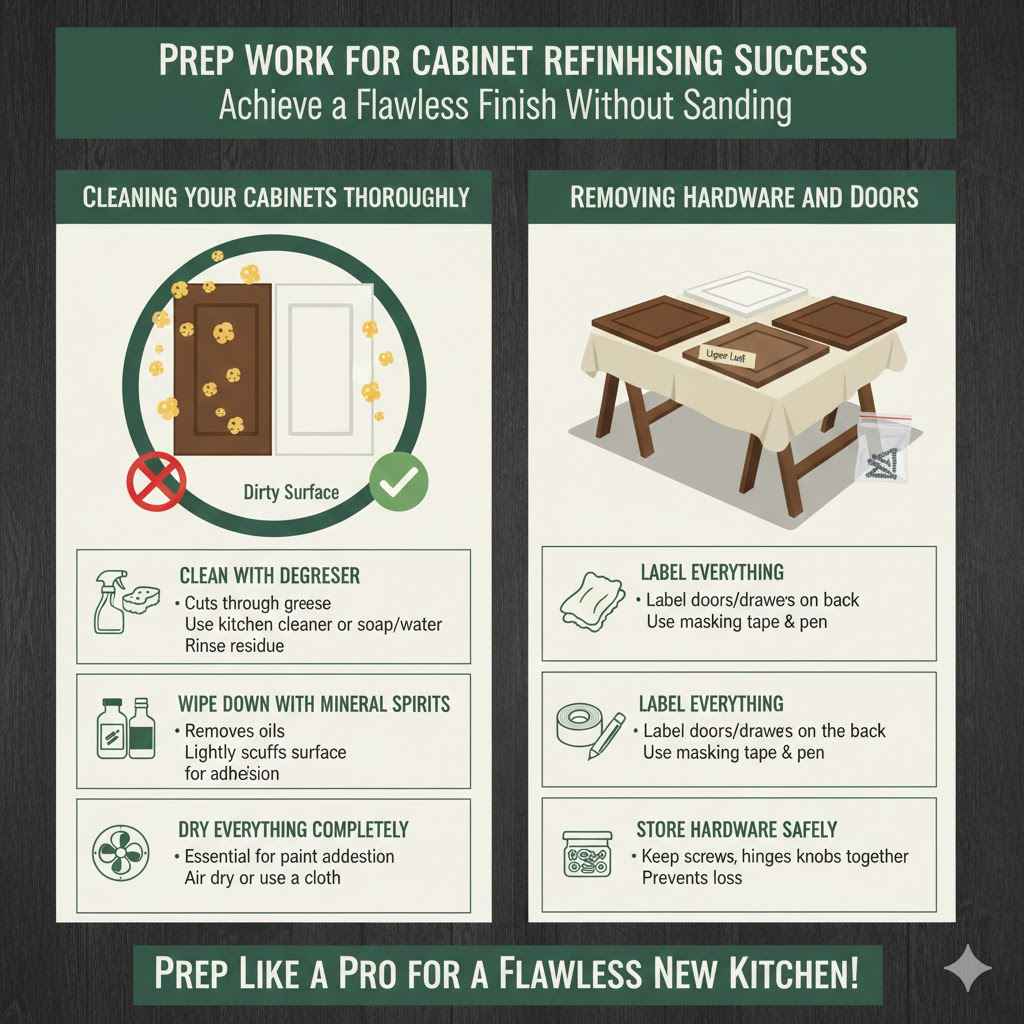
Prep Work for Cabinet Refinishing Success
Getting your kitchen cabinets ready for a new look is key, even when you skip the sanding. Proper preparation ensures your new finish sticks well and looks smooth. This part might seem a little boring, but it’s where the magic starts. It means cleaning off all the grease and grime that builds up over time. Think of it as giving your cabinets a spa day before their big makeover. This step is super important for the final look.
Cleaning Your Cabinets Thoroughly
Before you do anything else, your cabinets need a really good cleaning. Grease, food splatters, and dust can stop paint or primer from sticking. You want a clean surface for the best results.
Clean with a Degreaser
A good degreaser will cut through tough kitchen grease. You can buy special degreasers made for cabinets, or use a mixture of warm water and a little dish soap. Apply it with a sponge or cloth, wiping down every inch of the cabinets. Make sure to rinse the cabinets with clean water afterward to remove any soap residue. This prevents a sticky layer from forming.
Wipe Down with Mineral Spirits
After degreasing and rinsing, wiping your cabinets down with mineral spirits is a great next step. This helps remove any lingering oils or residue that might prevent adhesion. It also helps to lightly scuff the surface in a way that’s much easier than sanding. Just use a clean cloth dampened with mineral spirits.
Dry Everything Completely
It’s vital that your cabinets are completely dry before you move on. Any moisture left behind can cause problems with your new finish. Let them air dry for a few hours, or use a clean, lint-free cloth to speed things up. A dry surface means your primer and paint will adhere much better.
Removing Hardware and Doors
To get a professional-looking finish, it’s best to take off the cabinet doors and drawer fronts. This lets you paint each piece separately and reach all the edges easily. Removing the hardware, like knobs and hinges, is also crucial.
Label Everything
As you take off doors and drawers, label them carefully. You can use masking tape and a pen. Label each door on the back where it won’t be seen. This way, you know exactly where each piece goes when it’s time to reassemble.
Store Hardware Safely
Keep all your screws, hinges, and knobs together in a safe place. A small bag or container works well. This prevents them from getting lost during the refinishing process.
Choosing the Right Products for No-Sand Refinishing
The success of refinishing cabinets without sanding relies heavily on the products you choose. You need paints and primers designed for surfaces that don’t require sanding. These products are formulated to adhere directly to existing finishes, saving you a lot of time and effort.
Adhesion Primers Explained
An adhesion primer is your best friend when you want to avoid sanding. These primers are specially made to stick to tricky surfaces like laminate, varnish, or old paint. They create a strong bond for your topcoat.
How Adhesion Primers Work
Adhesion primers contain special resins that grip onto the existing surface. They create a slightly “sticky” texture at a microscopic level. This lets the new paint layer adhere firmly without needing the rough surface that sanding provides. They seal the old finish and provide a uniform base for your new paint color. It’s like giving your cabinets a super-grip foundation.
Types of Adhesion Primers
Water-based adhesion primers are generally low in VOCs (Volatile Organic Compounds), meaning less odor and easier cleanup. Oil-based adhesion primers often offer superior durability and adhesion, especially on very slick surfaces. Always check the product label to ensure it’s suitable for your cabinet material and intended use.
Benefits of Using a Primer
Using a primer not only helps paint stick but also hides imperfections and provides a consistent color base. If you’re going from dark cabinets to a light color, a good primer can save you from applying extra coats of paint. It also makes the final paint job look smoother and more professional.
Paint Options for Cabinets
For cabinets that won’t be sanded, you’ll want a durable paint that can withstand daily use. The finish is also important for the look and how easy they are to clean.
Cabinet and Furniture Paints
These paints are specifically formulated for high-traffic surfaces like cabinets. They are tougher and more resistant to chips and scratches than regular wall paint. Many are low-VOC and come in various finishes like satin, semi-gloss, or gloss.
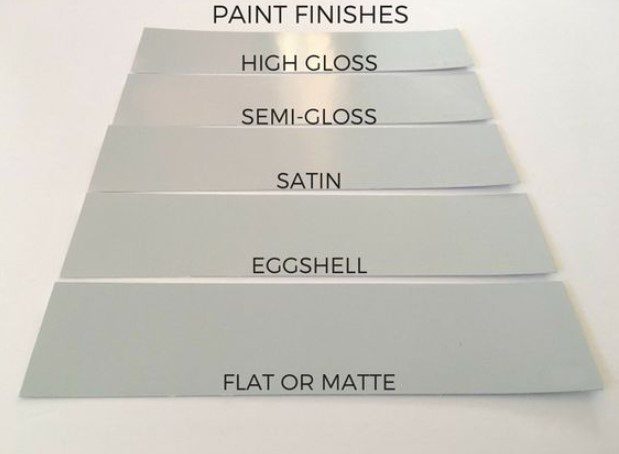
Luxe Finishes
Satin and semi-gloss finishes are popular choices for cabinets. Satin offers a soft sheen and is easier to clean than matte finishes. Semi-gloss provides a higher shine, is very durable, and easy to wipe down. A high-gloss finish can look very modern but may show imperfections more readily.
Chalk Paint and Mineral Paint
While some chalk paints and mineral paints can be used without sanding, they often require a topcoat for durability in a kitchen environment. If you choose these, make sure to seal them well with a polycrylic or wax.
The Step-by-Step Process of Refinishing
Now that you have your products and your cabinets are prepped, it’s time to paint! This is where you’ll see the transformation happen. Follow these steps carefully for a beautiful, lasting finish.
Applying the Primer
The primer coat is the foundation of your new cabinet look. Take your time with this step to ensure even coverage.
Apply Thin Coats
Use a high-quality synthetic brush for edges and corners and a foam roller for the larger, flat surfaces. Apply a thin, even coat of primer. Avoid applying too much at once, as this can lead to drips and an uneven finish.
Allow Proper Drying Time
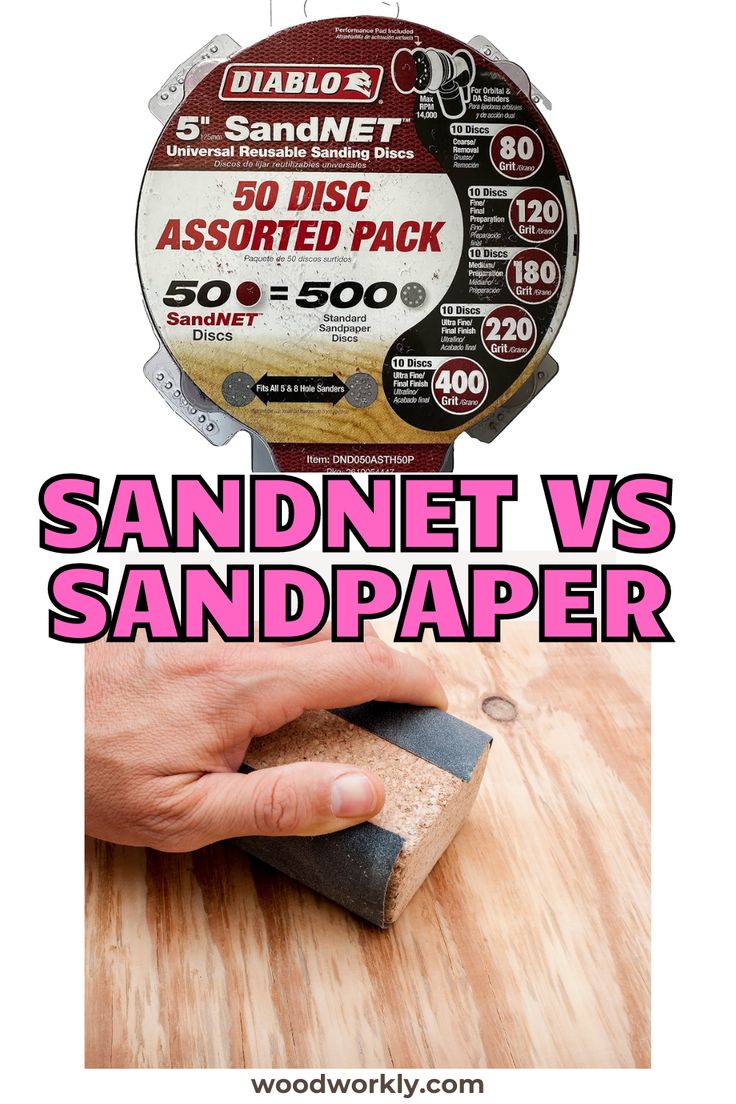
Let the primer dry completely according to the manufacturer’s instructions. This usually takes at least a few hours. Some primers may recommend a light scuff sand with a fine-grit sponge after drying, but this is minimal and often optional with good adhesion primers.
Second Coat If Needed
If your cabinets are very dark or you’re painting a light color over them, a second coat of primer might be necessary. This will ensure full coverage and a uniform base.
Applying the Paint
This is the exciting part where your cabinets start to gain their new color and life. Again, thin, even coats are key.
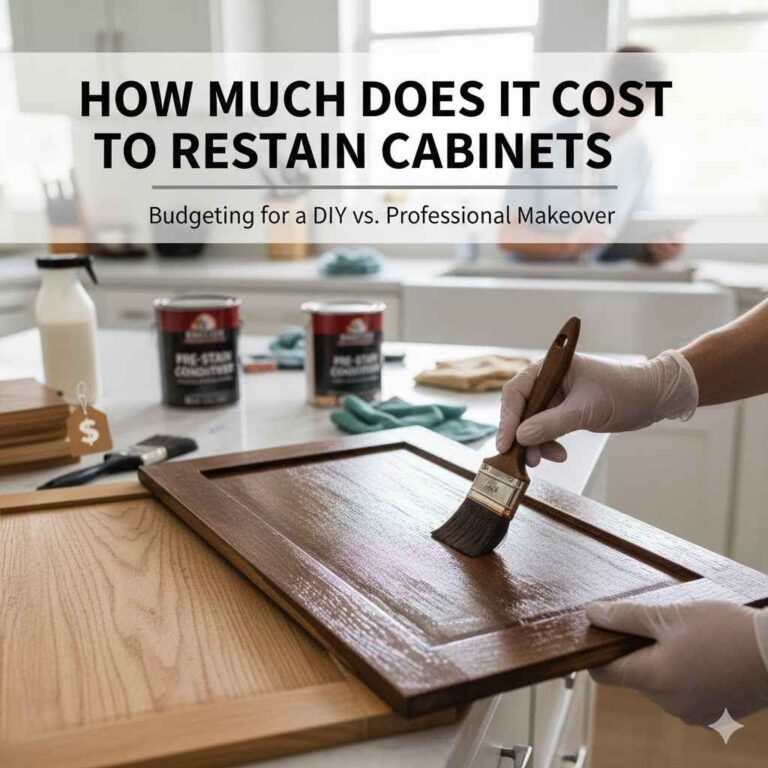
Apply the First Coat of Paint
Once the primer is dry, apply the first coat of your chosen cabinet paint. Use the same brush and roller technique as with the primer. Work in sections, ensuring you cover all areas smoothly.
Allow Sufficient Drying Time Between Coats
Crucially, allow the paint to dry thoroughly between coats. This can take anywhere from 4 to 24 hours depending on the paint type and humidity. Rushing this step will lead to smudging, peeling, or a weak finish.
Apply Additional Coats as Necessary
Most cabinet refinishing projects require two to three thin coats of paint for full coverage and durability. Inspect your cabinets after each coat. If you see any areas that look thin or uneven, apply another coat.
Applying a Protective Topcoat
A topcoat adds an extra layer of protection to your painted cabinets, making them more durable and easier to clean. This is especially important for kitchen cabinets which face a lot of wear and tear.
Choose a Durable Topcoat
A water-based polycrylic is a popular choice for cabinet topcoats. It dries clear, doesn’t yellow over time, and offers excellent protection. Some cabinet paints already have a built-in topcoat, so check your product details.
Apply Thin, Even Layers
Similar to primer and paint, apply the topcoat in thin, even layers. Avoid over-application, which can lead to a cloudy or sticky finish. Use a high-quality brush or foam applicator.
Allow Thorough Curing
The paint might feel dry to the touch after a day or two, but it needs time to cure fully. Curing is the process where the paint hardens completely. This can take several weeks. During this time, be gentle with your cabinets and avoid harsh cleaning.
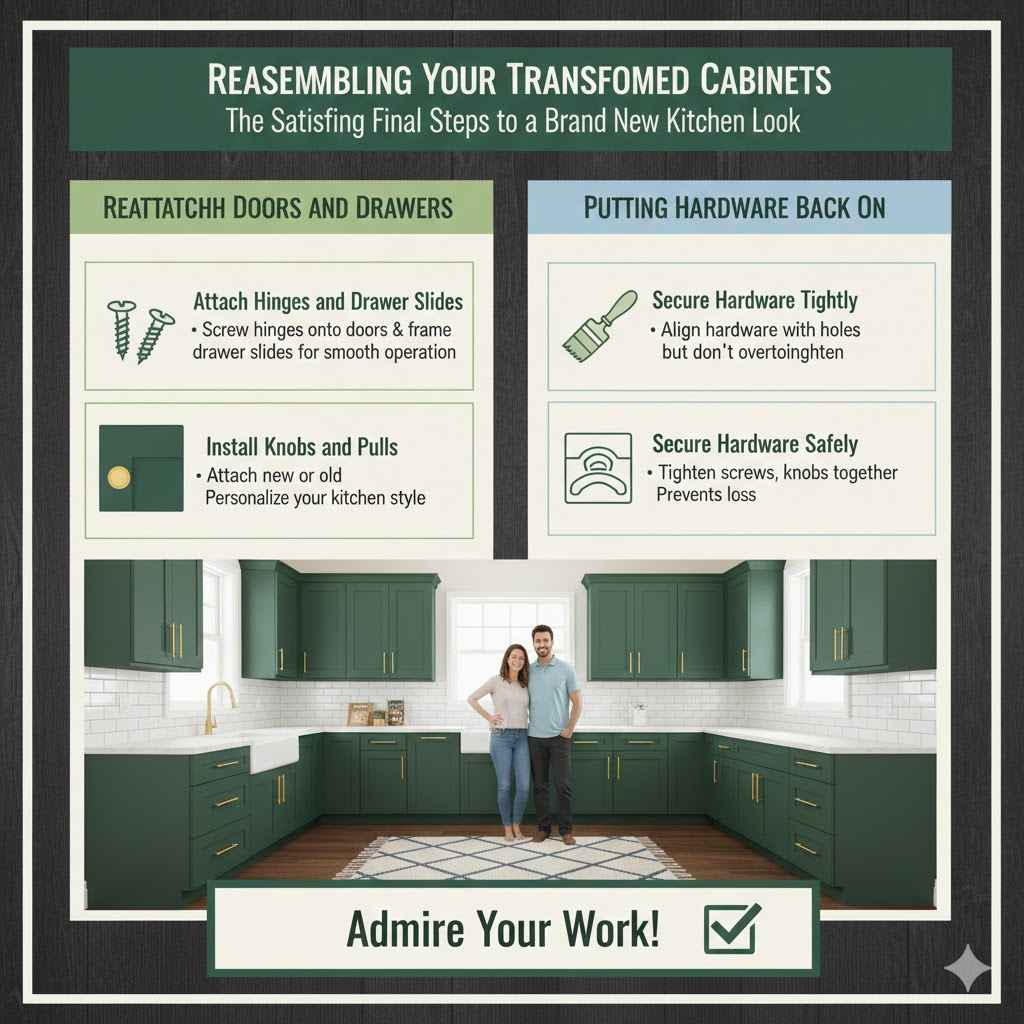
Reassembling Your Transformed Cabinets
Once everything is dry and cured, it’s time to put your beautiful new cabinets back together. This is a very satisfying step as you see the full result of your hard work.
Reattaching Doors and Drawers
Carefully reattach the cabinet doors and drawer fronts using the hardware you saved. Remember to refer to your labels to ensure everything goes back in its original place.
Attach Hinges and Drawer Slides
Screw the hinges back onto the doors and cabinet frames. For drawers, reattach the slides to both the drawer box and the cabinet interior. Make sure they are aligned properly so the drawers open and close smoothly.
Install Knobs and Pulls
Finally, attach your new or old knobs and pulls. This is a great way to add a personal touch and complete the look of your kitchen.
Putting Hardware Back On
This is the final touch that makes your cabinets look completely finished. Align your hardware with the pre-drilled holes, or create new ones if you’re changing the style.
Secure Hardware Tightly
Ensure all screws are tightened properly but avoid overtightening, which could strip the holes or damage the cabinet.
Admire Your Work
Step back and admire your newly refinished kitchen cabinets! The transformation without the hassle of sanding can be truly remarkable.
Frequently Asked Questions
Question: Can I really refinish my kitchen cabinets without any sanding at all
Answer: Yes, with the right products like high-adhesion primers and quality cabinet paints, you can achieve a beautiful finish without sanding. This is especially true for cabinets that are already in good condition with a smooth existing finish.
Question: What is the most important step in this process
Answer: Cleaning and proper preparation of the cabinet surface is the most crucial step. Ensuring all grease and grime is removed allows the primer and paint to adhere correctly, leading to a durable and smooth finish.
Question: How long does this type of refinishing typically take
Answer: The total time can vary depending on the size of your kitchen and drying times between coats. Generally, it can take anywhere from a weekend to a week to complete, not including the full curing time of the paint.
Question: Will the finish be as durable as cabinets that were sanded
Answer: When using high-quality adhesion primers and paints specifically designed for cabinets, and applying a protective topcoat, the finish can be very durable and long-lasting, comparable to traditionally refinished cabinets.
Question: What kind of paint should I use for my cabinets
Answer: Look for paints labeled for cabinets and furniture, or premium latex paints with good adhesion properties. Satin or semi-gloss finishes are recommended for kitchens as they are easier to clean and more durable.
Summary
Transforming your kitchen cabinets without sanding is entirely achievable. By focusing on thorough cleaning, using specialized adhesion primers, and applying thin coats of quality cabinet paint, you can update your kitchen’s look effectively. This method saves time and reduces the mess, offering a practical solution for a fresh cabinet appearance. Enjoy your beautiful new cabinets!