How To Remove JB Weld: Tips And Techniques Explained
In the realm of industrial adhesives, JB Weld stands out due to its exceptional bonding strength and heat resistance, making it a popular choice for automotive, plumbing, and household repairs. However, there are instances when the removal of this formidable epoxy becomes necessary, whether due to excess application, shifting materials, or a need for repair. Understanding the chemical composition and adhesion properties of JB Weld is crucial when exploring effective removal techniques. This article delves into the methodologies and tools required for the task, ensuring a successful detachment without damaging the underlying surfaces.
Discover the intricate processes involved in mastering how to remove JB Weld effectively.
Effective Methods On How To Remove JB Weld Easily
Removing JB Weld can be a challenging task, but with the right techniques and tools, it’s definitely achievable. This summary highlights effective methods for breaking down the strong bond created by JB Weld, whether you’re dealing with cured epoxy on metal or other surfaces. From heat application to chemical solvents, various approaches are covered to ensure successful removal without damaging the underlying material. Understanding these options will prepare you for tackling your JB Weld removal project efficiently.
Understanding JB Weld and Its Applications
Definition of JB Weld and its components. Common uses of JB Weld in various projects. Benefits of using JB Weld for bonding.
JB Weld is a strong epoxy that bonds different materials. It has two parts: resin and hardener that mix together. This magical mix helps fix things like pipes, metal, and even ceramics. People use JB Weld for various projects, from repairing car parts to gluing broken pottery.
Why? Because it sticks like your favorite gum on the sidewalk! Some benefits include its heat resistance and water resistance, making it a favorite among DIY enthusiasts.
| Application | Description |
|---|---|
| Metal Repairs | Perfect for fixing car parts and tools. |
| Plumbing | Stops leaks in pipes easily. |
| Crafting | Great for bonding ceramics and wood. |
Why You Might Need to Remove JB Weld
Situations that necessitate removal. Risks and challenges of leaving JB Weld in place. Potential damage from improper removal.
Sometimes, you need to break up with JB Weld. Maybe you made a mistake, or you want a fresh start on a project. Leaving it in place can be risky.
It might crack under pressure or become a stubborn obstacle. You could also face damage if you try to remove it the wrong way. Think of it like trying to get gum off your shoe—persistent and messy!
| Situation | Risk of Leaving JB Weld | Improper Removal Damage |
|---|---|---|
| Incorrect application | Loss of structural integrity | Scratched surfaces |
| Need to upgrade materials | Possible leaks | Cracks in nearby areas |
| Restoration projects | Future repairs become difficult | Overall project failure |
Tools and Materials Needed for Removal
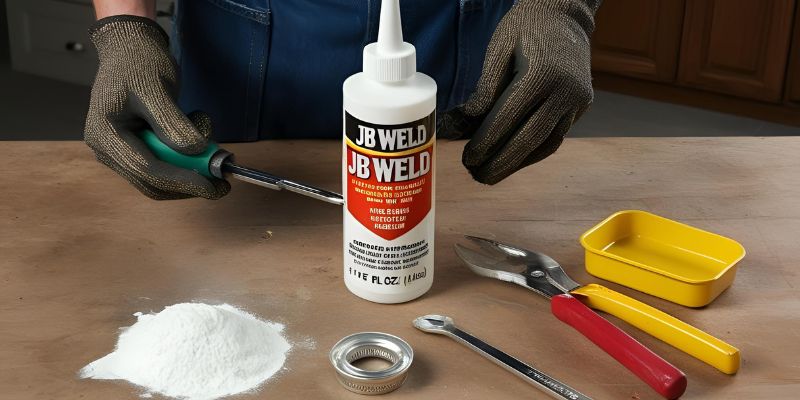
List of essential tools (drill, scraper, etc.). Recommended solvents and chemicals for effective removal. Safety gear and precautions to consider.
Removing JB Weld requires a few important tools and materials. Here’s what you will need:
- Drill – Use to carefully break the bond.
- Scraper – Helps to chip away at the hardened material.
- Wire brush – Cleans up any remaining residue.
- Solvent – Acetone is effective for softening JB Weld.
- Heat gun – Useful for applying heat to loosen the adhesive.
For safety, wear gloves and goggles.
Ensure proper ventilation when using chemicals.
Step-by-Step Methods for Removing JB Weld
Mechanical methods: scraping, sanding, and drilling. Chemical methods: using solvents and heat. Comparing effectiveness of different methods.
Removing JB Weld can be done through several methods. Here’s how:
- Mechanical Methods: Use tools to help you.
- Scraping: Gently scrape the surface with a knife or scraper.
- Sanding: Sand the area to wear down the JB Weld.
- Drilling: For tough spots, drill carefully to break it apart.
- Chemical Methods: These involve specialized products.
- Using Solvents: Certain solvents can soften JB Weld for easier removal.
- Heat: Applying heat with a heat gun can make it easier to peel off.
Each method has its pros and cons. Mechanical methods work well for strong bonds, while chemical methods are effective for softer spots.
Tips for Successful Removal Without Damage
Techniques to avoid damaging the underlying surface. Recommended practices for maintaining safety. How to deal with stubborn JB Weld residues.
To remove JB Weld without harming surfaces, try these techniques:
- Use a heat gun to soften the adhesive. This makes it easier to scrape off.
- Apply a plastic scraper to avoid scratches.Metal tools can damage surfaces.
- Consider chemical removers, but test them first on a small area.
For safety, always wear gloves and goggles. If residue remains, soaking the area with solvent can help.
Repeat scraping gently as needed to clear away stubborn spots. Patience is key!
Aftercare and Surface Preparation
Steps to clean the area postremoval. How to prepare the surface for new adhesives or repairs. Preventing future issues with bonding agents.
Once you’ve tackled the JB Weld, it’s time for some serious cleanup. First, grab some rubbing alcohol and a cloth to wipe down the area. This helps remove any leftover residues that think they can stick around.
Next, a light sanding can prepare the surface well for new adhesives. It’s like giving your wall a fresh haircut! Don’t forget to check for dust afterward; even tiny particles can mess up your bonds.
| After Removal Steps | Description |
|---|---|
| Clean Area | Use rubbing alcohol to wipe away residues. |
| Sanding | Lightly sand the surface for better adhesion. |
| Dust Check | Make sure no dust can ruin your bonding fun! |
Lastly, if you plan on using bonding agents again, avoid moisture and ensure surfaces are dry.
Treat your projects right, and they’ll stick around like your favorite cartoon character!
FAQs about JB Weld Removal
Common questions and answers regarding the removal process. Clarifications on myths and misconceptions about JB Weld. Advice for specific types of projects or surfaces.
Many people have questions about JB Weld removal. Here are some common inquiries:
- Can JB Weld be removed easily? It can be tough to remove depending on the surface and project.
- Does heat help?Yes, applying heat can soften the bond.
- Are there special tools needed? Simple tools like scrapers and solvents may work.
There are some myths too. For example, boiling water won’t help, and using a sledgehammer is not a solution! Always choose the right method based on the surface type—metal, plastic, or wood may all need different approaches.
Conclusion
In conclusion, removing JB Weld can be a challenging process, but using the right methods and tools can make it manageable. Whether you opt for heat, solvents, or manual techniques, ensure to work carefully to avoid damage to the surrounding surfaces. With patience and persistence, you can successfully eliminate JB Weld and restore your materials to their original condition.
FAQs
What Are The Most Effective Methods For Removing Jb Weld From A Surface?
To effectively remove JB Weld from a surface, first apply heat using a heat gun or a hairdryer to soften the epoxy, making it easier to scrape off. Next, use a plastic scraper or putty knife to gently pry away the softened material without damaging the underlying surface. For any remaining residue, acetone or isopropyl alcohol can be applied with a cloth to dissolve what’s left. Always test these methods on a small inconspicuous area first to ensure no damage occurs to the surface.
Can Acetone Or Other Solvents Break Down Jb Weld, And If So, How Should They Be Used?
Yes, acetone and some other solvents can break down JB Weld, but effectiveness may vary depending on the bond strength and duration of curing. To use acetone, apply it to a cloth or cotton swab and gently rub the area where JB Weld is applied. Allow the solvent to penetrate for several minutes to soften the epoxy before attempting to scrape it away. Always work in a well-ventilated area and wear appropriate safety gear.
How Long Does Jb Weld Take To Cure, And Does This Affect The Removal Process?
JB Weld typically takes 4 to 6 hours to set and 15 to 24 hours to fully cure, depending on the conditions. The curing time can impact the removal process; if removed too early, the bond may not have fully developed, making it easier to dislodge. Once fully cured, JB Weld creates a strong and durable bond, which can make removal more challenging. Adequate curing time is essential for achieving the desired strength of the bond.
Are There Any Specific Tools Or Equipment Recommended For Safely Removing Jb Weld?
To safely remove JB Weld, it’s recommended to use tools like a heat gun or a propane torch to soften the epoxy, making it easier to scrape off. A putty knife or scraper can effectively remove the softened material. Additionally, using acetone or a similar solvent may help dissolve residue after the initial removal. Always wear protective gear, such as gloves and goggles, to ensure safety during the process.
What Precautions Should I Take When Attempting To Remove Jb Weld To Avoid Damaging The Underlying Material?
When removing JB Weld, first, consider using heat to soften the epoxy without damaging the underlying material; a heat gun or a hair dryer can be effective. Always start with a gentle scraping tool, like a plastic scraper, to avoid scratching or gouging the surface beneath. If necessary, apply a solvent such as acetone or isopropyl alcohol, but test it on a small, inconspicuous area first to ensure compatibility. Lastly, work patiently and methodically to minimize any risk of damage.