How To Remove PUR Water Filter: Essential Guide
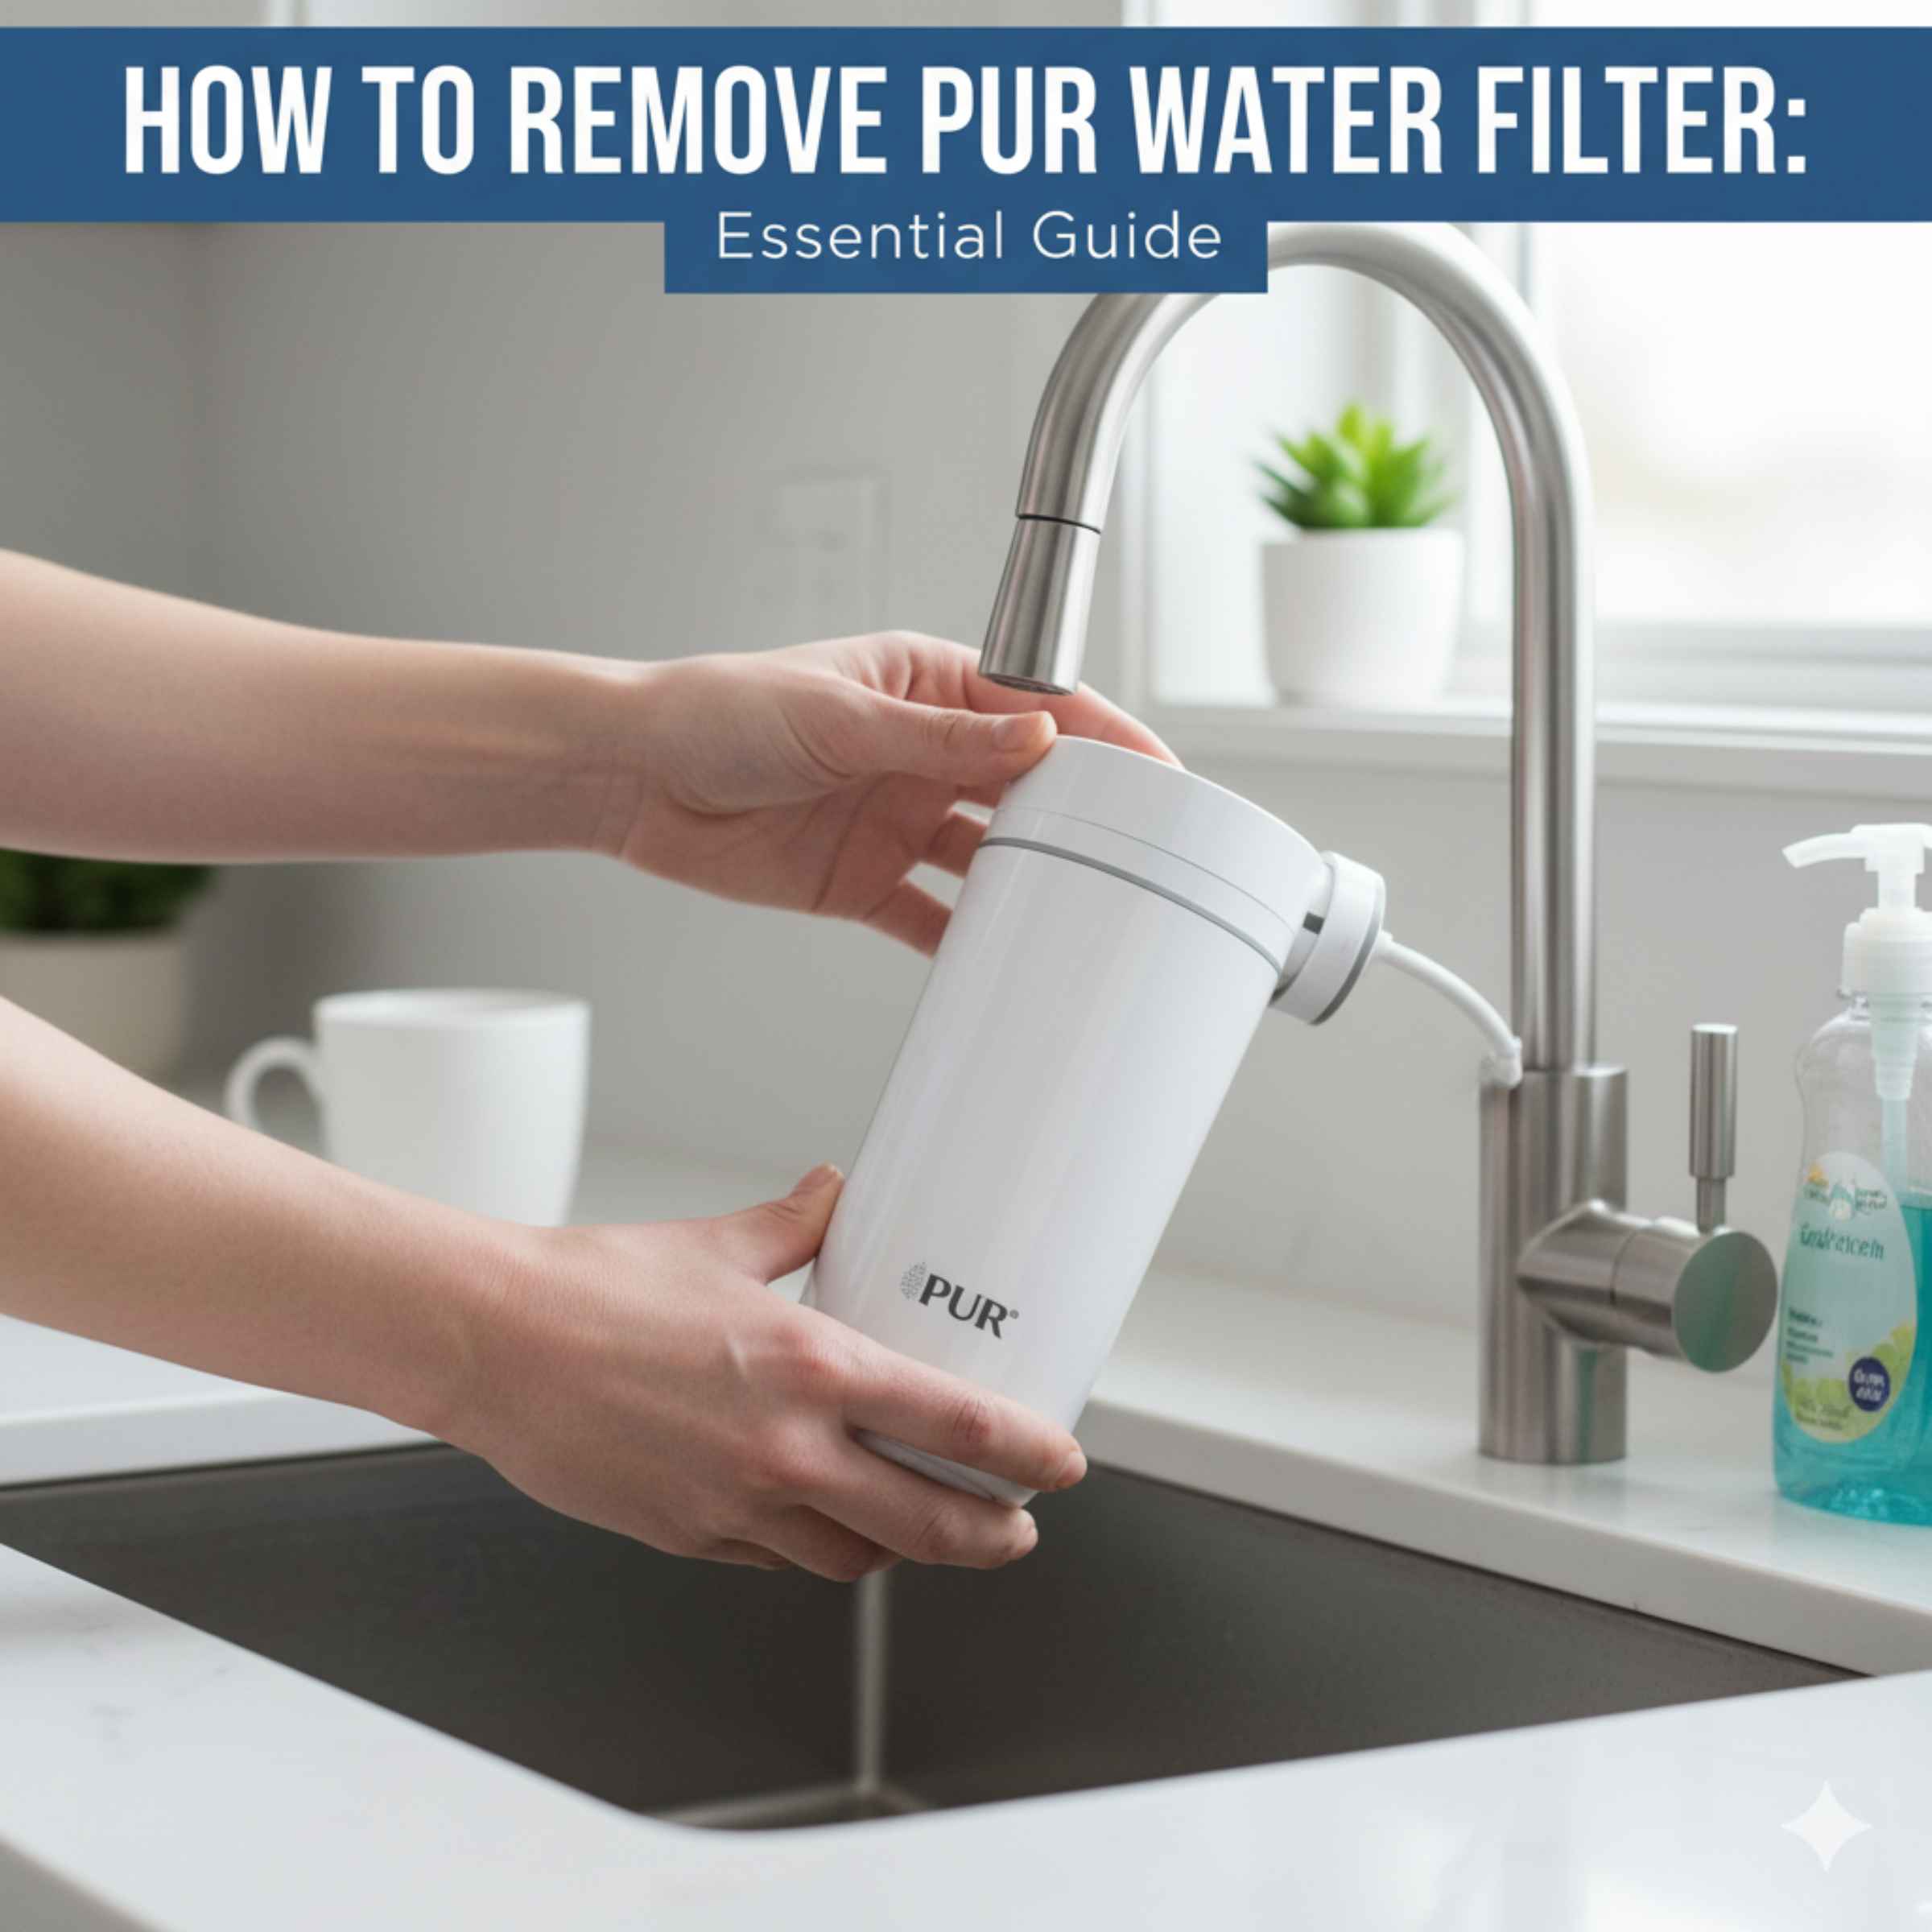
Bolded Quick Summary: To remove a PUR water filter from a faucet, first turn off the water supply valve. Next, twist the filter cartridge counter-clockwise until it unlocks, usually a quarter turn. Then, gently pull the spent filter straight down and dispose of it responsibly. Always check your specific model manual for precise locking mechanisms.
Welcome! Dealing with a stubborn water filter can sometimes feel like a tiny home project that turns into a big headache. If you’ve ever tried to twist off a PUR faucet filter only to have it stick or refuse to budge, you are certainly not alone. These filters are designed to seal tightly to prevent leaks, which can make removal tricky for a first-timer. But don’t worry! With a few simple tools and a little know-how, you’ll have that old filter off in minutes, ready for a fresh replacement. We are going to walk through every step clearly, making sure you feel confident and successful. Let’s get that old filter swapped out!
Why Learning How to Remove a PUR Water Filter is Important
Knowing how to handle your water filtration system correctly is key to maintaining good water quality and avoiding costly plumbing issues. PUR filters are fantastic for providing clean drinking water, but they do need regular changing—usually every three months or so. If you wait too long, the filter stops working effectively, and you might even notice slower water flow or strange tastes.
If you are moving, upgrading your faucet, or just swapping out a clogged filter, you need to know the proper technique. Yanking too hard or using the wrong tools can crack the plastic housing, leading to leaks under your sink. This guide will show you the safe, manufacturer-approved way to tackle this simple maintenance task.
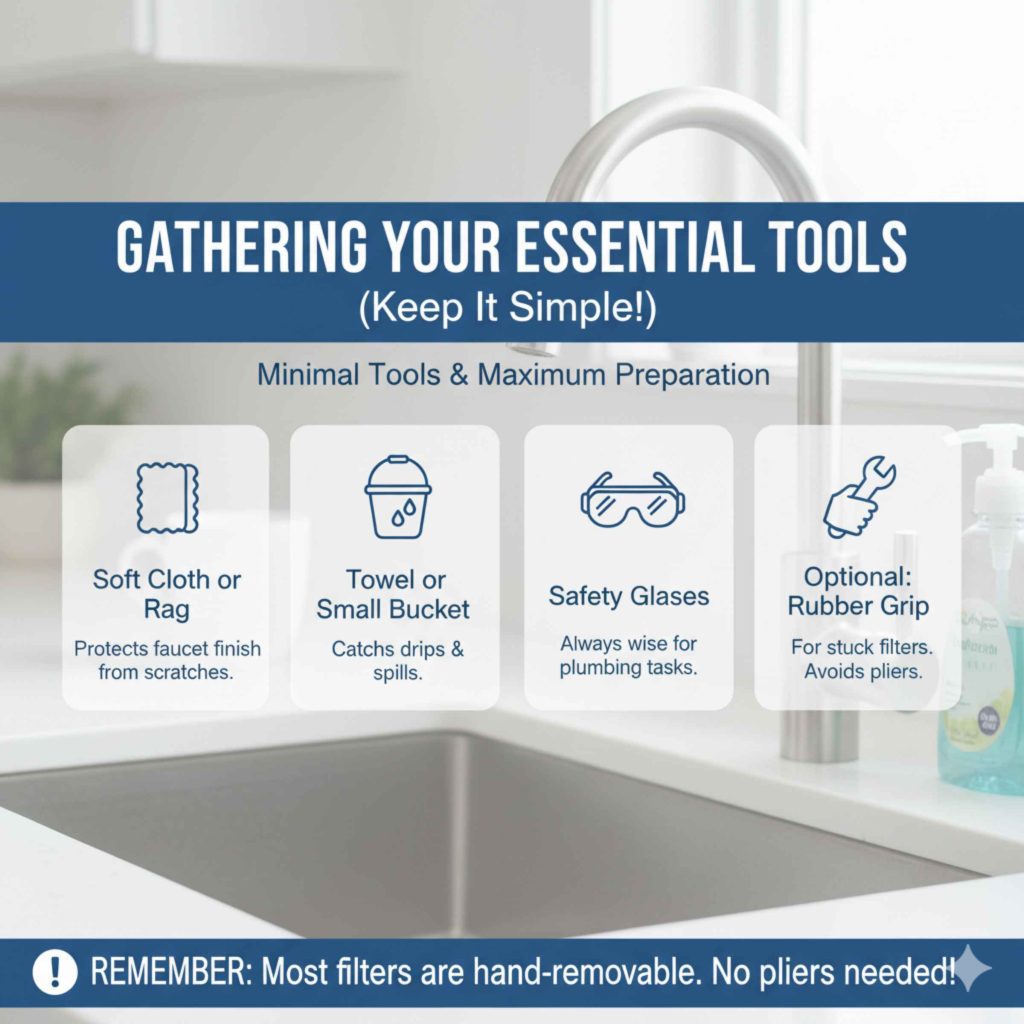
Gathering Your Essential Tools (Keep It Simple!)
One of the best parts about DIY home maintenance is that you rarely need a huge arsenal of specialized tools. For most standard PUR faucet-mounted filter removals, you’ll only need a few common household items. Safety and preparation are always step one for me, so let’s get everything ready before we touch that filter.
Tools Checklist for Filter Removal
- Soft cloth or rag (to protect the faucet finish).
- Towel or small bucket (to catch drips).
- Safety glasses (always a good habit for any plumbing task).
- Optional: Rubber jar opener pad or strap wrench (only if the filter is extremely stuck).
Remember, most PUR faucet filters are designed for hand-removal. If you find yourself reaching for pliers, stop! You might be using too much force or trying to remove the wrong part. We’ll discuss the “stuck filter” solution later, but for now, let’s assume the filter is cooperating.
Step-by-Step Guide: How to Remove PUR Water Filter from Faucet
The process of removing a PUR filter depends slightly on whether you have a standard dispenser model or one of the newer Maxion models, but the core principles of shutting off water and twisting remain the same. We will focus on the common faucet-mounted system first.
Step 1: Shut Off the Water Supply
This is the most critical safety step. Even though you are only removing the filter cartridge attached to the spout, residual water pressure can cause splashing or make the housing leak if the main supply isn’t secured. You don’t need to shut off the water to the entire house, just the supply feeding the faucet.
- Look directly under your sink cabinet. You should see two small valves coming out of the wall or floor—one for hot water and one for cold water.
- These are the shut-off valves. Turn the valve connected to the faucet handle you use for the filtered water (usually the cold side) clockwise until it stops. You only need to turn it until it feels snug.
- Open the faucet handle and run the water for about 30 seconds until the flow stops completely. This relieves any remaining pressure in the lines leading up to the filter.
Pro Tip from Meraj: If you can’t find the specific shut-off valve under the sink, or if it looks old and questionable, the safest bet is to turn off the main water supply to your home. You can usually find this near your water meter or where the main line enters your house. Better safe than sorry!
Step 2: Prepare for Drips and Protect Your Faucet
Even after relieving the pressure, a small amount of water will always be trapped inside the filter housing. Have your towel or small bucket ready directly beneath the filter unit.
If your faucet has a decorative metal finish (like brushed nickel or chrome), you want to avoid scratching it. Wrap the area where you will grip the filter housing with a soft cloth or rag before you start twisting. This simple step saves you from having to polish out scratches later.
Step 3: Locate the Locking Mechanism
PUR faucet filters usually attach using a simple twist-and-lock mechanism. They are not threaded like a traditional hose connection; they are designed to snap into place.
Look closely at the base of the filter where it meets the main faucet attachment piece. You will see indicator lines or arrows. On many models, there is a small notch or indicator mark on the filter body that lines up with a mark on the stationary faucet mount.
Step 4: Twist to Unlock and Remove the Filter
This is where most beginners get frustrated. If the filter hasn’t been changed in a long time, the plastic can stick together due to mineral deposits or minor pressure changes.
- Grip the body of the filter cartridge firmly. Use your non-dominant hand to hold the stationary part of the faucet mount steady, if possible, to prevent the whole assembly from moving.
- Turn the filter cartridge counter-clockwise. On most PUR models, you only need to turn it about a quarter turn (90 degrees).
- As you turn, you should feel or hear a slight click as the locking tabs release.
- Once unlocked, gently pull the filter straight down and away from the faucet mount. Do not twist it further once it’s unlocked.
If it feels stuck, apply gentle, steady pressure while turning. Avoid sudden jerks. If you are having trouble getting a good grip, grab that rubber jar opener pad—it gives you excellent non-slip traction!
Troubleshooting: When the PUR Filter Won’t Budge
Sometimes, life happens, and a filter gets stuck on there longer than it should, or maybe the plastic housing has warped slightly. Don’t panic! We can usually solve this without calling a plumber.
The “Stuck Filter” Solutions Table
| Problem | Recommended Action | Tools Needed |
|---|---|---|
| Filter is too slippery to grip. | Use a non-slip surface material to improve grip friction. | Rubber jar opener, thick rubber gloves. |
| Filter is locked tight, won’t turn 90 degrees. | Apply gentle, consistent twisting force while stabilizing the base. Try turning slightly back and forth (clockwise/counter-clockwise) to loosen mineral buildup before the final counter-clockwise turn. | Rubber jar opener pad. |
| Housing feels brittle or you fear cracking it. | Use a strap wrench, ensuring the strap wraps around the filter body, not the spout connection. Apply slow, even pressure. | Strap wrench (used carefully). |
A Word on Power Tools: As an experienced home improver, I strongly advise against using power tools like drills or impact drivers for this job. The plastic on these filters is not designed to withstand that torque, and you will almost certainly crack the housing, leading to a much bigger repair job.
Understanding Different PUR Filter Types
PUR has evolved its faucet filtration systems over the years. While the basic removal principle is similar, knowing which type you have can help you anticipate the difficulty level.
Standard Faucet-Mounted Filter (Classic Style)
These are the most common. They typically have a simple, cylindrical shape that slides onto the spout. Removal is usually the easiest: turn 90 degrees counter-clockwise and pull.
PUR Maxion Filter System
The Maxion system often uses a slightly different mechanism where the filter cartridge might slide into a more integrated housing unit. Sometimes, you might need to press a small release button or lever before twisting the cartridge. Always refer to the specific user manual for Maxion models if you are unsure.
For more information on proper water quality maintenance and filter lifespan, checking resources from organizations like the U.S. Environmental Protection Agency (EPA) on drinking water standards can be very insightful for understanding why these changes matter.
Removing the Spout Adapter (If Necessary)
In rare cases, perhaps if you are replacing the entire faucet head or the adapter itself, you might need to remove the piece the filter screws onto. This adapter connects directly to your faucet spout.
Usually, this adapter has a threaded connection or a set screw. If it’s threaded, you might need a pair of pliers (wrapped heavily in a rag!) to turn it counter-clockwise. If it has a tiny set screw on the side or bottom, use a small Allen key or screwdriver to loosen that screw first before attempting to unscrew the adapter.
What to Do with the Old PUR Filter
Once that old filter is in your hand, the job isn’t quite done. Responsible disposal is important, especially since these filters contain activated carbon and other filtration media.
Disposal Options
- Check Local Recycling: Some municipalities accept activated carbon filters in yard waste or general recycling, but this varies widely. Check your local waste management website.
- Landfill Disposal: If recycling isn’t available, disposing of it in your regular trash bin is usually acceptable, as the materials are generally non-hazardous.
- Manufacturer Take-Back Programs: Occasionally, PUR or its parent company may offer mail-back programs for recycling. It’s worth a quick check on their official website before tossing it.
Do not flush any part of the filter down the toilet or drain. The media inside can cause serious clogs in your plumbing system.
Installing the New PUR Water Filter
Removing the old filter is only half the battle. Installing the new one correctly ensures you get that great-tasting water back right away!
New Filter Installation Steps
- Unpack and Prepare: Remove the new filter from its packaging. Most new PUR filters come with a protective plastic seal or cap that must be removed before installation.
- Align the Filter: Look at the top of the new cartridge. You will see alignment arrows or tabs that need to match the corresponding marks on the faucet mount.
- Insert and Twist: Push the new filter straight up into the housing until it seats firmly. Then, turn the filter clockwise until it locks into place—usually another quarter turn. You should hear a satisfying click.
- Relieve Pressure (If Needed): If you shut off the main water supply earlier, turn the cold water valve back on slowly, checking underneath the sink for any immediate leaks.
- Flush the System: Open the faucet and run the filtered water for about 5 to 10 minutes. This flushes out any harmless carbon fines (black dust) from the new filter and ensures the system is pressurized correctly. The water might look cloudy or grayish at first—that’s normal!
The quality of your final results depends heavily on proper preparation and installation. Take your time during the flush cycle, and you’ll be rewarded with clean, great-tasting water!
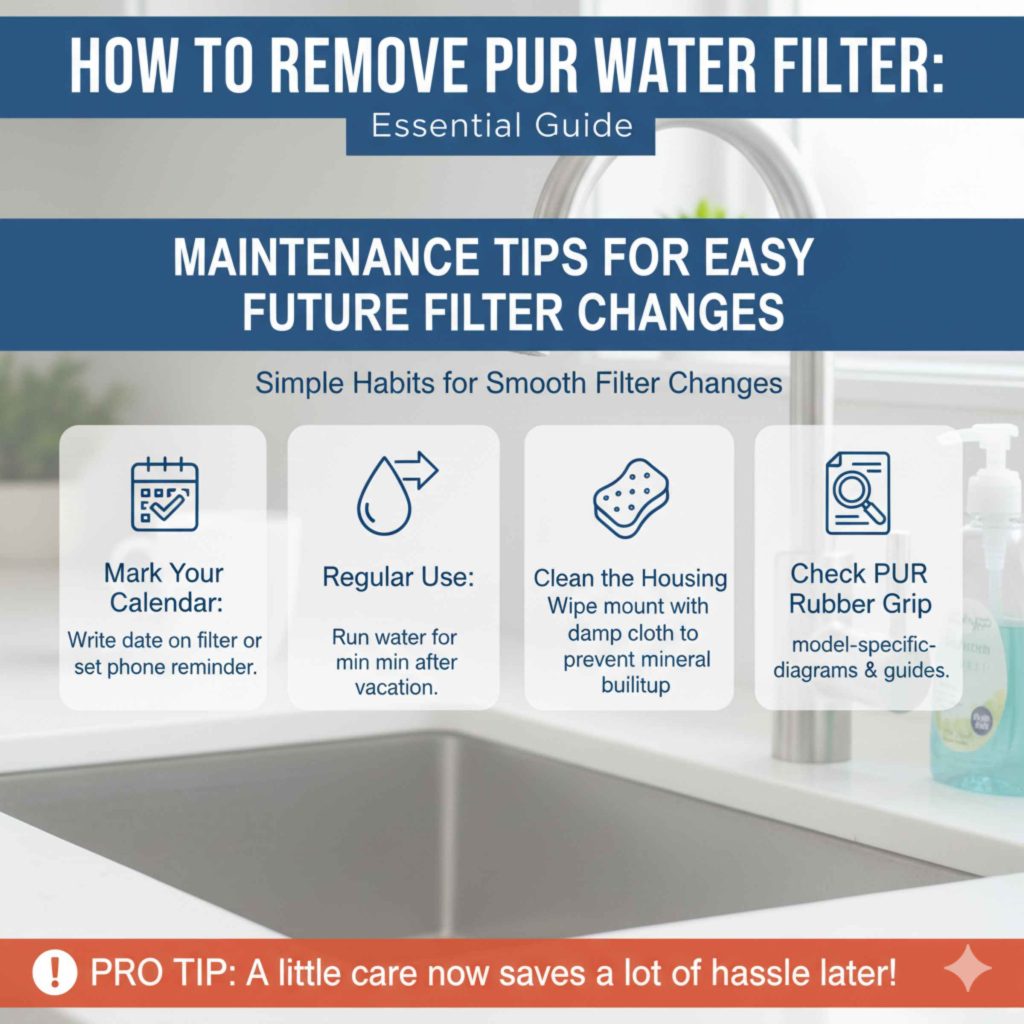
Maintenance Tips for Easy Future Filter Changes
To ensure that your next filter change is as smooth as butter, adopt these simple maintenance habits:
- Mark Your Calendar: Write the date of the filter change directly on the filter housing with a permanent marker, or set a recurring reminder on your phone.
- Regular Use: Filters work best when used regularly. If you go on vacation for several weeks, run the water for a minute when you return to clear out any stagnant water.
- Clean the Housing: When the old filter is off, take a quick moment to wipe down the exterior of the stationary faucet mount with a damp cloth. This prevents mineral deposits from cementing the new filter in place.
For further guidance on maintaining your specific PUR model, their official support pages often have excellent visual diagrams which can be a great resource when you need a visual aid for your particular model.
Frequently Asked Questions (FAQ) About PUR Filter Removal
Q1: Do I need to turn off the water completely to change my PUR filter?
A: Yes, it is highly recommended. You should turn off the cold water supply valve under the sink and run the faucet until the water stops dripping. This releases residual pressure and prevents leaks or sprays when you disconnect the filter.
Q2: How much force should I use to twist the filter off?
A: You should only need moderate hand strength to turn the filter about a quarter turn counter-clockwise. If it requires excessive force, stop, use a rubber grip pad, and try slightly wiggling it back and forth before the final turn. Never use pliers unless absolutely necessary and only on the designated grip areas.
Q3: My filter is stuck! What is the best tool to use without breaking it?
A: The best tool is a rubber jar opener or a strap wrench used gently. These provide grip without crushing the plastic housing. If the filter is truly seized, try running a little warm (not hot) water over the connection point for a minute to slightly expand the outer plastic, which can help break the seal.
Q4: How do I know if I am twisting the filter the right way?
A: For removal, you always twist counter-clockwise (lefty-loosey). Look for indicator arrows or markings on the filter base. The arrow indicating “Unlock” or “Remove” should align with the stationary faucet body once the twist is complete.
Q5: Can I reuse the old filter if I only twist it slightly and then put it back on?
A: No, you should never reuse a filter once it has been removed from service, even if you only twisted it a little bit. Removing it exposes the internal media to air and potential contaminants, and breaking the seal compromises its ability to filter effectively upon reinstallation.
Q6: What should I do if the new filter leaks after installation?
A: If the new filter leaks, it usually means the seal wasn’t set correctly. Turn the water off again, remove the new filter, check the rubber O-ring gasket on the filter top for damage or dirt, wipe the seating area clean, and reinstall, ensuring you twist it firmly clockwise until you hear or feel the secure lock.
Conclusion: You’ve Got This!
See? Removing that old PUR water filter was much simpler than you might have first thought. By taking the time to turn off the water, protect your faucet finish, and apply steady, gentle pressure in the correct direction, you’ve successfully completed a key piece of home maintenance. Whether you were swapping it out for a routine change or preparing for a faucet upgrade, you now have the confidence and the know-how to manage this task yourself every time.
Remember, every successful DIY project, no matter how small, builds your confidence for the next one. Keep your tools handy, prioritize safety, and don’t hesitate to take things slow. Enjoy that fresh, clean water from your newly installed filter—you earned it!