How to Replace Recessed Lighting Bulb: Quick Guide
Replacing a recessed lighting bulb seems tricky at first. But it’s actually quite simple.
Recessed lights are popular in many homes. They offer a sleek, modern look. Over time, these bulbs need changing. Knowing how to replace them safely is essential. This guide will help you step by step. You don’t need to be an electrician to change a recessed bulb.
With the right tools and a little patience, anyone can do it. Recessed lights brighten rooms without taking up space. But when a bulb burns out, replacing it can be daunting. This blog will walk you through the process. You’ll learn about the tools needed and safety precautions. By the end, you’ll feel confident in replacing your recessed lighting bulb with ease. Let’s get started!
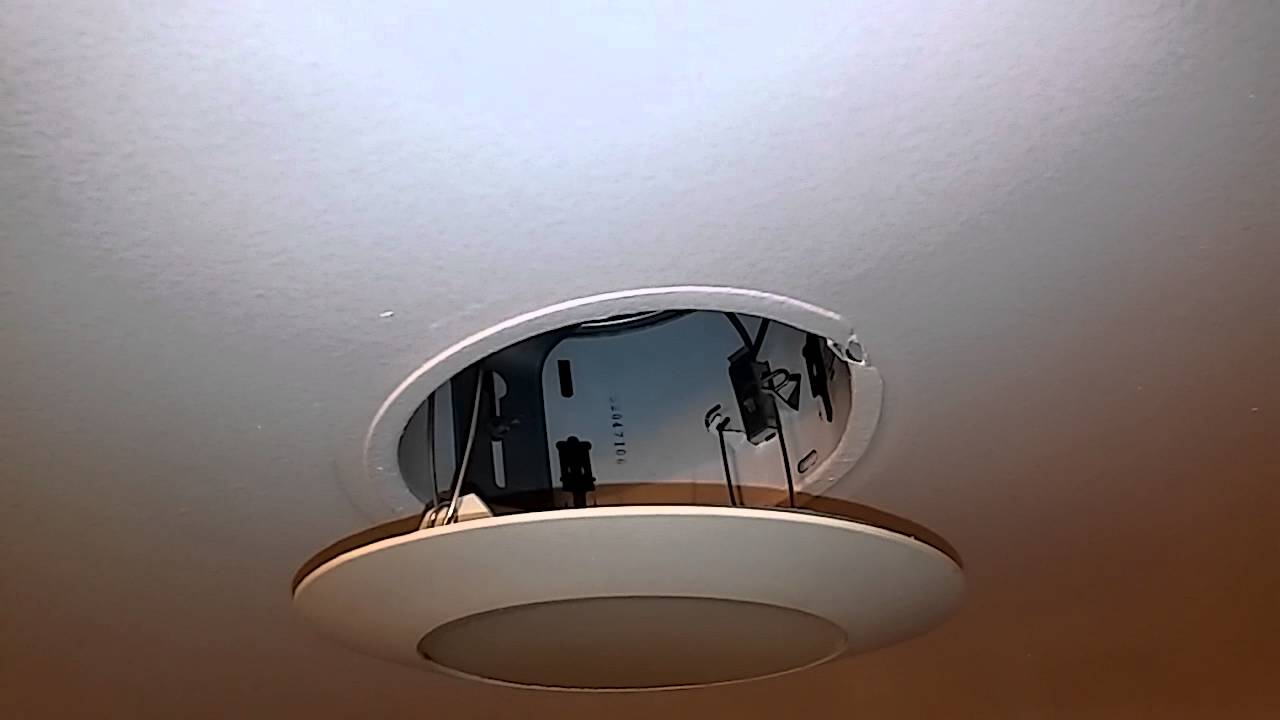
Credit: www.homedepot.com
Safety Precautions
Ensure the power is off before starting. Use a sturdy ladder to reach the bulb safely. Handle the bulb gently to avoid breakage.
Turn Off Power
Safety first. Always turn off the power before replacing a bulb. Find the switch and flip it off. This prevents electric shocks. Check if the light is off by flipping the switch on and off. Make sure the bulb is cool before touching it. This avoids burns. Use a ladder if the bulb is high up. Ask an adult for help if needed.
Use Proper Tools
Gather tools. You need a ladder, gloves, and the right bulb. Gloves keep your hands safe. A ladder helps you reach the bulb. Make sure the ladder is steady. Hold the new bulb gently. Bulbs can break easily. Do not force the bulb into the socket. It should fit smoothly. Double-check the bulb type and wattage.

Credit: www.wikihow.com
Gathering Necessary Tools
Start by getting a sturdy ladder. This helps you reach the bulb safely. Next, grab a screwdriver. It will help remove the fixture cover. Don’t forget a pair of gloves. They protect your hands from sharp edges. A new bulb is also needed. Make sure it matches the old one. This ensures proper fit and function.
Keep a flashlight handy. It can be dark inside the fixture. A voltage tester is useful too. It checks if the power is off. Consider a small cloth for cleaning. It removes dust from the fixture. A bulb changer tool is also helpful. It makes bulb removal easier.
Removing The Old Bulb
Start by turning off the power. This is very important for safety. Next, get a sturdy ladder. It will help you reach the light. Stand on the ladder carefully. Now, look at the light fixture. Some have a trim ring. You may need to twist it off. Be gentle to avoid damage. If there is a glass cover, remove it carefully. Keep all parts in a safe place. You may need them later.
Hold the bulb gently with your fingers. Turn it counter-clockwise to loosen. Do not use too much force. If it feels stuck, stop and try again. Sometimes, bulbs can be hot. Let it cool before touching. Once loose, remove it from the fixture. Keep the bulb safe for disposal. Now the fixture is ready for a new bulb.
Choosing The Right Bulb
Many bulbs fit recessed lights. Incandescent bulbs are common. They glow warm and bright. LED bulbs are popular too. They save energy and last long. Halogen bulbs shine brightly. They use more power than LED bulbs. CFL bulbs are another choice. They cost less and save energy. Each bulb type has its own features.
LED bulbs are the best for saving energy. They use less power than others. CFL bulbs also save energy, but not as much as LED. Incandescent bulbs use a lot of power. This means higher bills. Halogen bulbs are bright but consume more energy. Choosing energy-efficient bulbs helps reduce costs.
Installing The New Bulb
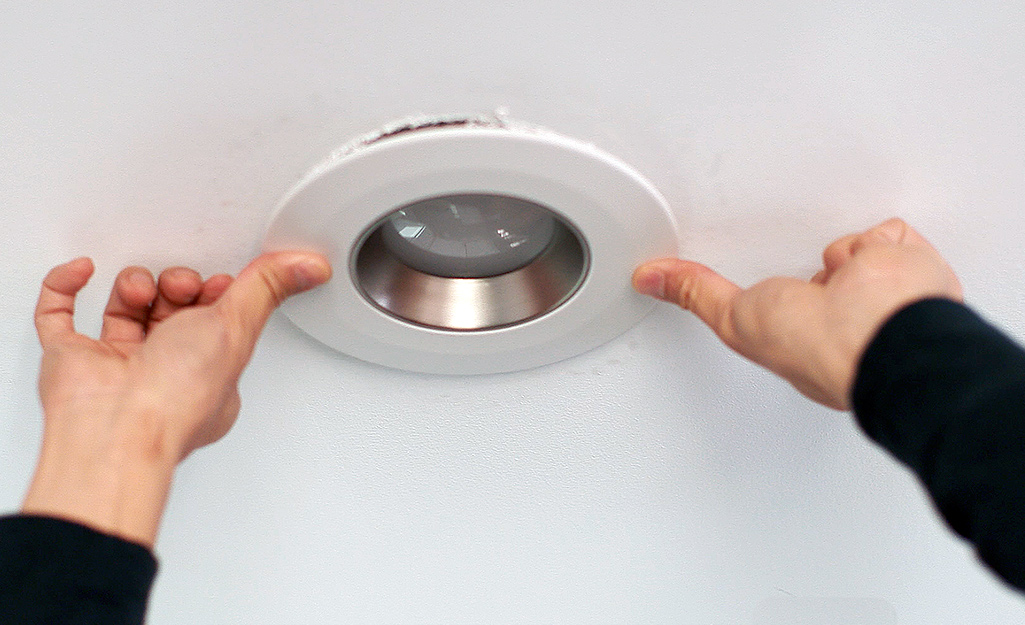
Place the new bulb in the holder carefully. Ensure the bulb’s base fits snugly into the socket.
Avoid touching the bulb’s glass with bare hands. Oils can damage the bulb. If it doesn’t fit,
check for alignment issues. Rotate gently to find the right position.
Turn the bulb clockwise to secure it. Do not use too much force. Stop turning when the bulb
feels snug. Ensure the bulb does not wobble. A loose bulb can cause flickering.
Double-check its stability with a gentle tap.
Testing The Installation
Turn the light switch on. Make sure it works. If the bulb lights up, you did it right. If not, check the connections. Ensure everything is tight. Loose wires can cause problems. Safety is key.
Observe the light. Is it steady? Flickering lights need attention. Adjust the bulb if needed. Make sure it fits well. Test the dimmer switch if you have one. The light should change brightness smoothly. If it doesn’t, check the bulb compatibility. Some bulbs don’t work with dimmers. Always use the right bulb type. This ensures proper function.
Troubleshooting Common Issues
Replacing a recessed lighting bulb requires simple steps to ensure safety and efficiency. Start by turning off the power. Then, gently remove the old bulb and insert the new one. Check if the bulb fits securely before turning the power back on to avoid any issues.
Bulb Not Lighting
Check if the bulb is inserted properly. Sometimes, bulbs are loose. Ensure it’s tight. Look at the circuit breaker. Make sure it’s not switched off. Inspect the bulb for damage. Broken bulbs won’t light up. Try a new bulb. See if it works then. Sometimes, the socket might be faulty. Change the socket if needed.
Flickering Problems
Flickering bulbs can be annoying. Check the bulb connection. Loose connections cause flickers. Tighten the bulb carefully. Examine the bulb for damage. Damaged bulbs flicker often. Voltage fluctuations might be a problem. Use a voltage stabilizer if needed. Sometimes, the switch is faulty. Replace the switch if flickering continues.

Credit: www.wikihow.com
Maintaining Recessed Lighting
Changing a recessed lighting bulb requires a few simple steps. Ensure the power is off, then gently remove the trim and old bulb. Insert the new bulb, making sure it is securely in place. Reattach the trim and turn the power back on to test the light.
Routine Checks
Regular checks keep your lights working well. Make sure bulbs are not loose. Tighten them gently if needed. Look for any signs of damage. Cracks or breaks need fixing. Check the wires for wear and tear. Replace any worn wires. This helps prevent accidents. Ensure the light fixture is not overheating. A cool fixture means it’s safe. Routine checks can save you trouble later. They keep your lights bright and safe.
Cleaning Tips
Clean lights look better and shine brighter. Use a soft cloth to wipe the surface. Be gentle to avoid scratches. Avoid using water directly on bulbs. Water can cause damage. Dust the inside of the fixture too. This removes any dirt build-up. Clean the trim with a damp cloth. Dry it well before turning on the light. Regular cleaning helps in maintaining brightness. Keep your light fixtures shiny and clear.
Frequently Asked Questions
Can You Replace The Bulb In A Recessed Light?
Yes, you can replace the bulb in a recessed light. Turn off the power first. Carefully remove the old bulb by unscrewing it. Insert the new bulb securely. Ensure the wattage matches the fixture’s specifications. Reinstall the trim if necessary.
Test the light by turning the power back on.
How To Change Recessed Spot Light Bulb?
Turn off the power to the light fixture. Remove the trim and gently pull out the old bulb. Insert the new bulb, ensuring it fits securely. Replace the trim and turn the power back on to test the light. Always handle bulbs with care to avoid damage.
How Do You Replace Led Lights In A Recessed Ceiling?
Turn off power to the fixture. Remove the trim and old LED bulb. Insert the new LED bulb. Reattach the trim securely. Restore power and test the light.
How To Change Recessed Light Bulb In High Ceiling?
Use a ladder to reach the bulb safely. Wear gloves to prevent fingerprints and ensure a firm grip. Twist the bulb counterclockwise to remove it. Install the new bulb by twisting it clockwise. Ensure proper fit and connection before turning on the light.
Check for compatibility with the fixture.
Conclusion
Replacing recessed lighting bulbs is simple with the right steps. Start by turning off the power. Then, safely remove the old bulb. Ensure you choose the correct replacement bulb. Carefully fit the new bulb into the socket. Turn the power back on and test your light.
You can enjoy brighter rooms with new bulbs. Regularly check bulbs for optimal lighting. Keep safety first by handling bulbs gently. This easy process keeps your home well-lit and cozy. Remember, a little effort brightens up your space efficiently.