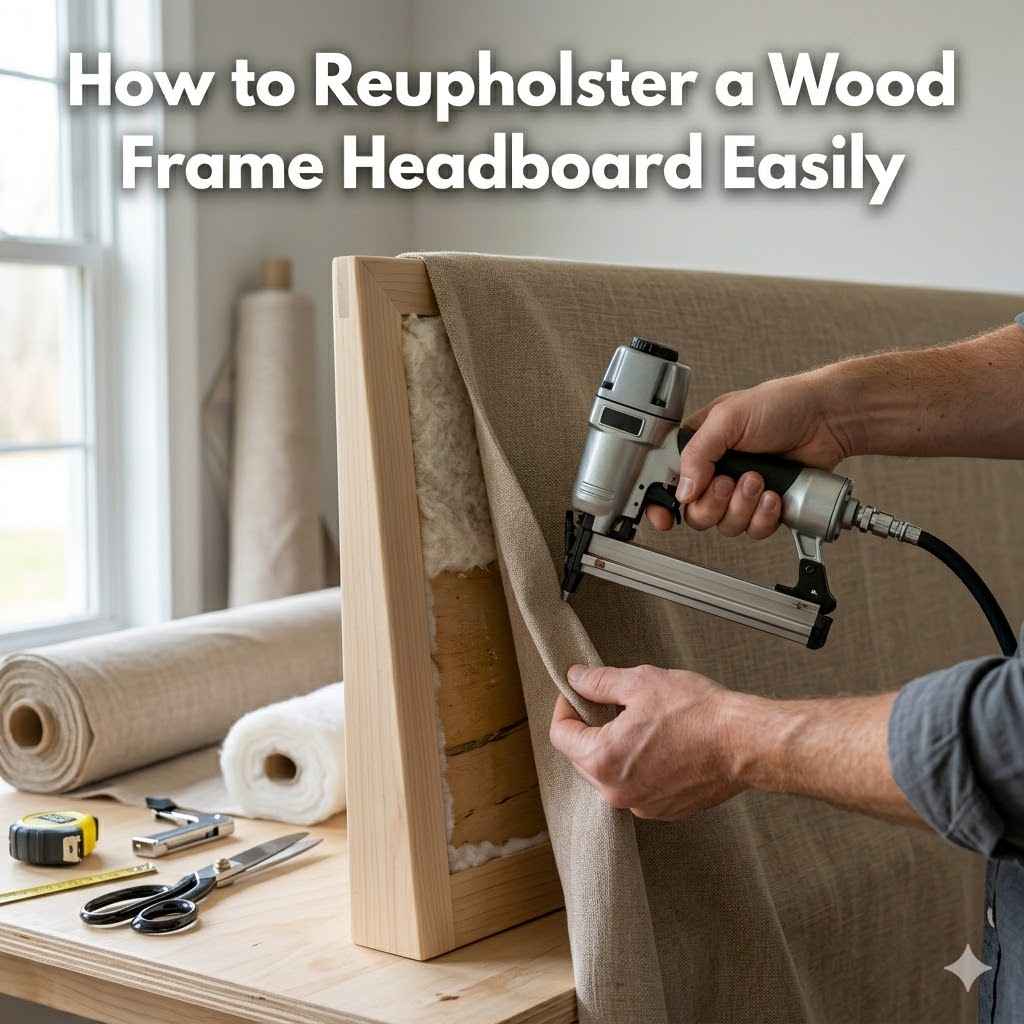
How to Reupholster a Wood Frame Headboard Easily
Reupholstering a headboard might seem like a big project, but it’s actually quite doable for most folks. Many people think it’s tricky because you’re working with fabric and maybe some foam, and you want it to look nice. But really, How to Reupholster a Wood Frame Headboard Easily doesn’t need to be hard.
We’ll walk through it step by step. You’ll see how simple it can be to give your old headboard a fresh new look without a lot of fuss. Let’s get started and make your bedroom even better.
Giving Your Headboard A Fresh Look
This section will guide you through the exciting process of transforming your old headboard. We’ll cover why you might want to update your headboard and what makes this DIY project so rewarding. You’ll learn to see your headboard as a blank canvas ready for a personal touch.
This part sets the stage for the actual work, helping you get excited about the possibilities.
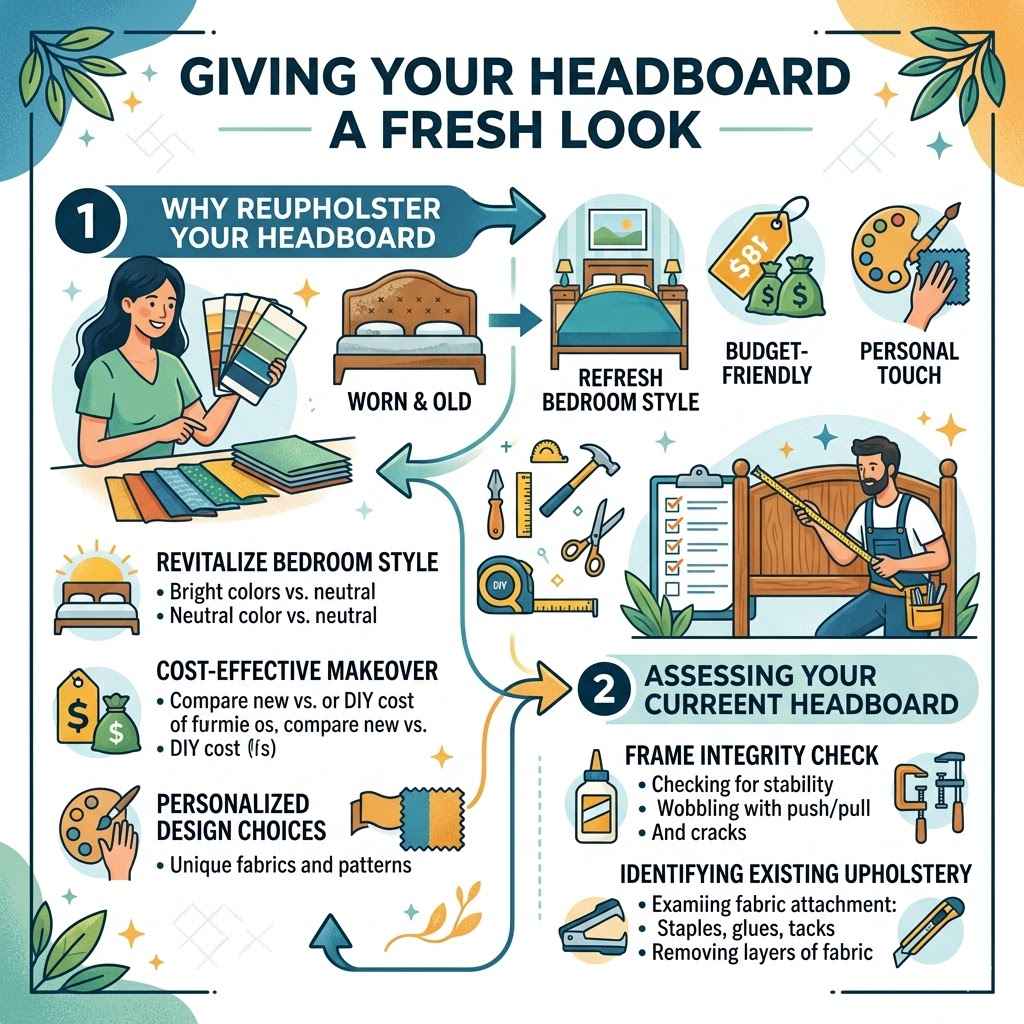
Why Reupholster Your Headboard
Updating your headboard is a fantastic way to refresh your bedroom’s style. Maybe your current fabric is worn, or you just want a change to match new decor. Reupholstering lets you pick any fabric you love, from bold patterns to cozy textures.
It’s also a budget-friendly alternative to buying a brand-new headboard. This project adds a personal touch that store-bought items often lack.
Revitalize Your Bedroom Style
Changing your headboard fabric can completely alter the feel of your room. A bright new color can make a space feel more energetic, while a soft, neutral tone can create a calm sanctuary. This is a simple way to make a big impact without redecorating the entire room.
Cost-Effective Makeover
Buying a new headboard can be expensive. Reupholstering uses less material than a whole new piece of furniture. You’re essentially paying for fabric and some basic supplies, which is usually much cheaper than purchasing a new, upholstered headboard.
Personalized Design Choices
The best part of DIY is making it your own. You can choose a fabric that perfectly matches your existing bedding or curtains. Think about the unique patterns, colors, and textures available.
This lets your personality shine through in your home decor.
Assessing Your Current Headboard
Before you start, take a good look at your headboard. Is the wood frame sturdy and in good shape? Are there any loose parts or damage that needs fixing first?
This quick check ensures your reupholstery project will be built on a solid foundation.
Frame Integrity Check
Gently push and pull on the headboard to see if it feels wobbly. Loose joints can be tightened with wood glue and clamps. If the wood is cracked or broken, it might need a bit more repair, possibly with wood filler or even a small piece of new wood.
Identifying Existing Upholstery
Note how your current fabric is attached. Is it stapled, glued, or tacked? This will give you clues on how to remove it and reattach the new fabric.
Sometimes, there are layers of old fabric to remove.
Gathering Your Reupholstery Supplies
To successfully tackle How to Reupholster a Wood Frame Headboard Easily, having the right tools and materials is key. This section breaks down everything you’ll need, from the fabric itself to the smaller items that make the job smooth. Getting these ready beforehand means you won’t have to stop mid-project to hunt for something.
Choosing Your Fabric
The fabric is where you get to be creative. Consider durability, feel, and how it looks. For a headboard, you want something that feels nice to lean against and can withstand some wear.
Fabric Types
Cotton, linen, polyester blends, and velvet are popular choices. Cotton is easy to work with and comes in many patterns. Linen offers a natural, casual look.
Polyester blends are often durable and resist wrinkles. Velvet adds a touch of luxury.
Amount of Fabric Needed
Measure your headboard’s surface area, adding extra for overlap and any curves or details. A good rule of thumb is to measure the height and width, then multiply them. Add at least 6 inches to both the height and width to account for wrapping around the edges and securing the fabric.
Always buy a little more than you think you’ll need just in case.
Fabric Considerations
Think about cleaning. Some fabrics are spot-clean only, while others can be washed. If you have pets or kids, a more durable and stain-resistant fabric might be best.
Also, consider if the fabric is too thick to work with or too thin and might show the backing material.
Essential Tools and Materials
You don’t need a lot of fancy equipment for this project. Most of these items are likely already in your home or are easy to find at a craft or hardware store.
Staple Gun and Staples
A heavy-duty staple gun is crucial for attaching the fabric securely to the wood frame. Make sure to have plenty of staples on hand. Pneumatic staple guns are faster but a manual one works just fine for DIY projects.
Staple Remover or Flathead Screwdriver
You’ll need this to carefully remove old staples if you’re recovering an existing headboard. A good pry tool or even a sturdy flathead screwdriver can work.
Scissors or Rotary Cutter and Mat
Sharp fabric scissors or a rotary cutter will ensure clean cuts for your new fabric. A self-healing cutting mat is helpful if you use a rotary cutter.
Measuring Tape
Accurate measurements are vital for cutting your fabric correctly. A standard retractable measuring tape works well.
Batting or Foam (Optional)
If you want a softer, more cushioned headboard, you can add a layer of polyester batting or thin foam before the fabric. This gives a plush feel and can help smooth out any imperfections on the headboard surface.
Screwdriver or Wrench (if needed)
Some headboards are attached to the bed frame. You might need a screwdriver or wrench to detach it before you start.
Gloves and Safety Glasses
These protect your hands and eyes, especially when removing old staples or working with sharp tools.
Step-By-Step Headboard Reupholstery Guide
Now let’s get to the hands-on part of How to Reupholster a Wood Frame Headboard Easily. This is where your old headboard gets its new look. We’ll break down each step so you can follow along with confidence, even if you’ve never done anything like this before.
Step 1 Removing Old Fabric And Padding
First, you need to get rid of the old material. This gives you a clean surface to work on.
Carefully pry away old staples.
Use your staple remover or screwdriver to lift and pull out every old staple. Work slowly to avoid damaging the wood frame.
Strip away old fabric and padding.
Once the staples are out, peel off the old fabric. If there’s padding like foam or batting, remove that too. You want to see the bare wood frame.
Clean the wood frame.
Wipe down the wood to remove any dust or debris. If there are any small holes from staples, you can fill them with a bit of wood filler if you like. Let it dry completely.
Step 2 Adding New Padding (Optional)
If you want a softer headboard, this is the time to add new padding.
Cut padding to size.
If using batting or foam, cut it to fit the shape of your headboard, just slightly smaller than the wood frame.
Attach the padding.
Secure the batting or foam to the wood frame using a few staples around the edges. Make sure it lies smooth and flat.
Step 3 Measuring And Cutting Your New Fabric
This is a critical step for a professional finish. Accurate cutting makes all the difference.
Measure your headboard dimensions.
Measure the height and width of the surface you will be covering.
Add allowance for wrapping.
Add at least 6 inches to both the height and width measurements. This extra fabric will wrap around the edges and be stapled to the back.
Cut the fabric carefully.
Lay your chosen fabric flat, wrong side up. Place your headboard on top, or use your measurements to mark and cut the fabric. Use sharp scissors for a clean edge.
Ensure your fabric pattern is straight if it has one.
Step 4 Attaching The New Fabric
This is where your headboard starts to look brand new. Work methodically.
Position the fabric.
Lay your cut fabric over the padded headboard, centered. The right side of the fabric should be facing up.
Start stapling on one side.
Begin by pulling the fabric taut across one edge (say, the top) and staple it to the back of the wood frame. Place staples every 2-3 inches.
Continue stapling opposite sides.
Move to the opposite side (the bottom) and pull the fabric taut, then staple it to the back. This keeps the fabric even.
Staple the remaining sides.
Do the same for the left and right sides, pulling the fabric tight each time.
Handle corners neatly.
For corners, fold the fabric to create a neat pleat or fold, similar to wrapping a present. Pull the fabric taut and staple it securely. Trim any excess fabric if needed, but be careful not to cut too close to the staples.
Check for wrinkles and adjust.
As you go, step back and look for any wrinkles or sags. You can carefully pull and re-staple if needed to get the fabric smooth and tight.
Step 5 Reattaching The Headboard
Once your headboard is beautifully reupholstered, it’s time to put it back.
Re-mount to your bed frame.
If your headboard was attached to the bed frame, carefully line it up and reattach it using the screws or bolts you removed earlier. Make sure it’s secure.
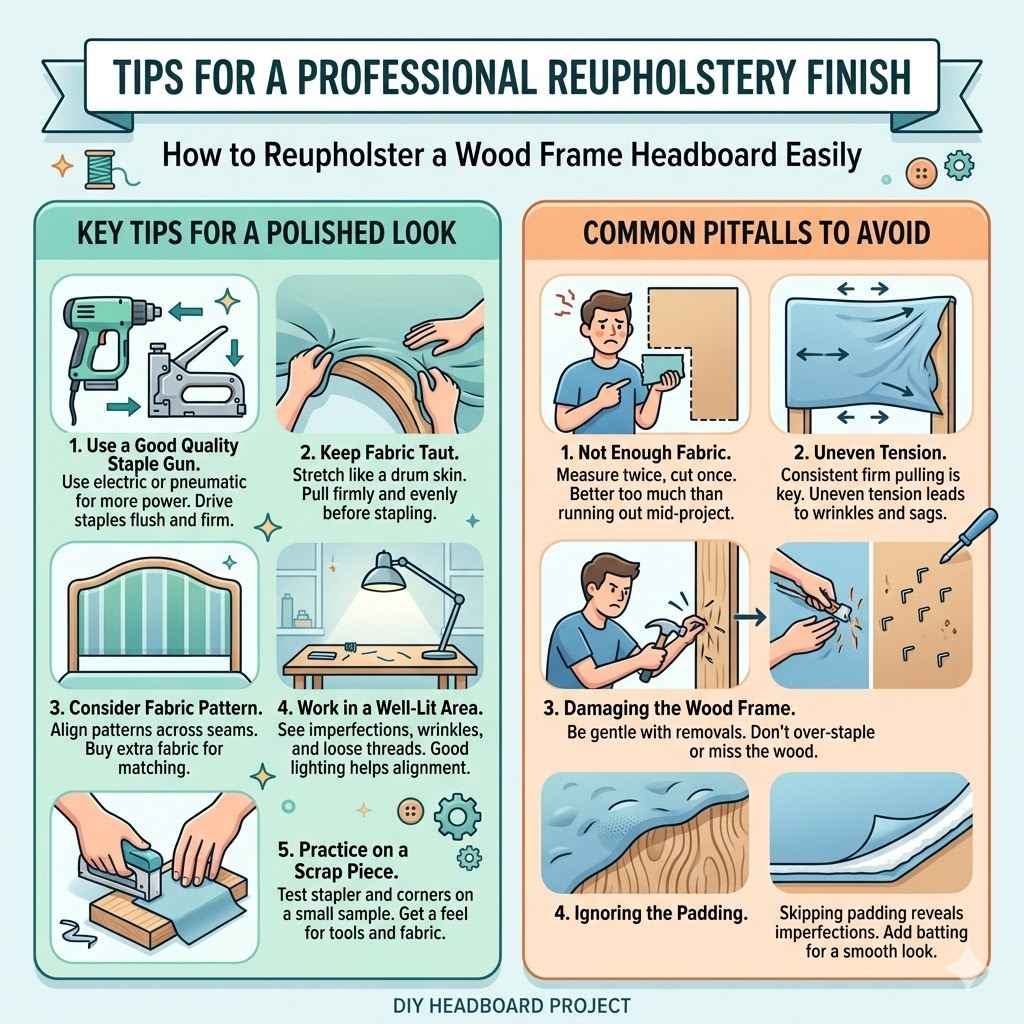
Tips For A Professional Finish
Achieving a polished look when you’re learning How to Reupholster a Wood Frame Headboard Easily involves a few tricks of the trade. These tips focus on attention to detail and careful execution, making your DIY project look like it was done by a pro.
Use a good quality staple gun.
A staple gun that can drive staples flush and firmly into wood is essential. Electric or pneumatic staple guns offer more power than manual ones, making it easier to get a secure hold without multiple tries.
Keep fabric taut at all times.
This is the most important tip for avoiding wrinkles and sags. Imagine you’re stretching a drum skin. Pull firmly and evenly as you staple.
Consider the fabric pattern.
If your fabric has a repeating pattern, carefully align it across seams or sections. You may need to buy extra fabric to ensure the pattern matches up perfectly, especially if you have multiple pieces.
Work in a well-lit area.
Good lighting helps you see any small imperfections, wrinkles, or stray threads. It makes precise stapling and fabric alignment much easier.
Practice on a scrap piece.
If you’re unsure about using the staple gun or handling corners, practice on a scrap piece of fabric and wood. This helps you get a feel for the tools and techniques.
Common Pitfalls To Avoid
Even simple projects can have challenges. Knowing what might go wrong helps you steer clear of them.
-
Not enough fabric.
Always measure twice and cut once, but it’s better to have a little too much fabric than not enough. Running out mid-project is frustrating.
-
Uneven tension.
This leads to wrinkles. Consistent, firm pulling on the fabric before stapling is key.
-
Damaging the wood frame.
Be gentle when removing old staples. If you’re using a staple gun, don’t over-staple or miss the wood, which can leave unsightly holes.
-
Ignoring the padding.
Skipping padding can mean imperfections in the wood show through the fabric. A thin layer of batting or foam smooths everything out.
Frequently Asked Questions
Question: How much fabric do I need for a standard queen size headboard
Answer: For a standard queen size headboard, you will likely need about 2 to 3 yards of fabric. It’s always best to measure your specific headboard and add extra for overlap and matching patterns.
Question: Can I reupholster a headboard with a complex shape
Answer: Yes, you can, but it requires more careful handling of the fabric, especially around curves and corners. You might need to make small relief cuts in the fabric to help it lay smoothly.
Question: How do I prevent staples from showing on the front of the headboard
Answer: Staples should only be used on the back of the wood frame, where they won’t be visible. Ensure you pull the fabric taut to cover the edges completely.
Question: What kind of fabric is best for a headboard
Answer: Durable fabrics like cotton blends, linen, polyester, or even velvet are good choices. Consider ease of cleaning and how the fabric feels to touch.
Question: Do I need to remove the headboard from the bed to reupholster it
Answer: It’s highly recommended to remove the headboard. Working on a flat surface makes it much easier to get a smooth, professional finish.
Final Thoughts
You’ve now seen how straightforward learning How to Reupholster a Wood Frame Headboard Easily can be. By following these steps, gathering your supplies, and paying attention to a few details, you can achieve a beautiful, custom look for your bedroom. Your refreshed headboard will be a source of pride.