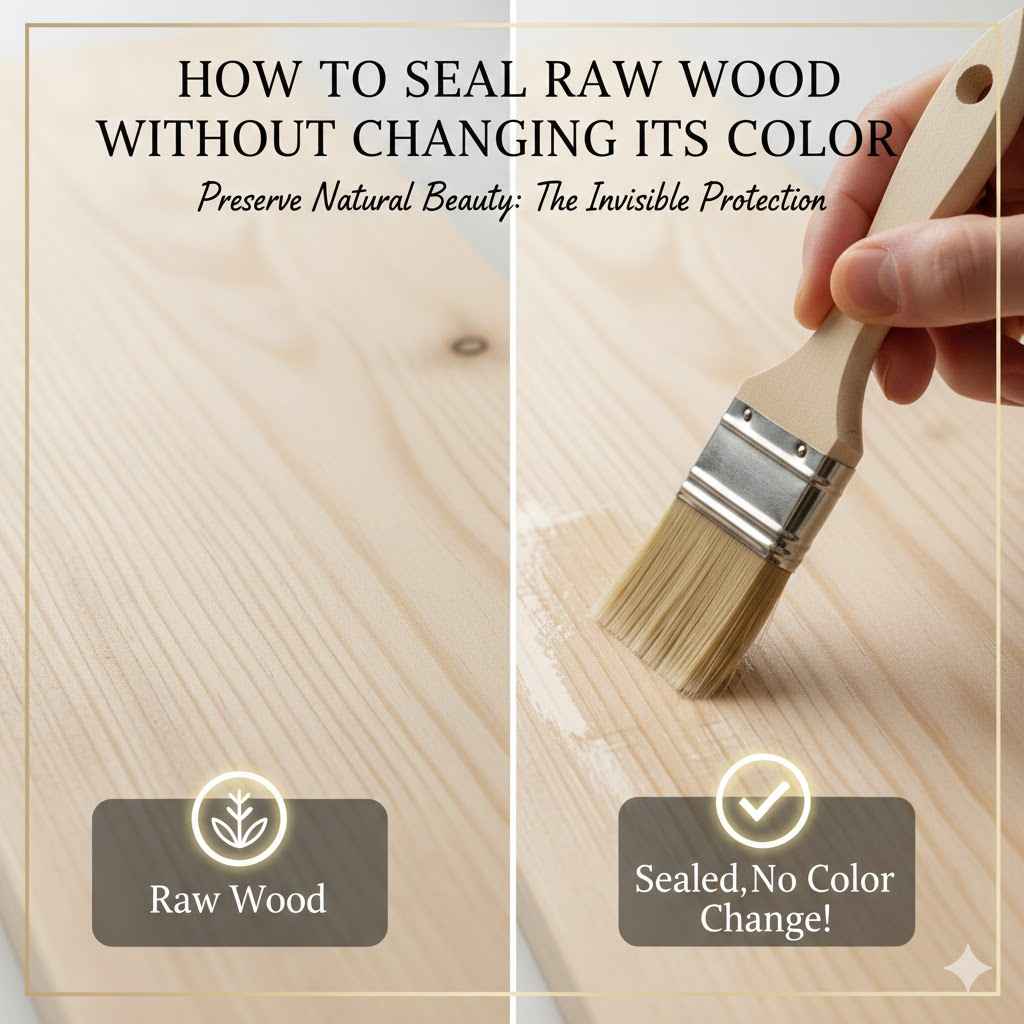
How to Seal Raw Wood Without Changing Its Color
Sealing wood is important to protect it. Many people want to keep the natural look of their wood. But it can be tricky to find ways to seal raw wood without changing its color.
This is a common challenge, especially for those just starting with woodworking or DIY projects. Don’t worry, though! This guide will show you simple steps to achieve a clear, natural finish.
We’ll cover everything you need to know to get beautiful, protected wood.
Protecting Wood Without Altering Its Appearance
Keeping wood looking natural while protecting it is a popular goal. Raw wood has a unique beauty that many want to preserve. However, traditional sealants can sometimes darken, yellow, or give wood a glossy sheen that changes its original tone.
This is why finding effective methods for how to seal raw wood without changing its color is so important for DIY enthusiasts and seasoned woodworkers alike. The right approach ensures the wood’s inherent charm is highlighted, not hidden. This section will explore why this is a common concern and introduce the principles behind achieving this delicate balance.
We will look at how to choose the right materials that work with the wood, not against it.
Understanding Wood’s Natural State
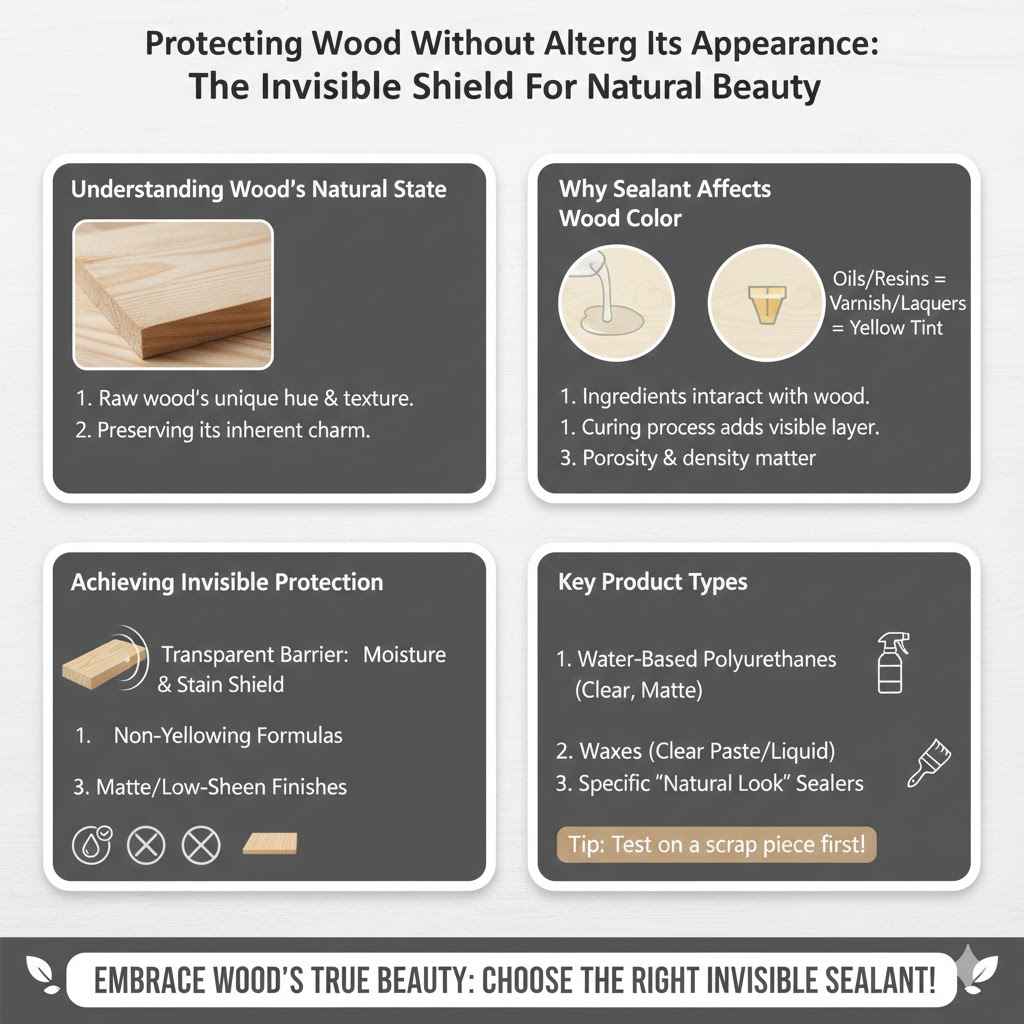
Raw wood, fresh from being cut or sanded, has a distinct character. Its color can range from pale, creamy white to deep browns and reds, depending on the species. The grain patterns are also a key part of its appeal.
When we talk about preserving this, we mean maintaining that initial hue and texture.
Many sealants add a “wet look” or a noticeable amber tone. This happens because some finishes contain oils or resins that penetrate the wood fibers and refract light differently. They can also act like a colored varnish, darkening lighter woods or making darker woods appear richer, which is not always the desired effect.
The challenge lies in finding a protective layer that acts like a shield but is as transparent as possible. This barrier needs to prevent moisture, stains, and wear without adding its own visual signature to the wood. It’s about creating a durable surface that looks almost invisible.
Why Sealant Affects Wood Color
Sealants often contain ingredients that interact with wood. Oils in some finishes can soak into the wood, darkening it. Many varnishes or lacquers have a natural yellow tint, which becomes more visible when applied.
Even water-based finishes can sometimes cause a slight darkening on certain wood types.
The way a sealant cures also plays a role. Some create a hard, glossy surface that reflects light, making the wood appear deeper or richer in color. Others, meant for outdoor use, might contain UV inhibitors or other additives that can slightly alter the wood’s tone.
Understanding these interactions is the first step to choosing a sealant that won’t change the wood’s look.
The density and porosity of the wood species also matter. More porous woods will absorb more of the sealant, leading to a more pronounced color change. Denser woods might show less of a shift, but the finish itself can still add a visible layer.
Choosing the Right Clear Wood Sealant
Selecting the correct sealant is the most critical step when aiming to preserve the natural color of raw wood. This isn’t about finding any sealant; it’s about finding one specifically designed for clarity and minimal color alteration. Many products on the market are formulated with this exact purpose in mind, often marketed as “water white,” “non-yellowing,” or “clear-finish” sealants.
The key is to read labels carefully and understand the different types of finishes available. This section will guide you through the common options, explaining their pros and cons regarding color preservation.
Water-Based Polyurethane
Water-based polyurethane is often the top choice for those wanting to maintain the wood’s original color. Unlike oil-based versions, water-based polyurethanes dry clear and are less prone to yellowing over time. They form a protective film on the surface of the wood, offering good durability against scuffs and spills.
These finishes are also known for their quick drying times and low odor, making them user-friendly for indoor projects. Applying thin coats is key to avoiding a thick, plastic-like appearance. Multiple thin layers build protection without significantly altering the wood’s tone.
Pros: Dries clear, resists yellowing, durable, fast drying, low odor.
Cons: May not offer the same depth of look as oil-based finishes, can be sensitive to application temperature and humidity.
A common misconception is that all polyurethanes will darken wood. However, high-quality water-based formulas are engineered to minimize this effect. Many woodworkers report excellent results using them on light woods like maple, birch, or pine.
Acrylic Sealers
Acrylic sealers are another excellent option for preserving the natural color of wood. They are water-based and dry to a crystal-clear finish. Acrylics offer good protection against moisture and are generally more flexible than polyurethanes, making them less prone to cracking.
These sealants are ideal for projects where the wood might experience some movement, such as tabletops or outdoor furniture (though specific outdoor-rated acrylics are recommended for exterior use). Their clarity makes them a favorite for achieving that “barely there” protective coat.
Pros: Very clear, good flexibility, water-resistant, easy cleanup.
Cons: May not be as scratch-resistant as some polyurethanes, can be more expensive.
Some acrylic sealers are specifically formulated for clarity and UV resistance. This means they are less likely to yellow even when exposed to sunlight over time. When researching acrylics, look for terms like “non-yellowing” or “UV protective.”
Mineral Spirits (for oil-based finishes)
While oil-based finishes often darken wood, diluting them significantly with mineral spirits can create a much more subtle effect. This method is sometimes used when a very light “wash” of protection is desired, and some color enhancement is acceptable, but a heavy darkening is to be avoided. It’s a delicate balance.
Diluting an oil-based product like a wipe-on polyurethane or Danish oil with mineral spirits (or turpentine) can create a finish that penetrates the wood lightly. This offers some protection while preserving more of the original color than a standard application. However, even diluted, oil-based finishes will almost always impart some color.
Pros: Offers some oil-based protection, can be subtle when heavily diluted.
Cons: Will likely still alter color, less durable than undiluted finishes, requires careful dilution.
This technique requires practice and testing on scrap wood. The ratio of mineral spirits to the finish is critical. A common starting point might be a 2:1 or 3:1 ratio of mineral spirits to finish.
The more mineral spirits, the lighter the effect.
Specialty “Water White” Lacquers
For professional-level clarity, “water white” lacquers are often used. These finishes are specifically designed to be colorless and non-yellowing. They are typically sprayed, which allows for very thin, even coats that minimize any visible film on the wood surface.
While lacquers can be more challenging for beginners due to their fast drying times and the need for spray equipment, they offer an exceptional finish that truly respects the wood’s natural color. They dry to a hard finish and are quite durable.
Pros: Extremely clear, non-yellowing, dries hard, provides a smooth finish.
Cons: Requires spray equipment, fast drying time can be tricky, more difficult for beginners.
Many woodworkers find that a few thin coats of a water-white lacquer can make wood look as though it has no finish at all, yet it is well-protected. This is the go-to for achieving a very natural, matte appearance on fine furniture.
Testing Your Sealant Application
Before applying any sealant to your main project, it is crucial to test it on scrap pieces of the same wood. This step is non-negotiable when your goal is how to seal raw wood without changing its color. Different wood species react differently to finishes, and even the same wood can vary in how it accepts a sealant depending on its moisture content and density.
Testing allows you to see exactly how the finish will look and perform on your specific material.
Why Testing is Essential
Wood is a natural material, and its appearance can vary greatly. A sealant that looks perfectly clear on one type of wood might slightly darken or yellow another. Testing ensures you avoid unwelcome surprises on your finished piece.
It also helps you perfect your application technique.
You can experiment with the number of coats and the drying time between them. This ensures you get the desired level of protection without over-applying the finish. It’s a simple step that saves a lot of potential disappointment.
For example, if you are working with pine, which has a lot of sap, a particular sealant might interact with the sap and cause a slight yellowing. Testing on a scrap piece will reveal this before you apply it to the final project.
How to Properly Test
Find a few scraps of the exact wood you are using for your project. Make sure these scraps have been prepared in the same way – sanded to the same grit. Apply the sealant you are considering using according to the manufacturer’s instructions.
Apply one coat, let it dry completely, and observe the color. Then, apply a second coat and observe again. Sometimes, the color change becomes more apparent with multiple layers.
It’s also a good idea to let the finishes cure for a day or two to see if any further color shifts occur as the sealant fully hardens.
This practical approach gives you real-world results. You can compare the sealed scraps to an unsealed piece of the same wood to clearly see any color alteration. This comparison is vital for making informed decisions.
What to Look For During Testing
When testing, pay close attention to several factors. First, note any immediate darkening or yellowing of the wood. Then, observe how the grain appears.
Some finishes can make the grain stand out more, which might be desirable or not, depending on your goal.
Also, consider the sheen. Even “matte” finishes can have a slight sheen that changes the way light reflects off the wood. You want a finish that dries to the level of gloss you desire, or even better, one that can be buffed to a very low sheen if needed.
Finally, check for any blotching or uneven application. This is often a sign that your application method needs adjustment. The goal is a uniform, clear layer of protection.
Application Techniques for Clear Finishes
Once you have chosen your sealant and tested it on scrap wood, the next vital step is applying it correctly. Proper technique is paramount when you are learning how to seal raw wood without changing its color. Even the best clear sealant can lead to an undesirable look if applied unevenly or too thickly.
The goal is a smooth, consistent finish that adds protection without being visibly apparent. This section will break down the best practices for applying sealants to achieve a natural, protected wood surface.
Surface Preparation is Key
Before applying any sealant, the wood surface must be perfectly prepared. This means thorough sanding is essential. Start with a coarser grit sandpaper (like 80 or 100 grit) to remove any imperfections or milling marks.
Progress to finer grits, typically up to 150 or 220 grit, depending on the desired smoothness.
After sanding, always remove all dust. A vacuum cleaner with a brush attachment works well, followed by a tack cloth. A tack cloth is a slightly sticky cloth that picks up fine dust particles that vacuuming might miss.
Any remaining dust will become trapped under the finish, creating a rough and unsightly surface.
A clean, dust-free surface ensures the sealant adheres properly and dries to a smooth, clear finish. Skipping this step can ruin the appearance of your project.
Applying Thin, Even Coats
The secret to a natural look is applying multiple thin coats rather than one thick one. Thick coats are more likely to create a visible film, alter the color more noticeably, and may result in an uneven, streaky appearance.
Whether you are brushing, wiping, or spraying, aim for consistent coverage. For brushing, use a high-quality synthetic bristle brush. Apply the finish in the direction of the wood grain.
Avoid overloading the brush.
For wiping, a clean, lint-free cloth is best. Apply a small amount of finish and wipe it evenly across the surface. For spraying, follow the manufacturer’s recommendations for distance and overlap.
Sanding Between Coats
Lightly sanding between coats of sealant is crucial for a smooth finish. After the first coat has dried completely, use very fine-grit sandpaper (220 grit or higher) or a synthetic steel wool pad (like 0000 grade). The goal is not to remove the finish but to knock down any slight imperfections, dust nibs, or raised grain.
After sanding, again, remove all dust with a vacuum and a tack cloth. This creates a perfectly smooth surface for the next coat, ensuring that each layer bonds well and contributes to a flawless final appearance. This step is vital for achieving that “barely there” protective finish.
This is especially important for water-based finishes, which can sometimes raise the wood grain slightly as they dry. Sanding between coats prevents this from becoming an issue.
Allowing Adequate Drying and Curing Time
Patience is key. Always allow each coat of sealant to dry completely before applying the next. Drying times vary depending on the product and environmental conditions like temperature and humidity.
Always refer to the product’s instructions.
Curing is a longer process where the sealant hardens completely and reaches its maximum durability. While a project might feel dry to the touch within hours, it can take days or even weeks to fully cure. Avoid heavy use or placing objects on the surface until it has fully cured to prevent damage.
Example Scenario: You’re refinishing an old pine tabletop. You’ve sanded it smooth and are using a water-based polyurethane. You apply the first coat and let it dry for two hours.
You then lightly sand with 320-grit sandpaper, wipe with a tack cloth, and apply a second thin coat. After another two hours, you repeat the sanding and wiping, and apply a third coat. You then let the table cure for 7 days before using it normally.
This careful approach ensures a durable, clear finish.
Maintaining the Natural Wood Look
Achieving a natural, color-true finish on raw wood is a significant accomplishment. However, the job isn’t quite done yet. The long-term appearance and durability of your sealed wood depend on how you care for it.
Proper maintenance ensures that the protective layer remains intact and that the wood continues to look its best for years to come. This section will provide practical tips for maintaining that beautiful, natural wood aesthetic.
Regular Cleaning Practices
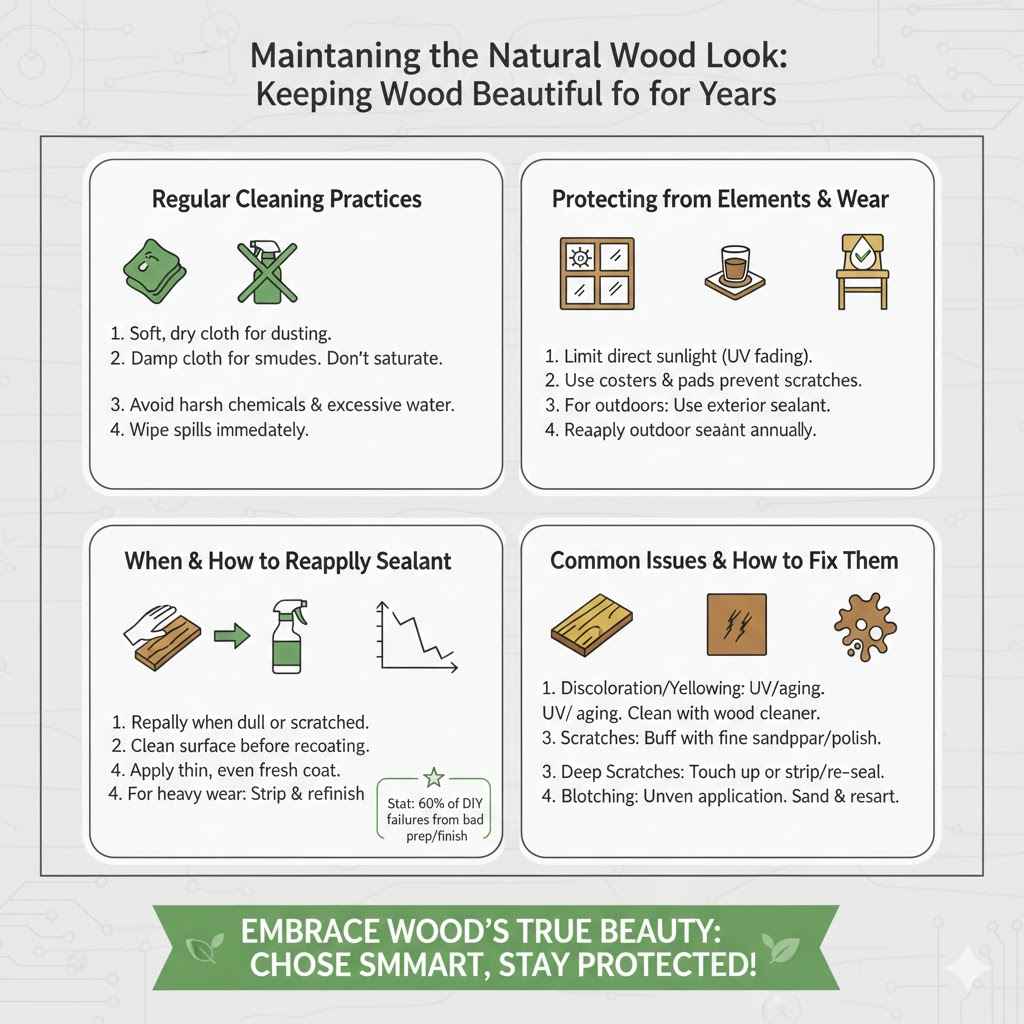
Cleaning your sealed wood should be done gently to avoid damaging the finish. The best method is usually a soft, dry cloth for dusting. For more stubborn dirt or light smudges, use a slightly damp cloth, being careful not to saturate the wood.
Avoid using harsh chemical cleaners, abrasive pads, or excessive water. These can break down the sealant over time, leading to discoloration or a compromised protective layer. Always wipe spills immediately to prevent them from soaking into the wood or affecting the finish.
A good rule of thumb is to clean as needed, but always use the least aggressive method possible. For most everyday dust and grime, a microfiber cloth is all you need.
Protecting from Elements and Wear
Sunlight can cause wood to fade or change color over time, even with a clear sealant. If your project is exposed to direct sunlight, consider using curtains or blinds to limit UV exposure. Some sealants include UV inhibitors, but prolonged exposure can still cause changes.
Protecting the surface from scratches and dents is also important. Use coasters under drinks, placemats under dishes, and felt pads under furniture legs. These simple measures prevent direct impact that can damage the sealant and expose the raw wood underneath.
For outdoor furniture, choose sealants specifically designed for exterior use. These often contain mildew inhibitors and better UV protection. Regular reapplication of an exterior sealant is usually necessary, typically once a year or as the finish begins to show wear.
When and How to Reapply Sealant
Eventually, even the best sealants will show signs of wear. You might notice dull spots, light scratches, or areas where the finish seems to have worn away. When this happens, it’s time for reapplication.
For most clear sealants, recoating is straightforward. Lightly clean the surface to remove any dirt or grime. Then, apply a fresh coat of the same sealant.
For some finishes, like polyurethane, a light sanding between coats is still recommended even when recoating.
If the original finish was a different type, or if it’s severely damaged, you might need to strip and refinish the piece entirely. However, for minor wear, a simple recoat is often sufficient. The key is to address wear and tear early to prevent more significant damage.
One statistic from a wood finishing industry report indicated that over 60% of DIY wood projects that fail do so due to inadequate surface preparation or improper finishing techniques, highlighting the importance of careful application and maintenance.
Common Issues and How to Fix Them
If you notice slight discoloration or yellowing over time, it might be due to UV exposure or the sealant itself aging. For minor yellowing on water-based finishes, sometimes a gentle cleaning with a specialized wood cleaner can help.
Scratches can often be buffed out with fine-grit sandpaper or a polishing compound, depending on the sealant. If a scratch is deep enough to go through the finish, you may need to touch it up with a new coat of sealant.
Blotching, if it appears after application, is usually due to uneven application or the sealant interacting with the wood’s grain. This is why thorough testing and thin, even coats are so important. If blotching is significant, you might need to sand down to the bare wood and start over.
Frequently Asked Questions
Question: Will any clear sealant change the color of wood?
Answer: Most sealants will impart some change, even if subtle. The goal is to find those that change it the least, like water-based polyurethanes or acrylics, which are designed to be clear and non-yellowing.
Question: How many coats of clear sealant should I apply?
Answer: It’s generally best to apply multiple thin coats, typically two to four, depending on the desired level of protection and the product used. Thin coats build protection without altering the color significantly.
Question: Can I use oil-based finishes if I want to keep the color natural?
Answer: Oil-based finishes tend to darken wood more than water-based ones. If you use them, diluting them heavily with mineral spirits might help, but it’s usually better to opt for water-based clear finishes for maximum color preservation.
Question: What’s the best way to clean sealed wood without damaging the finish?
Answer: Use a soft, dry cloth for dusting. For light smudges, a slightly damp cloth is usually sufficient. Avoid harsh chemicals, abrasives, and excessive water.
Question: How do I know if my sealant is protecting the wood color?
Answer: Test your chosen sealant on scrap pieces of the same wood before applying it to your project. This allows you to see exactly how it affects the color before committing.
Summary
Preserving the natural hue of raw wood while adding protection is achievable. By carefully selecting clear, non-yellowing sealants like water-based polyurethanes or acrylics and applying them in thin, even coats, you can shield your wood without altering its beautiful original color. Always test first on scrap pieces and maintain your finish with gentle cleaning.