How to Stain Cabinets Already Stained
So you want to change the color of your cabinets, but they already have a finish on them? It can seem tricky at first, especially if you’re new to DIY projects. You might wonder if you even can stain cabinets that already have stain or paint.
The good news is you absolutely can! It just takes a few extra steps to get them ready. We’ll walk you through exactly what to do, step-by-step, so you can achieve beautiful, updated cabinets without any stress.
Preparing Cabinets for New Stain
Before you can apply a new stain, the existing finish on your cabinets needs to be properly prepped. This is the most important part of the whole process because it ensures your new stain will stick and look smooth. Skipping these steps can lead to blotchy results or a finish that peels off later.
We’ll cover how to clean, degrease, and abrade the surface so it’s ready for a fresh look.
Cleaning and Degreasing
Cabinets, especially in kitchens, often have a buildup of grease and grime. This film can prevent new finishes from adhering properly. A good cleaning removes this layer.
- Use a good degreaser. Products designed for kitchen grease work best. You can also use a solution of one part white vinegar to four parts warm water. Make sure to wipe down all surfaces thoroughly.
- Rinse well. After degreasing, wipe all surfaces with a damp cloth using clean water. This removes any residue from the cleaner. Allow the cabinets to dry completely before moving to the next step.
- Check for existing finishes. Make sure you know if your cabinets are painted or stained. If they are painted, you might need different prep steps, or even consider stripping the paint if the paint is in bad condition. This guide focuses on cabinets that are already stained or varnished.
Sanding the Surface
Sanding is crucial for creating a surface that new stain can grip onto. Even if your cabinets are smooth, they have a top coat that needs to be scuffed up.
- Choose the right sandpaper. For most finishes, start with a medium-grit sandpaper, around 120-150 grit. This will create enough ‘tooth’ for the stain to adhere. Avoid very coarse sandpaper, which can leave deep scratches.
- Sand with the grain. Always move your sandpaper in the direction of the wood grain. This helps hide the sanding marks. If you sand across the grain, the scratches will be very visible under the new stain.
- Consider electric sanders. For large areas, a random orbital sander can save a lot of time. However, be careful not to over-sand or apply too much pressure, which can damage the wood. For detailed areas like cabinet doors, sanding by hand is often best.
- Wipe away dust. After sanding, use a tack cloth or a damp cloth to remove all the dust. This is a vital step. Any lingering dust will get into your new stain and make the finish look rough.
Applying Wood Conditioner
Wood conditioner is a product that helps create a more even stain absorption. It’s especially useful on woods that tend to stain blotchy, like pine or maple. It acts like a primer for stain.
What is Wood Conditioner?
Wood conditioner is a liquid product that you apply to bare wood before staining. It works by sealing the wood’s pores to a certain degree, preventing some areas from soaking up more stain than others.
- How it works. Think of it like putting a thin layer of primer on a wall before painting. It evens out the surface so the next layer of color goes on uniformly. Without conditioner, some woods can look like they have dark and light patches after staining.
- When to use it. It’s highly recommended for soft woods like pine, maple, birch, and alder. Hardwoods like oak and cherry are less prone to blotching, but using a conditioner can still ensure a more predictable and even color. If your existing cabinets have a finish that was sanded down to bare wood, conditioner is a good idea.
- Application. Apply the wood conditioner evenly with a brush or cloth, following the wood grain. Let it sit for the time recommended on the product label, usually 5 to 15 minutes. Do not let it dry completely. Wipe off any excess conditioner that hasn’t soaked in.
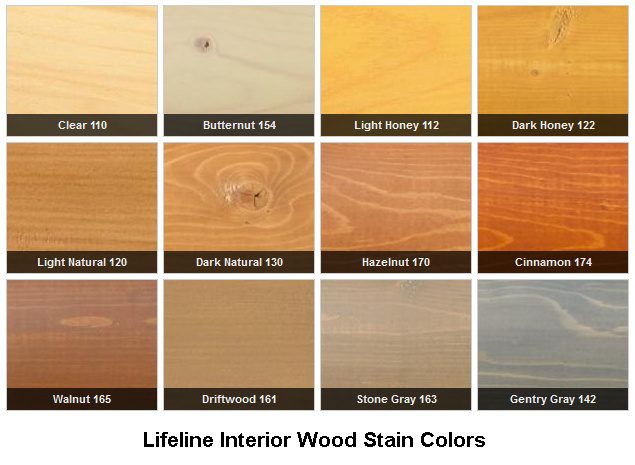
Choosing and Applying New Wood Stain
Once your cabinets are prepped, it’s time to pick out your new stain color and apply it. This is where you see the transformation begin. There are different types of stains, each with its own characteristics.
Types of Wood Stain
Stains add color to wood. They don’t form a protective layer themselves; that comes from a topcoat. Knowing the differences helps you choose the best one for your project.
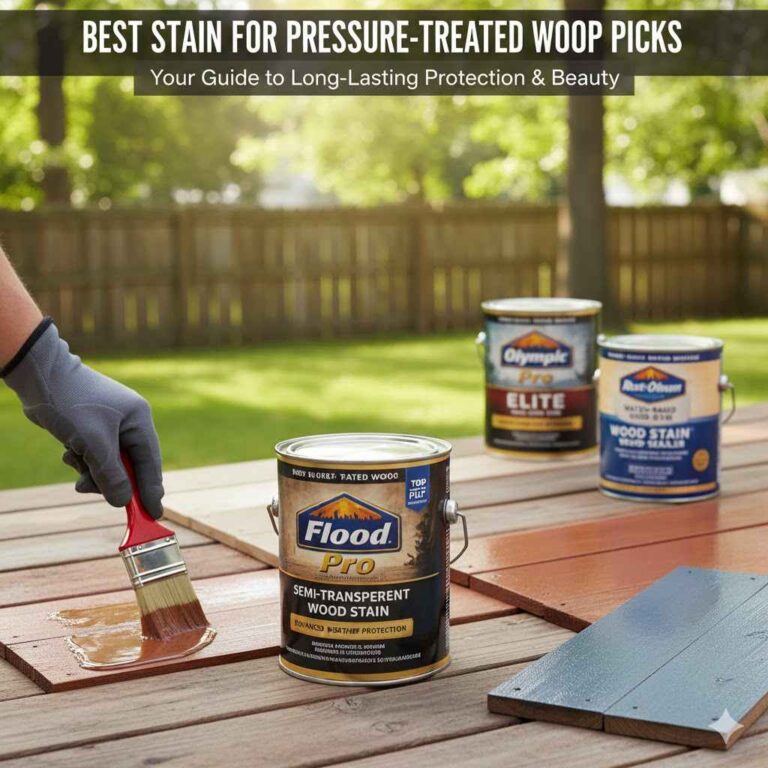
- Oil-based stains. These are traditional and penetrate wood well, offering rich, deep colors. They are durable and offer good coverage. They take longer to dry, often requiring 24 hours between coats or before applying a topcoat. The fumes can be strong.
- Water-based stains. These dry much faster, usually within a few hours. They are easier to clean up with water. However, they can raise the wood grain, requiring an extra light sanding after the first coat dries. They might not penetrate as deeply as oil-based stains for very dark colors.
- Gel stains. These are thicker and more like a paint. They sit more on top of the wood surface rather than penetrating deeply. This makes them excellent for going over existing finishes without extensive stripping. They offer great color control and are less prone to drips.
- Pre-stain wood conditioners. While not a stain itself, this is a product applied before stain. It helps the wood absorb stain more evenly, preventing blotchy areas. It’s very useful for woods that are prone to uneven staining, like pine or maple.
Application Techniques
How you apply the stain makes a big difference in the final look. Working methodically ensures a smooth and professional finish.
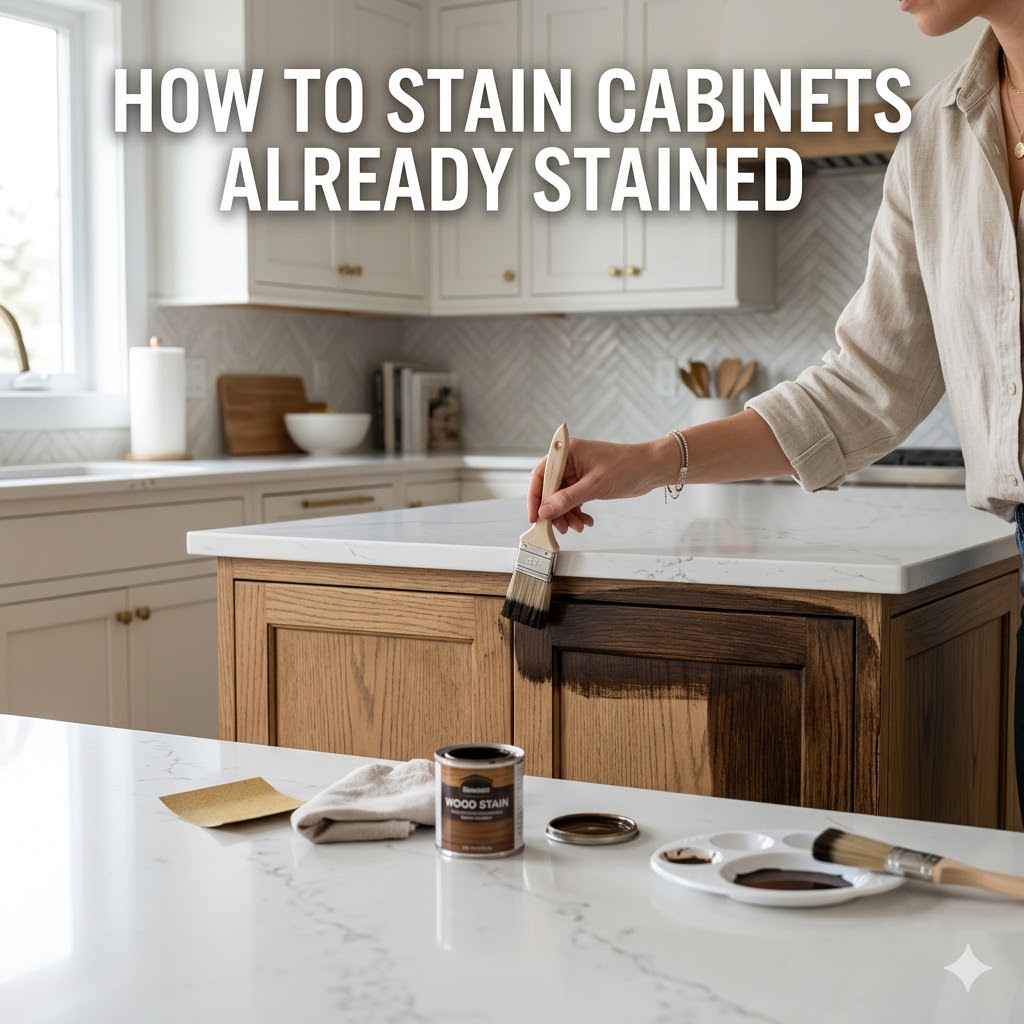
- Work in small sections. Apply stain to one door or a small part of a cabinet frame at a time. This way, you can control the process and wipe off excess before it dries too much.
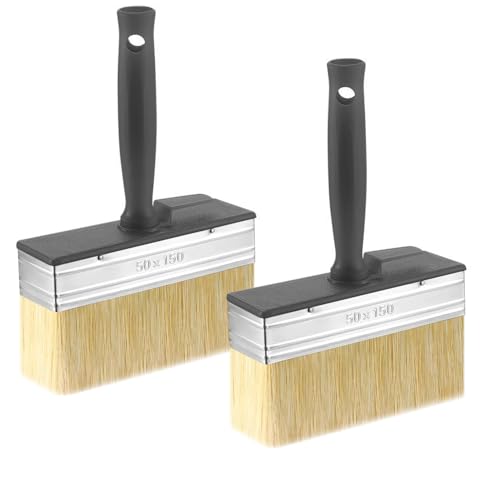
- Apply with the grain. Use a good quality brush, foam applicator, or lint-free cloth. Apply the stain evenly, always moving in the direction of the wood grain. Don’t paint it on like regular paint.
- Wipe off excess. After letting the stain penetrate for a few minutes (check the product instructions for the exact time), wipe off the excess stain with a clean, lint-free cloth. Again, wipe with the grain. The longer you leave the stain on before wiping, the darker the color will be.
- Allow drying time. Let the stain dry completely according to the manufacturer’s instructions. This is crucial before applying another coat or a topcoat.
- Build color gradually. If you want a deeper color, apply a second coat after the first is dry. Two thin coats are usually better than one thick coat for an even finish.
Sealing and Protecting Your Stained Cabinets
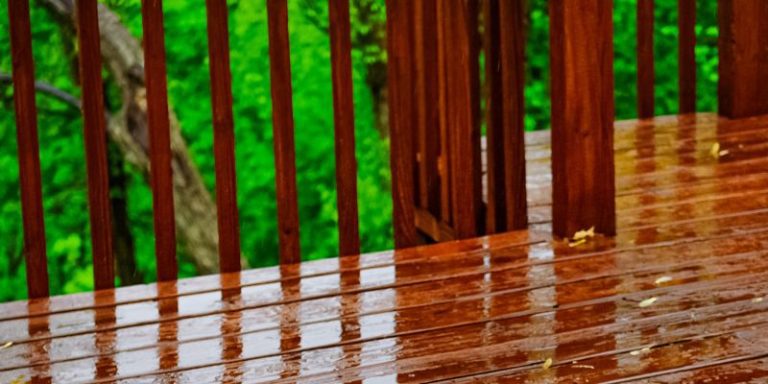
Once your cabinets have the desired stain color, they need protection. Stain alone isn’t durable enough for daily use. A protective topcoat will guard against wear, moisture, and scratches.
Choosing a Topcoat
The topcoat is what gives your cabinets their lasting finish. It seals in the stain and provides a smooth, protective layer.
- Polyurethane. This is a very popular choice for cabinets. It’s durable, water-resistant, and comes in different sheens (matte, satin, semi-gloss, gloss). Oil-based polyurethane is very durable but can yellow over time. Water-based polyurethane dries clear and is less prone to yellowing.
- Varnish. Similar to polyurethane, varnish offers good protection. It’s also available in different sheens and can be oil-based or water-based. It’s a reliable choice for high-traffic areas.
- Lacquer. Lacquer dries very quickly and provides a hard finish. It’s often used by professionals. However, it can be more challenging for DIYers due to its fast drying time and the need for good ventilation.
- Water-based polyacrylic. This is a good option if you want a clear, non-yellowing finish. It’s durable and easy to clean up. It offers good protection for cabinets and is a user-friendly choice.
Applying the Topcoat
Applying the topcoat requires patience and care. Like staining, a smooth application is key to a professional look.
- Apply thin coats. It’s better to apply two or three thin coats of topcoat than one thick one. Thin coats dry more evenly and are less prone to drips or brush marks.
- Sand lightly between coats. After each coat of topcoat dries, lightly sand the surface with very fine-grit sandpaper (220-320 grit). This smooths out any imperfections and helps the next coat adhere better.
- Wipe away dust. After sanding, use a tack cloth to remove all dust. This is essential for a smooth finish.
- Let it cure fully. The topcoat will feel dry to the touch relatively quickly, but it takes much longer to ‘cure’ and reach its full hardness. Follow the manufacturer’s recommendations for curing time before using your cabinets normally. This can range from a few days to a couple of weeks.
Troubleshooting Common Issues
Even with careful preparation, you might encounter a few problems. Knowing how to fix them can save your project.
Blotchy Stain
This is one of the most common issues when staining wood. It happens when the wood absorbs the stain unevenly, leading to dark and light patches.
- Cause. This is usually due to the wood’s natural grain pattern and porosity. Some areas absorb more stain than others. Woods like pine, maple, and birch are more prone to this.
- Solution. The best solution is to use a pre-stain wood conditioner before applying the stain. If you’ve already stained and it’s blotchy, you can try to lightly sand the blotchy areas and re-stain. Sometimes, a gel stain can help cover up minor blotchiness because it sits more on the surface.
- Prevention. Always test your stain color and application on a scrap piece of wood from the same project, or on the inside of a cabinet door, to see how it will look. Use a conditioner every time you stain woods known for blotching.
Brush Marks and Drips
Visible brush strokes or drips can make a project look unfinished. These are usually caused by application technique or too much product.
- Cause. Applying too much stain or topcoat, not wiping off excess stain properly, or using a low-quality brush can lead to these issues. Drips often happen on vertical surfaces or edges.
- Solution. For stains, you can often wipe away drips immediately with a cloth. For topcoats, you can lightly sand down the offending area once dry and reapply a thin coat smoothly. Use a high-quality brush and apply thin, even coats. Wipe excess product off your brush before applying.
- Prevention. Use good quality tools. Don’t overload your brush. Work with the grain and keep a wet edge to avoid lap marks. For edges and vertical surfaces, be extra careful to apply thinly and evenly.
Uneven Color
This can happen if the stain wasn’t applied evenly or if the wood wasn’t properly prepared.
- Cause. This could be due to not sanding enough, not cleaning off dust, or not using a wood conditioner on blotch-prone woods. It can also happen if you didn’t wipe off the stain evenly after application.
- Solution. If the color is too light in spots, you might be able to apply another thin coat of stain to those areas, letting it penetrate for a shorter time. If it’s too dark or blotchy, you might need to use a paint stripper or de-glosser to remove the stain and start over, this time with proper prep.
- Prevention. Thorough prep work is key. Test your stain color first. Apply stain evenly and wipe off excess consistently across all surfaces.
Frequently Asked Questions
Question: Can I paint over stained cabinets instead of staining them again?
Answer: Yes, you can paint over stained cabinets, but proper prep is still essential. You’ll need to clean, degrease, and lightly sand the cabinets to create a surface for the paint to adhere to. A primer is also highly recommended before painting.
Question: How long does it take to stain cabinets that are already stained?
Answer: The time can vary greatly depending on the size of your kitchen and your working speed. A typical kitchen can take anywhere from a weekend to a week or more, factoring in drying times between coats and for the topcoat to cure.
Question: Do I need to strip the old stain completely?
Answer: Not always. If the old stain is in good condition, you can often just scuff sand the surface to create adhesion for a new stain or a gel stain. Stripping is usually only necessary if the old finish is peeling, damaged, or if you are trying to achieve a dramatically lighter color.
Question: What is the easiest way to stain kitchen cabinets?
Answer: Using a gel stain is often considered the easiest method for DIYers when staining cabinets over an existing finish. Gel stains are thicker, more forgiving, and offer better control, making them ideal for achieving a smooth, even color without extensive stripping.
Question: Will the new stain color match the old one?
Answer: No, the new stain color will be entirely different from the old one. You are essentially applying a new color over the existing surface. The final color will depend on the new stain you choose, the type of wood, and how many coats you apply.
Summary
Changing the look of your cabinets by restaining is a rewarding DIY project. By carefully cleaning, sanding, and prepping the existing finish, you create a perfect base. Using a wood conditioner, choosing the right stain, and applying it evenly ensures a beautiful result.
Finally, sealing with a durable topcoat protects your work for years to come. You can achieve stunning updated cabinets with these simple steps.