How to Take a Kwikset Deadbolt Off (No-Screw SmartKey Models Too)
A Kwikset deadbolt comes off in about six steps once the two interior mounting screws are out — but on newer SmartKey models with no visible screws, you have to release a hidden clip instead. Forcing a screwdriver into the wrong spot can strip the screw or scratch the door. This guide covers the full removal process for both standard and no-screw SmartKey deadbolts, plus what to do if a screw strips or the bolt won’t budge.
What Is a Kwikset Deadbolt?
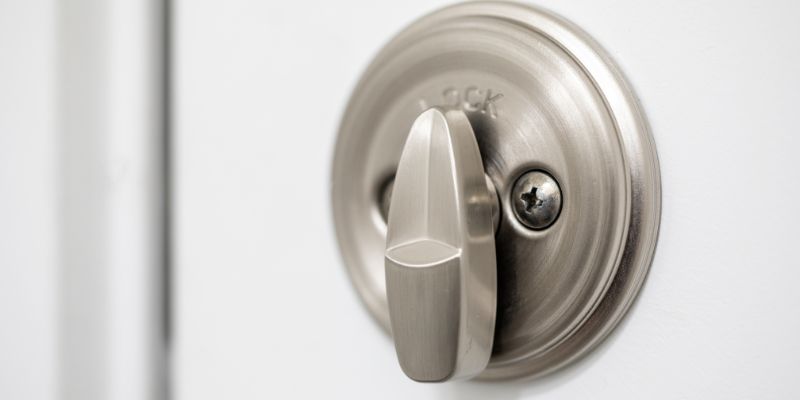
A Kwikset deadbolt is a lock that secures a door by sliding a solid metal bolt into the door frame, separate from the spring-latch on the doorknob. People remove one to replace it, fix a stuck mechanism, or upgrade to a keypad or smart lock. There are two main types: single-cylinder (key outside, thumb-turn inside) and double-cylinder (key on both sides). Knowing your type determines exactly where the mounting screws are. If you need to go further than removal, such as cleaning or replacing a part inside the cylinder, see our guide on how to disassemble a Kwikset deadbolt.
Why Remove a Kwikset Deadbolt?
You might need to remove a Kwikset deadbolt for a few reasons: it’s stuck and won’t turn, you’re moving and want a fresh lock, or you want to upgrade to a keypad or smart deadbolt. Whatever the reason, it’s a job most homeowners can finish with a screwdriver and about 10–15 minutes.
Tools You’ll Need
You don’t need fancy tools to take off a Kwikset deadbolt. Here’s what’s required:
- Phillips screwdriver: For most mounting screws.
- Flathead screwdriver: To pry off covers and SmartKey clips.
- Allen wrench (1/16-inch): For models with a set screw on the thumb-turn.
- Pliers: To pull stuck parts free.
- Utility knife: To cut through paint sealing the plate to the door.
Here’s a quick table to help you pick tools:
| Tool | Use | Cost (Approx.) |
|---|---|---|
| Phillips screwdriver | Remove mounting screws | $5–$10 |
| Flathead screwdriver | Pry off covers/clips | $5–$10 |
| Allen wrench | Remove set screws | $3–$8 |
Caption: Basic tools for removing a Kwikset deadbolt.
Best Direct-Replacement Pick
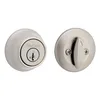
Kwikset 660 Deadbolt Lock, Satin Nickel – $19.97
A standard single-cylinder replacement that mounts with the same two interior screws covered in the steps above — no new holes to drill.
- Best for: Direct swap after removing an old or stuck deadbolt
- Why we picked it: Same mounting pattern as most standard Kwikset deadbolts, so no re-drilling
- Main drawback: Standard key-and-thumbturn only — no keypad or app control
Compare more deadbolt options
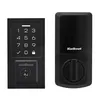 Option 1 Kwikset SmartCode 270 Keypad Deadbolt – $98.00
|
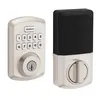 Option 2 Kwikset Powerbolt 250 Keypad Deadbolt – $69.97
|
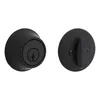 Option 3 Kwikset 660 Deadbolt, Matte Black – $24.00
|
As an Amazon Associate we earn from qualifying purchases.
How to Remove a Kwikset Deadbolt: Step-by-Step
Here’s the full process for both single-cylinder and double-cylinder locks. According to Kwikset’s own official support documentation, the core instruction is simple: “Remove the two screws located on the interior side of the door.” The steps below expand on that with the details Kwikset’s short answer leaves out.
Step 1: Get Your Door Ready
Open your door wide so it stays steady while you work. If the deadbolt is locked, unlock it with the key or thumb-turn first — a locked bolt makes removal harder.
Step 2: Find and Remove the Screws
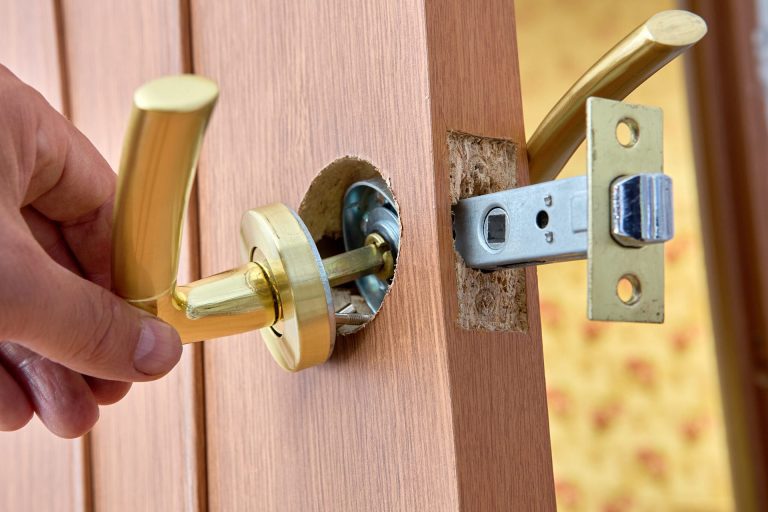
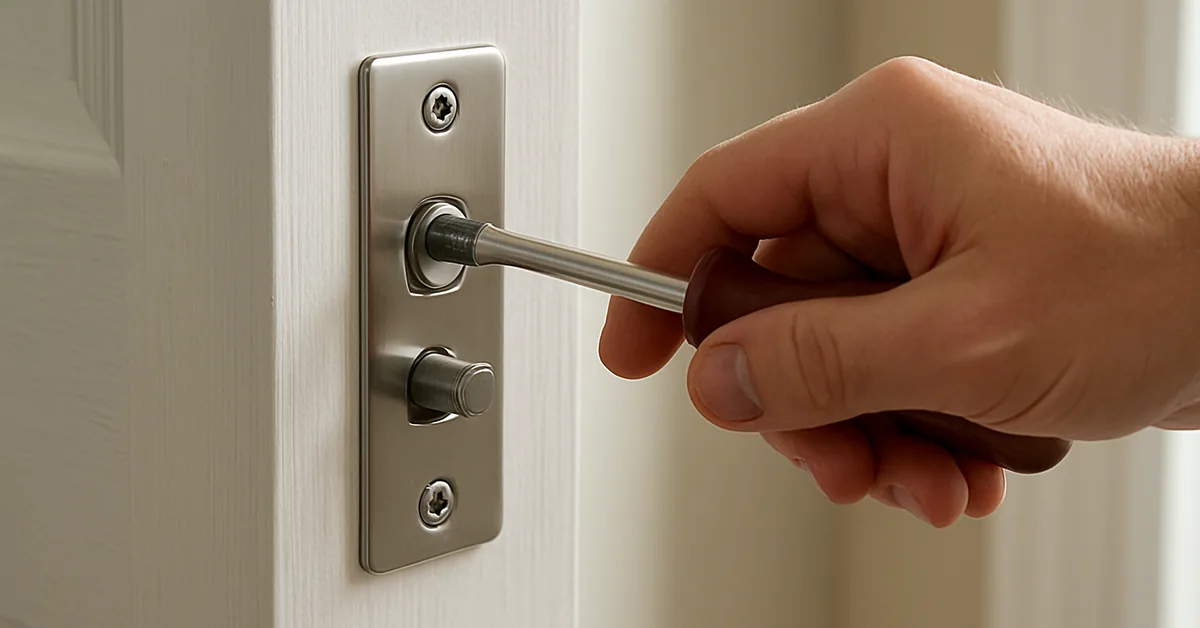
Look at the interior thumb-turn side. You’ll see two screws, usually above and below the thumb-turn. Use a Phillips screwdriver to take them out and keep them in a cup so they don’t get lost. For double-cylinder locks, check both sides for screws.
Step 3: Check for a Set Screw
Some Kwikset models have a tiny set screw on the thumb-turn — a small hole needing a 1/16-inch Allen wrench. Turn it counterclockwise to loosen it. If it’s stuck, don’t force it; a light spray of penetrating lubricant and a minute of wait time usually frees it.
Step 4: Take Off the Faceplate
Once the screws are out, gently pull the inside faceplate off. If it’s stuck, pry it gently with a flathead screwdriver. If paint is sealing the plate to the door, cut around it with a utility knife first so you don’t chip the paint.
Step 5: Remove the Exterior Part
Pull the outside (key side) away from the door. It should slide out along with the bolt mechanism. For double-cylinder locks, you may need to remove screws on the outside too.
Step 6: Take Out the Bolt Mechanism
The bolt is the metal piece set into the door’s edge. Find the two small screws holding it in place, unscrew them, and pull the bolt out. If it’s stuck, use pliers to wiggle it free.
Here’s a table summarizing the steps:
| Step | Action | Tool Needed |
|---|---|---|
| 1. Get door ready | Open door, unlock deadbolt | Key (if needed) |
| 2. Remove screws | Unscrew inside faceplate | Phillips screwdriver |
| 3. Check set screw | Loosen set screw (if present) | Allen wrench |
| 4. Remove faceplate | Pry off inside plate | Flathead screwdriver |
| 5. Remove exterior | Pull out key side | Hands |
| 6. Remove bolt | Unscrew and pull bolt | Phillips screwdriver |
Caption: Steps to remove a Kwikset deadbolt.
What If There Are No Visible Screws? (SmartKey Models)
Newer Kwikset SmartKey deadbolts hide the release with a clip instead of exposed screws. Wedge a flathead screwdriver under the arch of the clip on the cylinder housing and work it off gradually, then rotate the cover to the keyway and push the cylinder out through the front of the housing. Do not remove screws from inside the cylinder housing itself — that risks damaging the internal SmartKey pins, and re-assembly requires a SmartKey Security Tool rather than a standard screwdriver.
📊 ANSI/BHMA Grade 1 deadbolts are tested to withstand 250,000 open-close cycles, versus 150,000 cycles for Grade 2 — a 67% higher durability requirement. — Source: PDQ Locks, ANSI Grade 1 vs. Grade 2 Door Hardware Guide
Tips to Avoid Common Mistakes
A few mistakes are easy to make the first time. Here’s how to avoid them:
- Don’t force screws: If they’re stuck, spray penetrating lubricant and wait a minute before trying again.
- Check for hidden screws: Some models hide screws under a cover — pop it off with a flathead screwdriver.
- Avoid scratching the door: Cut through any paint sealing the plate with a utility knife first.
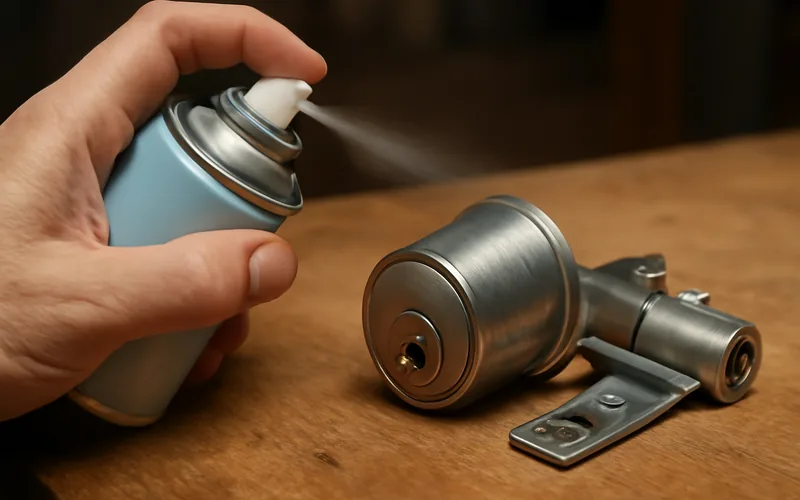
“The set screw on the thumb-turn was completely seized the first time I tried this — a light spray of penetrating lubricant and a minute of wait time was the game-changer that finally let it turn.”
Benefits and Drawbacks of Removing a Deadbolt
Removing a Kwikset deadbolt is worth it for upgrading or fixing a lock. You can install a smart lock for keyless entry, but your door goes without a lock temporarily, so plan ahead. Rekeying is the alternative — it keeps the existing lock but changes what key opens it, and it’s cheaper but needs a SmartKey tool rather than a screwdriver.
Here’s a comparison:
| Option | Pros | Cons |
|---|---|---|
| Remove deadbolt | Upgrade to new lock, fix issues | Door is unlocked until replaced |
| Rekey deadbolt | Cheaper, keeps same lock | Needs a SmartKey tool, more steps |
Caption: Removing vs. rekeying a Kwikset deadbolt.
A few extra tricks that make the job go faster:
- Work in good light: It’s easier to see small screws and set screws.
- Take photos as you go: A quick picture of each step makes reassembly or a new install easier.
- Be patient with stuck parts: Gentle wiggling works better than force.
Other Ways to Handle a Deadbolt
If removing the deadbolt seems like too much, there are other options. Penetrating lubricant can free a stuck lock without full removal. Rekeying with a Kwikset SmartKey tool works if you just need a new key. For tough cases, a locksmith can help for a fee. Check Kwikset’s official support page for model-specific instructions.
This guide is part of our broader door hardware and locks coverage, where we cover installs, repairs, and troubleshooting for the most common residential lock brands.
Frequently Asked Questions
How Do I Remove a Kwikset Deadbolt Without a Key?
If it’s single-cylinder, unlock it with the interior thumb-turn instead of the key. For double-cylinder locks, you may need a locksmith to pick the lock first. Then follow the standard steps to unscrew and remove the faceplate and bolt, working gently to avoid damaging the door.
What If My Kwikset Deadbolt Is Stuck?
A stuck deadbolt usually has paint or rust sealing it in place. Cut around the faceplate with a utility knife, spray penetrating lubricant into the bolt mechanism, and wiggle it gently. A flathead screwdriver can help pry it loose carefully if it’s still stuck after that.
Can I Remove a Kwikset Smart Lock the Same Way?
Yes. Kwikset smart locks use a similar process — remove the battery cover first, then find the screws underneath. Unscrew them and follow the same steps to remove the faceplate and bolt.
How Long Does It Take to Remove a Kwikset Deadbolt?
It usually takes 10–15 minutes with the right tools. Add another 5–10 minutes if screws are stuck or the lock is old. Work slowly and keep all parts in a cup for easy reassembly or replacement.
What Tools Do I Need to Remove a Kwikset Deadbolt?
A Phillips screwdriver, a flathead screwdriver, and sometimes a 1/16-inch Allen wrench for set screws. Pliers and a utility knife help with stuck parts or paint. All of these are inexpensive and available at any hardware store.
Can I Reuse a Kwikset Deadbolt After Removing It?
Yes, if it’s not damaged. Keep all parts together and clean them with mild soap and water before reinstalling. If it’s old or sticky, replacing it is usually worth the small cost for better security.
What If I Strip the Screws?
Stripped screws are annoying but fixable. Use a rubber band over the screw head to grip it with your screwdriver, or try a screw extractor tool from a hardware store. Work slowly to avoid making it worse.
Conclusion
Removing a Kwikset deadbolt is a manageable DIY project once you know where the screws are — or how to release the SmartKey clip on newer no-screw models. With the right tools and about 10–15 minutes, you can have it off and ready for a replacement, an upgrade, or a rekey.
Choosing the right approach — full removal, a rekey, or a straight swap — depends on why you’re taking the deadbolt off in the first place. Whichever route you pick, keep every screw and part organized so reinstalling or replacing it goes just as smoothly as taking it off.
Sponsored / affiliate links. As an Amazon Associate I earn from qualifying purchases. I may earn additional commission from eligible campaigns.