How to Tell Difference Between Wood and Metal Drill Bits: Essential Guide
Quick Summary:
Wood drill bits have a sharp, pointed tip for clean entry and are often made of high-speed steel (HSS) or carbon steel. Metal drill bits are typically made of harder materials like cobalt or titanium-coated HSS, featuring a sharper point angle and flutes designed for efficient chip removal to prevent overheating.
Hey there, DIY enthusiasts! Md Meraj here, your go-to guide for all things home improvement and woodworking. Ever stood in front of a wall of drill bits at the hardware store, feeling a little overwhelmed? You’re not alone! Picking the right drill bit can seem tricky, especially when you need to drill into different materials. Using the wrong bit can lead to frustrating results, like splintered wood or a hole that’s just not clean. But don’t worry! This guide is here to demystify drill bits. We’ll walk through exactly how to spot the difference between bits made for wood and those designed for metal, so you can tackle your next project with confidence and get those perfect holes every time.
Why Knowing Your Drill Bits Matters
Choosing the correct drill bit is more than just a minor detail; it’s the key to a successful and safe project. Imagine trying to cut through butter with a saw – it’s just not going to work well, right? The same principle applies to drilling. Wood and metal are vastly different materials, and they require different tools to be drilled effectively.
Using a wood bit on metal can cause the bit to dull very quickly, overheat, and potentially break. You might end up with a messy, oversized hole or no hole at all. On the flip side, using a metal bit on wood can sometimes create a hole that’s too large or not as clean as you’d like, especially with softer woods. Plus, the design of a drill bit is crucial for safety and efficiency. The right bit will cut smoothly, remove material effectively, and prevent your drill from binding up, which can be dangerous.
So, let’s dive in and learn how to become a drill bit pro!

Decoding the Anatomy of a Drill Bit
Before we can tell them apart, it helps to know the basic parts of a drill bit. Think of it like understanding the different parts of a car before you can drive it. Most drill bits share these common components:
- Point: This is the very tip of the drill bit that first makes contact with the material. Its shape is designed to penetrate the material.
- Flutes: These are the spiral grooves that run up the body of the bit. Their main job is to carry the material (like wood shavings or metal chips) away from the hole as you drill.
- Shank: This is the part of the drill bit that fits into your drill’s chuck (the part that grips the bit). Shanks can be round, hexagonal, or have flats to prevent slipping.
- Cutting Edges (Lips): These are the sharp edges at the very tip of the bit that actually do the cutting.
The subtle differences in these parts, especially the point and the flutes, are what make a bit suitable for wood or metal.
How to Tell the Difference: A Visual and Functional Guide
The easiest way to tell wood and metal drill bits apart is by looking at their design and the materials they are made from. Let’s break it down:
1. The Tip Tells the Tale
This is often the most obvious indicator. The tip of the drill bit is engineered for the specific material it’s meant to cut.
-
Wood Drill Bits: These usually have a prominent, sharp center spur or point right at the tip. This spur acts like a tiny guide, scoring the wood fibers and keeping the bit centered. This is crucial for starting a clean hole without the bit wandering. The cutting edges behind this spur are designed to shear wood cleanly.Think of it like a tiny, sharp nail head that helps guide the bit. -
Metal Drill Bits: Metal drill bits have a more pointed tip, but they generally lack the prominent center spur found on wood bits. Instead, they have a sharper point angle (often 118 or 135 degrees) that helps them penetrate hard surfaces. The cutting edges are designed to slice through metal efficiently. Some specialized metal bits might have a slightly blunter tip to start, but they won’t have that distinct spur.
Imagine a sharp, focused point designed to slice, not to be guided by a spur.
2. Flute Design: Chip Evacuation is Key
The spiral grooves, or flutes, are designed to remove the material being drilled. This function differs significantly between wood and metal.
-
Wood Drill Bits: Wood creates shavings and dust. The flutes on wood bits are typically wider and deeper to allow these larger wood chips and dust to escape easily. This prevents the bit from getting clogged and allows for faster drilling. You’ll often see a more open spiral design.
Wider flutes mean easier removal of wood debris. -
Metal Drill Bits: Drilling metal generates fine metal chips and a lot of heat. Metal drill bits have flutes that are usually narrower and more tightly packed. This design helps to efficiently carry away the fine metal chips and also allows for better cooling. The tighter flutes also help to maintain the bit’s strength when cutting through hard metal. The angle of the flute (helix angle) is also often steeper for better chip removal in harder materials.
Tighter flutes help evacuate fine metal chips and manage heat.
3. Material and Coatings: Strength and Durability
The material a drill bit is made from directly impacts its hardness, durability, and suitability for different tasks.
-
Wood Drill Bits: Many common wood drill bits are made from High-Speed Steel (HSS) or Carbon Steel. HSS is a good all-around choice, offering decent hardness and heat resistance. Carbon steel bits are generally less expensive and good for softer woods but can lose their hardness if overheated. -
Metal Drill Bits: Metal requires harder, more durable bits. Common materials include:
High-Speed Steel (HSS): A standard for metal drilling.
Cobalt: HSS bits with added cobalt make them even harder and more heat-resistant, ideal for drilling harder metals like stainless steel.
Carbide: Extremely hard and used for very tough materials, often seen in specialized drill bits.
You’ll also see coatings on metal drill bits that enhance their performance:
Titanium Nitride (TiN): A gold-colored coating that increases hardness and reduces friction, making it great for general metal drilling.
Black Oxide: A dark coating that adds corrosion resistance and some lubrication properties, good for steel and iron.
Diamond: For drilling extremely hard materials like glass and tile, though these are a specialized category.
If a bit has a shiny, gold, or dark coating, it’s a strong indicator it’s designed for metal, especially if it’s a standard twist drill bit shape without a spur.
4. Color and Finish: Clues to the Core
While not a definitive rule, the color and finish can offer hints.
-
Wood Drill Bits: Often have a plain, metallic silver look if they are HSS, or a slightly darker, matte finish if they are carbon steel. They might have some black oxide coating for rust prevention, but it’s less common than on metal bits. -
Metal Drill Bits: As mentioned, these frequently feature distinct coatings. A bright gold (titanium-coated), a dark, almost black finish (black oxide), or a steely grey with a very sharp, precise look are common for metal bits. A bit that looks very “finished” and precise is often a good sign it’s for metal.
5. Specialized Wood Bits: When the Rules Bend
It’s important to note that there are specialized drill bits for wood that might look a little different. For example:
- Spade Bits (Paddle Bits): These have a flat, blade-like shape with a sharp point. They are excellent for drilling larger holes quickly in wood but are not suitable for metal.
- Forstner Bits: These create very clean, flat-bottomed holes in wood, often used for hinge mortises. They have a distinctive circular cutting head.
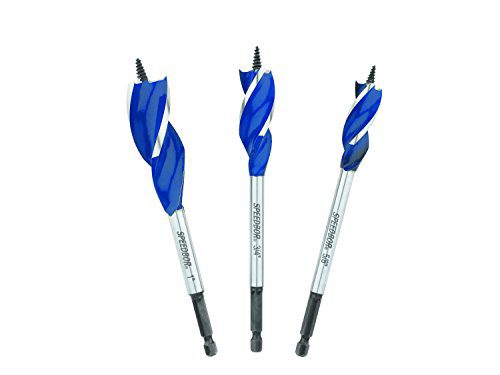
- Auger Bits: These have a screw-like tip and deep flutes, designed for drilling deep, clean holes in wood, often used with a brace.
These specialized bits are clearly designed for wood by their shape alone, but they are distinct from the standard twist drill bits we’ve been comparing.
Quick Comparison Table
Here’s a handy table to summarize the key differences:
| Feature | Wood Drill Bits | Metal Drill Bits |
|---|---|---|
| Tip Design | Sharp center spur for guidance. | Sharp point (no spur); often 118° or 135° angle. |
| Flute Design | Wider, deeper flutes for wood shavings/dust. | Narrower, tighter flutes for metal chips and cooling. |
| Primary Materials | HSS, Carbon Steel. | HSS, Cobalt, Carbide. |
| Common Coatings | Often none, or basic black oxide. | Titanium Nitride (TiN), Black Oxide, Cobalt coatings. |
| Appearance Clues | Plain metallic, matte finish. | Gold, dark grey/black, very precise look. |
| Best For | Softwoods, hardwoods, plywood. | Steel, aluminum, iron, brass, plastics. |
How to Choose the Right Bit for Your Project
Now that you know the differences, let’s talk about making the right choice:
For Wood Projects:
- Softwoods (Pine, Fir): Most standard HSS twist drill bits designed for wood will work perfectly. If you have a bit with a prominent center spur, that’s ideal.
- Hardwoods (Oak, Maple): HSS bits are still your best bet. You might need to apply a bit more pressure and drill a little slower to prevent overheating, but a good wood bit will handle it.
- Plywood and MDF: These engineered wood products can be drilled with standard wood bits. Be mindful of tear-out on the exit side, and consider using a scrap piece of wood underneath to support the material.
- For larger holes in wood: Reach for spade bits, Forstner bits, or hole saws – these are specifically made for wood and offer efficient material removal.
For Metal Projects:
- Soft Metals (Aluminum, Brass): Standard HSS drill bits are usually sufficient. A bit with a titanium coating (gold color) will perform even better, reducing friction and heat.
- Harder Metals (Steel, Iron): This is where HSS is essential, and cobalt or titanium-coated HSS bits are highly recommended. The higher hardness and heat resistance will prevent the bit from dulling or breaking. Always use a lubricant or cutting fluid when drilling steel to keep the bit cool and improve the finish. You can learn more about cutting fluids from resources like Machinery Lubricants.
- Stainless Steel: This is a tough one! You absolutely need cobalt drill bits or specialized bits designed for stainless steel. Drill slowly, apply steady pressure, and use plenty of cutting fluid.
- Drilling thin sheet metal: Standard metal drill bits will work. You might want to use a center punch to create a small indentation for the bit to start in, preventing it from skating.
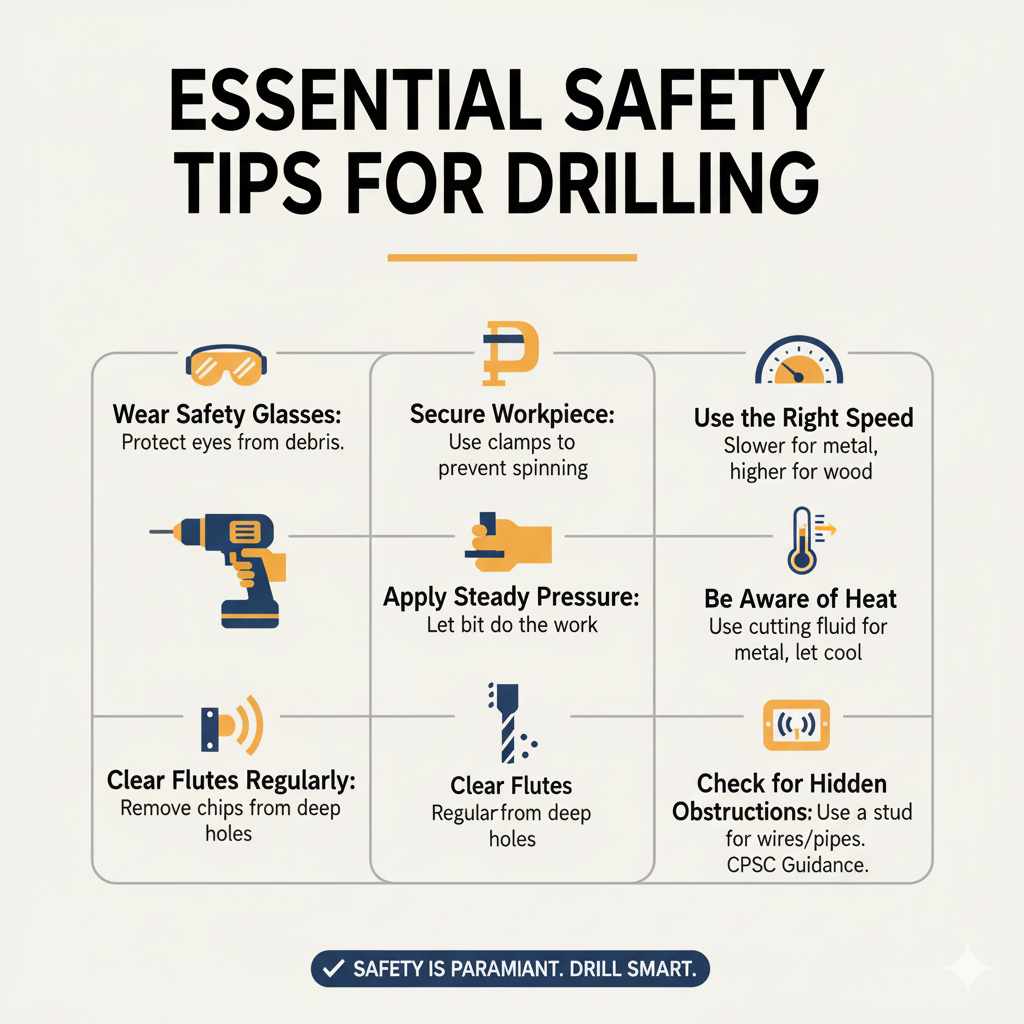
Essential Safety Tips for Drilling
No matter what material you’re drilling into, safety is paramount. Here are some tips:
- Wear Safety Glasses: Always protect your eyes from flying debris, whether it’s wood chips or metal shavings.
- Secure Your Workpiece: Use clamps to hold your material firmly in place. This prevents it from spinning with the drill, which can cause injury and damage.
- Use the Right Speed: Slower speeds are generally better for drilling into harder materials like metal. Higher speeds can be used for softer materials like wood. Consult your drill’s manual if you’re unsure.
- Apply Steady Pressure: Don’t force the drill. Let the bit do the work. Forcing it can cause the bit to break, overheat, or create an inaccurate hole.
- Clear Flutes Regularly: If you’re drilling deep holes, periodically pull the bit out of the hole to clear out accumulated chips or dust.
- Be Aware of Heat: Metal drilling especially generates heat. If the bit or workpiece feels hot, stop and let it cool down. For metal, using a cutting fluid or lubricant is highly recommended.
- Check for Hidden Obstructions: Before drilling into walls or floors, use a stud finder or other detection tools to ensure you’re not hitting electrical wires or pipes. The Consumer Product Safety Commission (CPSC) offers valuable guidance on home electrical safety.
Frequently Asked Questions (FAQ)
Q1: Can I use a metal drill bit to drill holes in wood?
Yes, you generally can use a metal drill bit to drill into wood. However, wood bits are designed with a center spur that helps start a cleaner hole and prevents the bit from wandering. A metal bit might not start as cleanly and could potentially create a slightly rougher hole or one that’s not as precisely located, especially in softer woods. For best results, always use the bit designed for the material.
Q2: Can I use a wood drill bit to drill holes in metal?
It’s not recommended and can be quite difficult and damaging to the bit. Wood drill bits lack the hardness and heat resistance needed for metal. They will dull very quickly, overheat, and may even break. The center spur can also get in the way and create a mess. Stick to metal drill bits for metal.
Q3: How do I know if my drill bit is for metal if it looks plain (silver)?
If a drill bit has a plain silver look and no prominent center spur, and its flutes are relatively narrow and tightly wound, it’s likely a standard High-Speed Steel (HSS) bit. These are generally suitable for drilling metal, especially softer metals like aluminum and brass. For harder metals like steel, you’d ideally want HSS with cobalt or a titanium coating, which are often gold or dark grey/black.
Q4: What does the number on a drill bit mean?
The numbers on drill bits usually refer to their size, indicating the diameter of the bit. These measurements can be in inches or millimeters. For example, a 1/4 inch bit will drill a 1/4 inch diameter hole. Some drill bit sets also have letters corresponding to fractional sizes (e.g., ‘A’ is for 0.234 inches, ‘Z’ is for 0.413 inches), or metric sizes directly in millimeters.
Q5: How can I make a hole cleaner when drilling wood?
To make a cleaner hole in wood, ensure you’re using a sharp drill bit designed for wood, preferably one with a center spur. Drill at a moderate speed and apply steady pressure. For very clean holes, especially on the exit side, place a scrap piece of wood underneath your workpiece and drill through both. This supports the wood fibers as the bit exits, preventing tear-out. Forstner bits are excellent for creating very clean, flat-bottomed holes.
Q6: Do I need to lubricate when drilling metal?
Yes, lubrication is highly recommended when drilling metal, especially harder metals like steel. Lubricants or cutting fluids help to reduce friction, keep the drill bit cool, extend the life of the bit, and improve the quality of the hole. Common options include cutting oil, WD-40, or even a bit of soapy water for some metals.
Q7: What are those gold-colored drill bits used for?
The gold-colored drill bits are typically High-Speed Steel (HSS) bits coated with Titanium Nitride (TiN). This coating makes the bit harder, more heat-resistant, and reduces friction. They are excellent for drilling a wide range of metals, including steel, aluminum, and brass, and they also work well for drilling hard plastics. They offer a good balance of performance and durability for general metal drilling tasks.
Conclusion
And there you have it! You’re now equipped to confidently distinguish between wood and metal drill bits. Remember, the key differences lie in the tip design (spur vs. no spur), the flute shape (wide for wood, narrow for metal), and the materials and coatings used (harder, more durable for metal). By paying attention to these features and choosing the right bit for your material, you’ll not only achieve cleaner, more precise holes but also extend the life of your tools and ensure your projects are completed safely and efficiently.
Don’t let drill bit confusion hold you back any longer. Whether you’re hanging a shelf, building a birdhouse, or assembling furniture, knowing your tools is the first step to DIY success. Keep practicing, keep learning, and most importantly, keep creating. Happy drilling!