How to Hang a Shelf With Brackets in 6 Simple Steps
Yes, hanging a shelf with brackets is a beginner-friendly project if you anchor into wall studs, not just drywall. Skipping the stud and relying on drywall alone is why bracket shelves pull loose under weight, studs typically sit 16 inches apart on center. This guide covers finding studs, leveling brackets, drilling pilot holes, and testing the weight limit before you load the shelf.

Credit: aprettyfix.com
Choosing The Right Shelf And Brackets
Shelves come in different materials. Wood is strong and classic. Metal shelves are durable and modern. Glass shelves look elegant but are delicate. Plastic shelves are light and affordable. Each material has its own charm. Choose based on your room style.
Weight capacity matters a lot. Check how much weight a shelf can hold. Heavier items need strong brackets. Wood and metal are better for heavy things. Glass and plastic are good for light items. Always test before placing heavy objects. Safety comes first.
Gathering Necessary Tools
Having the right tools makes your job easier. First, get a measuring tape. It helps in marking the right spot. Next, a pencil for marking on the wall. A drill is important for making holes. Use a level to keep your shelf straight. Lastly, a screwdriver will tighten the screws.
Some items are not necessary but helpful. A stud finder can find strong spots on the wall. Use anchors if the wall is weak. A dust mask keeps your nose clean. These tools make the job safer and cleaner.
Best Stud Finder Pick
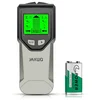
Stud Finder Wall Scanner: $19.99
This guide’s Preparing the Wall step depends on finding studs first, this scanner beeps and lights up over wood so you can mark accurate spots roughly every 16 inches.
- Best for: locating studs before you drill a single pilot hole
- Why we picked it: detects wood, metal, and live AC wiring in one pass, so you avoid drilling into a wire
- Main drawback: works best on drywall under 3/4 inch thick, thicker walls reduce accuracy
Compare more shelf-hanging hardware
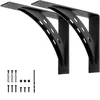 Option 1 Heavy Duty Shelf Brackets: $82.99
|
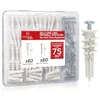 Option 2 Self-Drilling Drywall Anchor Kit: $9.99
|
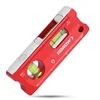 Option 3 Magnetic Torpedo Level: $13.19
|
As an Amazon Associate we earn from qualifying purchases.
Preparing The Wall
Studs are strong wood pieces behind the wall. They help hold shelves. Use a stud finder to locate them, or see this guide to hang shelves safely when no stud lines up. Slide the tool along the wall. Listen for beeps or lights. These show a stud location. Mark each spot with a pencil. Studs are usually 16 inches apart. Measure from one mark to find others. This helps in securing shelves well.
Mark where brackets will go. Use a level to keep lines straight. Draw lines across the stud marks. This shows the shelf’s height. Keep brackets even. Use a tape measure to check distances. Adjust if needed. Double-check your marks. This helps in placing shelves correctly.
Installing Brackets
Drilling Holes is the first step in hanging a shelf. Measure where you want the shelf. Use a pencil to mark the spots. Make sure they are level and straight. Use a drill to make holes at the marked spots. The drill bit should match the size of the screws. Check the depth of the holes. They should be deep enough for the screws. Avoid drilling too deep.
Securing Brackets is the next step. Place the bracket over the holes. Insert screws into the holes. Use a screwdriver to tighten them. Ensure the brackets are firm and secure. Repeat for each bracket. Check stability by gently shaking the bracket. It should not move.
Mounting The Shelf
Aligning the Shelf is very important. First, hold the shelf where you want it. Use a level tool. Check that the shelf is straight. Mark the spots for the brackets with a pencil. Make sure both sides are even. This will help the shelf stay strong.
Next, it’s time for Fastening to Brackets. Place each bracket on the wall marks. Use a drill to make holes for screws. Put screws into the holes and tighten them. Attach the shelf to the brackets. Ensure it’s secure. Gently push the shelf to check sturdiness. Now, you have a safe and steady shelf.
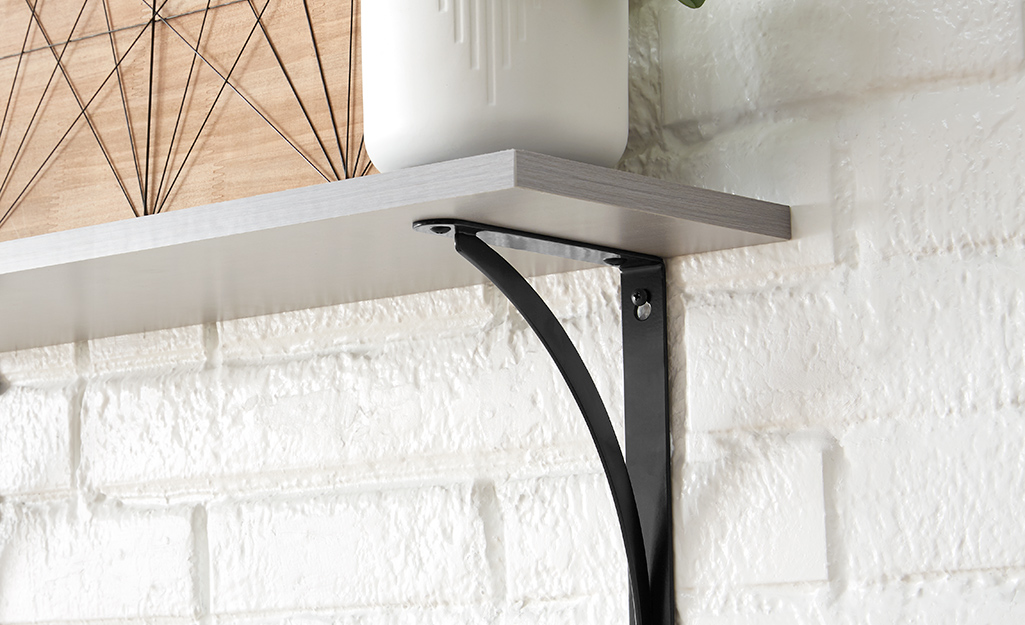
Credit: www.homedepot.com
Ensuring Stability
Testing Weight Limit is very important. Each bracket has a specific weight limit. Exceeding it can cause the shelf to fall. Always check the manufacturer’s guidelines. Use a scale to weigh your items. Ensure the total weight is within the limit. Keep heavier items closer to the bracket support.
Adjusting Alignments ensures the shelf hangs straight. Uneven brackets can make the shelf tilt. Use a level tool to check the shelf’s position. Adjust screws if the shelf is not straight. Tighten them securely. Make sure brackets are even on both sides.
Finishing Touches
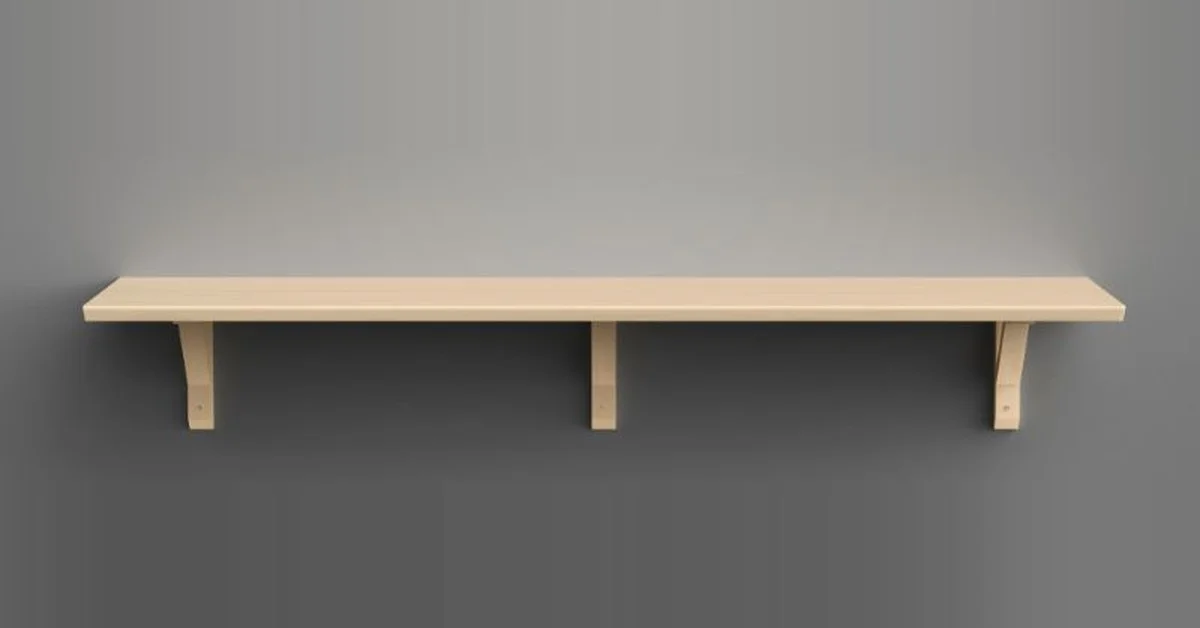
Mounting a shelf with brackets enhances your room’s functionality and style. First, choose sturdy brackets and locate the studs on your wall. Then, mark the spots, drill holes, and secure the brackets. Finally, place the shelf on the brackets and ensure it’s level for a perfect finish.
Cleaning Up
Clean the area around the newly hung shelf. Use a damp cloth to remove dust. Sweep or vacuum the floor to collect any debris. A clean space highlights your work.
Check the shelf for any marks or fingerprints. Wipe gently with a soft cloth. Make sure the brackets are secure. This keeps the shelf safe and tidy.
Decorative Options
Add some decor to the shelf. Place books, plants, or photo frames. Choose items that match your room style. This adds personality to the space.
Consider using colorful baskets or boxes. These can store small items. They make the shelf look neat and stylish. Change decorations with seasons for a fresh look.
Troubleshooting Common Issues
Hanging a shelf with brackets requires careful measurement and drilling. Ensure brackets align properly to avoid tilting. Use wall anchors for extra support on drywall.
Loose Brackets
Brackets can become loose if screws are not tight. Use a screwdriver to tighten them. Check if the bracket is in a stud. If not, use self-drilling wall anchors. They give extra support. Avoid over-tightening the screws. This can damage the wall. Ensure the brackets are level with each other.
Misaligned Shelf
A shelf might look crooked if the brackets are uneven. Use a level tool to check the alignment. Adjust brackets until they are even. Sometimes, walls are not straight. In such cases, shim the brackets. Shims are small pieces of wood. They help in leveling the shelf. Secure the shims with a nail or glue. Keep checking the alignment as you adjust.
:max_bytes(150000):strip_icc()/installing-wall-shelves-with-standards-139829-hero-820eb376acea4a5db9c74876dd52955c.jpg)
Credit: www.thespruce.com
Frequently Asked Questions
How Do You Hang A Shelf With Brackets?
To hang a shelf with brackets, first mark the wall where screws will go. Drill pilot holes, then attach brackets securely. Place the shelf on brackets, ensuring it’s level. Use screws to secure the shelf to brackets for stability. Ensure everything is properly aligned and tightened for safety.
What Is The Rule For Shelf Brackets?
Shelf brackets should be spaced 24-36 inches apart for stability. Choose brackets that support the shelf’s weight. Ensure brackets align with wall studs for secure installation. Use appropriate screws for material type. Consider shelf size and weight for optimal bracket placement.
How To Secure Shelves To Brackets?
To secure shelves to brackets, align the shelf with the bracket holes. Use screws to fasten tightly. Ensure screws are the right size for stability. Check alignment frequently to maintain balance and safety. Regularly inspect for any loose screws or adjustments needed.
How Do You Install Shelf Support Brackets?
Mark bracket positions on the wall. Drill holes for screws. Align brackets with holes. Secure brackets with screws. Ensure brackets are level.
Conclusion
Hanging shelves with brackets is simple and rewarding. Follow the steps carefully. Gather your tools. Measure the wall space accurately. Mark the spots for brackets. Drill holes and secure brackets. Place the shelf on brackets. Check stability. Ensure everything is level.
Enjoy your new shelf! It adds style and storage to your room. Practice makes perfect. Try these steps for other home projects too. Happy decorating!
Sponsored / affiliate links. As an Amazon Associate I earn from qualifying purchases. I may earn additional commission from eligible campaigns.