How to Tint Wood Stain? Expert Tips for Perfect Results
Tinting wood stain can change the color of your wood projects. It’s a simple process that adds a custom touch.
To tint wood stain, mix a tint with the stain until you get the desired color. Wood staining is an essential step in many woodworking projects. It enhances the grain and provides a beautiful finish. But sometimes, the standard colors are not enough.
This is where tinting comes in. Tinting allows you to customize the color of your stain to match your exact needs. Whether you want a darker, richer tone or a unique shade, tinting gives you control. In this blog, we will explore the steps to tint wood stain effectively. This will help you achieve the perfect finish for your woodworking project. Ready to dive in? Let’s get started!
Choosing The Right Wood Stain
Tinting wood stain allows you to customize color for any wood project. Mix tints with clear stains to achieve desired shades. Test on scrap wood for perfect results.
Selecting the right wood stain is crucial for your project. It determines the final look and feel of the wood. There are several factors to consider. Understanding these will help you make the best choice.Types Of Stains
There are various types of wood stains available. Oil-based stains penetrate deeply into the wood. They provide a rich color and are durable. Water-based stains dry quickly and have less odor. They are easier to clean up. Gel stains are thicker and sit on top of the wood. They are good for vertical surfaces. Each type has its own benefits.Selecting The Right Color
Choosing the right color is essential for your desired outcome. Start by considering the wood type. Different woods absorb stains differently. Test the stain on a small, hidden area. This will show you the true color. Think about the room’s decor. The stain should complement the furniture and walls. Light stains are subtle and show more wood grain. Dark stains are bold and give a dramatic look. Select a color that fits your style and project. “`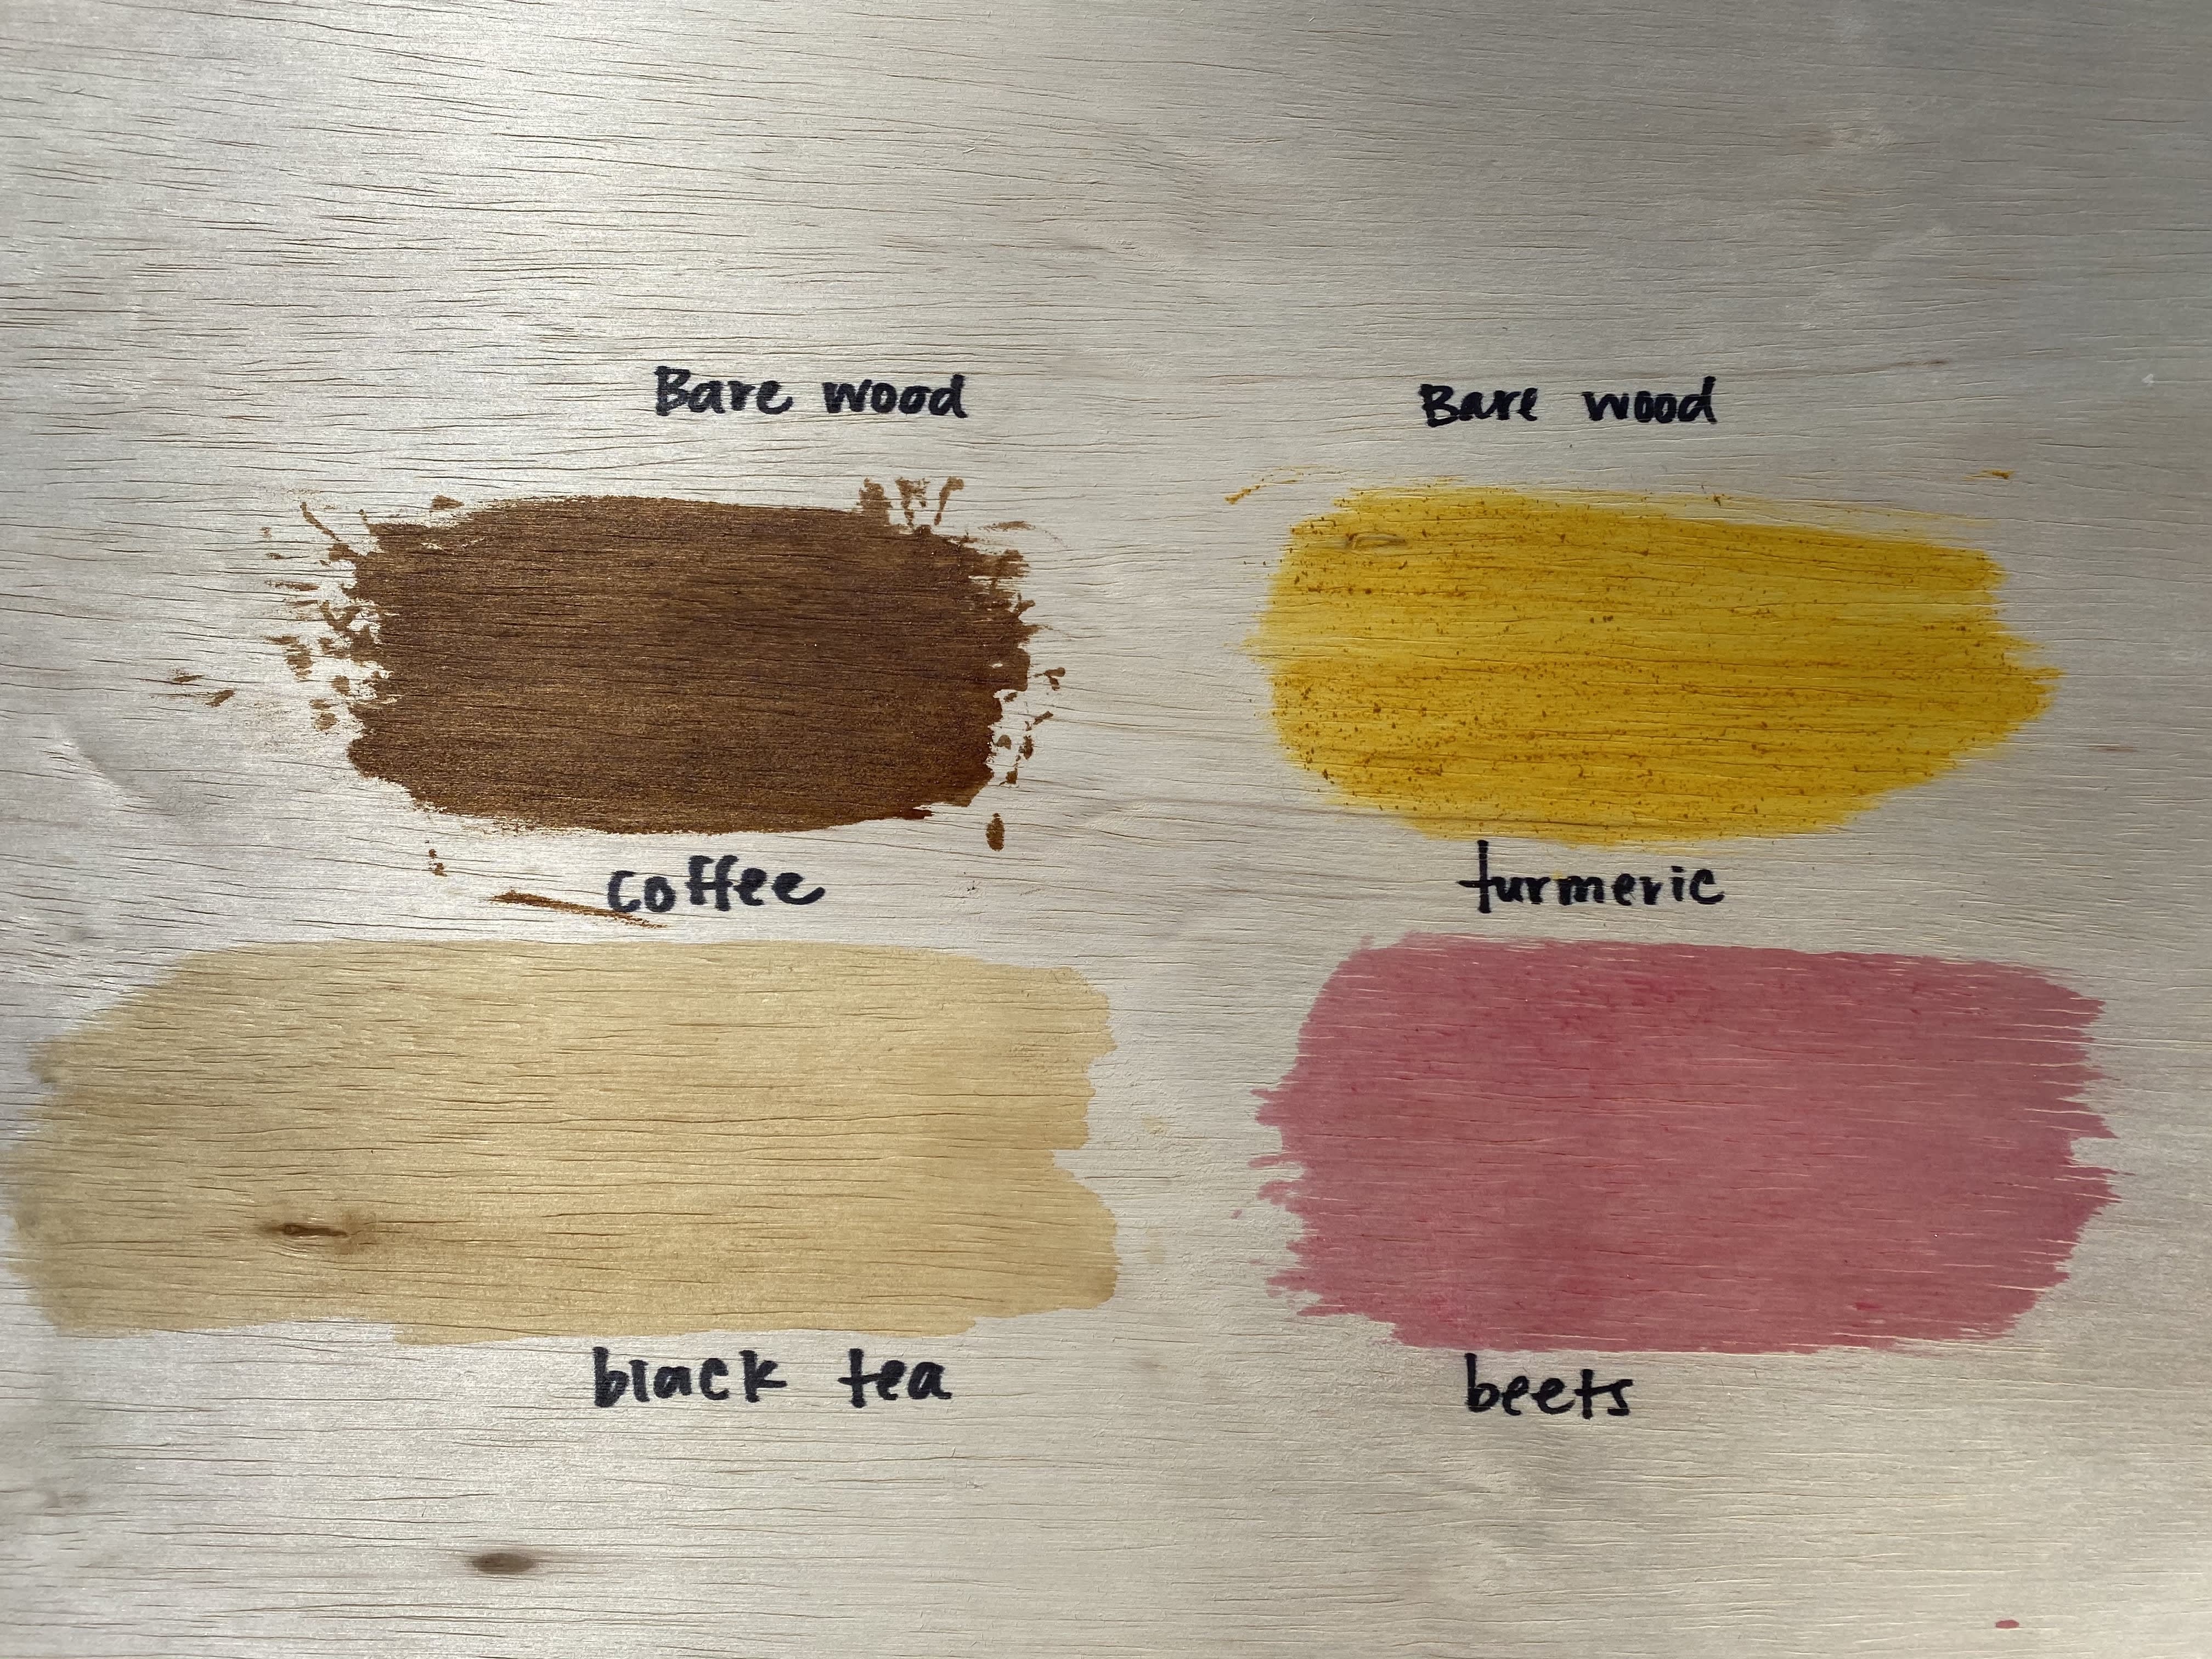
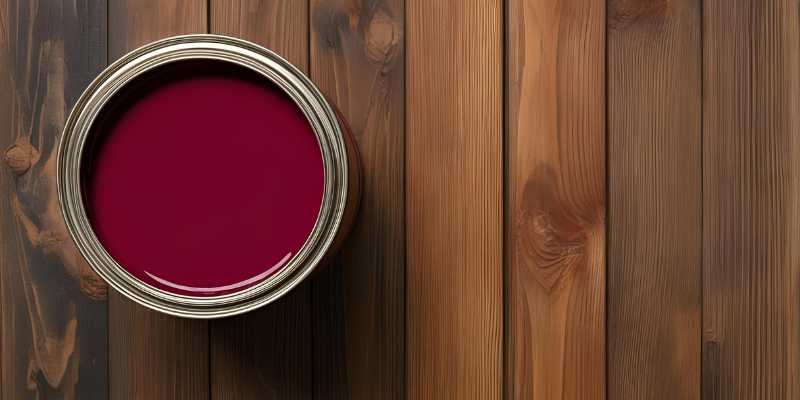
Credit: www.apartmenttherapy.com
Preparing The Wood Surface
Ensure the wood surface is clean and smooth before applying the tint. Sanding helps the stain adhere evenly. This step is crucial for achieving a professional finish.
Before tinting wood stain, preparing the wood surface is crucial. Proper preparation ensures an even and smooth finish. This involves cleaning the wood and sanding it to the right texture.Cleaning The Wood
First, remove any dust or debris from the wood surface. Use a soft cloth or a vacuum cleaner. For stubborn dirt, use a damp cloth with mild soap. Ensure the wood is dry before proceeding.Sanding Techniques
Sanding the wood is a key step. Begin with medium-grit sandpaper to remove old finishes. Follow this with fine-grit sandpaper for a smooth surface. Always sand in the direction of the wood grain. This helps prevent scratches. After sanding, wipe the wood with a tack cloth to remove dust. Proper preparation guarantees a beautiful wood stain tint. “`Gathering Necessary Tools And Materials
Gather essential tools like brushes, sandpaper, and mixing containers. Prepare materials such as wood stain and tinting colors. Ensure you have protective gloves and a clean workspace.
Tinting wood stain can give your project a beautiful custom finish. To achieve the best results, you need to gather the right tools and materials. Having everything ready will make the process smoother and more enjoyable.Essential Tools
You will need a few basic tools for tinting wood stain. These include: – Paintbrushes: Choose high-quality brushes for smooth application. – Stirring sticks: Use them to mix the stain evenly. – Drop cloths: Protect your workspace from spills and stains. – Sandpaper: Smooth the wood surface before applying the stain. – Rags: Wipe off excess stain and clean up.Recommended Materials
Certain materials are necessary for tinting wood stain. Make sure to have: – Wood stain: Select the base color you want to tint. – Tinting colors: Add these to your base stain for custom shades. – Sealant: Protect the tinted wood with a clear finish. – Gloves: Keep your hands clean and safe. – Mixing containers: Use separate containers for each tint. By gathering these tools and materials, you prepare yourself for a successful wood staining project. “`Mixing The Wood Stain
Mixing wood stain is a crucial step in achieving the perfect finish. The right mix ensures an even application and the desired color. This section will guide you through the process.
Proportions And Ratios
The proportions and ratios of your wood stain mix are vital. They determine the color intensity and consistency. Follow the manufacturer’s guidelines for best results.
- Base stain: This is your primary color.
- Tint: This adjusts the base stain’s color.
- Solvent: This thins the stain for easier application.
Typically, a 3:1 ratio of base stain to tint works well. Adjust as needed for lighter or darker tones.
Mixing Techniques
Proper mixing techniques ensure a uniform stain. Start by pouring the base stain into a container.
- Add the tint gradually, stirring continuously.
- Use a stir stick to ensure an even blend.
- If needed, add solvent to achieve the desired consistency.
Test the mix on a small wood piece. Adjust the ratio if necessary. Always stir the mixture before each use to maintain consistency.
Use these techniques to achieve a beautiful wood finish.
Applying The Wood Stain
Tinting wood stain involves mixing colorants into the stain for a custom hue. Stir the stain thoroughly to ensure an even color. Apply the tinted stain with a brush or cloth, then wipe off any excess.
Applying wood stain is a crucial step in enhancing wood’s natural beauty. This process involves using specific techniques to achieve a smooth and even finish. Two popular methods are brushing and wiping. Each method has its own benefits and can be chosen based on the desired outcome.Brushing Methods
Brushing is a common way to apply wood stain. Use a high-quality brush for best results. Dip the brush into the stain and remove any excess. Apply the stain in the direction of the wood grain. This helps the stain penetrate the wood fibers. Cover the surface evenly, ensuring no spots are missed. After applying, allow the stain to sit for a few minutes. Then, use a clean cloth to wipe away any excess stain. This prevents blotching and ensures an even finish.Wiping Techniques
Wiping is another effective method for applying wood stain. Use a soft, lint-free cloth for this technique. Dip the cloth into the stain and squeeze out the excess. Rub the stain onto the wood surface in circular motions. This helps the stain spread evenly and avoid streaks. Make sure to cover all areas thoroughly. After applying, let the stain soak into the wood for a few minutes. Wipe away any excess with a clean cloth. This ensures a smooth and uniform appearance. Applying wood stain using these methods enhances the wood’s natural beauty. Choosing the right technique depends on your preference and the wood type. “`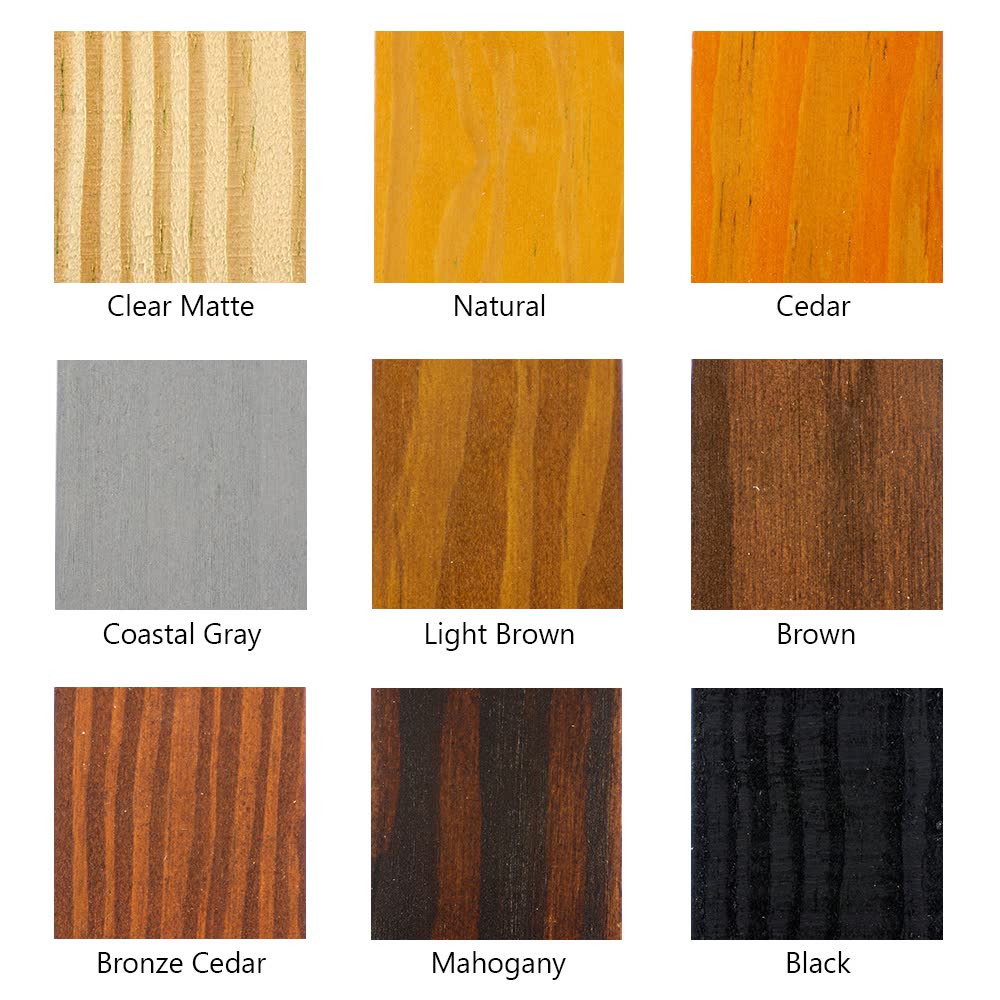
Credit: uccoatings.com
Achieving Desired Tint
Achieving the perfect tint for wood stain involves mixing and testing small batches. Adjust the color by adding more stain or thinning with water. Always test on a scrap piece of wood before applying to your project.
Creating the perfect tint for your wood stain can seem tricky. But with the right steps, you can achieve that desired color. First, understand that the final tint depends on several factors. The type of wood, the stain used, and the number of layers applied all play a role. Let’s explore some effective methods to get the perfect tint.Layering Stains
Layering stains can help achieve the perfect tint. Start with a light coat of stain. Allow it to dry completely. Then, add another layer if needed. Each layer will darken the color slightly. Continue this process until you get the desired tint.Testing On Scrap Wood
Testing on scrap wood is essential. Before staining your project, test the stain on a scrap piece of the same wood. This helps you see how the stain looks once dry. It also lets you experiment with different layers and colors. Adjust the stain mix until you get the desired tint. “`Sealing And Protecting The Finish
Tinting wood stain can transform the look of your wood projects. Yet, to ensure the finish lasts, sealing and protecting the wood is crucial. This step locks in color and shields the wood from damage. Below are some tips on choosing a sealer and applying it effectively.
Choosing A Sealer
Picking the right sealer is key. Water-based sealers dry quickly and have low odor. They are great for indoor projects. Oil-based sealers penetrate deeply and offer long-lasting protection. These are ideal for outdoor furniture. Polyurethane sealers provide a durable finish and resist scratches. Choose based on your project’s needs and the wood type.
Application Tips
Before applying the sealer, make sure the wood is clean and dry. Stir the sealer well to mix the contents evenly. Use a high-quality brush or a clean cloth for application. Apply thin coats to avoid drips and bubbles. Allow each coat to dry completely before adding another. Lightly sand between coats for a smooth finish. Follow the manufacturer’s instructions for best results.
Common Mistakes To Avoid
Tinting wood stain can enhance the beauty of your wood projects. But many people make common mistakes that can spoil the finish. Avoid these pitfalls to get a smooth and beautiful stain.
Over-applying Stain
One common mistake is over-applying stain. Applying too much stain can lead to a blotchy, uneven finish. Use a cloth or brush and apply a thin, even coat. Let it soak in for a few minutes. Wipe off the excess with a clean cloth. This ensures a uniform look.
Ignoring Drying Times
Ignoring drying times is another frequent error. Each stain needs time to dry before applying another coat. Check the manufacturer’s instructions for the recommended drying time. Rushing this step can cause the stain to peel or crack. Be patient. Give each coat enough time to dry.
| Common Mistake | Consequence |
|---|---|
| Over-applying Stain | Blotchy and uneven finish |
| Ignoring Drying Times | Peeling or cracking stain |
Avoiding these mistakes can lead to a professional-looking wood stain. Pay attention to application and drying times for the best results.

Credit: www.dapwood.com
Frequently Asked Questions
What Are The Steps To Tint Wood Stain?
To tint wood stain, mix pigment or dye with the stain. Apply a test coat on scrap wood. Adjust the mixture if needed. Apply the tinted stain evenly with a brush or cloth. Let it dry completely.
Can You Tint Wood Stain With Paint?
Yes, you can tint wood stain with paint. Use a small amount of oil-based or water-based paint. Mix thoroughly and apply on scrap wood first. Adjust the mixture as needed for desired color.
Is It Necessary To Seal Tinted Wood Stain?
Yes, sealing tinted wood stain is essential. It protects the wood and enhances the color. Use a clear topcoat like polyurethane or lacquer. Apply it evenly after the stain is fully dry.
How Long Should Tinted Wood Stain Dry?
Tinted wood stain should dry for at least 24 hours. Drying time may vary based on humidity and temperature. Ensure it’s completely dry before applying a topcoat.
Conclusion
Tinting wood stain can transform your projects beautifully. The process is straightforward and rewarding. Choose the right stain, mix it well, and apply evenly. Always test on a small area first. Patience and practice will improve your technique. Enjoy the satisfaction of enhancing your wood pieces.
Now, you’re ready to give your woodwork a stunning, personalized touch. Happy staining!