How to Track the Northern Lights: Essential Guide
Quick Summary:
Tracking the Northern Lights involves checking aurora forecasts, understanding solar activity, finding dark skies away from city lights, and dressing warmly. Patience and the right tools significantly boost your chances of witnessing this incredible natural display.
Seeing the Northern Lights, or Aurora Borealis, is a dream for many, but it can feel a bit like chasing a ghost. You might wonder if you’re looking at the right time or place. Don’t worry! With a few simple steps and a bit of know-how, you can greatly increase your chances of witnessing this breathtaking phenomenon. We’ll guide you through everything you need to know, from understanding the science behind the lights to picking the perfect viewing spot. Get ready to experience the magic!
Why Tracking the Northern Lights Can Be Tricky (And How We’ll Solve It)
The Northern Lights are a natural wonder, and like many natural events, they aren’t always predictable. Their appearance depends on invisible forces from the sun and Earth’s atmosphere. This can make planning a sighting feel a bit like a guessing game. You might have heard stories of people traveling to cold, remote places only to be met with clouds or no aurora at all. That’s frustrating, right? Our goal here is to give you the practical, easy-to-follow advice you need to avoid those disappointments. We’ll break down the science into simple terms and show you exactly what to do, so you can feel confident and prepared for your aurora adventure.
Understanding the Science Behind the Show
Before we dive into tracking, let’s quickly understand what causes the Northern Lights. It all starts with the sun. The sun constantly releases charged particles, like tiny electrical bullets, into space. We call this the solar wind. When this solar wind reaches Earth, our planet’s magnetic field acts like a shield, guiding most of these particles towards the North and South Poles.
As these charged particles collide with gases in our upper atmosphere (like oxygen and nitrogen), they get excited and release energy in the form of light. That’s the beautiful glow we see as the aurora! The colors depend on which gas is hit and at what altitude. Green is the most common, from oxygen at lower altitudes, while red and purple come from oxygen and nitrogen at higher altitudes.
So, the more active the sun is, the stronger the solar wind, and the brighter and more widespread the aurora can be. This is why keeping an eye on solar activity is key to tracking the lights.
Step 1: Checking the Aurora Forecasts
Think of aurora forecasts like weather forecasts, but for space weather! They help predict when the lights are likely to be visible. These forecasts are based on measurements of solar activity and the Earth’s magnetic field.
Reliable Aurora Forecast Resources
Here are some excellent, trustworthy places to check for aurora forecasts:
- NOAA Space Weather Prediction Center (SWPC): This is a fantastic government resource. They provide real-time data and forecasts for geomagnetic storms, which directly impact aurora visibility. Look for their “Geomagnetic Activity” or “Aurora” pages. You can find detailed information on their website: NOAA SWPC.
- SpaceWeather.com: This site offers a user-friendly summary of current space weather conditions and aurora forecasts. It’s great for a quick, easy-to-understand overview.
- University of Alaska Fairbanks Geophysical Institute: They offer an aurora forecast specifically for Alaska, which is a prime viewing location. Even if you’re not in Alaska, their general explanation of aurora activity is very helpful.
- Dedicated Aurora Apps: Many mobile apps are available that combine data from various sources to give you aurora predictions and alerts. Search your app store for “aurora forecast” or “Northern Lights tracker.”
What to Look For in a Forecast
When you check these resources, you’ll often see terms like:
- Kp-index: This is a scale from 0 to 9 that measures geomagnetic activity. A higher Kp-index means a stronger geomagnetic storm and a better chance of seeing the aurora. For the lights to be visible at lower latitudes, you’ll usually need a Kp-index of 5 or higher.
- Solar Wind Speed: Higher speeds generally mean more energetic particles reaching Earth.
- Geomagnetic Storm Alerts: These indicate periods of heightened solar activity.
Don’t get too bogged down in the technical details. The key is to look for a high Kp-index (ideally 4 or above for decent visibility, 5+ for stronger displays) and any alerts for geomagnetic storms.
Step 2: Understanding Solar Activity and Geomagnetic Storms
The Northern Lights are directly linked to the sun’s behavior. Sometimes, the sun has outbursts that send a lot of energy our way. These are called solar flares and coronal mass ejections (CMEs).
Solar Flares and CMEs
- Solar Flares: These are sudden bursts of energy and radiation from the sun’s surface.
- Coronal Mass Ejections (CMEs): These are massive clouds of plasma and magnetic field that erupt from the sun’s corona (outer atmosphere). CMEs are particularly important for aurora viewing because they can send a huge surge of charged particles towards Earth.
When a CME is directed towards Earth, it can cause a geomagnetic storm. These storms can last from a few hours to a few days. The stronger the storm, the more intense and widespread the aurora will be.
How to Stay Informed
Websites like the NOAA Space Weather Prediction Center list these events. They often provide warnings about 24-48 hours in advance when a CME is heading our way. If you see a forecast mentioning a strong CME or a high chance of a geomagnetic storm, it’s a great time to plan your aurora hunt!
Step 3: Choosing the Right Location and Time
Where and when you look for the Northern Lights makes a huge difference. It’s not just about seeing the forecast; it’s about putting yourself in the best possible position to witness the show.
Latitude is Key
The aurora is most commonly seen at high latitudes, within the “auroral oval.” This oval is centered around the Earth’s magnetic poles.
- Prime Locations: Countries like Iceland, Norway, Sweden, Finland, Canada (especially Yukon, Northwest Territories, Nunavut), Alaska, and parts of Greenland are considered prime aurora viewing spots.
- Lower Latitudes: During strong geomagnetic storms, the aurora can be seen at lower latitudes than usual. If a Kp-index of 6 or 7 is predicted, you might see the lights in places like Scotland, northern United States (e.g., Maine, Michigan, Montana), or even further south.
Dark Skies are Essential
The Northern Lights are faint to the naked eye, especially when they are not very active. Light pollution from cities can easily drown them out.
- Get Away from Cities: The darker your surroundings, the better. Drive at least 30-60 minutes away from major towns and cities.
- Check Moon Phase: A full moon can also make the aurora harder to see. Aim for a night around the new moon for the darkest skies. You can easily find moon phase calendars online.
- Clear Skies: Clouds are the aurora hunter’s worst enemy. Check your local weather forecast for cloud cover. Even if the aurora forecast is excellent, you won’t see it if it’s cloudy.
Best Time of Year
The aurora occurs year-round, but you can only see it when the sky is dark enough. This means you need long, dark nights.
- September to March: These months offer the longest periods of darkness in the Northern Hemisphere, making them the prime aurora season.
- Winter Months (November to February): Often offer the darkest skies and the best chance for consistent aurora viewing, though they also bring the coldest temperatures and potentially more snow/ice.
Best Time of Night
The most active periods for aurora are typically between 10 PM and 3 AM local time. However, the lights can appear at any time during the dark hours. Be patient and stay out for a few hours if possible.
Step 4: Essential Gear for Your Aurora Hunt
Being comfortable will allow you to stay out longer and enjoy the experience. Dressing appropriately is crucial, especially if you’re heading to colder climates.
Clothing Essentials
Layering is the name of the game. You want to trap warmth close to your body.
- Base Layer: Thermal underwear (long johns and a long-sleeved top) made of wool or synthetic material (avoid cotton, as it holds moisture).
- Mid Layer: Fleece jacket or sweater for insulation.
- Outer Layer: A warm, waterproof, and windproof coat and pants. Think ski gear!
-
Extremities:
- Warm, waterproof gloves or mittens. Mittens are generally warmer.
- A warm hat that covers your ears.
- Wool or thermal socks. Bring an extra pair!
- Insulated, waterproof boots.
- Neck Gaiter or Scarf: To keep your face and neck warm.
Other Helpful Gear
- Thermos: Filled with a hot drink like tea, coffee, or hot chocolate. It’s a lifesaver on a cold night!
- Snacks: Energy bars, nuts, or other non-perishable snacks to keep your energy up.
- Headlamp or Flashlight: Preferably with a red light option. Red light is less disruptive to your night vision and the night vision of others.
- Camera and Tripod: If you want to capture the aurora, a camera with manual settings and a sturdy tripod are essential.
- Portable Power Bank: Cold weather drains phone and camera batteries quickly.
- Chairs or a Blanket: If you plan to sit and wait, something comfortable to sit on can make a big difference.
- Navigation Tools: A compass, GPS device, or reliable mapping app on your phone (download offline maps!).
Step 5: Tips for Photographing the Northern Lights
Capturing the aurora can be challenging, but with the right settings, you can get some stunning shots. Don’t worry if you’re new to photography; we’ll keep it simple.
What You’ll Need
- Camera: A DSLR or mirrorless camera with manual controls is best. Many smartphone cameras also have “pro” or “manual” modes that can work.
- Sturdy Tripod: Absolutely essential to keep your camera still during long exposures.
- Wide-Angle Lens: A lens with a wide field of view (e.g., 14-35mm on a full-frame camera) will help capture more of the sky.
- Remote Shutter Release (Optional): This prevents camera shake when you press the shutter button. You can often use your camera’s self-timer instead.
Camera Settings to Try
These are starting points; you may need to adjust them based on your camera and conditions.
| Setting | Recommendation | Why |
|---|---|---|
| Mode | Manual (M) | Gives you full control over exposure. |
| ISO | 1600 – 6400 (or higher) | Makes the sensor more sensitive to light, capturing fainter aurora. Start lower and increase if needed. |
| Shutter Speed | 5 – 30 seconds | Allows enough light to hit the sensor. Faster speeds capture sharper aurora movement; slower speeds capture more light but can blur fast-moving lights. |
| Aperture (f-stop) | f/2.8 or wider (e.g., f/1.8, f/4) | Lets in the maximum amount of light. |
| Focus | Manual Focus to Infinity (∞) | Autofocus struggles in the dark. Set your lens to manual focus and adjust it until distant stars are sharp. You might need to test this during daylight or before it gets completely dark. |
| White Balance | Daylight or ~4000K | Helps capture natural colors. Auto white balance can sometimes make the aurora look too blue or green. |
Important Photography Tips
- Practice: Before you go out in the cold, practice setting up your camera and taking photos in the dark at home or in your backyard.
- Shoot in RAW: If your camera allows, shoot in RAW format. This gives you much more flexibility when editing your photos later.
- Check Your Photos: Take test shots and zoom in to check focus and exposure. Adjust settings as needed.
- Battery Warmth: Keep spare batteries in a warm pocket close to your body.
- Protect Your Gear: Keep your camera and lenses as dry as possible, especially if there’s any chance of snow or mist.
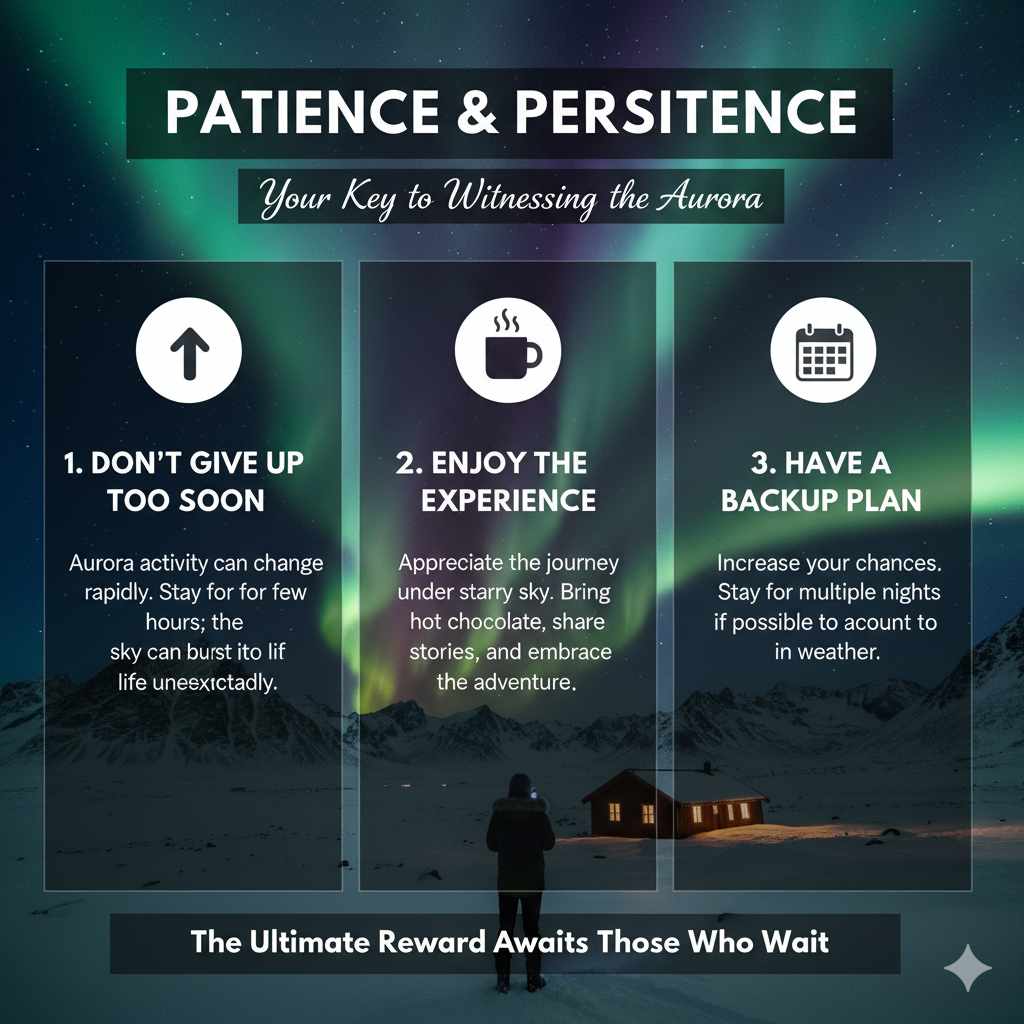
Step 6: Patience and Persistence
This is perhaps the most crucial step! The Northern Lights are a natural phenomenon, and they operate on their own schedule. You can do everything right – check the forecasts, find the perfect dark spot, dress warmly – but sometimes, the lights just don’t show up, or they appear for only a short time.
Don’t Give Up Too Soon
Aurora activity can change rapidly. A quiet sky can suddenly burst into life. If you’ve driven to a remote location, try to stay for at least a couple of hours, even if you don’t see anything at first.
Enjoy the Experience
Even if the aurora doesn’t put on a major show, being out in a dark, quiet place under a starry sky can be a magical experience in itself. Take a moment to appreciate the vastness of the universe. Bring a thermos of hot chocolate, share stories, and enjoy the adventure. The journey is often as rewarding as the destination.
Have a Backup Plan
If you’re on a dedicated aurora trip, consider staying for multiple nights. This significantly increases your chances of seeing the lights. If one night is cloudy or the aurora is faint, you have more opportunities.
Common Questions About Tracking the Northern Lights
Q1: How far south can I see the Northern Lights?
It depends on the strength of the geomagnetic storm. During a moderate storm (Kp-index 5), you might see them in places like northern Germany or the northern United States. During a very strong storm (Kp-index 6 or 7), they can be visible much further south, sometimes even as far south as the Mediterranean or southern US states. Always check the aurora forecast and Kp-index for your specific location.
Q2: What’s the difference between the Northern Lights and the Southern Lights?
They are the same phenomenon, just seen in different hemispheres! The Northern Lights are called the Aurora Borealis, and the Southern Lights are called the Aurora Australis. Both are caused by charged particles from the sun interacting with Earth’s atmosphere and magnetic field. You’ll see the Aurora Australis in high southern latitudes, like Antarctica, southern Australia, and New Zealand.
Q3: Can I see the Northern Lights during the day?
No, you cannot see the Northern Lights during the day. While the aurora is happening in the atmosphere all the time, the brightness of the sun during the day completely overpowers the faint glow of the aurora. You need dark skies to see it.
Q4: Do I need special equipment to see the Northern Lights with my naked eyes?
No, you don’t need any special equipment to see the Northern Lights with your naked eyes, beyond warm clothing! However, a pair of binoculars can sometimes enhance the view, making fainter parts of the display appear brighter. For photography, a camera and tripod are essential.
Q5: How do I know if the Northern Lights will be visible tonight?
You need to check aurora forecasts and space weather reports. Look for a predicted Kp-index of 4 or higher. Websites like NOAA’s Space Weather Prediction Center, SpaceWeather.com, and dedicated aurora apps provide this information. Also, check your local weather forecast for cloud cover – clear skies are a must!
Q6: Is it safe to go out at night to look for the Northern Lights?
Generally, yes, but safety is always important. Make sure you are in a safe viewing location away from traffic hazards. If you are in a remote area, let someone know where you are going and when you expect to return. Be aware of your surroundings, especially in unfamiliar territory. Dressing warmly and having navigation tools are also safety precautions.
Conclusion
Tracking the Northern Lights is a rewarding adventure that combines a bit of science with a lot of patience and the right preparation. By understanding how the aurora is formed, using reliable forecast resources, choosing a dark location away from city lights, and dressing appropriately, you significantly boost your chances of witnessing this incredible celestial dance. Remember, even if the lights are shy on any given night, the pursuit itself offers a unique connection with nature. So, check those forecasts, pack your warmest gear, and head out under the stars. The magic of the aurora awaits!