How To Unscrew Ceiling Light: Essential Guide
Quick Summary:
To unscrew a ceiling light, always turn off power at the breaker first. Then, remove any glass globe or cover, unscrew the fixture from its mounting bracket, and carefully disconnect wires. This guide provides simple, safe steps for any homeowner.
Ever found yourself staring up at a ceiling light, wondering how to get it down? Maybe you’re changing a bulb, updating the fixture, or just need to give it a good clean. It can seem a bit daunting, especially when electricity is involved. But don’t worry! With a few simple steps and a focus on safety, you can confidently unscrew and remove most ceiling lights yourself. This guide will walk you through everything you need to know, making this common home task easy and stress-free.
We’ll cover the essential tools, the crucial safety precautions, and the step-by-step process. You’ll learn how to identify different types of fixtures and how to handle them with care. By the end, you’ll have the knowledge to tackle this project with confidence, saving you time and potentially money on hiring a professional.
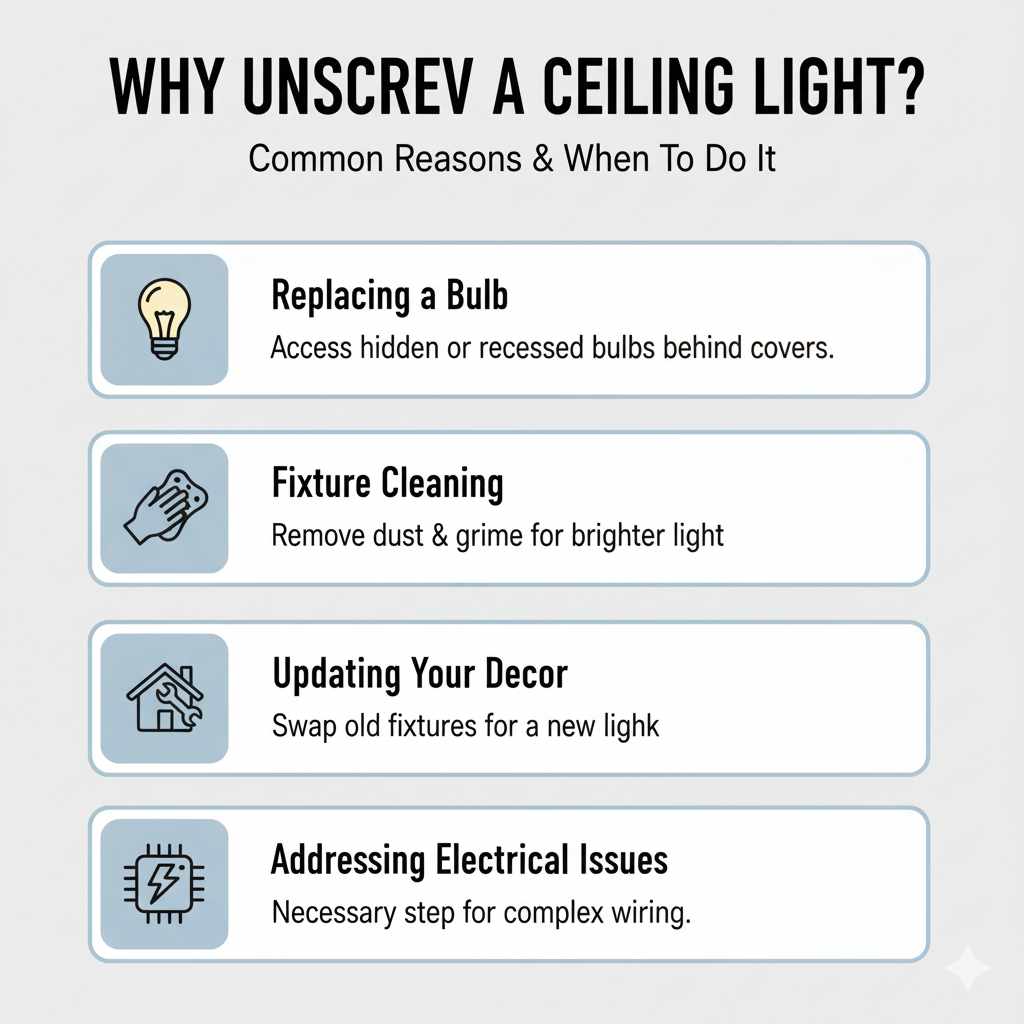
Why Unscrew a Ceiling Light? Common Reasons
There are several reasons why you might need to unscrew a ceiling light fixture. Understanding these common scenarios can help you prepare for the task ahead.
- Replacing a Bulb: Sometimes, bulbs are recessed or hidden behind covers that need to be removed before the bulb can be accessed.
- Fixture Cleaning: Dust and grime can accumulate over time, and a thorough cleaning might require removing the entire fixture or its decorative parts.
- Updating Your Decor: If you’re redecorating, replacing an old or outdated light fixture with a new one is a common upgrade.
- Repairing the Fixture: If a light is flickering, not working, or damaged, you might need to remove it to inspect or repair it.
- Addressing Electrical Issues: For more complex electrical work, removing the fixture might be a necessary first step.
Safety First: The Golden Rule of Electrical Work
Before you even think about touching a screwdriver, the absolute most important thing is to ensure your safety. Working with electricity can be dangerous if not done correctly. The cardinal rule is: Always turn off the power at the source.
This means locating your home’s electrical panel (often called a breaker box or fuse box) and flipping the correct breaker to the ‘OFF’ position. It’s also a good practice to turn off the main switch if you’re unsure which breaker controls the specific light. Don’t rely on just the light switch on the wall; these can sometimes be wired incorrectly or have faults. Always double-check that the power is off by trying to turn the light on after flipping the breaker.
For more in-depth information on electrical safety in the home, resources like the National Fire Protection Association (NFPA) offer valuable guidance.
Essential Tools You’ll Need
Gathering the right tools before you start will make the process much smoother and safer. You probably have most of these already around the house.
Tools for Unscrewing a Ceiling Light:
- Screwdrivers: You’ll likely need both a Phillips head (cross-shaped) and a flathead (straight) screwdriver. Having a set with various sizes is helpful.
- Ladder or Step Stool: A sturdy ladder or step stool is crucial for safely reaching the ceiling light. Ensure it’s stable and placed on a level surface.
- Wire Strippers/Cutters (Optional but Recommended): If you need to disconnect wires, these are essential.
- Voltage Tester (Highly Recommended): A non-contact voltage tester is a simple tool that can confirm if the power is truly off at the wires.
- Work Gloves: These can protect your hands from sharp edges and provide a better grip.
- Safety Glasses: Protect your eyes from falling dust or debris.
- Pliers (Optional): May be useful for gripping wires or nuts.
- A Helper (Optional but Recommended): Having someone to hold the ladder steady or assist with the fixture can be very helpful.
Types of Ceiling Light Fixtures and Their Covers
Ceiling lights come in many shapes and sizes, and the way you unscrew them might vary slightly depending on their design. Most common types have a cover or globe that needs to be removed first.
Common Fixture Types:
- Flush Mount Lights: These are mounted directly to the ceiling. They often have a glass or plastic cover held in place by screws, clips, or a threaded ring.
- Semi-Flush Mount Lights: These hang a few inches below the ceiling, offering a bit more space for decorative bulbs or a slightly larger profile. They usually have a decorative canopy that hides the mounting hardware.
- Pendant Lights: These hang from a cord or chain and typically have a shade. The process here often involves disconnecting the shade from the main fixture body.
- Chandeliers: These are more elaborate and can have multiple arms and shades. While the principle is the same, they can be heavier and more complex to remove.
Removing Different Types of Covers:
- Threaded Glass Globes: Many older fixtures have glass shades that screw directly into the fixture base. To remove, gently twist the globe counter-clockwise. Sometimes, these have small screws or clips that need to be loosened first to release the globe.
- Screwed-On Covers: Some fixtures have a cover (glass or metal) that is attached with small screws around its perimeter. Loosen these screws – you don’t need to remove them completely, just loosen them enough so the cover can drop slightly or slide off.
- Clip-On Covers: Certain covers are held in place by spring-loaded clips. You might need to gently push up and then pull down, or twist the cover slightly to disengage the clips.
- Canopy Covers: For semi-flush mounts and pendant lights, the main part that hides the electrical box is a decorative canopy. This is usually attached to a mounting bracket with screws.
Step-by-Step Guide: How to Unscrew a Ceiling Light
Let’s get down to the actual process. Remember, safety is paramount at every step.
Step 1: Turn Off the Power
As mentioned, this is non-negotiable. Locate your home’s electrical panel. Find the breaker that controls the room or the specific light fixture. Flip it to the ‘OFF’ position. If you’re unsure, turn off the main breaker. Then, go to the light and try to turn it on. If it doesn’t illuminate, the power is off.
Step 2: Prepare Your Workspace
Place your ladder or step stool directly under the light fixture. Ensure it’s stable and won’t wobble. If you have a helper, have them stand by to steady the ladder. Clear the area below the light of any furniture or objects that could be damaged by falling dust or debris.
Step 3: Remove the Light Cover or Globe
Depending on your fixture type, this step will vary.
- For threaded globes: Gently grip the globe and twist it counter-clockwise. Support its weight as you unscrew it. Place it carefully aside.
- For screwed covers: Use your screwdriver to loosen the small screws holding the cover. You might not need to remove the screws entirely; just loosening them should allow the cover to be removed.
- For clip-on covers: Gently push up or twist the cover to release the clips.
If the cover is stubborn, check for any hidden screws or latches. Don’t force it, as you could break the glass or damage the fixture.
Step 4: Access the Fixture Mounting
Once the cover is off, you’ll see how the fixture is attached to the ceiling. This is usually a mounting bracket screwed into the electrical box in the ceiling. The light fixture itself will have screws or nuts that attach it to this bracket.
Step 5: Unscrew the Fixture from the Mounting Bracket
Look for the screws or nuts that hold the fixture’s base to the ceiling’s mounting bracket.
- Screw-in Fixtures: Many smaller fixtures are simply screwed into the mounting bracket. You’ll need to remove these screws.
- Nutted Fixtures: Some fixtures are attached with nuts that screw onto threaded studs coming from the mounting bracket. You’ll need to hold the fixture steady and unscrew these nuts.
As you loosen the screws or nuts, be prepared to support the weight of the fixture. It can be heavier than it looks! If it’s a larger or heavier fixture, it’s best to have your helper ready to take some of the weight.
Step 6: Carefully Lower the Fixture and Disconnect Wires
Once the fixture is detached from the mounting bracket, it will hang by its wires. Gently pull the fixture down slightly to expose the wire connections inside the electrical box. You’ll typically see wires from the ceiling connected to wires from the fixture, usually held together with wire nuts (plastic caps).
Crucial Safety Check: Before touching any wires, use your non-contact voltage tester. Hold it near each wire connection. If it lights up or beeps, the power is still on, and you need to return to the breaker box immediately!
If the voltage tester indicates no power, proceed to disconnect the wires.
- Grip the wire nut firmly and twist it counter-clockwise to remove it.
- Gently pull the connected wires apart.
- If the wires are directly connected without nuts (less common), you might need to unscrew a terminal connection or, in rare cases, carefully cut the wires (ensure you know which wire is which for reinstallation, or if you’re replacing the fixture).
You should see:
| Wire Color (Common) | Purpose |
|---|---|
| Black or Red | Hot/Live Wire (Carries power) |
| White | Neutral Wire (Completes the circuit) |
| Green or Bare Copper | Ground Wire (Safety connection) |
Note:** Wire colors can vary depending on the age of your home and local electrical codes. Always exercise caution.
Once all wires are disconnected, you can carefully remove the fixture from the ceiling. If you are replacing the fixture, you might need to unscrew the mounting bracket itself from the electrical box.
Step 7: Secure the Wiring (If Not Replacing Immediately)
If you’ve removed the fixture and aren’t installing a new one right away, it’s important to safely cap off the exposed wires from the ceiling. Use new wire nuts (or electrical tape if wire nuts aren’t available and you’re confident in your skill) to cover the ends of the hot, neutral, and ground wires individually. This prevents accidental contact and potential shorts.
Tips for a Smooth and Safe Experience
Here are a few extra pointers to make sure your DIY project goes off without a hitch:
- Read the Manual: If you’re replacing a fixture, always read the manufacturer’s instructions for the new unit before you start removing the old one.
- Take Pictures: Before disconnecting wires, take a clear photo of how they are connected. This is invaluable if you’re re-installing the same fixture or installing a new one.
- Don’t Rush: Take your time with each step. Patience is key, especially when dealing with electrical components.
- Clean as You Go: Dust and dead insects can accumulate in light fixtures. Have a damp cloth or duster handy to clean parts as you remove them.
- Check the Mounting Bracket: Ensure the electrical box and mounting bracket in the ceiling are secure and can support the weight of your new fixture.
- If in Doubt, Call a Pro: If at any point you feel uncomfortable, unsure, or if the wiring looks unusual or damaged, don’t hesitate to call a qualified electrician. Safety is always worth the expense. For more on hiring an electrician, check out resources from organizations like Safe Electricity.
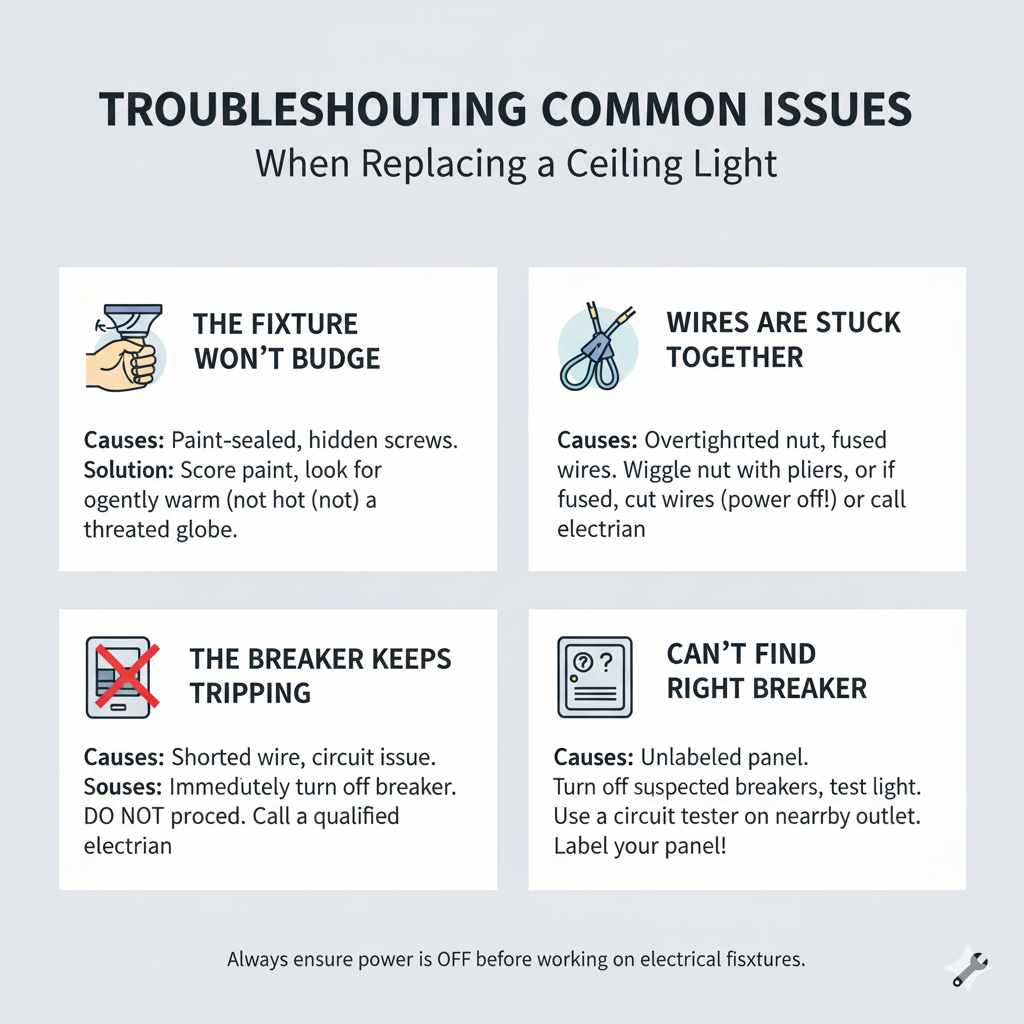
Troubleshooting Common Issues
Sometimes, things don’t go exactly as planned. Here are a few common issues and how to handle them:
Issue: The Fixture Won’t Budge
Possible Causes: Paint has sealed the fixture to the ceiling, or there are hidden screws or clips.
Solution: Carefully inspect the edge where the fixture meets the ceiling. Look for any small screws that might be hidden. If paint is the issue, you might need to carefully score the paint line with a utility knife. If it’s a threaded globe, try gently warming it with a hairdryer (not too hot!) to loosen any seal. Never force it.
Issue: Wires Are Stuck Together
Possible Causes: Wire nuts are overtightened, or the wires have fused slightly due to heat or a poor connection.
Solution: Try wiggling the wire nut gently while unscrewing. If they are truly stuck, you may need to use pliers to carefully grip the wire nut and twist it off. If the wires themselves are fused, and you’ve confirmed power is off, you might need to cut the wires (if replacing the fixture) or call an electrician.
Issue: The Breaker Keeps Tripping
Possible Cause: You might have accidentally shorted a wire, or there’s an underlying issue with the circuit.
Solution: Immediately turn off the breaker. Do not attempt to work on the light further. This indicates a potentially serious electrical problem. It’s time to call a qualified electrician.
Issue: I Can’t Find the Right Breaker
Possible Cause: Breaker panels aren’t always clearly labeled.
Solution: You can systematically identify the breaker. Turn off all the breakers you suspect might be for that circuit. Then, turn on the main breaker. Go to the light and try to turn it on. If it’s off, you’ve found your circuit. Alternatively, you can use a circuit tester to identify which breaker controls an outlet in the same room, as lights and outlets are often on the same circuit. For a more definitive method, consider labeling your breaker panel properly. Many homeowners find this guide helpful: labeling your breaker box.
Frequently Asked Questions (FAQ)
Q1: Do I really need to turn off the power at the breaker box? Can’t I just use the wall switch?
A1: Yes, you absolutely must turn off the power at the breaker box. The wall switch only controls the flow of electricity to the light when it’s in the ‘on’ position. Turning off the breaker cuts off power to that entire circuit, ensuring complete safety. Relying only on the wall switch is dangerous.
Q2: How do I know if the power is truly off?
A2: After flipping the breaker, try to turn the light on. If it doesn’t work, the power is off. For added certainty, use a non-contact voltage tester near the wires before touching them. If the tester doesn’t light up or beep, the wires are safe to handle.
Q3: My ceiling light is very heavy. How can I support its weight while unscrewing it?
A3: It’s highly recommended to have a helper to support the fixture’s weight as you disconnect it. If you don’t have a helper, you can try using a piece of string or rope to temporarily suspend the fixture from a ceiling joist or a sturdy piece of furniture, or use an adjustable lamp or lumber to prop it up from below. Ensure whatever you use is stable.
Q4: What if the wires in my ceiling are a different color than what’s in the guide?
A4: Electrical codes and wire colors can vary based on the age of your home and region. The most common system is Black (hot), White (neutral), and Green/Bare Copper (ground). However, always refer to your specific fixture’s wiring diagram and, if unsure, consult a qualified electrician. Never assume wire colors are standard.
Q5: I accidentally broke the glass globe. What should I do?
A5: If you broke a glass globe, turn off the power at the breaker immediately. Carefully clean up all the glass shards. For safety, it’s best to replace the entire fixture if you cannot find an exact replacement globe. If you can find a replacement globe, ensure it fits securely and is rated for your fixture.
Q6: Can I just leave the wires hanging if I’m replacing the fixture right away?
A6: No, even if you are installing a new fixture immediately, it’s best practice to temporarily cap off the wires from the ceiling with wire nuts. This protects them from accidental contact and prevents potential hazards during the installation of the new fixture.
Conclusion
You’ve now got a comprehensive understanding of how to safely and effectively unscrew a ceiling light fixture. Remember, the key takeaways are always prioritizing safety by turning off the power at the breaker, having the right tools ready, and working methodically through each step. Whether you’re changing a bulb, cleaning your fixture, or upgrading your home’s look, this guide has equipped you with the knowledge to tackle the task with confidence.
Don’t let home improvement projects intimidate you. With clear instructions and a focus on safety, you can accomplish a lot. If you ever encounter a situation that feels beyond your comfort level, don’t hesitate to call a professional electrician. Happy DIYing!