What Paint Sticks to Porcelain? (Epoxy vs. Latex)
Epoxy and latex-based paints are the only two types that bond reliably to porcelain — oil-based and acrylic paint peel off within weeks because they can’t grip its glass-like glaze. Skipping the 400-grit sanding step or using the tub before paint fully cures causes most DIY jobs to chip within a month. This guide covers which paint to pick, the prep steps that make it stick, and how long to wait before using the surface again.
Latex-Based Paint for Porcelain
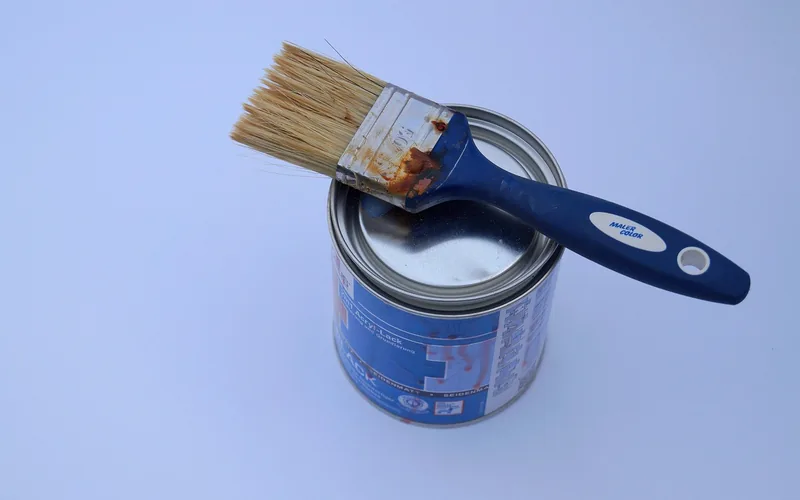
Latex-based paint is a water-based acrylic formula that bonds to porcelain once the glossy glaze has been lightly sanded and primed. It dries fast, cleans up with soap and water, and comes in far more colors than epoxy — but it’s the least chip-resistant of the three options, so it suits low-contact surfaces like a decorative porcelain vase or the outside of a sink cabinet more than a tub floor that gets stepped on daily. See our full paint products guides for coverage of other surfaces beyond porcelain.
- Fast dry time — usually recoatable within a few hours
- Wide color selection compared to epoxy or spray formulas
- Water-based, low odor, easy brush and roller cleanup
- Least durable option — not recommended for tub or shower floors
Epoxy Paint for Porcelain
Epoxy paint is a two-part formula — resin and hardener — that chemically cross-links as it cures, forming a much harder, more chip- and chemical-resistant shell than latex. It’s the standard choice for tubs, tile, and sinks that see daily water and foot contact, which is why every major porcelain refinishing kit on the market (Rust-Oleum’s Tub & Tile line included) uses this two-part system rather than a single-part paint.
- Mix Part A and Part B only right before use — most kits are only workable for about 6 hours once combined
- Cures to a much harder, more scratch- and chemical-resistant finish than latex
- Needs active ventilation while curing — open a window and run a fan
- Not repositionable once mixed — apply in thin, even coats the first time
Best Porcelain Refinishing Kit Pick
Tub & Tile Touch Up Gloss White Paint Kit – $42.88
A two-part epoxy acrylic kit like the one described above — mix Parts A and B, apply within the working window, and get a chip-resistant finish that holds up to daily tub or sink use.
- Best for: tubs, sinks, and tile that see daily water contact
- Why we picked it: two-part epoxy acrylic formula matches the durability this guide recommends for high-contact porcelain
- Main drawback: must be used within hours of mixing — no pausing mid-project
Compare more porcelain paint options
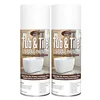 Option 1 – Spray Tub and Tile Spray Paint White Gloss Waterproof Spray White – $23.39
|
 Option 2 – Touch-Up DWIL Tub and Tile Paint, White Touch Up Paint for Porcelain, – $9.99
|
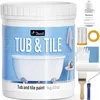 Option 3 – Full Kit DWIL Tub and Tile Refinishing Kit,33oz Quick-Dry Tile Paint – $44.99
|
As an Amazon Associate we earn from qualifying purchases.
Spray-On Paint for Porcelain
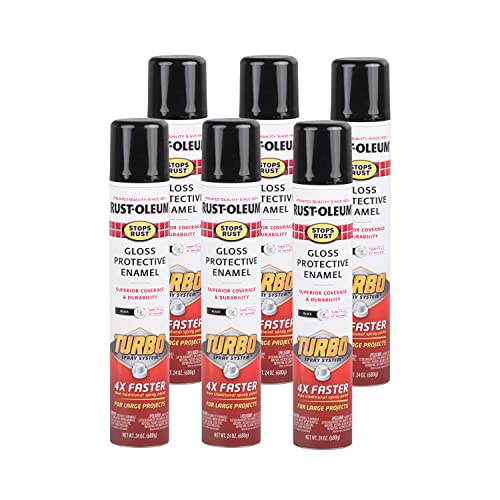
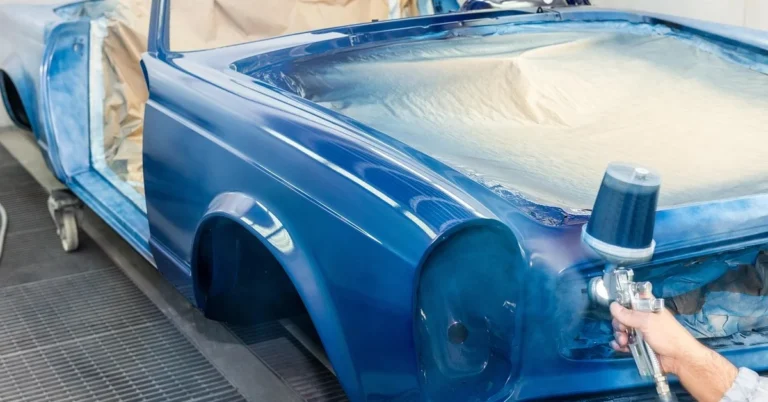
Spray-on enamel and epoxy formulas apply in thin, even coats without brush marks, which makes them the fastest way to cover a full tub or large tile run. The tradeoff is overspray — sinks, fixtures, and floors need to be masked off completely before you start, and the work area needs real ventilation.
- Fastest, most even coverage for large surfaces like a full tub
- No brush marks or roller texture in the finish
- Requires masking off fixtures, walls, and floors before spraying
- Best used outdoors or with a fan pulling air out of the room
| Paint Type | Durability | Best For |
|---|---|---|
| Latex-based | Lowest — not for tub floors | Decorative porcelain, low-contact surfaces |
| Epoxy (2-part) | Highest — chip and chemical resistant | Tubs, sinks, tile floors, daily water contact |
| Spray-on (enamel/epoxy) | High, matches brush-on epoxy | Full tubs and large tile runs, fastest application |
Preparation: How to Get Porcelain Ready for Paint
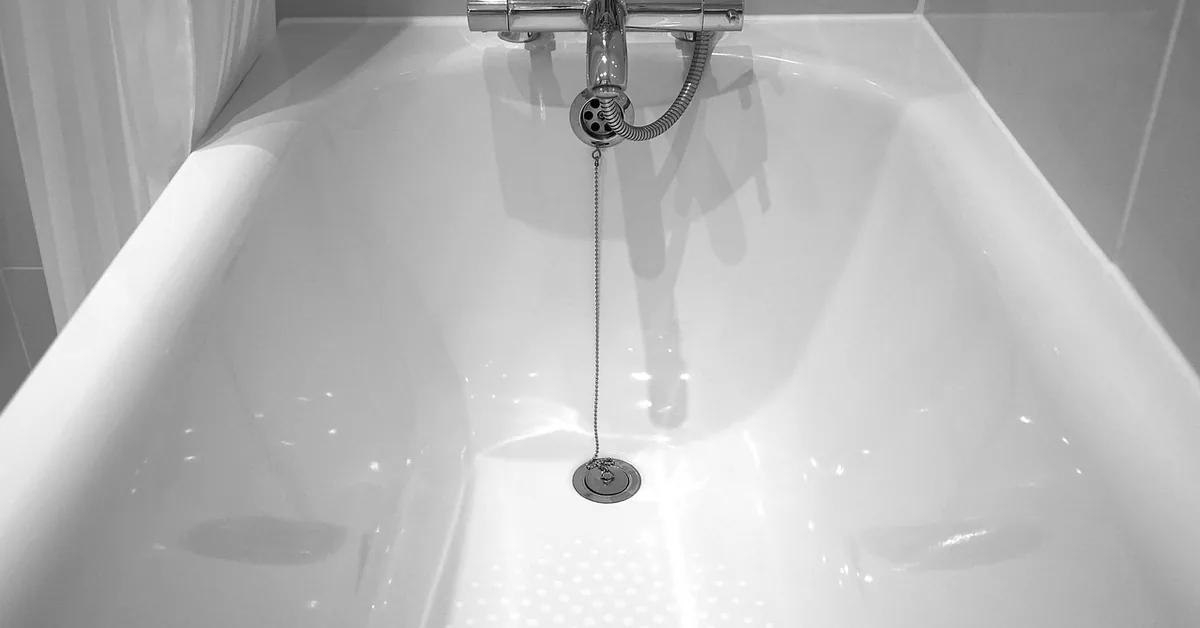
Porcelain’s fired glaze is essentially glass — nothing sticks to it until that glossy surface is dulled and degreased. Skipping any of these steps is the single biggest reason porcelain paint jobs fail early.
- Clean thoroughly: Scrub the surface with a strong cleaner (Comet or a similar abrasive cleaner works well) to strip soap scum, grease, and mineral buildup.
- Remove old caulk: Cut out and remove any existing caulk around the rim — paint applied over caulk peels almost immediately.
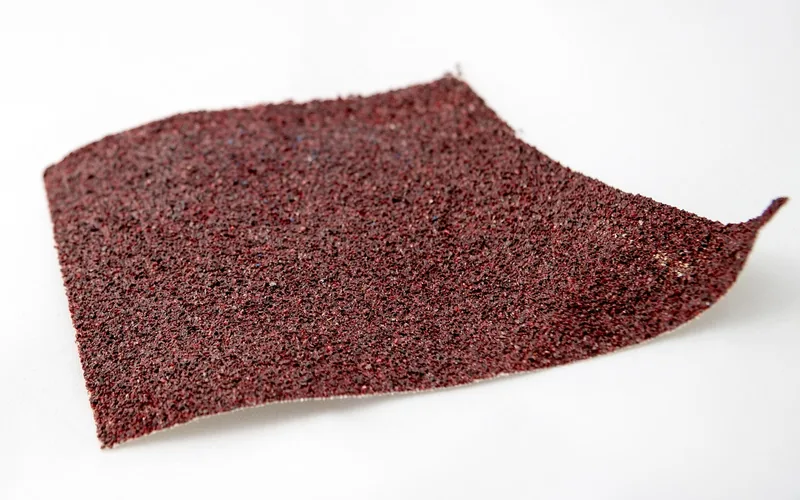
- Sand the glaze: Rough up the glossy surface with 400-grit sandpaper so primer has something to grip. This is the step most guides skip and most failures trace back to.
- Wipe with a tack cloth: Remove all sanding dust before priming — dust trapped under paint creates weak spots that chip first.
- Prime: Apply a primer made for porcelain and let it cure fully per the label before the topcoat goes on.
How to Apply Paint to Porcelain (Step-by-Step)
Once the surface is clean, sanded, and primed, applying the paint itself is the fast part. These steps apply to a tub, sink, or tile — if you’re working on a sink specifically, see our step-by-step guide to repainting a bathroom sink for fixture-specific tips.
- Mix the paint: For two-part epoxy, combine Part A and Part B for a full 2 minutes and use the mixture within its working window (usually about 6 hours).
- Apply the first coat: Work in thin, even strokes with a synthetic brush, foam roller, or spray gun, starting from one corner.
- Wait between coats: Let the first coat set for 1–2 hours before recoating — rushing this step causes drips and uneven texture.
- Apply a second coat: Most kits need two full coats for even color and coverage; check the product label for exact recoat windows.
- Let it cure before use: Touch-dry in about an hour, but hold off on any water contact for a full 3 days so the finish hardens completely.
Common mistake: don’t re-stir epoxy paint after Parts A and B are already combined — doing so introduces air bubbles that show up as pits in the cured finish.
Curing and Maintenance
Why Curing Time Matters
The paint feels dry to the touch well before it’s actually cured. Touch-dry status just means the surface film has set — the cross-linking that gives epoxy its chip resistance keeps happening underneath for days after that. Ambient humidity and temperature affect this timeline the same way they affect how fast spray paint dries on any other surface.
📊 A Rust-Oleum Tub & Tile epoxy kit dries to the touch in about 15 minutes but needs a full 3 days before the surface can safely get wet. — Source: Rust-Oleum Tub & Tile Refinishing Kit product specifications, 2026
“For best results, thoroughly mix parts A and B separately before mixing together for 2 minutes; once combined be sure to use within 6 hours of mixing.”
— Rust-Oleum Tub & Tile Refinishing Kit, product instructions
Tips for Maintaining Painted Porcelain
- Regular cleaning: Clean painted porcelain surfaces with a mild detergent and water. Avoid abrasive cleaners or scrubbing pads, which dull and scratch the finish.
- Gentle handling: Use soft cloths rather than abrasive sponges to avoid scratching the painted surface.
- Avoid harsh chemicals: Bleach and solvent-based cleaners break down the paint film and cause premature peeling.
- Protect from heat: Use trivets or mats to keep very hot pans or curling irons off painted surfaces — extreme heat can blister the finish.
- Touch up promptly: Small chips exposed to water spread faster than they look — seal them with a matching touch-up paint as soon as you spot them.
Common Mistakes That Make Porcelain Paint Peel Early
- Skipping the sand step because the surface “looks clean” — grease and mineral film are invisible but still block adhesion.
- Using water within 24–48 hours of the final coat — the finish is touch-dry long before it’s actually cured.
- Painting over old caulk or chips instead of removing and repairing them first — paint bridges the gap but doesn’t fix what’s underneath.
- Re-stirring mixed epoxy after Part A and Part B are already combined, which traps air bubbles in the cured finish.
- Choosing latex paint for a tub floor — it works for decorative porcelain but wears through fast under daily foot traffic.
Frequently Asked Questions
What kind of paint will stick to porcelain?
Latex-based and two-part epoxy paint are the only types that bond reliably to porcelain once the glaze is sanded and primed. Oil-based and standard acrylic paints don’t grip porcelain’s glass-like surface and peel within weeks.
Can you paint porcelain without sanding it first?
Not for a lasting finish. Porcelain’s fired glaze is smooth and slick, so paint has nothing to grip without light sanding (400-grit) or a bonding primer made for glossy, unsandable surfaces. Skipping this step is the most common reason DIY porcelain paint jobs fail early.
How long does porcelain paint need to cure before you can use it?
Most epoxy tub and tile paints are touch-dry in 15 minutes to an hour but need a full 3 days before any water contact. Using the surface sooner — even if it feels dry — is one of the top causes of early peeling.
Do you need a primer for porcelain?
Yes, for latex and most epoxy systems. A porcelain-specific primer bonds to the sanded glaze and gives the topcoat a surface to grip. Some newer bonding epoxy kits combine primer and paint in one product — check the label before skipping this step.
Can you paint a porcelain bathtub or sink yourself?
Yes. A two-part epoxy tub and tile kit is designed for DIY use — clean, sand, prime, and apply two thin coats with a brush, roller, or spray gun. The main risk isn’t the painting itself, it’s rushing the prep or the 3-day cure time afterward.
Conclusion
Epoxy and latex are the only paint types that actually bond to porcelain, and which one to use comes down to how much contact the surface gets — epoxy for a tub, sink, or tile floor, latex for decorative pieces that don’t touch water daily. The paint itself matters less than the prep: sand the glaze, remove old caulk, and give the finish the full 3-day cure before it gets wet. If the porcelain is chipped or badly worn rather than just outdated in color, reglazing the bathtub may be a better fix than paint alone.
Sponsored / affiliate links. As an Amazon Associate I earn from qualifying purchases. I may earn additional commission from eligible campaigns.