Polycrylic Dry Time between Coats: Expert Tips
Are you tired of waiting endlessly for your polycrylic projects to dry? Understanding the dry time between coats can save you both time and frustration.
Whether you’re sprucing up a piece of furniture, a wooden floor, or a crafty DIY project, knowing the right time to reapply is crucial for a flawless finish. You might be wondering how to get that smooth, professional look without the hassle of guesswork.
You’ll discover the secrets to mastering polycrylic dry times, ensuring your projects look as stunning as you envision. Dive in to learn how you can streamline your process and achieve that perfect finish with ease.
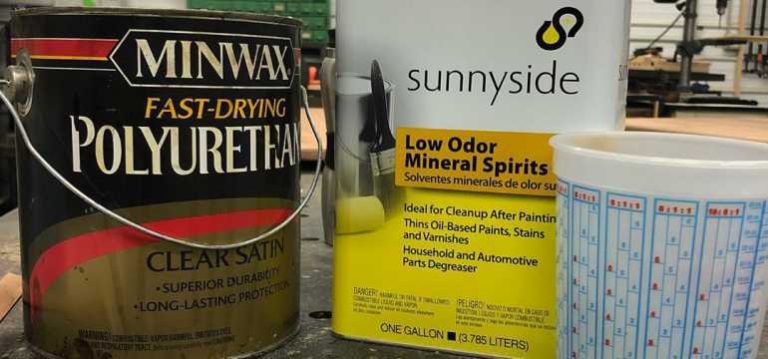
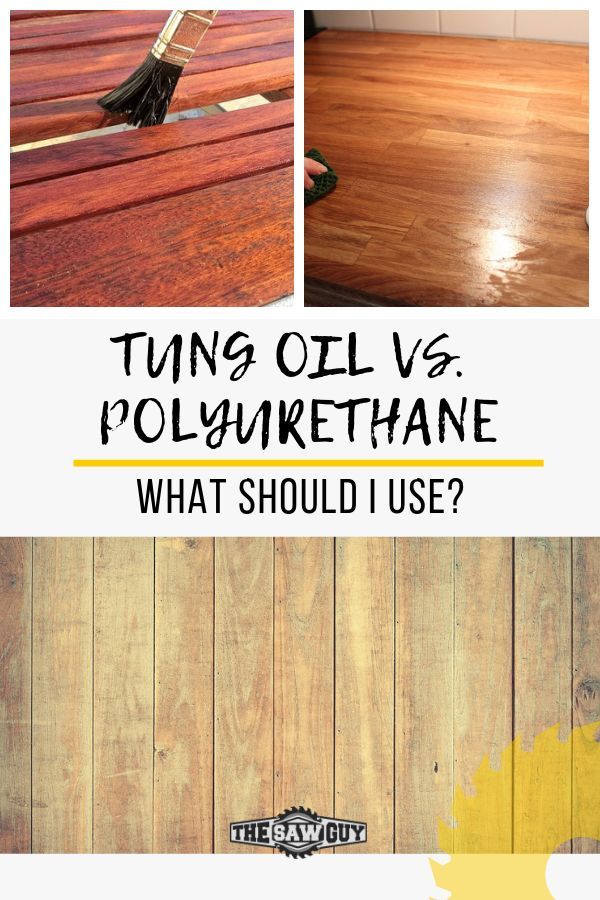
Credit: www.lowes.com
Factors Affecting Polycrylic Dry Time
High temperaturescan make polycrylic dry faster. Low temperatures slow it down. Humidityaffects drying time too. High humidity slows the process. Low humidity helps it dry quicker. Always check the weather first.
Good ventilationhelps polycrylic dry faster. A room with open windows is best. Fans can help move air around. More airflowmeans faster drying. Always keep the air moving.
Thin coats dry faster than thick ones. Thick coats take longer. Always apply in thin layers. Let each layer dry before adding more. This helps the finish look smooth.
:max_bytes(150000):strip_icc()/polycrylic-vs-polyurethane-6891646-v1-55fc4eb651d249dabcc04eb9c708e308.png)
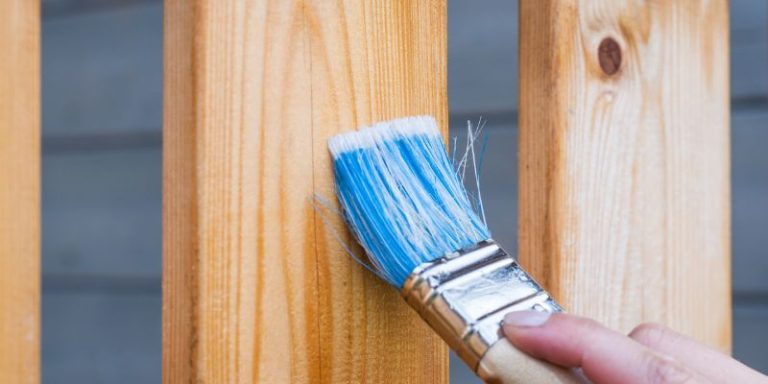
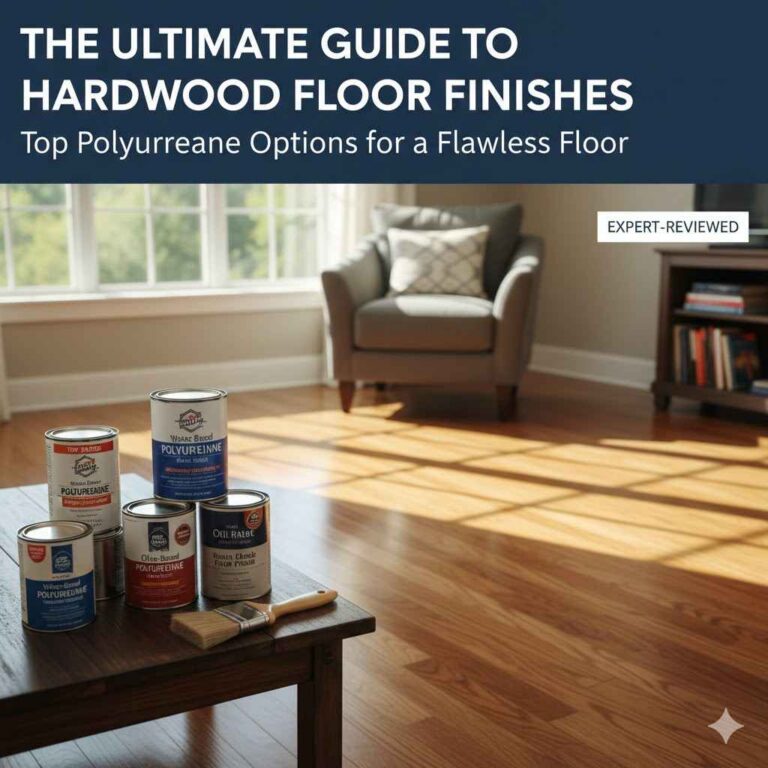
Credit: www.thespruce.com
Optimal Dry Time Between Coats
Many brands suggest a dry time of 2 hours. Follow instructions on the can. Dry time can vary by weather. Humid days make it longer. Read the label before you start.
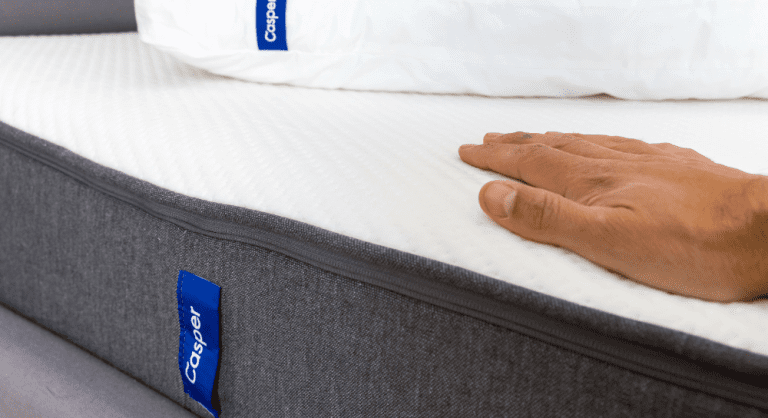
Touch the surface to check if it’s dry. Lightly press a finger on the coat. It should feel smooth and not sticky. If it leaves a mark, it needs more time. Wait before adding another coat.
Extra layers can make the dry time longer. Each layer needs its own time to dry. More coats mean more time. Be patient for the best finish. Rushing can cause bubbles. Plan your project with this in mind.
Techniques For Faster Drying
Fans can help dry Polycrylic faster. They move air around the room. This speeds up the drying process. Heaters also work well. They add warmth to the air. Warm air makes Polycrylic dry quicker. Use fans and heaters together for best results. Place fans near your work area. Keep heaters at a safe distance. Ensure good air circulation. Avoid direct heat on the surface. This prevents uneven drying. Check the drying progress regularly. Adjust fan and heater settings if needed.
Thin layers dry faster than thick ones. Use a brush or a roller. Apply Polycrylic evenly. Avoid applying too much at once. More layers mean longer drying time. Keep each coat thin and smooth. Let each coat dry completely. Before applying the next layer, check dryness. Adjust your method as needed. This ensures faster drying. Experiment with different techniques. Find what works best for you. Practice makes perfect.
Drying time depends on the environment. Choose a warm and dry room. Avoid humid areas. Humidity slows down drying. Ventilate the space well. Open windows if possible. Keep the room clean and dust-free. Dust can ruin the finish. Check the temperature regularly. Adjust room conditions as needed. A stable environment helps drying. Take care of your workspace. It affects your project outcome. The right setting makes a difference.
Common Mistakes To Avoid
Applying a new coat too soon can ruin your finish. Polycrylic needs time to dry. Each coat should dry fully before the next one. Rushing leads to sticky surfaces. This can create uneven layers. It might even trap dust or dirt. Be patient. Wait the recommended time for best results.
Room temperature and humidity affect drying time. A warm room speeds up the process. High humidity slows it down. Drying takes longer in a damp space. Check these factors first. Adjust your plan if needed. This ensures a smooth and even finish.
Using too much product at once is a common mistake. It leads to drips and sags. Thin layers dry faster and look better. Spread the polycrylic evenly. This helps avoid buildup. More thin coats are better than one thick coat. This ensures a durable finish.
Expert Tips For Best Results
Clean the surface with a damp cloth. Remove all dust and dirt. Sand the surface lightly for better grip. Use a fine-grit sandpaper. Wipe off any dust after sanding. A clean surface ensures good adhesion. This step is very important.
Check the weather before starting. Humidity affects drying time. Dry weather is best for quick drying. Avoid rainy or damp days. This ensures the coat dries evenly. Temperature is important too. Warm and dry conditions are ideal.
Use a high-quality brush for applying. Brush in long, even strokes. Avoid drips and bubbles. Apply thin coats for best results. Thick coats take longer to dry. Let each coat dry fully. Check the label for drying times. This ensures a smooth finish.
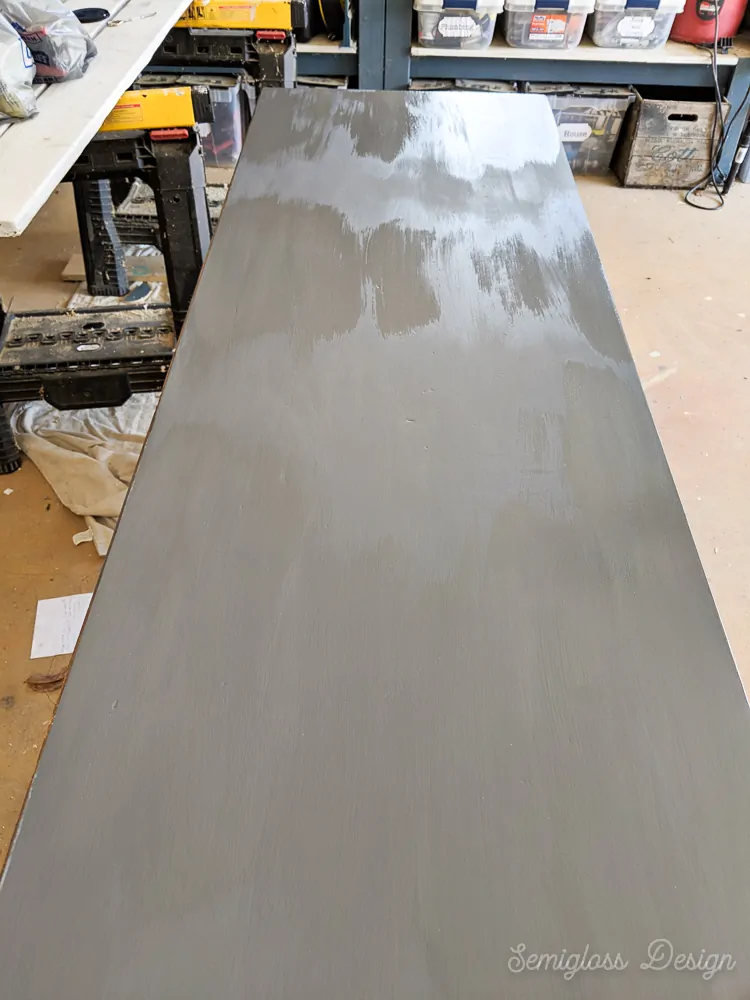
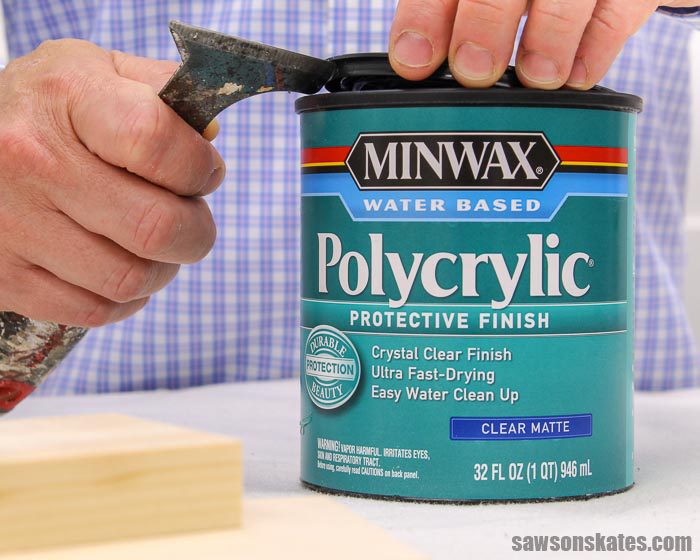
Credit: www.semiglossdesign.com
Frequently Asked Questions
How Long Can You Wait Between Coats Of Polycrylic?
Wait 2 hours between polycrylic coats. Ensure the surface is dry before applying a new layer. Follow manufacturer’s instructions for optimal results. Multiple coats enhance finish durability.
How To Get Smooth Finish With Polycrylic?
Use a high-quality brush or foam applicator for polycrylic. Sand lightly between coats with fine-grit sandpaper. Apply thin, even layers in a dust-free environment. Allow proper drying time between coats. Finish with a final sanding for a smooth surface.
What Happens If You Recoat Polyurethane Too Soon?
Recoating polyurethane too soon can lead to poor adhesion. It may cause bubbling, peeling, or uneven finish. Ensure the previous coat is dry. Follow manufacturer guidelines for drying times to avoid issues. Proper timing ensures a smooth, durable surface.
Is 3 Coats Of Polycrylic Enough?
Three coats of polycrylic often provide a durable finish. Ensure each coat dries completely before applying the next. For high-traffic areas, consider an additional coat for extra protection. Always follow the manufacturer’s instructions for best results.
Conclusion
Understanding polycrylic dry time ensures a smooth finish. Patience is key. Let each coat dry properly for the best results. This prevents imperfections and enhances durability. Always follow the recommended drying times. This step is crucial for achieving a perfect look.
Remember, a rushed job may lead to disappointment. Check the manufacturer’s instructions for specific drying details. Consider temperature and humidity as they affect drying time. Proper planning makes the process smoother. With these tips, your project will look professional. Enjoy the satisfaction of a well-done job.
Happy crafting!